昨天看了我們怎麼跑migrate建立表單:Laravel-資料的大遷徙Migration-Day05
今天來看一些補充的操作:新增欄位、刪除表單等等。
在laravel裡面想要新增欄位,就要再多跑一次migrate
新來新增一張要用的表單:artisan make:migration career_users_add_column
創建了新的檔案 2023_08_32_120136_areer_users_add_column.php
在想要的表頭後面使用helper:after $table->boolean('share_email')->after('email')
意指:我想要在email欄位後面再加一個share_email欄位
<?php

use Illuminate\Database\Migrations\Migration;
use Illuminate\Database\Schema\Blueprint;
use Illuminate\Support\Facades\Schema;

return new class extends Migration
{
    /**
     * Run the migrations.
     *
     * @return void
     */
    public function up()
    {
        Schema::table('career_users', function (Blueprint $table) {
            $table->boolean('share_email')->after('email');
        });
    }
};
刪除欄位用: $table->dropColumn('comment_count');
再跑一次:php artisan migrate --path=database/migrations/檔案名稱.php
就可以看到欄位被新增啦。
要是我們想要刪除表單呢?
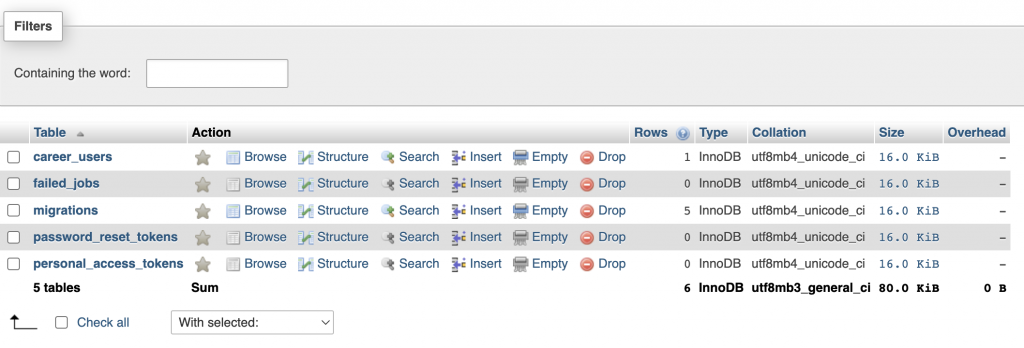
我們可以用phpmyadmin來控制我們的表單:包括新增、刪除資料,
刪除表單可以使用'drop'功能
使用laradock就可以建立我們的phpadmin container了,明天會提到phpmyadmin~

我們也可以直接在workspace container跑指令刪除表單php artisan migrate:rollback
rollback指令會跑我們放在migrations資料夾裡面檔案的down的涵式:
public function down(): void
    {
        Schema::dropIfExists('career_users');
    }
我們也可以進去mysql container操作表單:
laradock % docker-compose exec mysql bash
bash-4.4# mysql -u root -p
Enter password:
Welcome to the MySQL monitor.  Commands end with ; or \g.
填入mysql commands: DROP TABLE personal_access_tokens
mysql> SHOW TABLES;
+------------------------+
| Tables_in_career_expo  |
+------------------------+
| career_users           |
| failed_jobs            |
| migrations             |
| password_reset_tokens  |
| personal_access_tokens |
+------------------------+
5 rows in set (0.00 sec)

mysql> DROP TABLE `personal_access_tokens`;
Query OK, 0 rows affected (0.02 sec)

mysql> SHOW TABLES;
+-----------------------+
| Tables_in_career_expo |
+-----------------------+
| career_users          |
| failed_jobs           |
| migrations            |
| password_reset_tokens |
+-----------------------+
4 rows in set (0.00 sec)
明天用phpmyadmin來新增資料!
