回憶需求可以參考 Day 16. 來做個 TypeScript 專案吧
昨天我們為了在 TypeScript 專案中使用 Google Maps 模組,引入了 Google Maps 的 Type definition file,讓 TypeScript 得以識別裡面的型別。
今天我們就來開始建立一開始規劃的三個檔案 Map.ts, User.ts, Company.ts ,並在 index.ts 引入他們吧
今日重點:
目前規劃的專案結構:
// project folder
    L src/
       L User.ts
       L Company.ts
       L Map.ts
       L index.ts
前面有提到在 TypeScript 中,通常會把不同的類別 (class) 單獨規劃在一個文件中並獨立導出,要使用時再引用並建立實體
這邊先初步的建立 User.ts 以及 Company.ts
// Company.ts
class Company {
  companyName: string;
  catchPhrase: string;
  location: {
    lat: number;
    lng: number;
  };
  constructor(
    companyName: string,
    catchPhrase: string,
    lat: number,
    lng: number
  ) {
    this.companyName = companyName;
    this.catchPhrase = catchPhrase;
    this.location = {
      lat: lat,
      lng: lng,
    };
  }
}
// User.ts
class User {
  name: string;
  age: number;
  location: {
    lat: number;
    lng: number;
  };
  constructor(
    name: string,
    age: number,
    lat: number,
    lng: number
  ) {
    this.name = name;
    this.age = age;
    this.location = {
      lat: lat,
      lng: lng,
    };
  }
}
兩個 class 都有各自的屬性,以及一個相同、為了在 Google Maps 上標記自己經緯座標的屬性 location。
接下來來建立 Map.ts,在 Map.ts 中,我們會使用前面引入的 Google Maps Library
在昨天引入 Google Maps 的 Type definition file 之後,現在我們可以直接地在檔案中使用 google,滑鼠移到上面就可以看見 namespace google

這時按 ctrl 鍵點下去或是按 F12,就會跳轉到我們引入的 Google Maps JavaScript SDK Type definition file @types/google.maps/index.d.ts
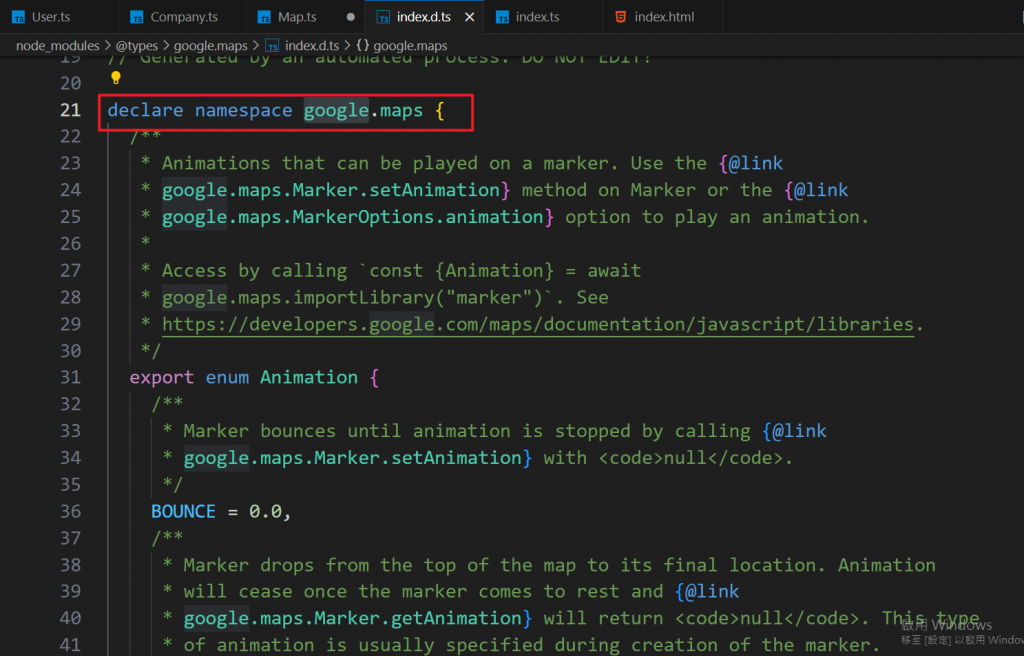
這個文件除了給 TypeScript 之外,也是我們使用這個 Library 的一個說明書
上圖 21 行的地方,就是在告訴 TypeScript 我們現在有個全域變數叫做 google,這個變數有個屬性 maps,在這個 maps 屬性上有一大堆其他不同的屬性。
這時我們可以下 ctrl + P => >fold level 2,意思是把程式碼兩層以上的都摺疊起來
現在比較清楚的看到 google.maps 上的各式各樣的屬性
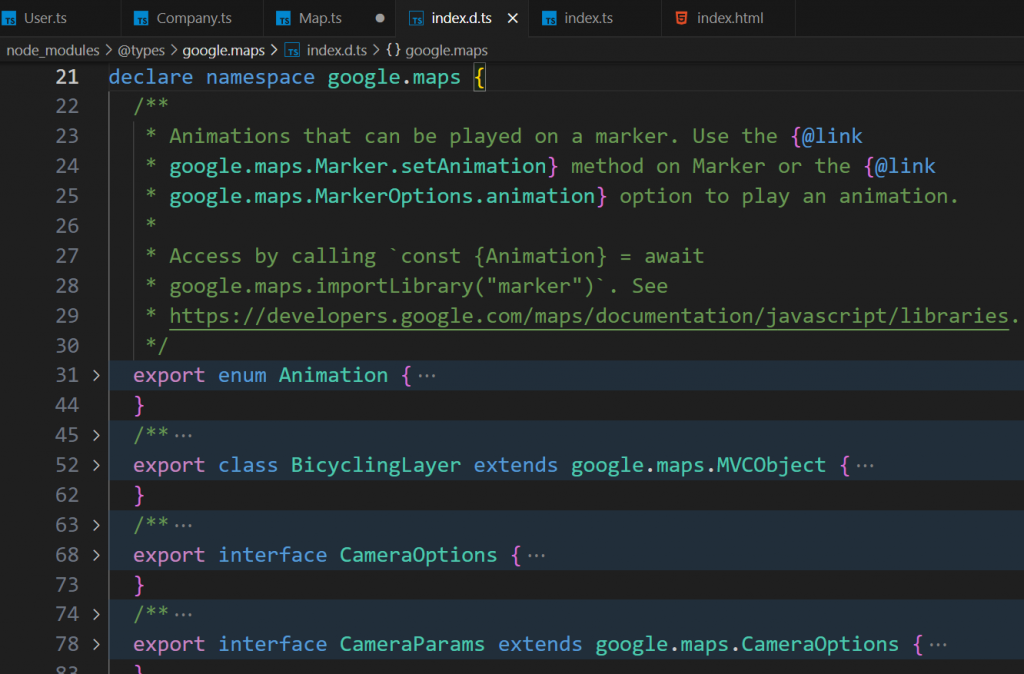
這邊我們主要要用到功能是建立一個地圖顯示在瀏覽器上,我們會需要其中的 Map 屬性,可以看到 Map 是一個 class,我們可以創建這個類別的實例,用來放在瀏覽器上顯示地圖
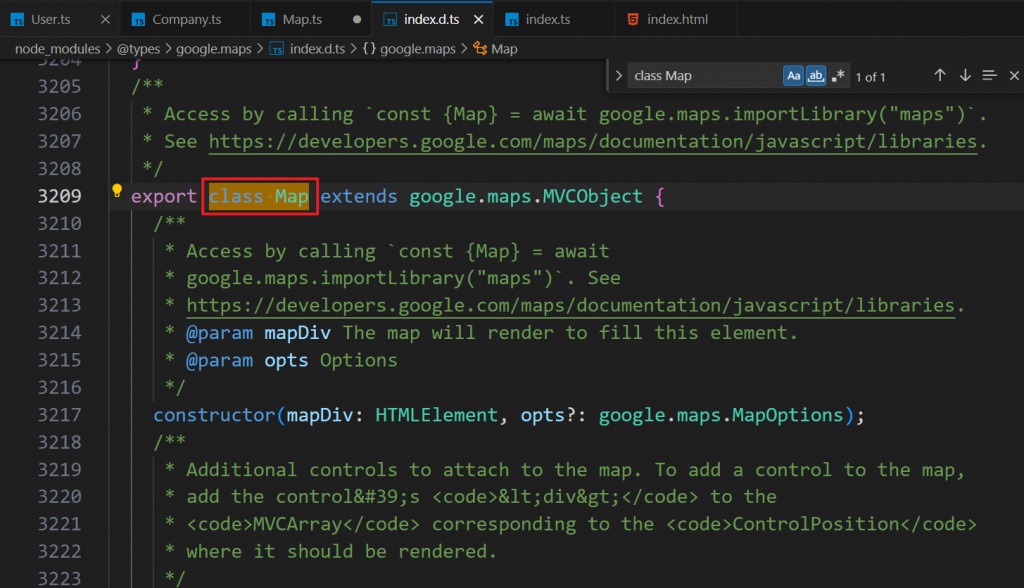
這邊可以看一下文件中的說明該如何使用 class Map
前面有提到使用 class 的時候,會自動調用 constructor() 並且需要傳入必要的初始化參數,這邊文件就有寫到需要傳入兩個參數:一個是 mapDiv 參數,並且它型別是 HTMLELement;一個是 opts 參數,型別為 MapOptions

文件上的意思就是說我們要創建 class Map 的實例的話,我們就需要傳入一個 type HTMLELement 的參數
意思其實就是要在瀏覽器中呈現地圖的位置
而第二個參數
opts?: google.maps.MapOptions,參數後面有個?就代表它是可選屬性
我們先來在 index.ts 檔案中創建 class Map 實例試試
new google.maps.Map()
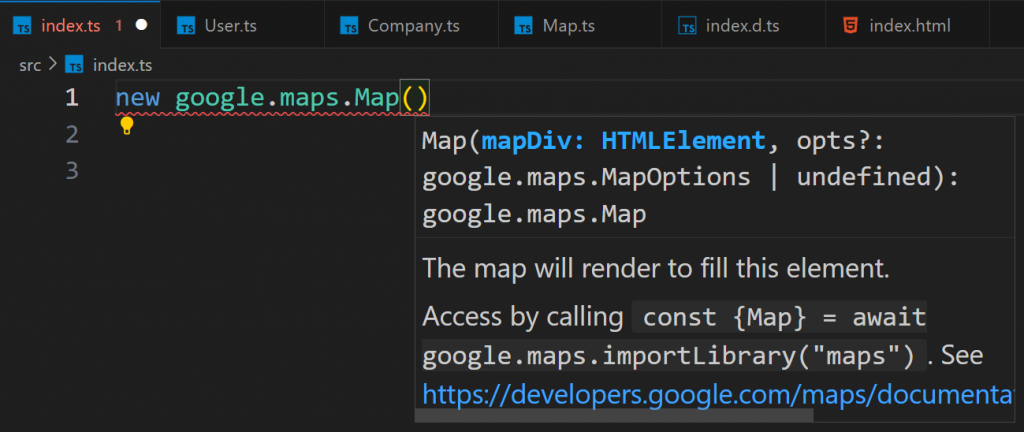
可以看到 TypeScript 有提醒我們如同 Type definition file 所寫的要傳入 mapDiv: HTMLElement 參數的提示
// index.html
<html>
<body>
  <div id="map" style="height: 100%;"></div>
  <script src="https://maps.googleapis.com/maps/api/js?key=<yourAPIKey>"></script>
  <script src="./src/index.ts"></script>
</body>
</html>
// index.ts
new google.maps.Map(document.getElementById("map"));
這時會發現報錯
意思是第一個參數只能接受 HTMLElement type 的參數,不能接受 HTMLElement | null type 的參數,這也是剛學習 TypeScript 時常常讓我沮喪的地方,檢查得太仔細了...

我們可以先用應急的方式處理,後面加上 as HTMLElement
這是 TypeScript 的型別斷言,意思是強制告訴 TypeScript 這個參數就會是這個 type
// index.ts
new google.maps.Map(document.getElementById("map") as HTMLElement);
接下來要傳入第二個參數 google.maps.MapOptions

一樣按 F12 之後可以看到定義 MapOptions interface 的地方
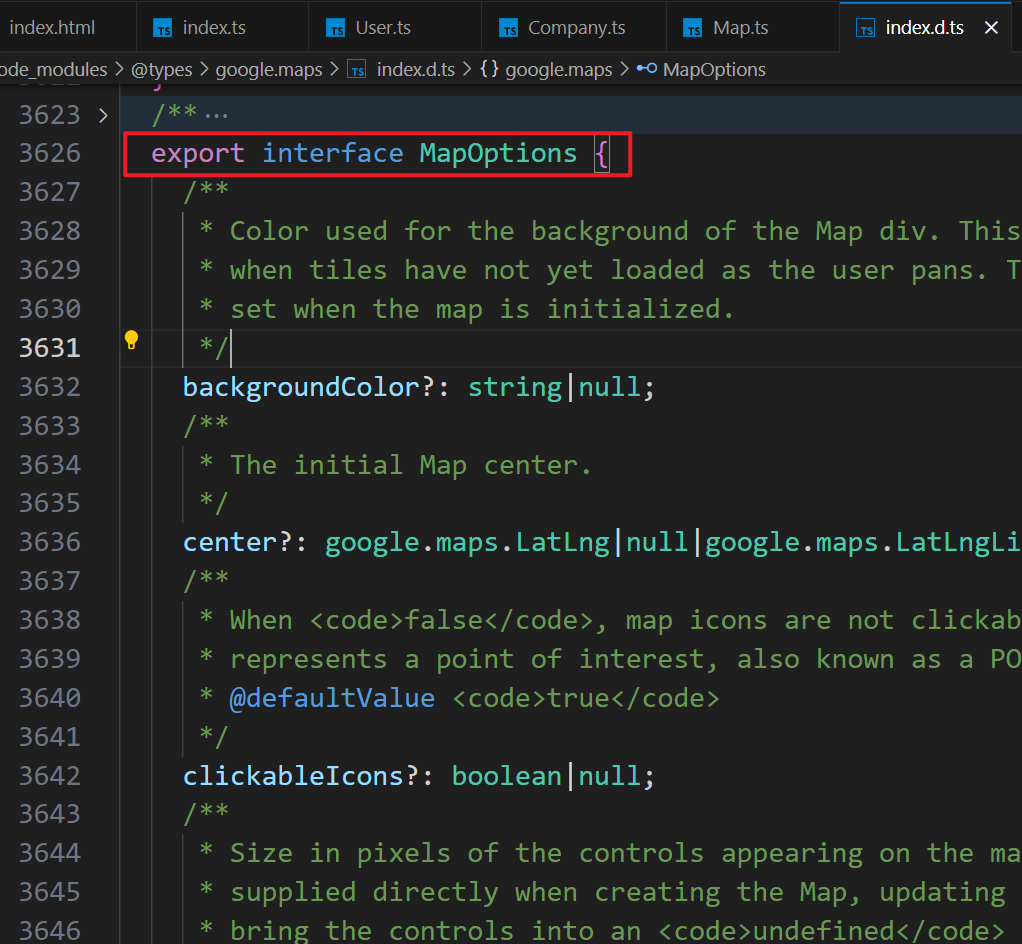
,這個參數其實就是地圖的各種屬性,專案中會需要的是 zoom 和 center 屬性
zoom 代表縮放倍率

center 代表中心位置,可以傳入 interface LatLngLiteral 的型別,再對 LatLngLiteral 按 F12 檢視定義,可以看到是由經緯度 lat, lng 組成
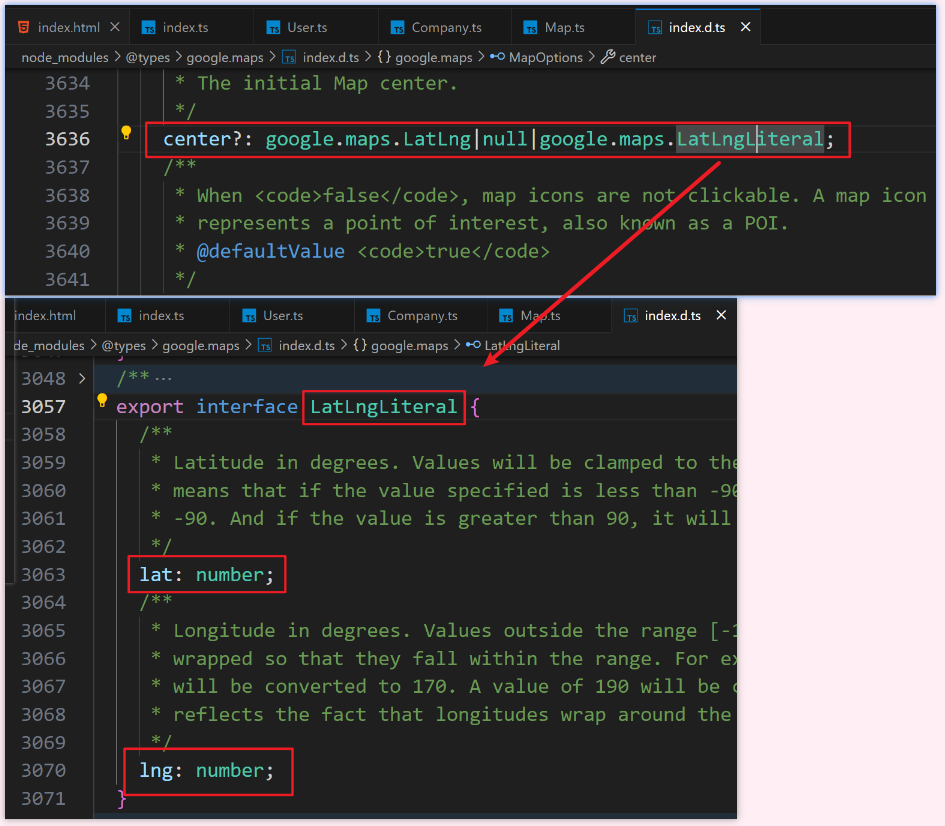
再將我們要建立的實體 class Map 依照文件 Type definition file 設定的參數,會如下程式碼:
// index.ts
new google.maps.Map(document.getElementById("map") as HTMLElement, {
  zoom: 1,
  center: {
    lat: 0,
    lng: 0,
  },
});
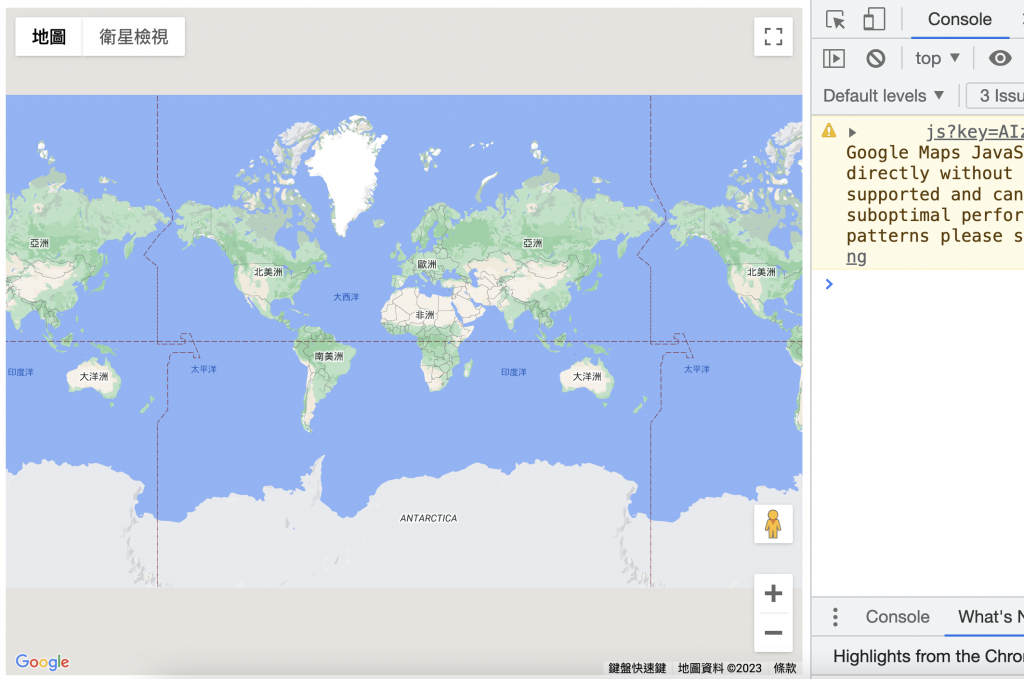
再執行 percel index.html 可以看到 googel maps 出現在瀏覽器上了
以上是今天的內容,明天會把 google maps 放進 Map.ts 裡面,並且在 index.ts 引入三個主要 class
