現在我們對於 Notifee 如何新增、修改、刪除本地端推播通知,已經有了初步認識。不過實務上不太可能會設計按鈕,按下去立刻啟動推播的。就讓我們實際製作一個定時推播功能,認識更多 Notifee 強大的功能吧!
假設今天要製作一個喝水 App ,在用戶按下「預約提醒」後,每半小時會發送一個推播提醒「喝水囉」。
先複習一下上節介紹的技術。完成後只要按下「預約提醒」,就會立刻收到推播訊息:
function Screen() {
async function onDisplayNotification() {
await notifee.requestPermission();
const channelId = await notifee.createChannel({
id: 'default',
name: 'Default Channel',
});
await notifee.displayNotification({
id: 'default',
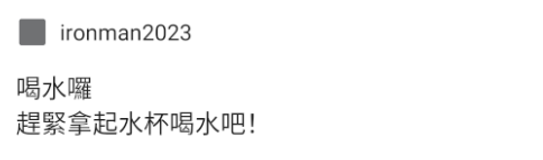
title: '喝水囉',
body: '趕緊拿起水杯喝水吧!',
android: {
channelId,
pressAction: {
id: 'default',
},
},
});
}
return (
<View style={styles.list}>
<Text>半小時喝水</Text>
<Button title="預約提醒" onPress={() => onDisplayNotification()} />
</View>
);
}
const styles = StyleSheet.create({
list: {
flexDirection: 'row',
justifyContent: 'space-between',
alignItems: 'center',
padding: 15,
},
});
但若要預約特定時間送出推播,需要改成用 Notifee 提供的 Triggers 。在呼叫 Trigger 之前,一樣須確保 channel 已建立。我們可以在 useEffect 中建立相關設定。
function Screen() {
  const [channelId, setChannelId] = useState();

  useEffect(() => {
    const createNotification = async () => {
      await notifee.requestPermission();

      const id = await notifee.createChannel({
        id: 'default',
        name: 'Default Channel',
      });
      setChannelId(id);
    };
    createNotification();
  }, []);
}
接著建立 onCreateTriggerNotification函式。指定收到時間的方式是提供他指定時間的 timestamp ,且該時段須為未來的時間。為方便開發者閱讀,可以透過 new Date 與 setHours 、 setMinutes 設定。設好 trigger 後即可以 createTriggerNotification 來指定屆時要傳送的標題與內文,並記得綁定剛建立過的 channel 。
import notifee, {TriggerType} from '@notifee/react-native';

async function onCreateTriggerNotification() {
  const date = new Date(Date.now());
  date.setHours(16);
  date.setMinutes(48);

  const trigger = {
    type: TriggerType.TIMESTAMP,
    timestamp: date.getTime(),
  };

  // Create a trigger notification
  await notifee.createTriggerNotification(
    {
      title: '喝水囉',
      body: '該喝水囉',
      android: {
        channelId,
      },
    },
    trigger,
  );
}
如此一來,就會在 16:48 分收到這則訊息了。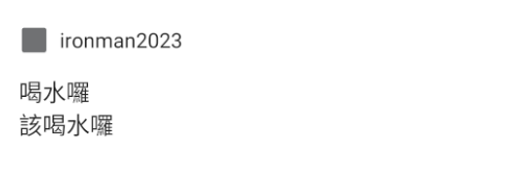
若要進一步達成每半小時發送提醒的功能,則要將 trigger 的 type 改為 INTERVAL ,設定 30 並將 TimeUnit 設為「分鐘」:
import notifee, {TriggerType, TimeUnit} from '@notifee/react-native';

function Screen() {
  … 省略
  async function onCreateTriggerNotification() {
    const trigger = {
      type: TriggerType.INTERVAL,
      interval: 30,
      timeUnit: TimeUnit.MINUTES,
    };
在製作 App 推播時,除了要測試雙平台是否都能順利收到訊息,也要考量 App 的三種狀態:開啟( Foreground )、背景運行( Background )與完全關閉( killed )。
Notifee 提供 onForegroundEvent 和 onBackgroundEvent 兩種監聽事件,並能透過參數 type 和 detail ,判斷用戶進行點擊推播等行為,讓開發者能針對不同狀況控制畫面與行為。
從官方所提供的範例能看到,利用傳入的 type 和 EventType 比對,可以進行後續不一樣的動作。例如,當用戶點擊推播,我們就用 navigation 把它導到特定頁面等等。
import notifee, {EventType} from '@notifee/react-native';

useEffect(() => {
  return notifee.onForegroundEvent(({type, detail}) => {
    switch (type) {
      case EventType.DISMISSED:
        console.log('User dismissed notification', detail.notification);
        break;
      case EventType.PRESS:
        console.log('User pressed notification', detail.notification);
        break;
    }
  });
}, []);
而 detail 則是一個物件,包著 notification 和 pressAction 兩個物件。其中 notification 為推播相關資訊,如 channel 名稱、訊息標題和內文等。要注意的是 Android 和 iOS 呈現資料不太一樣。

pressAction 紀錄點擊的方式,例如按下已閱讀的按鈕等,若未特別設定都會顯示 default 。
import notifee from '@notifee/react-native';

notifee.onBackgroundEvent(async ({type, detail}) => {
  console.log('do something');
});
AppRegistry.registerComponent(appName, () => App);