React Native Firebase 是官方所推薦的函式庫,透過它開發者能輕鬆在 Firebase 設定推播訊息並以 Notifee 傳送。本節中我們會專注在建立環境。
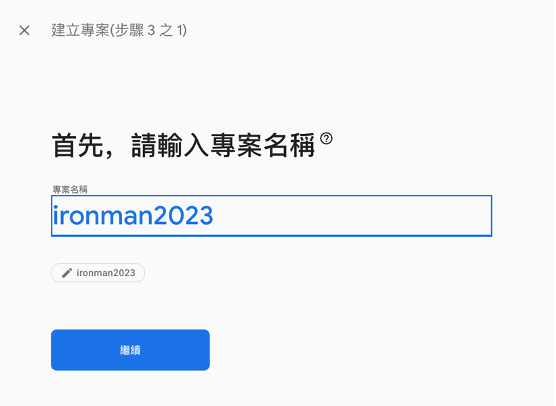
先到 Firebase 創建一個專案。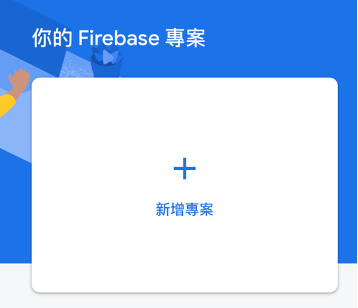
依照需求可開啟 GA ,這裡我們用不到,所以先關閉。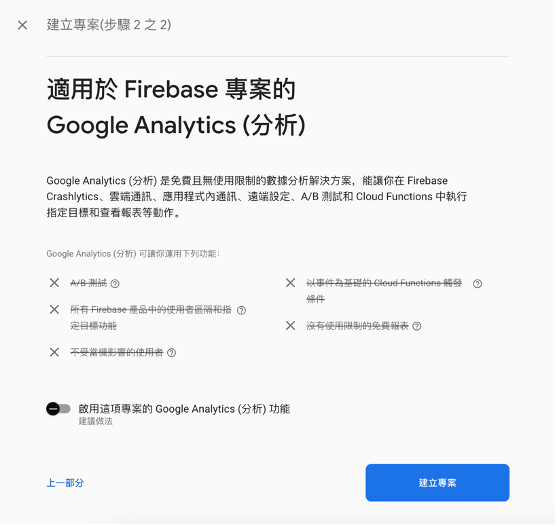
開好專案後,在最上方點擊 iOS 和 Android 圖示,依照步驟進行註冊。
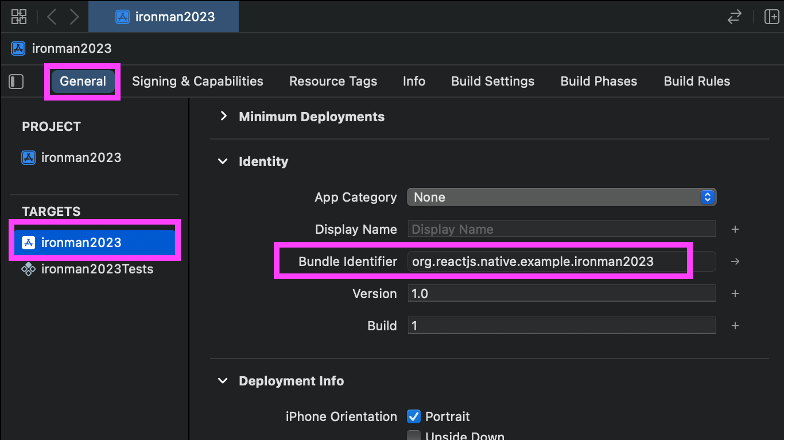
註冊App ,需填寫 ID ,可以在 Xcode / General / Identity 找到。
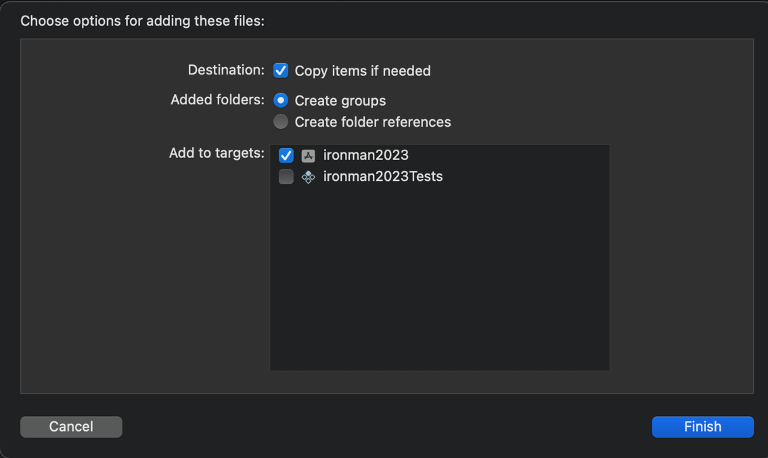
下載 GoogleService-Info.plist ,並放到 Xcode 根目錄。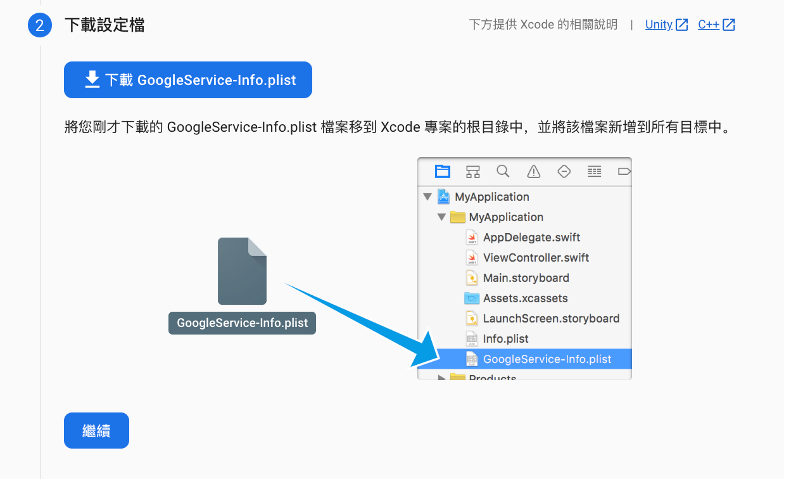

新增 Firebase SDK ,官方提供 Swift Package Manager 、 CocoaPods 等方法能安裝,這裡以 CocoaPods 安裝。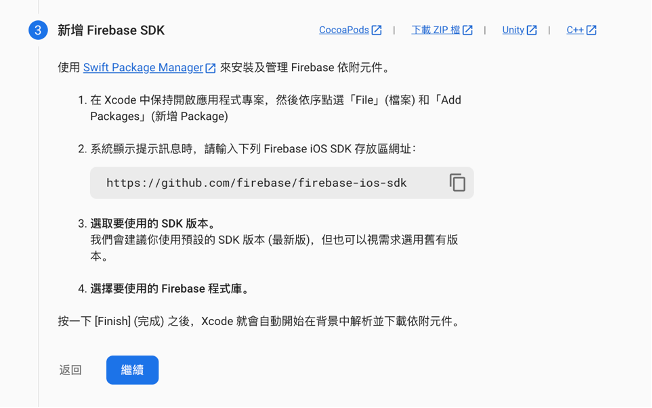
打開 ios / Podfile , Firebase 的教學文件有點缺漏,總之請在 target ‘專案名稱Tests’ end 後面加上:
target 'ironman2023Tests' do
(省略)
end

pod 'FirebaseAuth', :modular_headers => true
pod 'FirebaseFirestore', :modular_headers => true
pod 'GoogleUtilities', :modular_headers => true
好了之後在終端機 cd ios 並做 pod install 。
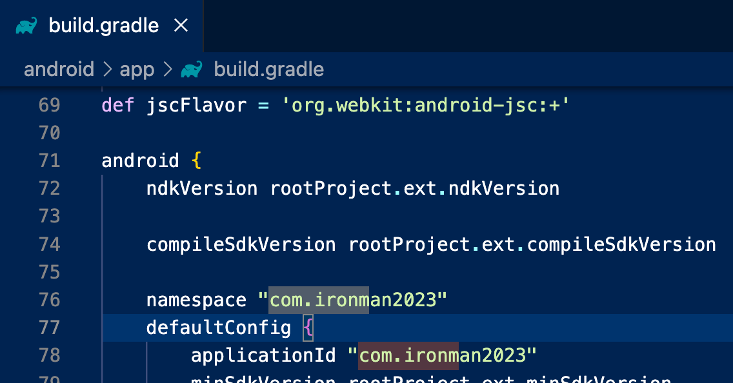
註冊 App ,需填寫 ID ,可以在 android / app / build.gradle 找到。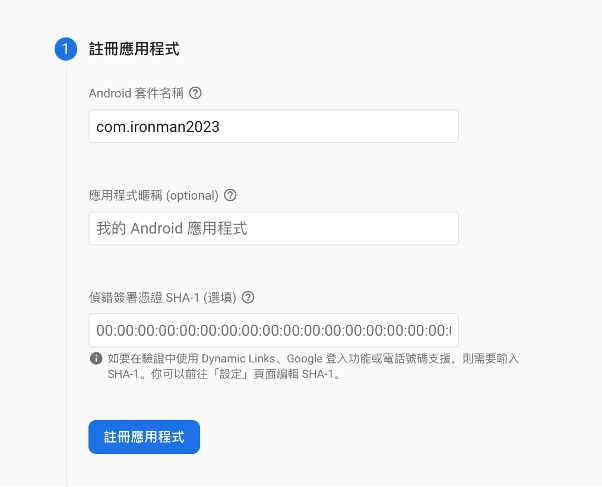
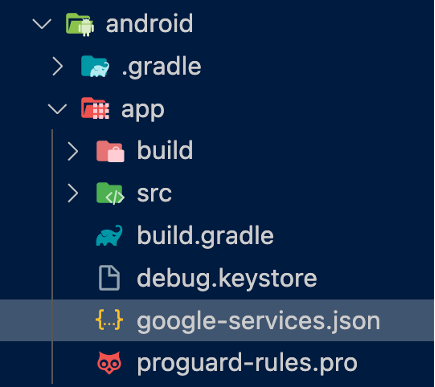
下載 GoogleService-Info.plist ,並放到 Xcode 根目錄。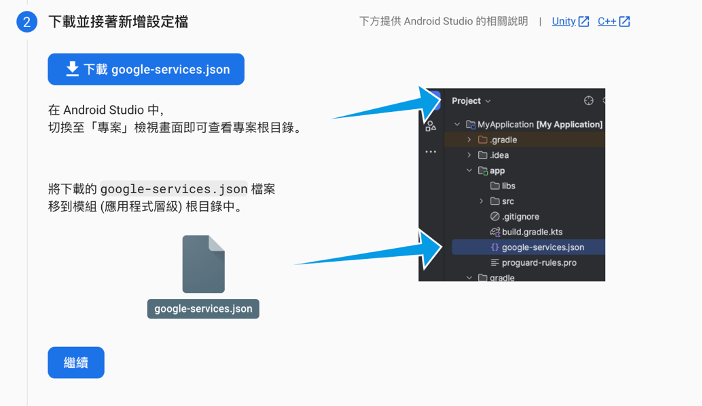
新增 Firebase SDK 。在 android / build.gradle 裡, buildscript 的 dependencies 加上:
dependencies {
  classpath("com.google.gms:google-services:4.3.15")
}
並在 android / app / build.gradle 最前面加上:
apply plugin: "com.android.application"
apply plugin: 'com.google.gms.google-services'  // 加這句
iOS 和 Android 都設定好後,要記得重新跑模擬器才能套用到設定。並下載 React Native Firebase:
npm i @react-native-firebase/app
npm i @react-native-firebase/messaging
React Native Firebase 提供一些 API 幫助開發者註冊、處理用戶點擊行為等。這裡建立一個 RemoteNotification 當練習用的範例元件:
import React, from 'react';
import {View, Text} from 'react-native';
import messaging from '@react-native-firebase/messaging';

function RemoteNotification() {
  return (
    <View>
      <Text>遠端推播</Text>
    </View>
  );
}

export default RemoteNotification;
function RemoteNotification() {
  useEffect(() => {
    // iOS permission
   async function requestPermission() {
     const authStatus = await messaging().requestPermission();
     const enabled =
        authStatus === messaging.AuthorizationStatus.AUTHORIZED ||
        authStatus === messaging.AuthorizationStatus.PROVISIONAL;
      if (enabled) {
        // 執行後面的事
      }
    }
    requestPermission();
  }, []);
開發者需要用 FCM token 才能夠發送推播,而 token 可以透過 getToken 取得。
const fcmToken = await messaging().getToken();
取得 token 後,可以用前幾節教過的 AsyncStorage 儲存下來。下次可以直接取出來使用:
async function getFcmToken() {
  let checkToken = await AsyncStorage.getItem('fcmToken');
  if (!checkToken) {
    try {
      const fcmToken = await messaging().getToken();
      if (!!fcmToken) {
        await AsyncStorage.setItem('fcmToken', fcmToken);
      }
    } catch (error) {
      console.log('error in fcmtoken', error);
    }
  }
}
getToken 需要在 iOS requestPermission 之後。
async function requestPermission() {
  const authStatus = await messaging().requestPermission();
  const enabled =
    authStatus === messaging.AuthorizationStatus.AUTHORIZED ||
    authStatus === messaging.AuthorizationStatus.PROVISIONAL;
  if (enabled) {
    getFcmToken();
  }
}
React Native Firebase 提供兩種方法能註冊遠端推播, onMessage 負責 App 運行中的狀態, setBackgroundMessageHandler 負責 App 完全關閉( killed )的狀態,兩者都必須使用 async function 或返回 Promise 的函式做參數。同時如同 notifee 的 onBackgroundEvent , setBackgroundMessageHandler 要在 index.js 註冊。
// index.js
import messaging from '@react-native-firebase/messaging';
messaging().setBackgroundMessageHandler(async remoteMessage => {
  // do something
});

// RemoteNotification.js
function RemoteNotification() {
  useEffect(() => {
    const unsubscribe = messaging().onMessage(async remoteMessage => {
      const notification = remoteMessage.notification;
// do something
    });
    return unsubscribe;
  }, []);
在用戶點擊推播後,預設會直接開啟 App 。若我們要進一步控制,讓點擊後能做其他行為, React Native Firebase 也提供 getInitialNotification 和 onNotificationOpenedApp 兩種 API 。
當 App 在 killed 狀態被打開時,會觸發 getInitialNotification ;若 App 在背景運行時被打開,則觸發 onNotificationOpened 。
useEffect(() => {
  messaging().onNotificationOpenedApp(remoteMessage => {
    // do something
  });
  messaging()
    .getInitialNotification()
    .then(remoteMessage => {
      // 只有點擊推播開啟 app 時會 return 物件,否則 return null
      if (remoteMessage) {
        // do something
      }
    });
}, []);