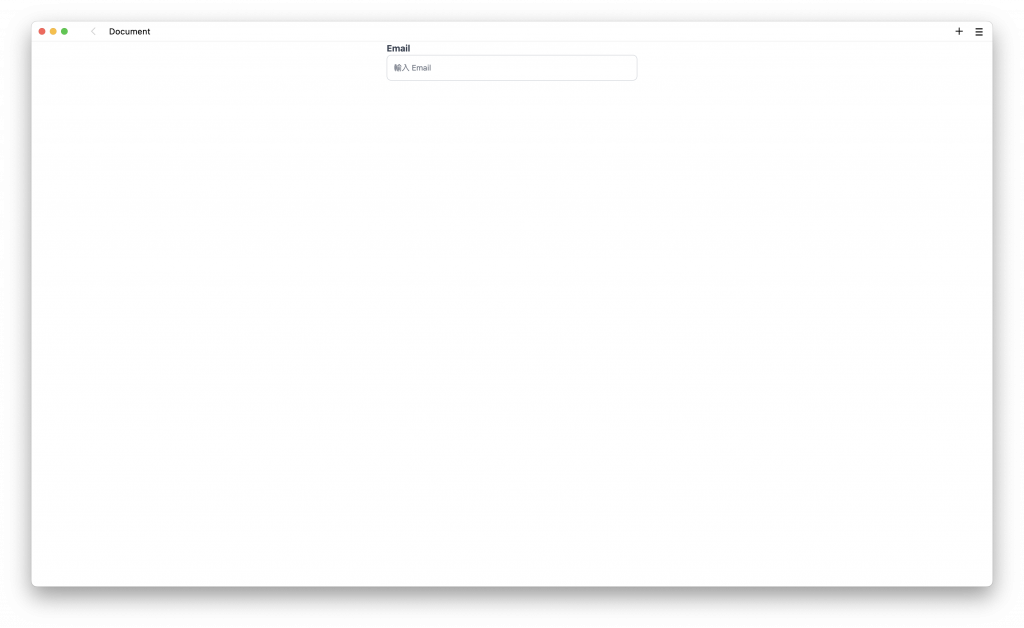
在上一個單元最終完成的表單輸入欄位樣式為:
<input class="w-full rounded-lg border border-gray-300 bg-white px-3 py-3 text-sm font-normal text-gray-700 transition-all placeholder:text-gray-500 focus:border-fuchsia-300 focus:outline-none" type="text" placeholder="輸入 Email" />
會呈現這個樣子:

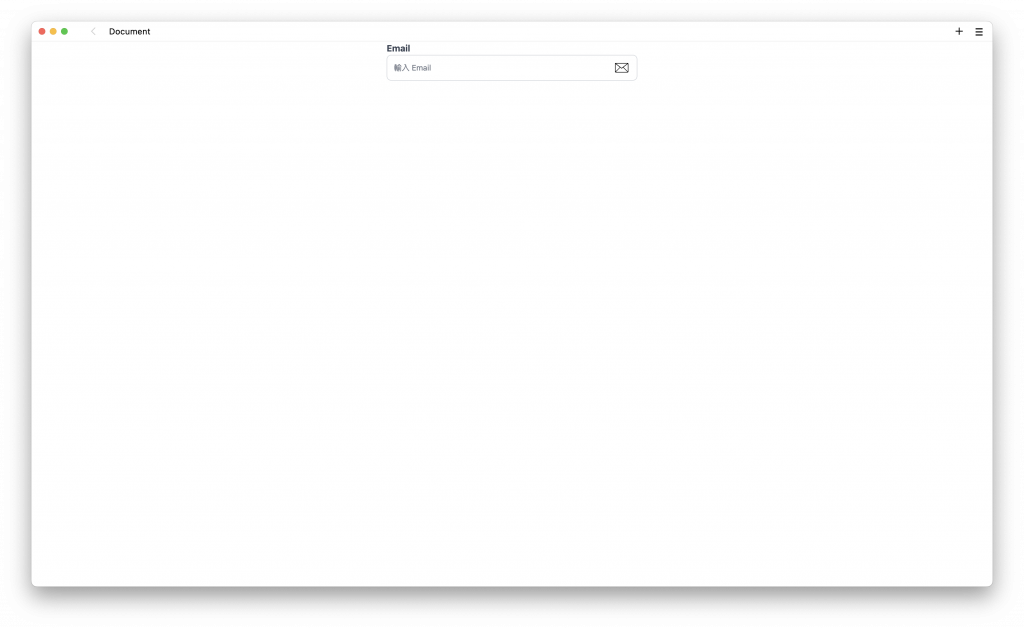
使用這樣的樣式加以延伸,想要加入一個 email 的 icon 顯示。
在這裡必須要使用 SVG icon 的形式,可以先到這裡:https://www.iconfinder.com/search?q=email
找到想要使用的 email icon,然後下載 SVG code,例如這是我下載的 SVG code:
<?xml version="1.0" ?><svg viewBox="0 0 48 48" xmlns="http://www.w3.org/2000/svg"><title/><g data-name="8-Email" id="_8-Email"><path d="M45,7H3a3,3,0,0,0-3,3V38a3,3,0,0,0,3,3H45a3,3,0,0,0,3-3V10A3,3,0,0,0,45,7Zm-.64,2L24,24.74,3.64,9ZM2,37.59V10.26L17.41,22.17ZM3.41,39,19,23.41l4.38,3.39a1,1,0,0,0,1.22,0L29,23.41,44.59,39ZM46,37.59,30.59,22.17,46,10.26Z"/></g></svg>
接下來在表單外層新增一個 div 來包覆 input 與 SVG Code:
<div class="relative">
  <input class="w-full rounded-lg border border-gray-300 bg-white px-3 py-3 text-sm font-normal text-gray-700 transition-all placeholder:text-gray-500 focus:border-fuchsia-300 focus:outline-none" type="text" placeholder="輸入 Email" />

  <span class="absolute inset-y-0 right-4 inline-flex items-center">
    <svg viewBox="0 0 48 48" xmlns="http://www.w3.org/2000/svg" class="h-6 w-6 text-gray-400 "><title/><g data-name="8-Email" id="_8-Email"><path d="M45,7H3a3,3,0,0,0-3,3V38a3,3,0,0,0,3,3H45a3,3,0,0,0,3-3V10A3,3,0,0,0,45,7Zm-.64,2L24,24.74,3.64,9ZM2,37.59V10.26L17.41,22.17ZM3.41,39,19,23.41l4.38,3.39a1,1,0,0,0,1.22,0L29,23.41,44.59,39ZM46,37.59,30.59,22.17,46,10.26Z"/></g>        </svg>
 </span>
</div>
在這裡使用了 relative 與 absolute,因為 icon 要貼在 input 的上面,所以使用相對位置來呈現。使用 right-4 來讓 icon 維持在貼近右邊 4 的位置,最後使用 inset-y-0、inline-flex、items-center 讓 icon 保持垂直置中。
最後加入 form 標籤:
<form action="" class="mx-auto max-w-md">
  <label class="mb-2 font-bold text-gray-700">Email</label>

  <div class="relative">
    <input class="w-full rounded-lg border border-gray-300 bg-white px-3 py-3 text-sm font-normal text-gray-700 transition-all placeholder:text-gray-500 focus:border-fuchsia-300 focus:outline-none" type="text" placeholder="輸入 Email" />

    <span class="absolute inset-y-0 right-4 inline-flex items-center">
      <svg viewBox="0 0 48 48" xmlns="http://www.w3.org/2000/svg" class="h-6 w-6 text-gray-400 "><title/><g data-name="8-Email" id="_8-Email"><path d="M45,7H3a3,3,0,0,0-3,3V38a3,3,0,0,0,3,3H45a3,3,0,0,0,3-3V10A3,3,0,0,0,45,7Zm-.64,2L24,24.74,3.64,9ZM2,37.59V10.26L17.41,22.17ZM3.41,39,19,23.41l4.38,3.39a1,1,0,0,0,1.22,0L29,23.41,44.59,39ZM46,37.59,30.59,22.17,46,10.26Z"/></g>
      </svg>
    </span>
  </div>
</form>
最終呈現的樣子:

tailwindcss - 從零開始學 - Day17 [完]
