本文同步發佈於毛毛的踩坑人生
終於要正式跨入主題『介面』
想像一下,在電梯、在手扶梯拿著手機盯盤
但打開的 APP,不是各種券商自製的
更不是券商用X竹的公版套一下
而是我們自己每一個文字、圖像、按鈕刻下來的
這種獨特有沒有一種莫名讓人優越感~
後續有關介面的文章會稍微詳細一點
之前曾經寫過一篇在 macOS 上的安裝教學
雖然那時還在 flutter v2.x,但到現在的 flutter 3.x
我自己實測,改一下版號,是沒有差別的
如果按照之前文章,或者你已經有安裝好
至少要跑跑看 flutter doctor -v
能夠出現以下,就可以進入開發環節
目前筆者是用最新的 v3.13.5 跟最新的 Xcode 15.0
$flutter doctor -v
[✓] Flutter (Channel stable, 3.13.5, on macOS 14.0 23A344 darwin-arm64, locale en-TW)
    • Flutter version 3.13.5 on channel stable at /Users/timhsu/sdk_tools/flutter/flutter
    • Upstream repository https://github.com/flutter/flutter.git
    • Framework revision 12fccda598 (5 days ago), 2023-09-19 13:56:11 -0700
    • Engine revision bd986c5ed2
    • Dart version 3.1.2
    • DevTools version 2.25.0

[✓] Android toolchain - develop for Android devices (Android SDK version 33.0.2)
    • Android SDK at /Users/timhsu/Library/Android/sdk
    • Platform android-33, build-tools 33.0.2
    • Java binary at: /Applications/Android Studio.app/Contents/jbr/Contents/Home/bin/java
    • Java version OpenJDK Runtime Environment (build 17.0.6+0-17.0.6b829.9-10027231)
    • All Android licenses accepted.

[✓] Xcode - develop for iOS and macOS (Xcode 15.0)
    • Xcode at /Applications/Xcode.app/Contents/Developer
    • Build 15A240d
    • CocoaPods version 1.12.1

[✓] Chrome - develop for the web
    • Chrome at /Applications/Google Chrome.app/Contents/MacOS/Google Chrome

[✓] Android Studio (version 2022.3)
    • Android Studio at /Applications/Android Studio.app/Contents
    • Flutter plugin can be installed from:
      🔨 https://plugins.jetbrains.com/plugin/9212-flutter
    • Dart plugin can be installed from:
      🔨 https://plugins.jetbrains.com/plugin/6351-dart
    • Java version OpenJDK Runtime Environment (build 17.0.6+0-17.0.6b829.9-10027231)

[✓] VS Code (version 1.82.2)
    • VS Code at /Applications/Visual Studio Code.app/Contents
    • Flutter extension version 3.72.0

[✓] Connected device (2 available)
    • macOS (desktop) • macos  • darwin-arm64   • macOS 14.0 23A344 darwin-arm64
    • Chrome (web)    • chrome • web-javascript • Google Chrome 117.0.5938.88

[✓] Network resources
    • All expected network resources are available.

• No issues found!
# 使用 flutter cli 來建立
$flutter create --platforms ios,android -e trade_app
Signing iOS app for device deployment using developer identity: "Apple Development: Mao-Chin Hsu (XXXXXXXXXX)"
Creating project trade_app...
Resolving dependencies in trade_app...
Got dependencies in trade_app.
Wrote 73 files.

All done!
You can find general documentation for Flutter at: https://docs.flutter.dev/
Detailed API documentation is available at: https://api.flutter.dev/
If you prefer video documentation, consider: https://www.youtube.com/c/flutterdev

In order to run your empty application, type:

  $ cd trade_app
  $ flutter run

Your empty application code is in trade_app/lib/main.dart.
這邊我先將專案命名為 trade_app
也要注意 Flutter 的專案名稱是遵循 Dart
use
lowercase_with_underscoresfor package names.Package names should be all lowercase, with underscores to separate words,
just_like_this. Use only basic Latin letters and Arabic digits: [a-z0-9_]. Also, make sure the name is a valid Dart identifier – that it doesn’t start with digits and isn’t a reserved word.Dart package 命名規則
因為我已經有訂閱 Apple Developer
所以會看到 Flutter 已經自動把專案內 iOS 的部分帶入我的開發者信息
.
├── README.md
├── analysis_options.yaml
├── android
│   ├── app
│   ├── build.gradle
│   ├── gradle
│   ├── gradle.properties
│   ├── gradlew
│   ├── gradlew.bat
│   ├── local.properties
│   ├── settings.gradle
│   └── trade_app_android.iml
├── ios
│   ├── Flutter
│   ├── Runner
│   ├── Runner.xcodeproj
│   ├── Runner.xcworkspace
│   └── RunnerTests
├── lib
│   └── main.dart
├── pubspec.lock
├── pubspec.yaml
└── trade_app.iml
這邊說明一下剛剛下的創建命令
如果沒有下 --platforms ios,android
這樣專案內就不會出現 windows, linux, macOS 的資料夾
各位也可以視需求要不要加
我自己還是習慣 Flutter 是在行動裝置上的
至於 -e 就是不會出現範例 code,以及一大堆的註解說明
一樣,這看個人,我是覺得每次都要刪一大堆東西很煩
我這邊會先以 iOS 為主
畢竟 Flutter 就是以能夠同一份 Code 做跨平台編譯出名
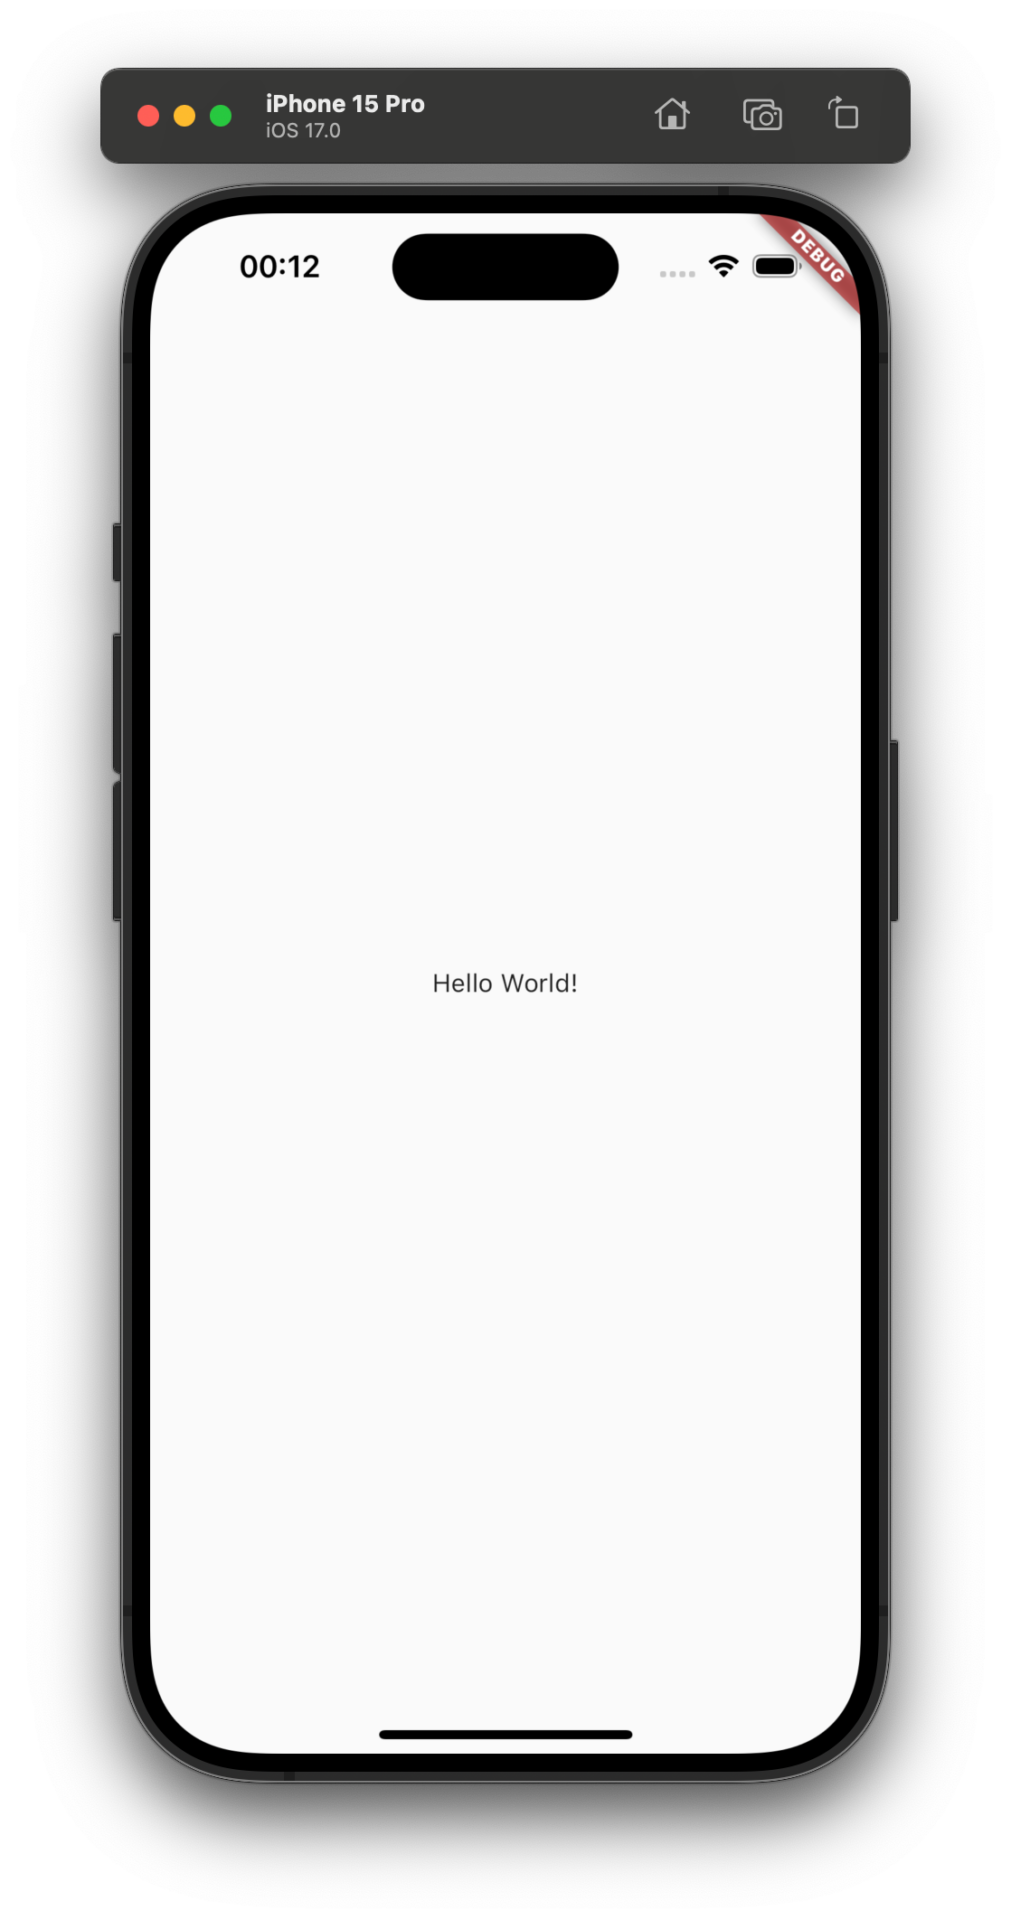
open -a Simulator
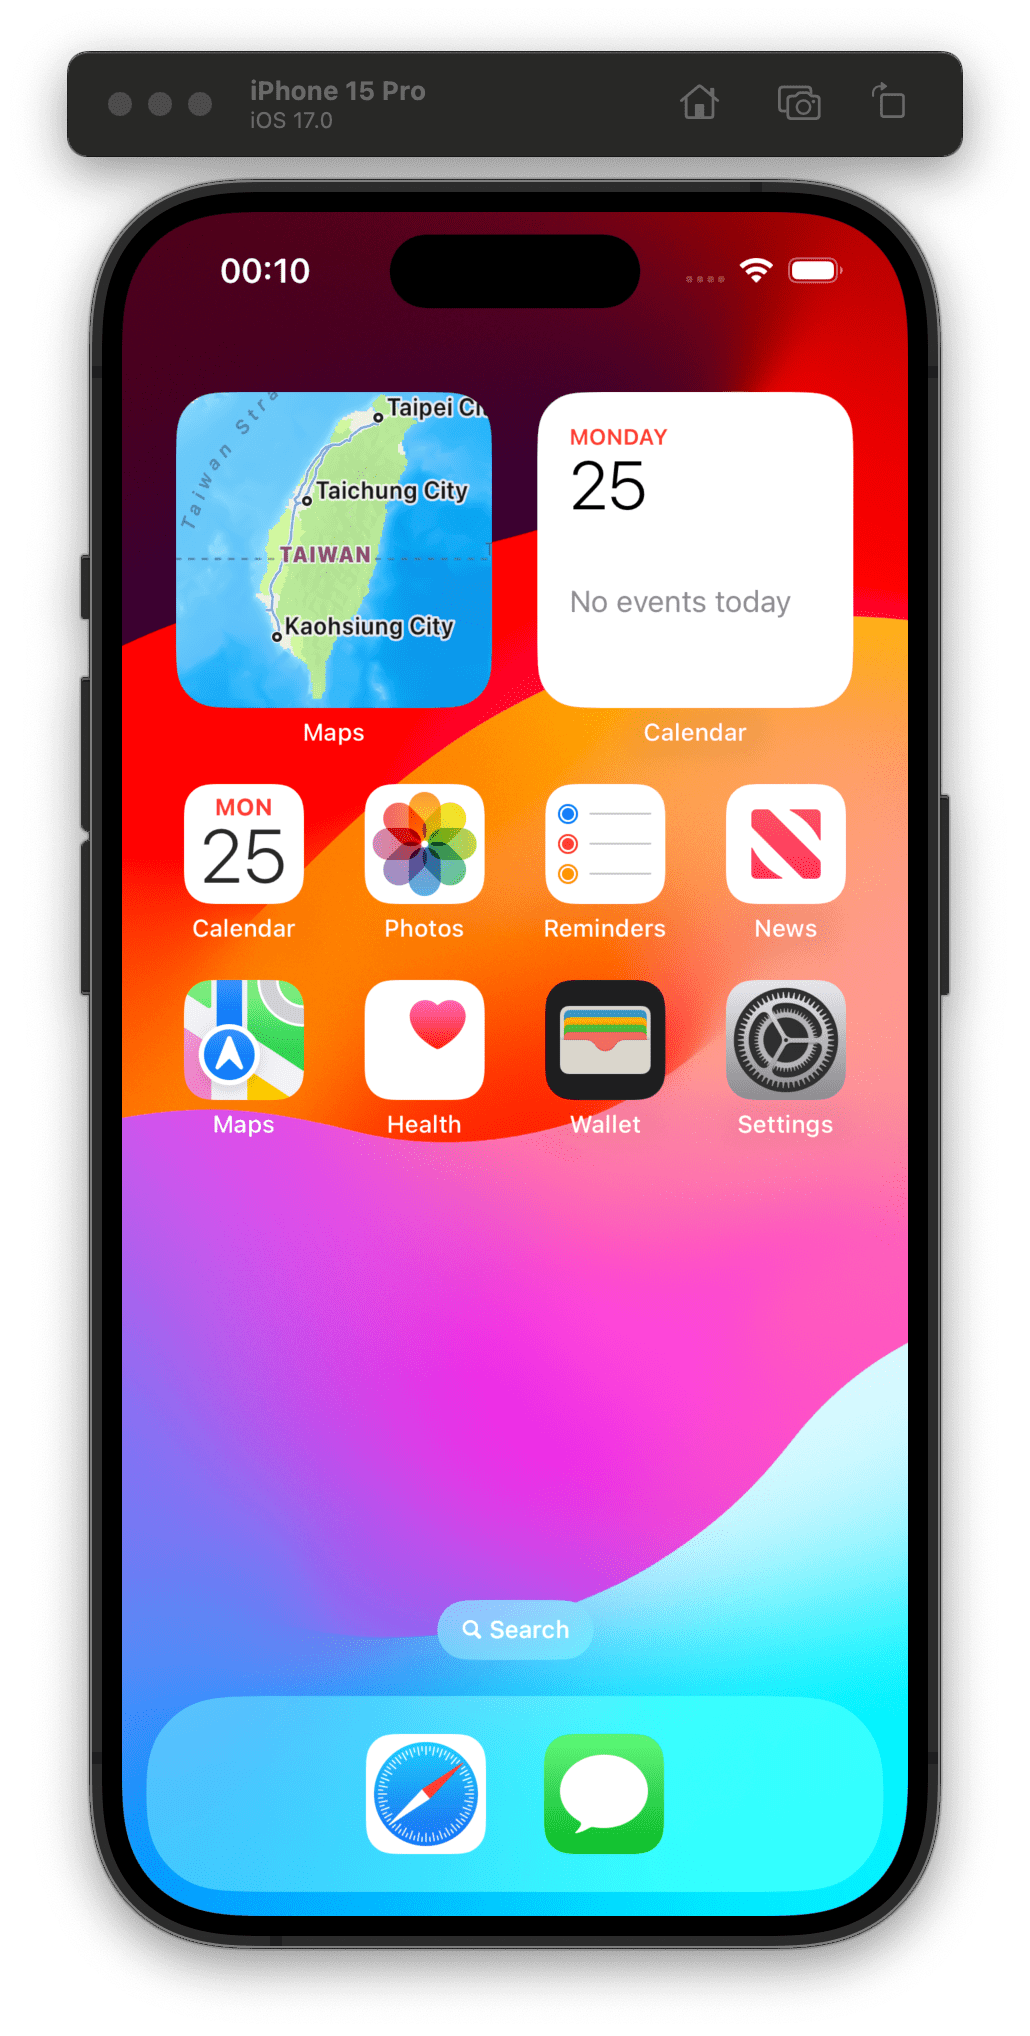
然後就可以在專案資料夾試著先跑起來
應該要是最基本的 Hello World!
這邊可能會比網路上一般教學再進階一些
不從刻畫面開始,而是先把 API 的資料要到
我們上一篇文章是使用 Postman 來 Call
今天要正式上戰場了
要到資料,然後把它顯示出來
先入門一下
把範例 Code 的 Hello World 改成一個呼叫 API 的按鈕
class _MainAppState extends State<MainApp> {
  @override
  Widget build(BuildContext context) {
    return MaterialApp(
      home: Scaffold(
        body: Center(
          child: TextButton(
              onPressed: null,
              style: ButtonStyle(
                backgroundColor: MaterialStateProperty.all(Colors.blue),
                foregroundColor: MaterialStateProperty.all(Colors.white),
              ),
              child: const Text('Call API')),
        ),
      ),
    );
  }
}
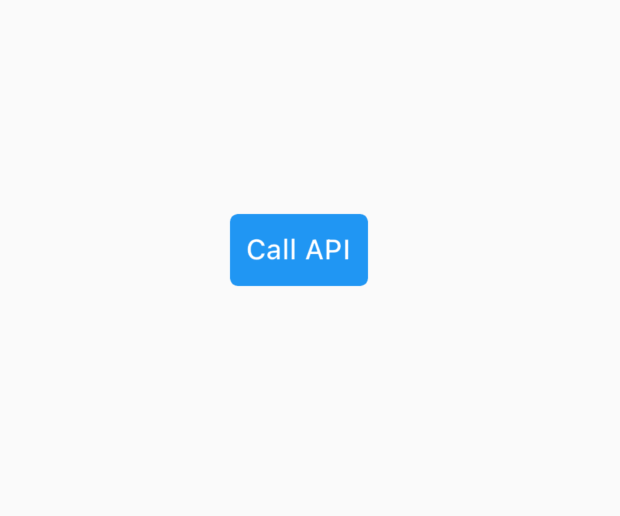
畫面上應該要變成這樣了
應該可以注意到這個按鈕的 onPressed 還是 null
就是按下去沒反應
現在來定義一下
不過先插播一個小工具 JSON to Dart
比如我們在前篇定義好的股票資料長得下面這樣子
{
    "exchange": "OTC",
    "category": "02",
    "code": "1264",
    "name": "德麥",
    "reference": 287,
    "update_date": "2023/09/22",
    "day_trade": "Yes"
}
透過這個工具就可以很輕鬆轉成 Dart
class StockDetail {
  String? exchange;
  String? category;
  String? code;
  String? name;
  int? reference;
  String? updateDate;
  String? dayTrade;

  StockDetail(
      {this.exchange,
      this.category,
      this.code,
      this.name,
      this.reference,
      this.updateDate,
      this.dayTrade});

  StockDetail.fromJson(Map<String, dynamic> json) {
    exchange = json['exchange'];
    category = json['category'];
    code = json['code'];
    name = json['name'];
    reference = json['reference'];
    updateDate = json['update_date'];
    dayTrade = json['day_trade'];
  }

  Map<String, dynamic> toJson() {
    final Map<String, dynamic> data = new Map<String, dynamic>();
    data['exchange'] = this.exchange;
    data['category'] = this.category;
    data['code'] = this.code;
    data['name'] = this.name;
    data['reference'] = this.reference;
    data['update_date'] = this.updateDate;
    data['day_trade'] = this.dayTrade;
    return data;
  }
}
Future<List<StockDetail>> fetchStockDetail() async {
  final stockArr = <StockDetail>[];
  try {
    final response = await http.get(Uri.parse('http://127.0.0.1:8080/basic-data/stock-data'));
    if (response.statusCode == 200) {
      var stockData = jsonDecode(response.body) as Map<String, dynamic>;
      for (final i in stockData['data']['stock']) {
        stockArr.add(StockDetail.fromJson(i as Map<String, dynamic>));
        print(i);
      }
      return stockArr;
    } else {
      return stockArr;
    }
  } on Exception {
    return stockArr;
  }
}
再把剛剛的 onPressed,填入
class _MainAppState extends State<MainApp> {
  @override
  Widget build(BuildContext context) {
    return MaterialApp(
      home: Scaffold(
        body: Center(
          child: TextButton(
              onPressed: fetchStockDetail, // 放在這裡
              style: ButtonStyle(
                backgroundColor: MaterialStateProperty.all(Colors.blue),
                foregroundColor: MaterialStateProperty.all(Colors.white),
              ),
              child: const Text('Call API')),
        ),
      ),
    );
  }
}
應該要看到以下資料透過 debug console 印出來了
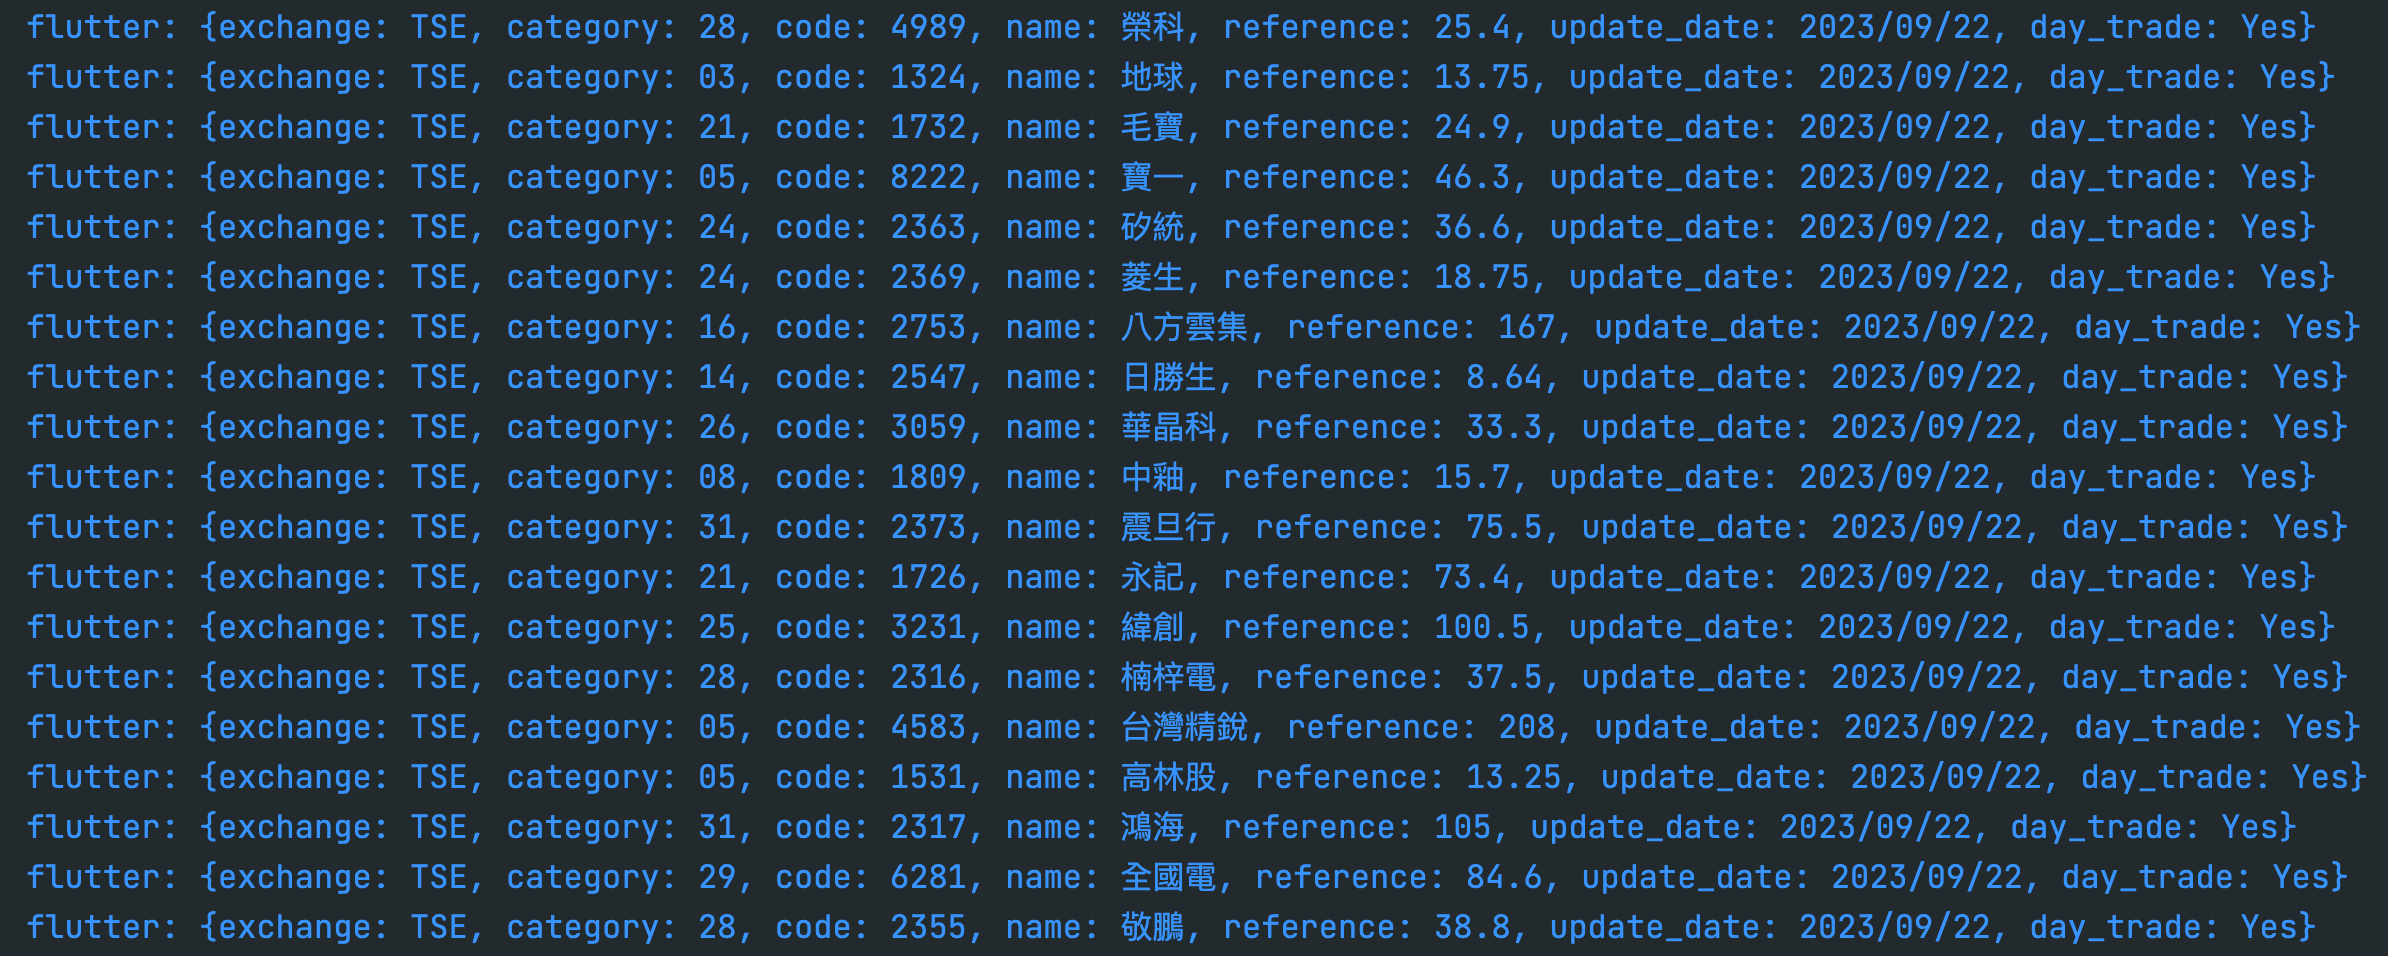
今天先停在這
至少在資料方面,各個程式之間
已經打通,明天就會把這些資料呈現在畫面上


 iThome鐵人賽