今天來安裝一下 Windows Server 2022
未來可以在上面做 AD, RDS 之類的服務
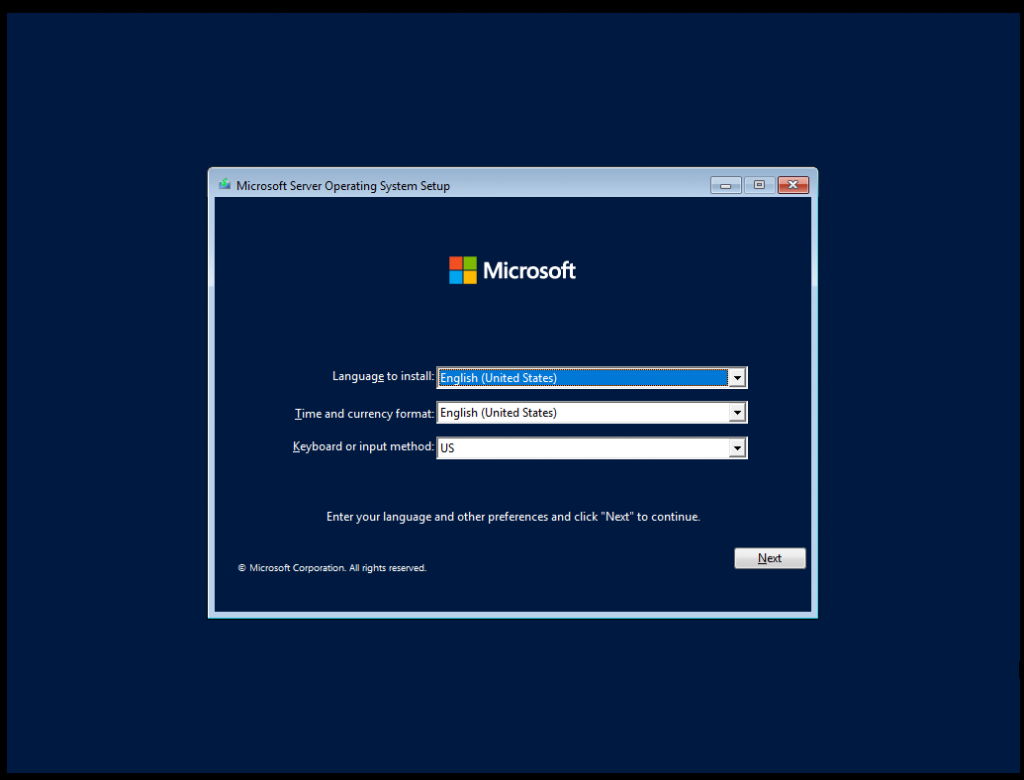
進到安裝畫面後就按下 Next -> Install Now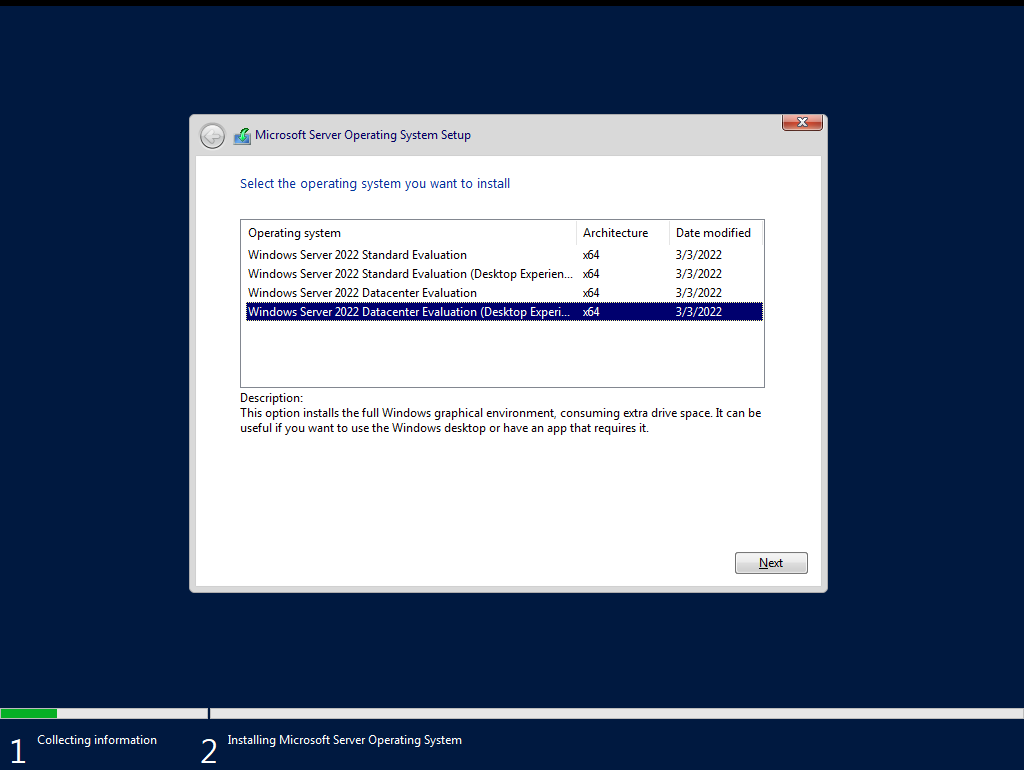
這邊看到有兩個版本配上兩個選項
Standard 和 Datacenter 和選擇有沒有 Desktop Experience
Standard 和 Datacenter 就看自己的授權(license) 是哪一個版本的選擇
但有沒有 Desktop Experience 就要慎重考慮 沒有 GUI 的 Windows 真的很恐怖
這邊我選擇 Standard Desktop Experience 選完後同意條款等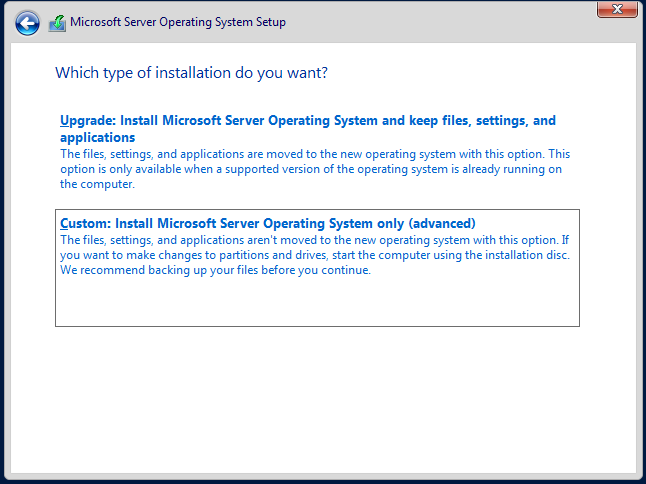
這邊選擇安裝的方式 選擇 Custom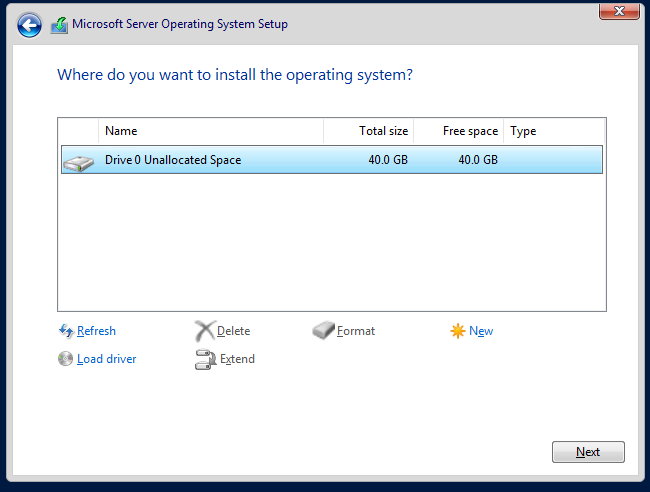
接著這邊可以分隔硬碟 但我只有一個所以就直接下一步讓 Windows Server 自動切了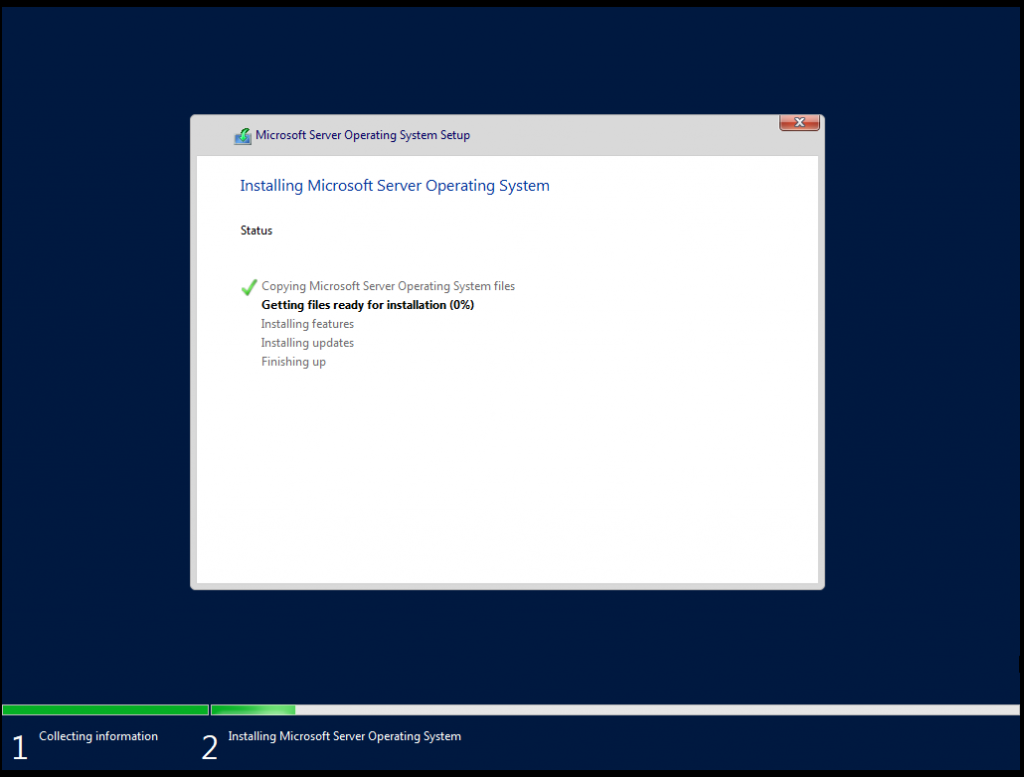
現在慢慢等待 Windows Server 安裝
等到安裝完後會自動重開 重開後應該會出現這個畫面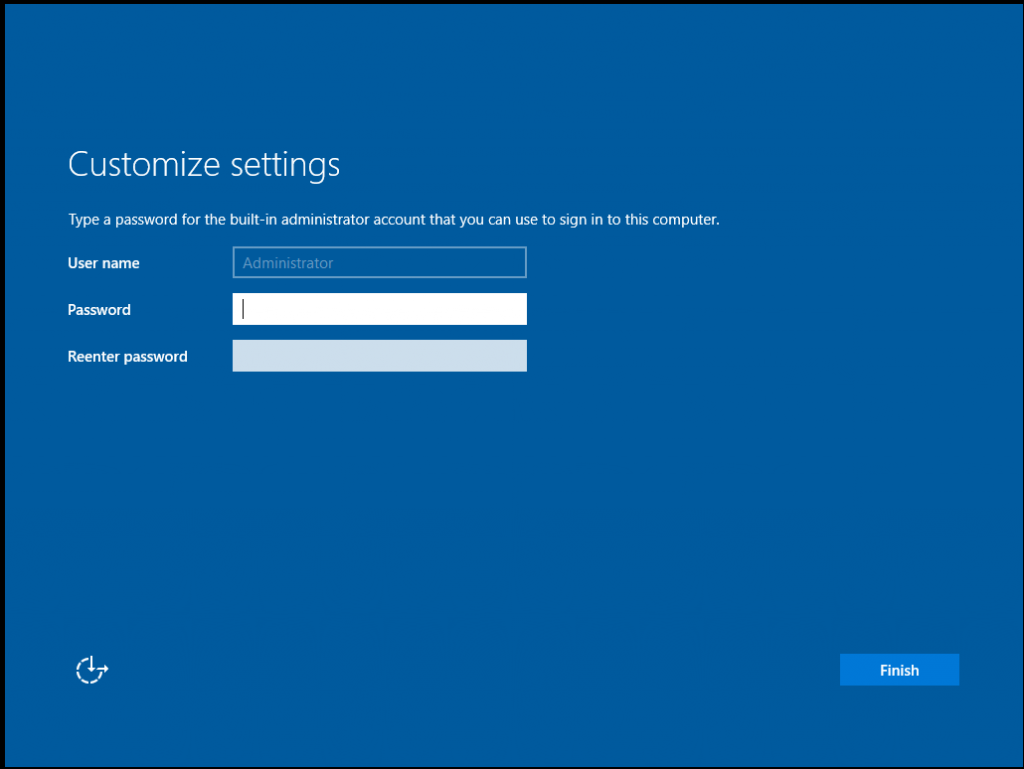
這邊是設定 Administrator 的密碼 要注意這邊有密碼複雜性原則
密碼不能用過簡單或字數少的
設定好後就安裝成功了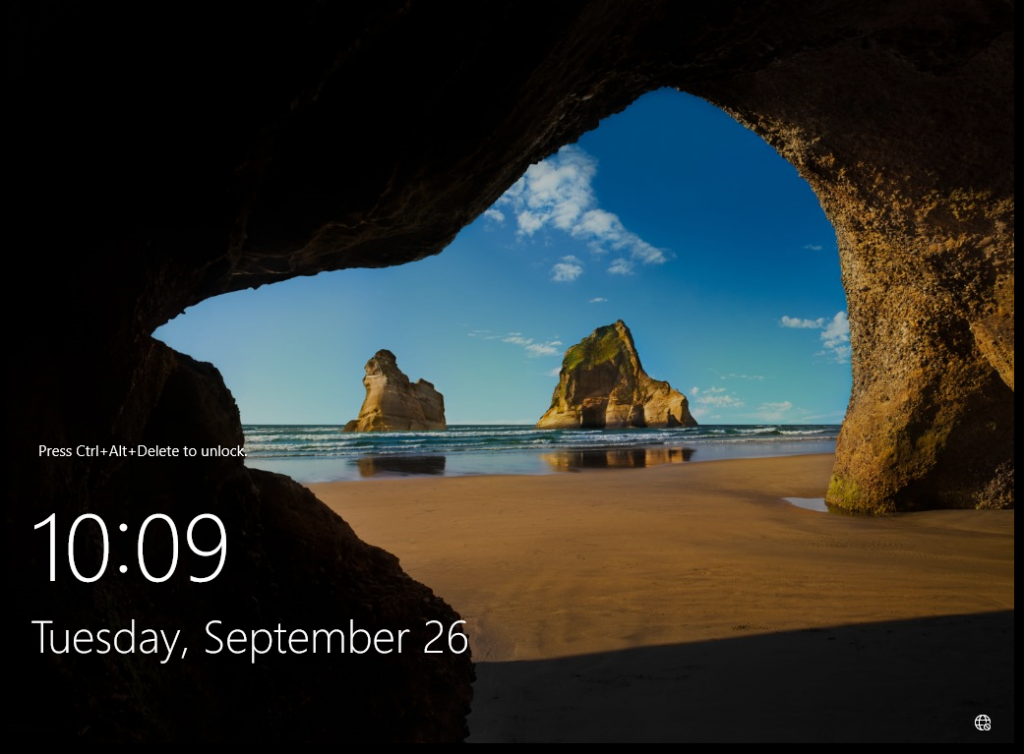
登入 Windows Server 後應該會看到一個程式自動開啟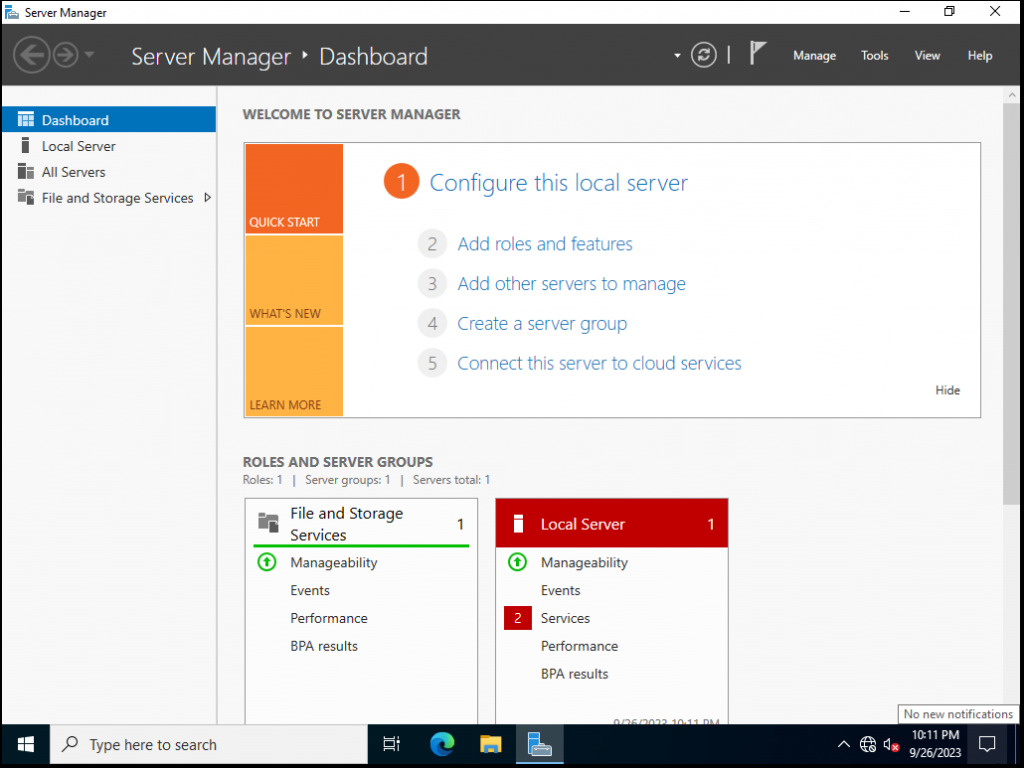
這個是 Windows Server 的一個管理工具
可以用這個工具來安裝功能或是管控 Windows Server 上的設定
但我們先不用他 先來設定網路和主機名稱
在 Windows Server 可以使用指令來設定主機名稱跟網路 先來打開 CMD
打開後輸入 sconfig 就會看到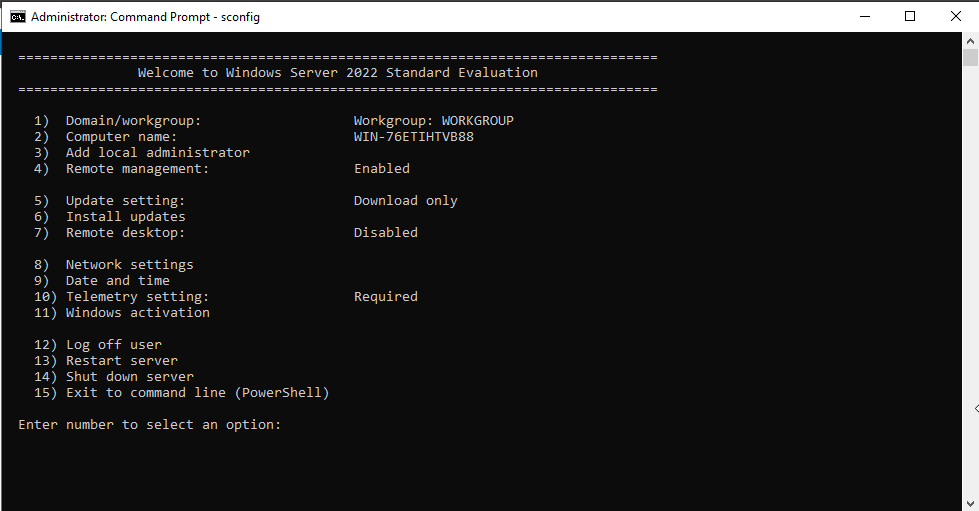
這邊可以看到有很多選項可以調整 這邊選擇 2 和 8 來操作
先來設定 2 改主機名稱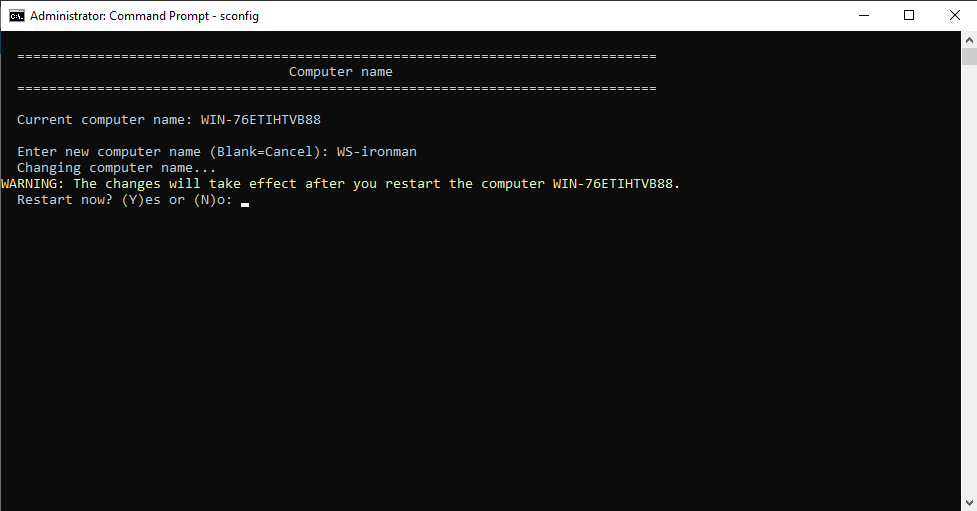
改完主機名稱後會問是否重開機套用設定 這邊選擇 NO 晚點自己再重開即可
接著輸入 8 設定網路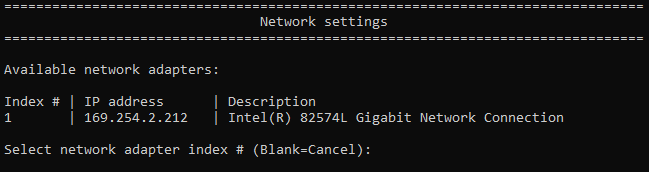
選擇網卡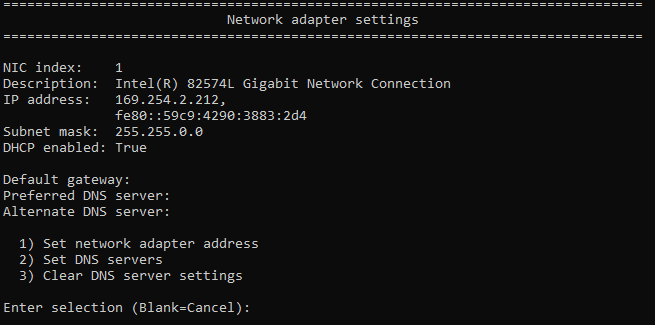
先設定 1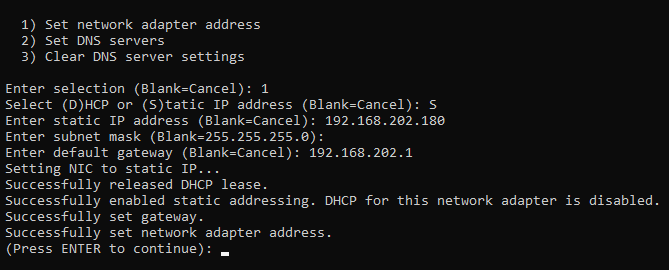
接著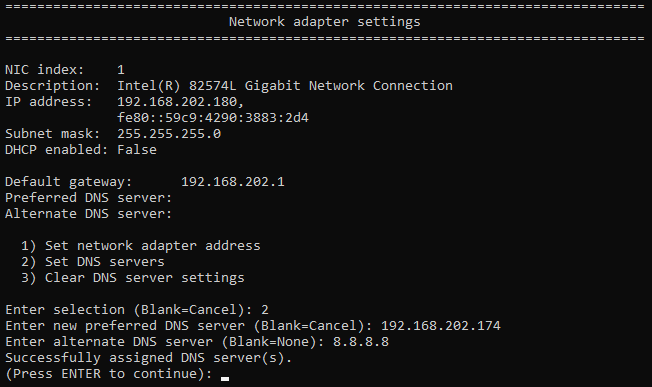
這樣就設定好了 接著用 ALT + F4 關掉所有東西準備重開機
然後會發現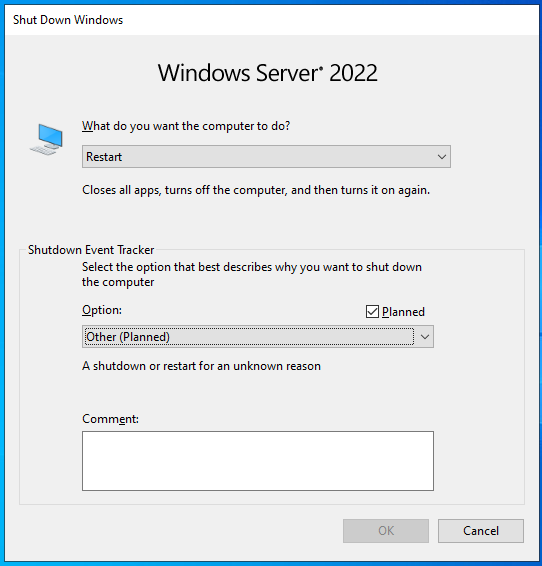
Windows Server 再關機時都會跳這個 要在關機時留紀錄
這邊就用 Planned 重開
重開後打開 CMD 輸入 ipconfig /all
就能看到剛剛改的網路跟主機名稱了