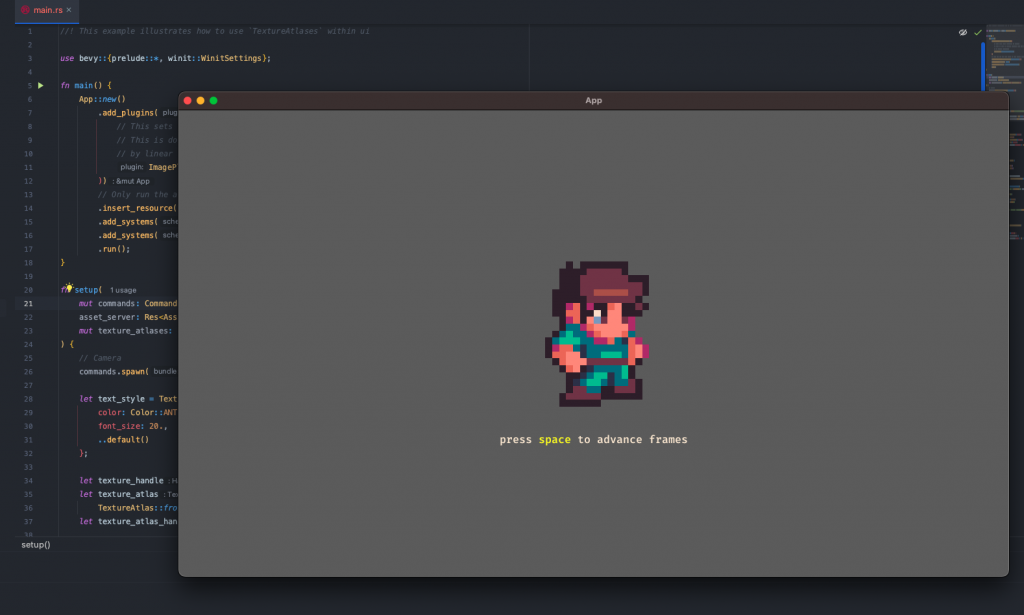
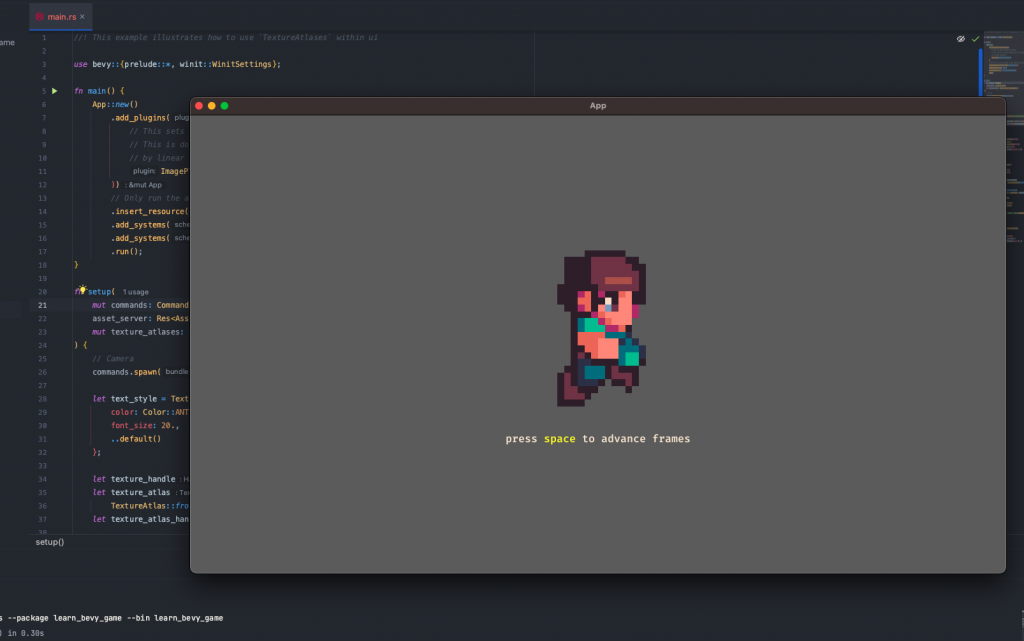
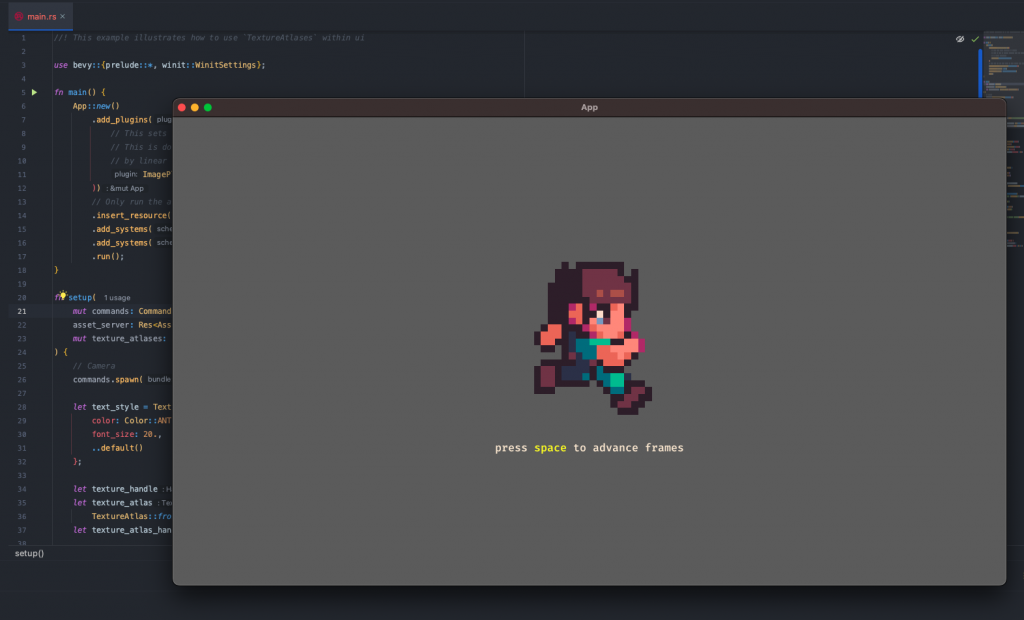
今天來看另一個範例是可以用鍵盤來控制每一幀的角色畫面
// 創建一個2D相機
commands.spawn(Camera2dBundle::default());

// 文字樣式設置
let text_style = TextStyle {
    color: Color::ANTIQUE_WHITE,
    font_size: 20.,
    ..default()
};

// 從指定的路徑載入素材
let texture_handle = asset_server.load("textures/rpg/chars/gabe/gabe-idle-run.png");
// 將加載的素材轉換為素材地圖集
let texture_atlas =
    TextureAtlas::from_grid(texture_handle, Vec2::new(24.0, 24.0), 7, 1, None, None);
let texture_atlas_handle = texture_atlases.add(texture_atlas);

// 創建根節點,用於容納UI元素
commands
    .spawn(NodeBundle {
        style: Style {
            flex_direction: FlexDirection::Column,
            width: Val::Percent(100.0),
            justify_content: JustifyContent::Center,
            align_items: AlignItems::Center,
            row_gap: Val::Px(text_style.font_size * 2.),
            ..default()
        },
        ..default()
    })
    .with_children(|parent| {
        // 在根節點下添加一個圖片元素
        parent.spawn((AtlasImageBundle {
            style: Style {
                width: Val::Px(256.),
                height: Val::Px(256.),
                ..default()
            },
            texture_atlas: texture_atlas_handle,
            texture_atlas_image: UiTextureAtlasImage::default(),
            ..default()
        },));
        // 在根節點下添加一段文字,提示用戶按空格鍵
        parent.spawn(TextBundle::from_sections([
            TextSection::new("press ".to_string(), text_style.clone()),
            TextSection::new(
                "space".to_string(),
                TextStyle {
                    color: Color::YELLOW,
                    ..text_style.clone()
                },
            ),
            TextSection::new(" to advance frames".to_string(), text_style),
        ]));
    });

// 定義一個系統,當按下空格鍵時更新素材地圖集的索引
fn increment_atlas_index(
    mut atlas_images: Query<&mut UiTextureAtlasImage>,
    keyboard: Res<Input<KeyCode>>,
) {
    if keyboard.just_pressed(KeyCode::Space) {
        for mut atlas_image in &mut atlas_images {
            atlas_image.index = (atlas_image.index + 1) % 6;
        }
    }
}


根據這個範例我們就可以設計角色的上下左右了,根據不同的鍵盤輸入然後選擇四個方向的角色的動作幀,中秋連假看能不能有更多的研究與更新。
