今天一樣是繼續製作Todo list, 主要會製作:
那就馬上開始吧!一樣是先從畫面的樣式開始~
<template>
....
<el-col :span="12" >
<el-button :disabled="!isValidTodo" @click="addTodo" id="enterBtn">add Todo</el-button>
<el-button @click="hideCompleted" id="hide" v-show="hideButton">Hide completed</el-button>
<el-button @click="showAll" id="show" v-show="showButton">Show All</el-button>
</el-col>
....
<el-col>
<li v-for="(todo, index) in toDos" :key="index" :class="{'hideList': todo.hided, 'showList': !todo.hided}">
<template v-if="!todo.editing">
<el-checkbox v-model="todo.finished" name="finishCheck"></el-checkbox>
<label :class="{'line': todo.finished, 'noLine': !todo.finished}" name="tasks">{{ todo.task }}</label>
<el-button @click="edit(index)" class="edit">Edit</el-button>
<label class="changeText">{{ todo.day }}</label>
<el-button @click="cancel(index)" class="btn" circle>X</el-button>
</template>
<template v-if="todo.editing">
<el-input v-model="todo.task" maxlength="10" class="editTodo"></el-input>
<el-button @click="done(index)" class="done">Done</el-button>
<el-button @click="cancel(index)" class="btn" circle>X</el-button>
</template>
</li>
</el-col>
</template>
別忘了新加入的變數要放到data中!
data() {
  return {
    newTodo: '',
    toDos: [{
      task: 'aaaa',
      editing: false, //是否要編輯
      hided: false, //是否要隱藏
      day :dayjs(new Date).format('YYYY/MM/DD')
    }],
    showButton: false,//showButton是否要顯示
    hideButton: true,//hideButton是否要顯示
    isValidTodo : false,
    original: ""
  };
}
畫面一開始沒有隱藏任何項目,所以是顯示hideButton詢問是否要隱藏(預設 hideButton: true)
來看看現在的畫面!
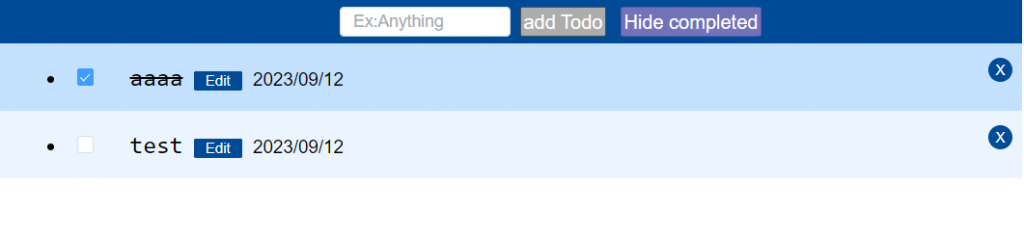
多了編輯和隱藏的按鈕!
//隱藏
hideCompleted() {
    this.showButton = true; //顯示showButton
    this.hideButton = false;//隱藏hideButton
    const finishCheck = document.getElementsByName('finishCheck');
		//檢查每個項目是否完成
    for(let i=0;i<finishCheck.length;i++){
        if(finishCheck[i].checked){
            this.toDos[i].hided = true;
        }
    }
},
//顯示
showAll() {
    this.showButton = false;
    this.hideButton = true;
    const finishCheck = document.getElementsByName('finishCheck');
    for(let i=0;i<finishCheck.length;i++){
        if(finishCheck[i].checked){
            this.toDos[i].hided = false;
        }
    }
}
在搭配不同條件就可以達到隱藏的效果!
<li v-for="(todo, index) in toDos" :key="index" :class="{'hideList': todo.hided, 'showList': !todo.hided}">

可以看到完成項目”aaa”被隱藏起來,畫面上方的按鈕也變成showAll
edit(index) {
    this.original = this.toDos[index].task;//將原本的內容保存
    this.toDos[index].editing = true; //開啟編輯狀態
},
done(index){
    this.toDos[index].editing = false;
		this.toDos[index].task = this.toDos[index].task.trim()
    if(this.toDos[index].task === ''){
        ElMessageBox.alert('Write Something!', 'Error', {
            confirmButtonText: 'OK',
            callback: action => {
            console.log(action);
            },
            type:'error'
        });
        this.toDos[index].task = this.original;
    }
}
搭配畫面上v-if的條件會渲染出不同畫面,當是編輯狀態時,會出現修改的輸入框以及確定的按鈕。
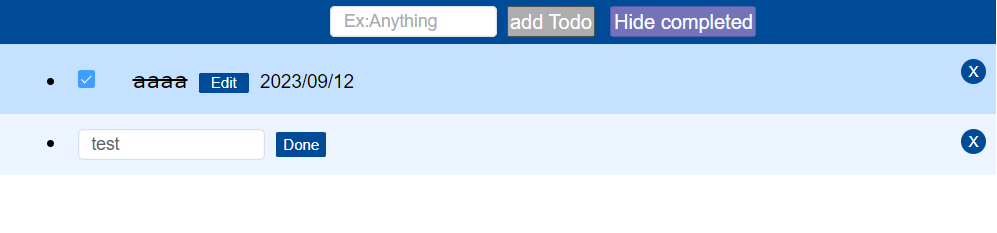
在修改的輸入框中我們一樣用到昨天說的trim()讓版面更整齊!另外,若是最後送出的修改是空白的不但會利用彈跳視窗提醒使用者,還會將是向的內容返回成修改前的~
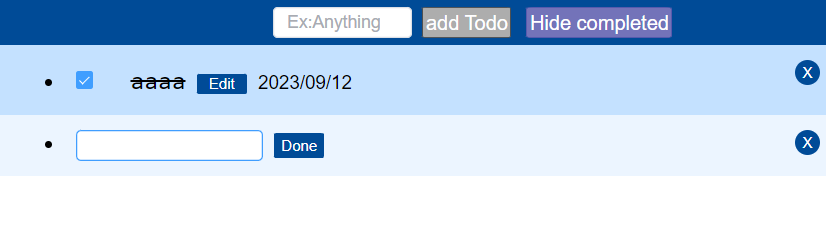
狀況1 : 將項目"test"的內容修改成空白
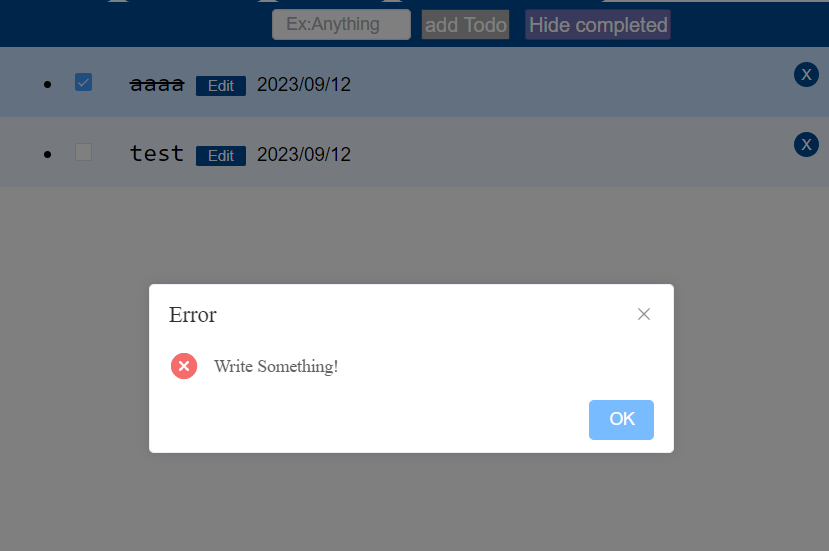
回應1 : 跳出彈跳視窗,修改失敗
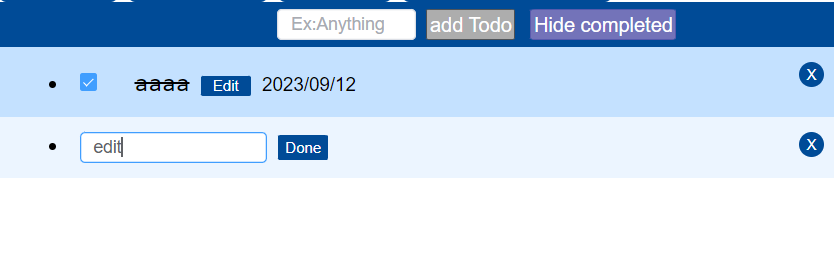
狀況2 : 將項目’test’修改成’edit’
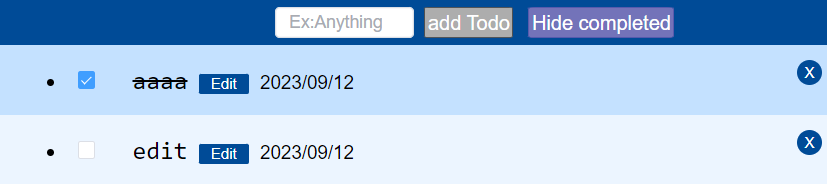
回應2 : 修改成功!
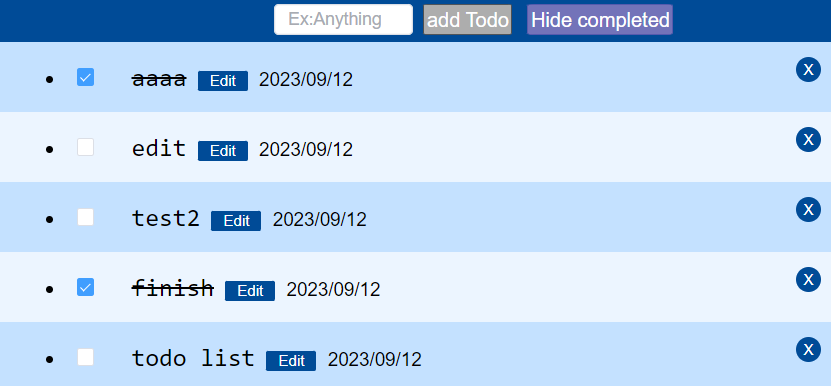
多新增幾筆資料後大概會長得像這樣!
以上就是todo List實做的全部內容啦!當然還有很多功能新增,像是搜尋之類的,更多的功能就留給有興趣的人自己去探索!做到這想必對Vue已經沒這麼陌生,所以明天會介紹Vue CLI,一起更深入了解Vue吧!