今天來告別顯示很醜的文字內容吧~~
昨天已經將 API 回傳的 Json 字串解析成 Cafe data class 了,可以將資料美美的顯示在畫面上~
原本只是用 TextView 顯示,來改用 RecyclerView 吧~~
RecyclerView 有三個重要的成員 :
LayoutManager : 負責決定畫面的排列方式,常見的有 LinearLayoutManager、GridLayoutManager、StaggeredGridLayoutManager
ViewHolder : 主要用於畫面的重複使用,可透過將畫面緩存的機制,讓使用者在滑動時不會一直新建畫面,而是將資料重新綁定於畫面上,以增加效能Adapter : 負責將資料綁定在畫面上,也可以用於資料變更後畫面的刷新RecyclerView 大多用於顯示重複的資料,所以先拉出 “一筆資料” 要顯示的畫面,在 layout folder 底下新增 item_cafe.xml :
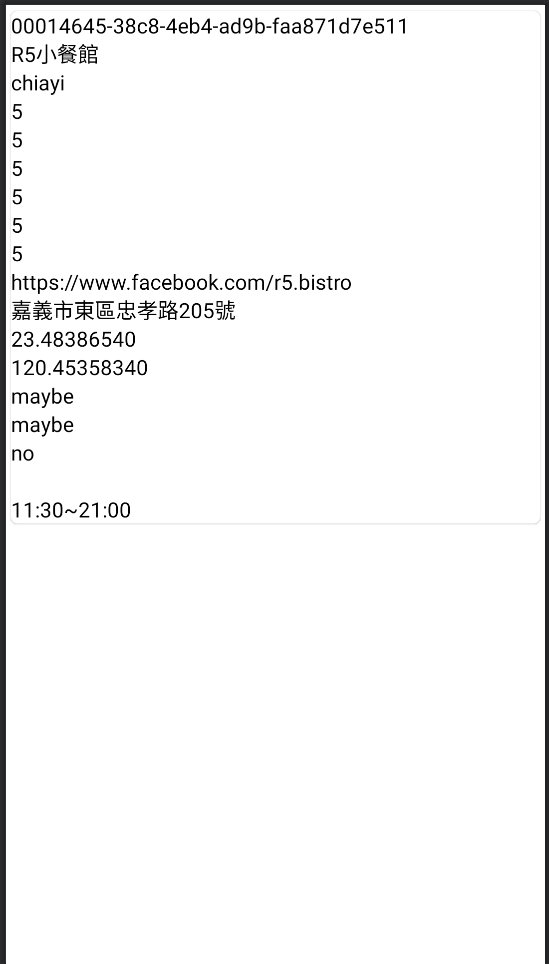
預覽畫面
<?xml version="1.0" encoding="utf-8"?>
<com.google.android.material.card.MaterialCardView xmlns:android="http://schemas.android.com/apk/res/android"
    xmlns:app="http://schemas.android.com/apk/res-auto"
    xmlns:tools="http://schemas.android.com/tools"
    android:layout_width="match_parent"
    android:layout_height="wrap_content"
    app:cardCornerRadius="5dp"
    android:elevation="3dp"
    app:cardUseCompatPadding="true">

    <LinearLayout
        android:layout_width="match_parent"
        android:layout_height="match_parent"
        android:orientation="vertical">

        <TextView
            android:id="@+id/tv_id"
            android:layout_width="wrap_content"
            android:layout_height="wrap_content"
            android:textColor="@color/black"
            android:textSize="16sp"
            tools:text="00014645-38c8-4eb4-ad9b-faa871d7e511" />

        <TextView
            android:id="@+id/tv_name"
            android:layout_width="wrap_content"
            android:layout_height="wrap_content"
            android:textColor="@color/black"
            android:textSize="16sp"
            tools:text="R5小餐館" />

        <TextView
            android:id="@+id/tv_city"
            android:layout_width="wrap_content"
            android:layout_height="wrap_content"
            android:textColor="@color/black"
            android:textSize="16sp"
            tools:text="chiayi" />

        <TextView
            android:id="@+id/tv_wifi"
            android:layout_width="wrap_content"
            android:layout_height="wrap_content"
            android:textColor="@color/black"
            android:textSize="16sp"
            tools:text="5" />

        <TextView
            android:id="@+id/tv_seat"
            android:layout_width="wrap_content"
            android:layout_height="wrap_content"
            android:textColor="@color/black"
            android:textSize="16sp"
            tools:text="5" />

        <TextView
            android:id="@+id/tv_quiet"
            android:layout_width="wrap_content"
            android:layout_height="wrap_content"
            android:textColor="@color/black"
            android:textSize="16sp"
            tools:text="5" />

        <TextView
            android:id="@+id/tv_tasty"
            android:layout_width="wrap_content"
            android:layout_height="wrap_content"
            android:textColor="@color/black"
            android:textSize="16sp"
            tools:text="5" />

        <TextView
            android:id="@+id/tv_cheap"
            android:layout_width="wrap_content"
            android:layout_height="wrap_content"
            android:textColor="@color/black"
            android:textSize="16sp"
            tools:text="5" />

        <TextView
            android:id="@+id/tv_music"
            android:layout_width="wrap_content"
            android:layout_height="wrap_content"
            android:textColor="@color/black"
            android:textSize="16sp"
            tools:text="5" />

        <TextView
            android:id="@+id/tv_url"
            android:layout_width="wrap_content"
            android:layout_height="wrap_content"
            android:textColor="@color/black"
            android:textSize="16sp"
            tools:text="https://www.facebook.com/r5.bistro" />

        <TextView
            android:id="@+id/tv_address"
            android:layout_width="wrap_content"
            android:layout_height="wrap_content"
            android:textColor="@color/black"
            android:textSize="16sp"
            tools:text="嘉義市東區忠孝路205號" />

        <TextView
            android:id="@+id/tv_latitude"
            android:layout_width="wrap_content"
            android:layout_height="wrap_content"
            android:textColor="@color/black"
            android:textSize="16sp"
            tools:text="23.48386540" />

        <TextView
            android:id="@+id/tv_longitude"
            android:layout_width="wrap_content"
            android:layout_height="wrap_content"
            android:textColor="@color/black"
            android:textSize="16sp"
            tools:text="120.45358340" />

        <TextView
            android:id="@+id/tv_limited_time"
            android:layout_width="wrap_content"
            android:layout_height="wrap_content"
            android:textColor="@color/black"
            android:textSize="16sp"
            tools:text="maybe" />

        <TextView
            android:id="@+id/tv_socket"
            android:layout_width="wrap_content"
            android:layout_height="wrap_content"
            android:textColor="@color/black"
            android:textSize="16sp"
            tools:text="maybe" />

        <TextView
            android:id="@+id/tv_standing_desk"
            android:layout_width="wrap_content"
            android:layout_height="wrap_content"
            android:textColor="@color/black"
            android:textSize="16sp"
            tools:text="no" />

        <TextView
            android:id="@+id/tv_mrt"
            android:layout_width="wrap_content"
            android:layout_height="wrap_content"
            android:textColor="@color/black"
            android:textSize="16sp"
            tools:text="" />

        <TextView
            android:id="@+id/tv_open_time"
            android:layout_width="wrap_content"
            android:layout_height="wrap_content"
            android:textColor="@color/black"
            android:textSize="16sp"
            tools:text="11:30~21:00" />
    </LinearLayout>

</com.google.android.material.card.MaterialCardView>
接著調整原先的畫面,加入 RecyclerView :
<androidx.recyclerview.widget.RecyclerView
    android:id="@+id/recycler_view"
    android:layout_width="0dp"
    android:layout_height="wrap_content"
    app:layout_constraintBottom_toBottomOf="parent"
    app:layout_constraintEnd_toEndOf="parent"
    app:layout_constraintStart_toStartOf="parent"
    app:layout_constraintTop_toTopOf="parent"
    tools:listitem="@layout/item_cafe" />
原先的 TextView 暫時先用來顯示錯誤訊息,未來在錯誤訊息的部分會在調整 :
<TextView
    android:id="@+id/tv_err"
    android:layout_width="wrap_content"
    android:layout_height="wrap_content"
    android:text="Hello World!"
    android:textSize="16sp"
    app:layout_constraintBottom_toTopOf="@+id/button"
    app:layout_constraintEnd_toEndOf="parent"
    app:layout_constraintStart_toStartOf="parent"
    app:layout_constraintTop_toTopOf="parent" />
class MainAdapter(private val cafeList: MutableList<Cafe>) : RecyclerView.Adapter<MainAdapter.ViewHolder>() {}
MainAdapter(private val cafeList: MutableList<Cafe>) : cafeList: MutableList<Cafe> 作為參數透過建構子傳入: RecyclerView.Adapter<MainAdapter.ViewHolder>() : 表示 MainAdapter 是繼承自 RecyclerView.Adapter;ViewHolder 則是我們待會會建立的自定義 ViewHolder
接著會覆寫三個方法,直接上實作完的程式碼 :
override fun onCreateViewHolder(parent: ViewGroup, viewType: Int): MainAdapter.ViewHolder {

    val view = LayoutInflater.from(parent.context).inflate(R.layout.item_cafe, parent, false)
    return MainAdapter.ViewHolder(view)
}

override fun onBindViewHolder(holder: MainAdapter.ViewHolder, position: Int) {

    if (position < 0 || position >= cafeList.size) return

    holder.bind(cafeList[position])
}

override fun getItemCount(): Int {

    return cafeList.size
}
onCreateViewHolder() : 會在這邊建立 ViewHolder 實例。每次建立新的列表項目 (item) 時會被執行onBindViewHolder() : 主要是將資料綁定在畫面上,這邊是透過 ViewHolder的bind(cafe: Cafe)將資料綁定,只要有資料有變動,此方法就會被執行getItemCount() : 會返回資料的數量,在這邊是 cafeList.size
另外,這邊透過自定義的方法 setData(data: MutableList<Cafe>) 將資料設定給 adapter :
fun setData(data: MutableList<Cafe>) {

    if (cafeList.isNotEmpty()) {

        cafeList.clear()
    }

    cafeList.addAll(data)
}
這樣當整包資料都要更新時,就能直接從外部呼叫此方法來更新資料了~
這裡自定義 ViewHolder,並且將列表項目(itemView) 由建構子傳入 :
class ViewHolder(itemView: View) : RecyclerView.ViewHolder(itemView) {

}
在這邊將我們在 item_cafe 內的 UI 初始化 :
class ViewHolder(itemView: View) : RecyclerView.ViewHolder(itemView) {

    private val tvId: TextView = itemView.findViewById(R.id.tv_id)
    private val tvName: TextView = itemView.findViewById(R.id.tv_name)
    private val tvCity: TextView = itemView.findViewById(R.id.tv_city)
    private val tvWifi: TextView = itemView.findViewById(R.id.tv_wifi)
    private val tvSeat: TextView = itemView.findViewById(R.id.tv_seat)
    private val tvQuiet: TextView = itemView.findViewById(R.id.tv_quiet)
    private val tvTasty: TextView = itemView.findViewById(R.id.tv_tasty)
    private val tvCheap: TextView = itemView.findViewById(R.id.tv_cheap)
    private val tvMusic: TextView = itemView.findViewById(R.id.tv_music)
    private val tvUrl: TextView = itemView.findViewById(R.id.tv_url)
    private val tvAddress: TextView = itemView.findViewById(R.id.tv_address)
    private val tvLatitude: TextView = itemView.findViewById(R.id.tv_latitude)
    private val tvLongitude: TextView = itemView.findViewById(R.id.tv_longitude)
    private val tvLimitedTime: TextView = itemView.findViewById(R.id.tv_limited_time)
    private val tvSocket: TextView = itemView.findViewById(R.id.tv_socket)
    private val tvStandingDesk: TextView = itemView.findViewById(R.id.tv_standing_desk)
    private val tvMRT: TextView = itemView.findViewById(R.id.tv_mrt)
}
並且加入自定義的資料綁定於畫面的方法 bind(cafe: Cafe) :
fun bind(cafe: Cafe) {

    tvId.text = itemView.resources.getString(R.string.item_id).format(cafe.id)
    tvName.text = itemView.resources.getString(R.string.item_name).format(cafe.name)
    tvCity.text = itemView.resources.getString(R.string.item_city).format(cafe.city)
    tvWifi.text = itemView.resources.getString(R.string.item_wifi).format(cafe.wifi)
    tvSeat.text = itemView.resources.getString(R.string.item_seat).format(cafe.seat)
    tvQuiet.text = itemView.resources.getString(R.string.item_quiet).format(cafe.quiet)
    tvTasty.text = itemView.resources.getString(R.string.item_tasty).format(cafe.tasty)
    tvCheap.text = itemView.resources.getString(R.string.item_cheap).format(cafe.cheap)
    tvMusic.text = itemView.resources.getString(R.string.item_music).format(cafe.music)
    tvUrl.text = itemView.resources.getString(R.string.item_url).format(cafe.url)
    tvAddress.text = itemView.resources.getString(R.string.item_address).format(cafe.address)
    tvLatitude.text = itemView.resources.getString(R.string.item_latitude).format(cafe.latitude)
    tvLongitude.text = itemView.resources.getString(R.string.item_longitude).format(cafe.longitude)
    tvLimitedTime.text = itemView.resources.getString(R.string.item_limited_time).format(cafe.limited_time)
    tvSocket.text = itemView.resources.getString(R.string.item_socket).format(cafe.socket)
    tvStandingDesk.text = itemView.resources.getString(R.string.item_standing_desk).format(cafe.standing_desk)
    tvMRT.text = itemView.resources.getString(R.string.item_mrt).format(cafe.mrt)
    tvOpenTime.text = itemView.resources.getString(R.string.item_open_time).format(cafe.open_time)
}
如此一來,就能在每次資料更新的就會執行的 onBindViewHolder() 內呼叫此方法來將資料綁定。
事前準備都做得差不多了,來最後一站 MainActivity
今天多了 initView() 來負責初始化 UI,LayoutManager 基本的使用方法很簡單,可以指定要用垂直或是水平的排列方式,這邊是使用垂直的排列 :
binding.recyclerView.layoutManager =
            LinearLayoutManager(this, LinearLayoutManager.VERTICAL, false)
adapter 在一開始先給他一包空的資料,待接到 API 回傳結果後在來更新 :
val cafeList: MutableList<Cafe> = mutableListOf()
adapter = MainAdapter(cafeList)
initView():
class MainActivity : AppCompatActivity(), MainContract.View {

    private lateinit var binding: ActivityMainBinding
    private lateinit var iPresenter: MainContract.Presenter
    private lateinit var adapter: MainAdapter

    private fun initView() {

        val cafeList: MutableList<Cafe> = mutableListOf()
        adapter = MainAdapter(cafeList)

        binding.recyclerView.layoutManager =
            LinearLayoutManager(this, LinearLayoutManager.VERTICAL, false)
        binding.recyclerView.adapter = adapter
    }

    ...
}
更新資料改用 adapter 處理 :
adapter.setData(cafes.toMutableList())
adapter.notifyDataSetChanged()
notifyDataSetChanged()很重要,如果沒有呼叫此方法,就算將資料設定給了 adapter 他也不會理人的。
完整的更新錯誤和成功的畫面程式碼 :
override fun showFail(errMsg: String?) {

    runOnUiThread {
        binding.tvErr.text = "Request failed \nmessage: ${errMsg}"
        binding.progressbar.visibility = View.GONE
    }
}

override fun showCoffeeShop(cafes: List<Cafe>) {

    runOnUiThread {

        binding.tvErr.text = ""
        adapter.setData(cafes.toMutableList())
        adapter.notifyDataSetChanged()
        binding.progressbar.visibility = View.GONE
    }
}
到這邊就完成拉,執行看看 :
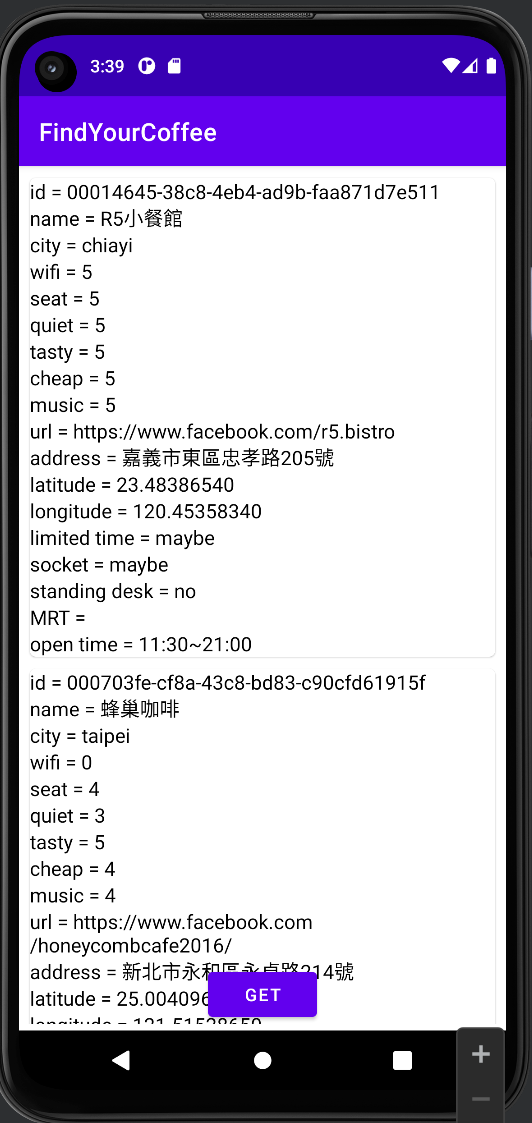
順利成功~~~撒花