本次的程式碼與目錄結構可以參考 FastAPI Tutorial : Day17 branch
我們在 Day15 和 Day16 完成 async CRUD 的實作
今天會開始進入 OAuth2 password login的實作
首先我們會先實作 密碼驗證
如果要在 DB 中儲存密碼,我們不能直接儲存明碼!
而是要將密碼進行加密後再儲存
常見的做法會是:
hash_password = hash_function(plain_password + salt)
這邊我們使用 bcrypt 密碼雜湊函數來進行加密
passlib 是一個密碼雜湊函數的套件,我們可以透過 passlib 來進行密碼的加密與驗證
poetry add passlib
poetry add bcrypt
新增 auth 目錄
mkdir auth
touch auth/passwd.py
因為 passlib 使用 bcrypt 生成 hash password 的長度為 60,所以我們要調整 User model
models/base.py
class BaseType:
    # ...
    str_60 = Annotated[str, mapped_column(String(60))] # 新增 str_60
    # ...
models/user.py
# ...
class User(BaseType, Base):
    __tablename__ = "User"
    id:Mapped[BaseType.int_primary_key]
    password:Mapped[BaseType.str_60]
    # ...
因為我們要調整
Usermodel
所以要先把Usertable 刪除可以直接進入 PostgreSQL 的 container 中,透過
psql來刪除 table
也可以砍掉 PostgreSQL 的 container 和 對應的 volumn 再重新建立
passlib hash 密碼、驗證密碼接著在 auth/passwd.py 中撰寫 hash 與驗證密碼的 function
auth/passwd.py
from passlib.context import CryptContext

pwd_context = CryptContext(schemes=["bcrypt"], deprecated="auto")

def verify_password(plain_password, hashed_password):
    return pwd_context.verify(plain_password, hashed_password)


def get_password_hash(password):
    return pwd_context.hash(password)
create_user API endpoint接著我們要調整 create_user API endpoint
把原本以明碼儲存的密碼,改成 hash 過的密碼存在 DB 中
routers/user.py 中的 create_user
from auth.passwd import get_password_hash

# ...

@router.post("/users" ,
        response_model=UserSchema.UserCreateResponse,
        status_code=status.HTTP_201_CREATED,
        response_description="Create new user"
)
async def create_user(newUser: UserSchema.UserCreate ):
    user = await UserCrud.get_user_id_by_email(newUser.email)
    if user:
        raise HTTPException(status_code=409, detail=f"User already exists")

    newUser.password = get_password_hash(newUser.password) # <--- 新增這行
    user = await UserCrud.create_user(newUser)
    return vars(user)
可以連進 PostgreSQL 的 container 中,透過 psql 來查看 user table 中
user 的 password 欄位是不是被 hash 過的密碼
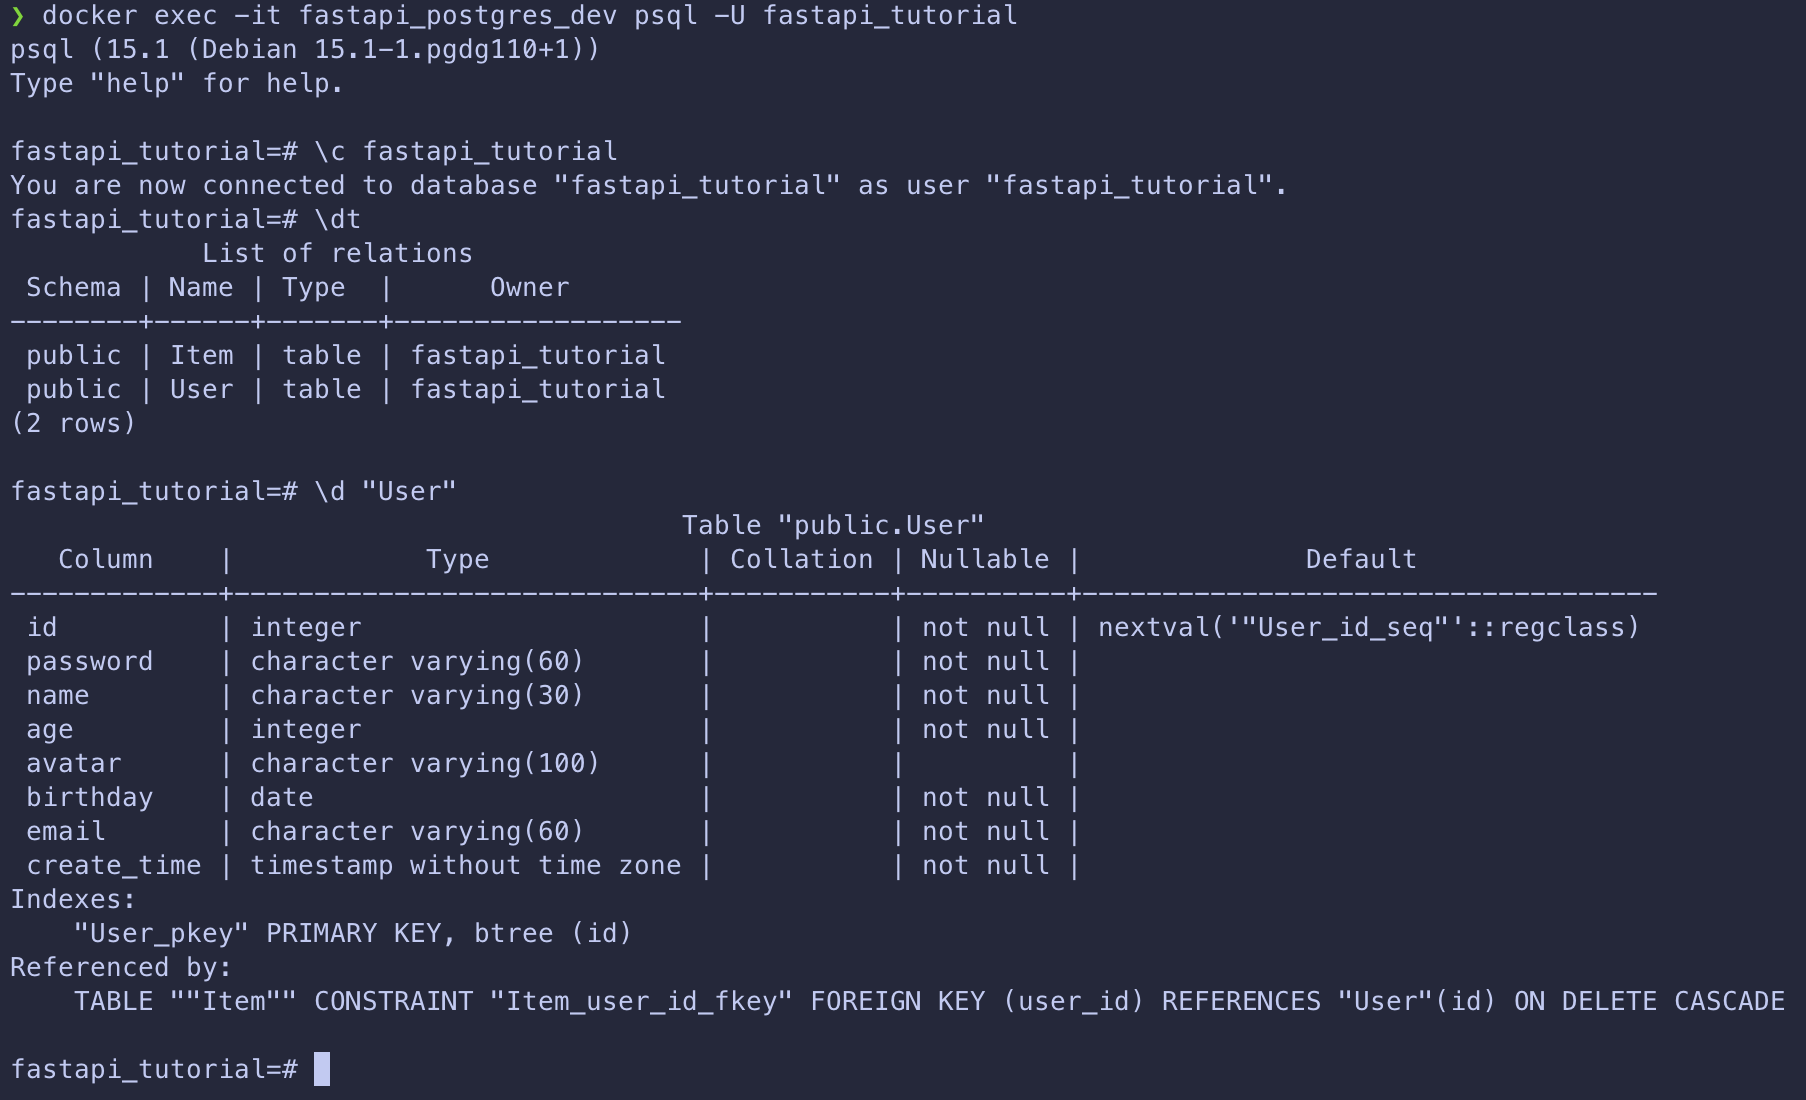
docker exec -it fastapi_postgres_dev psql -U fastapi_tutorial
進入 PostgreSQL 後,可以順便檢查 SQLAlchemy 產生的 table schema 是否正確
```sql
\l -- list all databases
\c fastapi_tutorial -- connect to fastapi_tutorial database
\dt -- list all tables
\d "User" -- describe table "User"
接著我們可以 SELECT 來查看 User table 中的資料
SELECT * FROM "User";

可以看到 password 欄位中的密碼都是 hash 過的密碼 !
今天我們透過 passlib 來進行密碼的 hash 與驗證
並且透過 bcrypt 來進行 hash
最後我們也透過 psql 來檢查 User table 中的密碼是否被 hash 過
接下來我們會繼續完成 OAuth2 password login 的實作
明天會接著講 fastapi.security 中提供與 OAuth2 相關的 schema !
FastAPI : OAuth2 with Password (and hashing), Bearer with JWT tokens