今天要來介紹 next-auth 設定~
開始前先安裝需要的套件
> npm install next-auth
> npm i @auth/prisma-adapter
那不知道讀者還有印象,在 day 17 介紹 github oauth 流程嗎?不記得沒關係這邊再放上圖給大家回覆印象~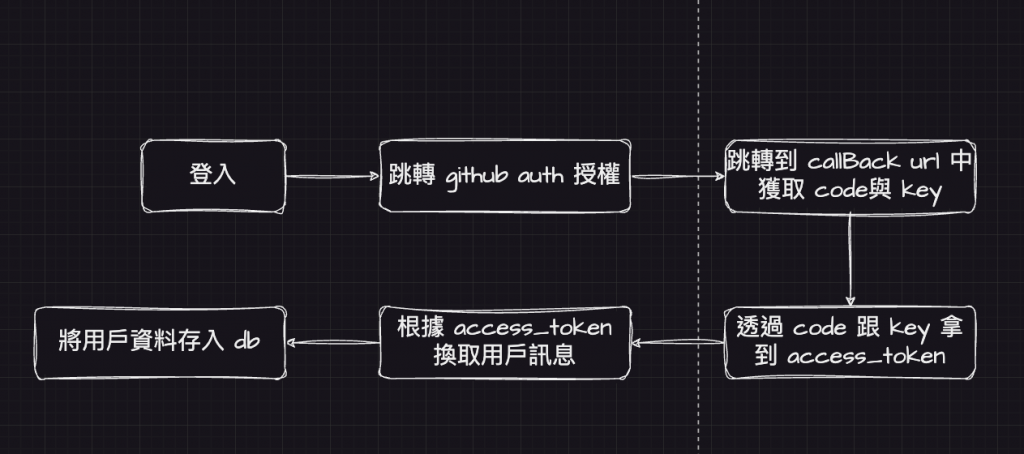
那因為 next-auth 幫我們處理從登入到換取 user access_token , 剩下的就是在 next-auth 中寫一個 api handler 拿取 user info。
之後創建一個 ~src/api/auth/[...nextauth].ts 檔案,將以下的 code 貼上。
providers : 需要驗證第三方的平台,例如你要用 github 就用GithubProvider ,要用 Google 就用 GoogleProvider更多內容可以到 doc 查看設定。
import NextAuth, { AuthOptions } from "next-auth"
import GithubProvider from "next-auth/providers/github
export const authOptions: AuthOptions = {
  // Configure one or more authentication providers
  providers: [
    GithubProvider({
      clientId: process.env.GITHUB_ID as string,
      clientSecret: process.env.GITHUB_SECRET as string,
    }),
    // ...add more providers here
  ],
  secret: process.env.AUTH_SECRET,

}
export default NextAuth(authOptions)
secret : 因為 next-auth 需要 user 驗證的token 存到 cookie 中,那為了防止資安問題,會需要一組 secret ,對 user credentials 做 hash 處理,以及對 cookie 生成的 signal 做加密並產生加密密鑰,這邊大概知道作用就好,主要是注意讀者需要設定secret 。
而 secret 可以是隨機亂數,這邊推薦讀者用 openssl 生成一個 base64 的隨機密鑰,
> openssl rand -base64 32
WNLr7tdndHgXLA2AaTzcY3a8in0qbWyMXOlG86iJUlQ=
之後把 SECRET 放到 .env
// .env
NEXTAUTH_SECRET="WNLr7tdndHgXLA2AaTzcY3a8in0qbWyMXOlG86iJUlQ="
設定好 provider 後,接著需要設定 github OAuth Apps 。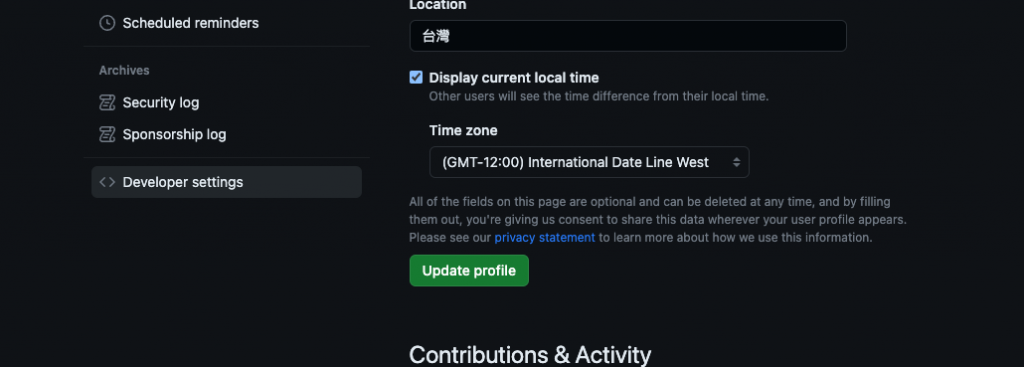
點選 OAuth Apps -> 點選 new OAuth App
Application name: 專案名稱。 Homepage URL: 你的 web host 是什麼,因為你在開發模式所以這邊填 http://localhost:3000/
Authorization callback URL : 用來驗證/換取 token 的 callback URL 因為適用 next-auth 所以是圖中設定,如果讀者有把 next-auth api host到其他地方記得之後要修改 callURL。設定好後就 Register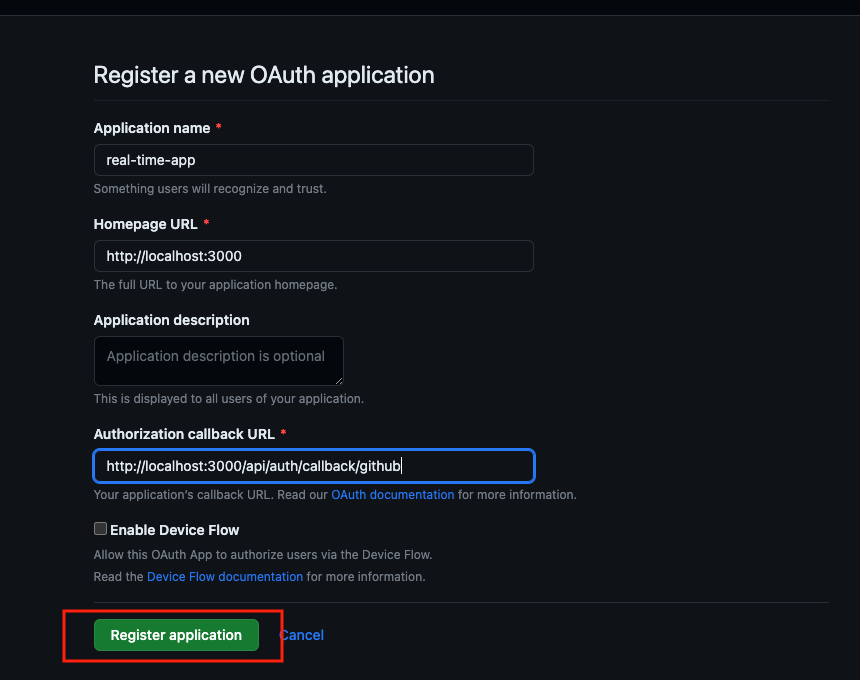
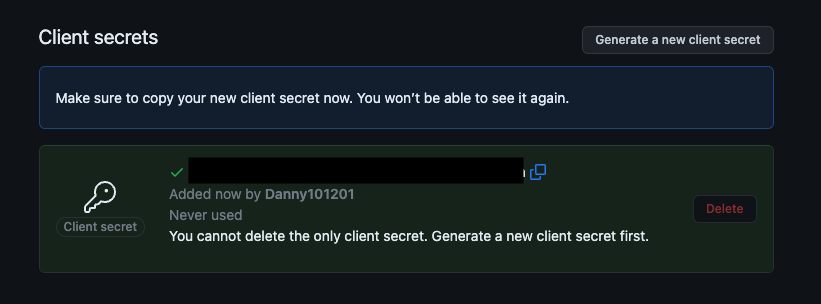
接這吧 Client ID 複製起來放到 .env 中也就是 GITHUB_ID 的值。
揍一個則是 client secrets 第一次需要先生成,這個 secrets 記得保存好不要外洩,然後放到 .env 的 GITHUB_SECRET 中。
//.env
GITHUB_ID="your_ID"
GITHUB_SECRET="your_scret"
這邊一個貼心小提醒,有時候我們會不知道其他 provider 的 callbackUrl 或是 signinUrl 是什麼不用擔心 next-auth 都有幫我們紀錄。
可以到 http://localhost:3000/api/auth/providers/github 中查看~
signinUrl : 則是sign in 會用到的 api route。callbackUrl : 則是sign in 成功後換取 user token 的 api route。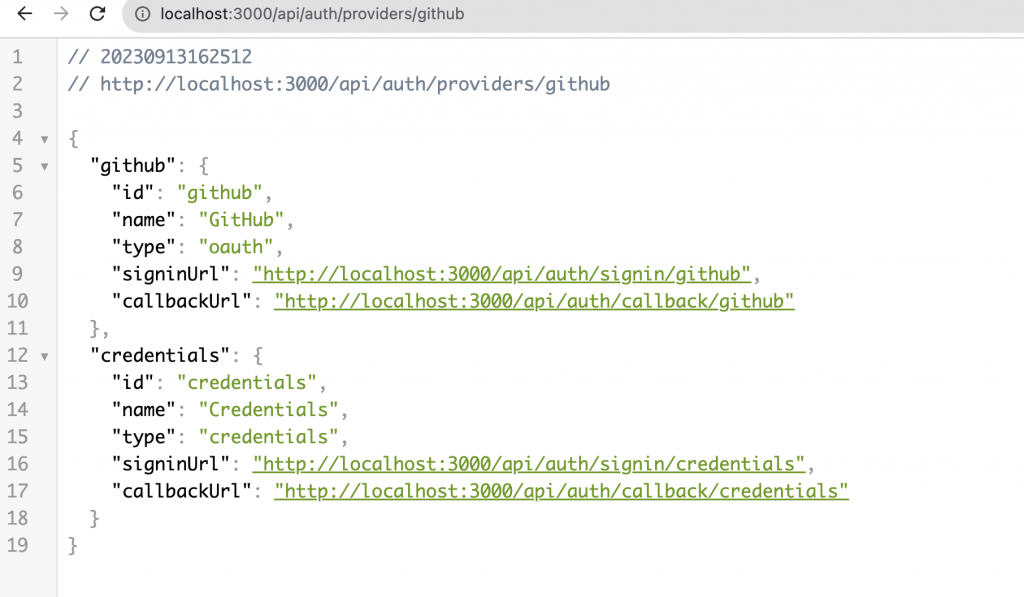
如果讀者有成功看到以上的 json response 代表你成功設定好 next-auth 摟~
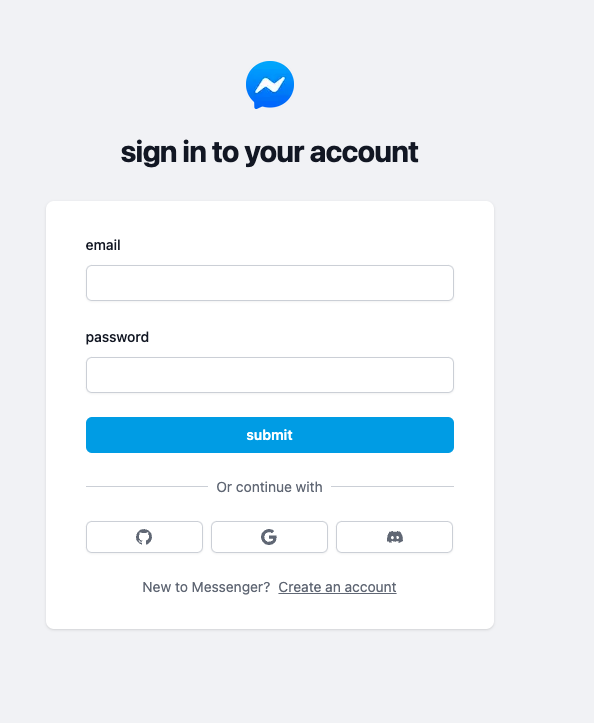
接著我們簡單測試一下結果,到我們的 AuthForm 中,在 socialAction 呼叫 signIn ,
// ~src/components/AuthForm.tsx

import { signIn } from "next-auth/react"

//..
const socialAction = async (type: 'discord' | 'google' | 'github') => {
    try {

      setIsLoading(true)
      const callBack = await signIn(type)
    } catch (e) {
      console.log(e)
    } finally {
      setIsLoading(false)
    }
  }
如果是第一次登入會有以下的畫面,相信大家應該不陌生~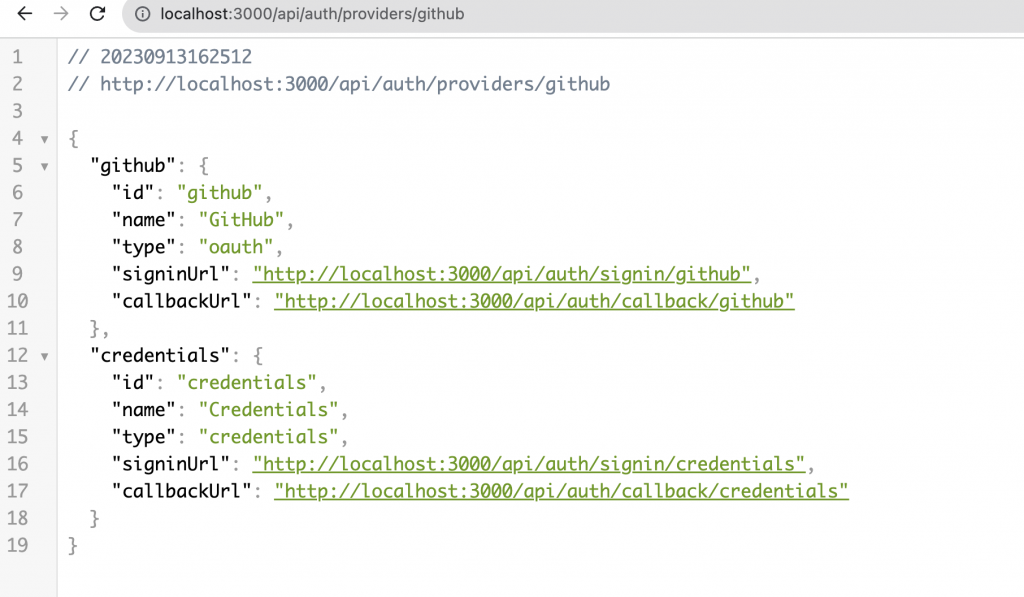
接著驗證成功後會返回原本的頁面。
如果讀者不希望 user 每次用地方三方驗證都跳轉 Oauth page 的話,可以將redirect用成 false ,如此一來 next-auth 就會在背後幫你執行。
const callBack = await signIn(type, {
    redirect: false
})
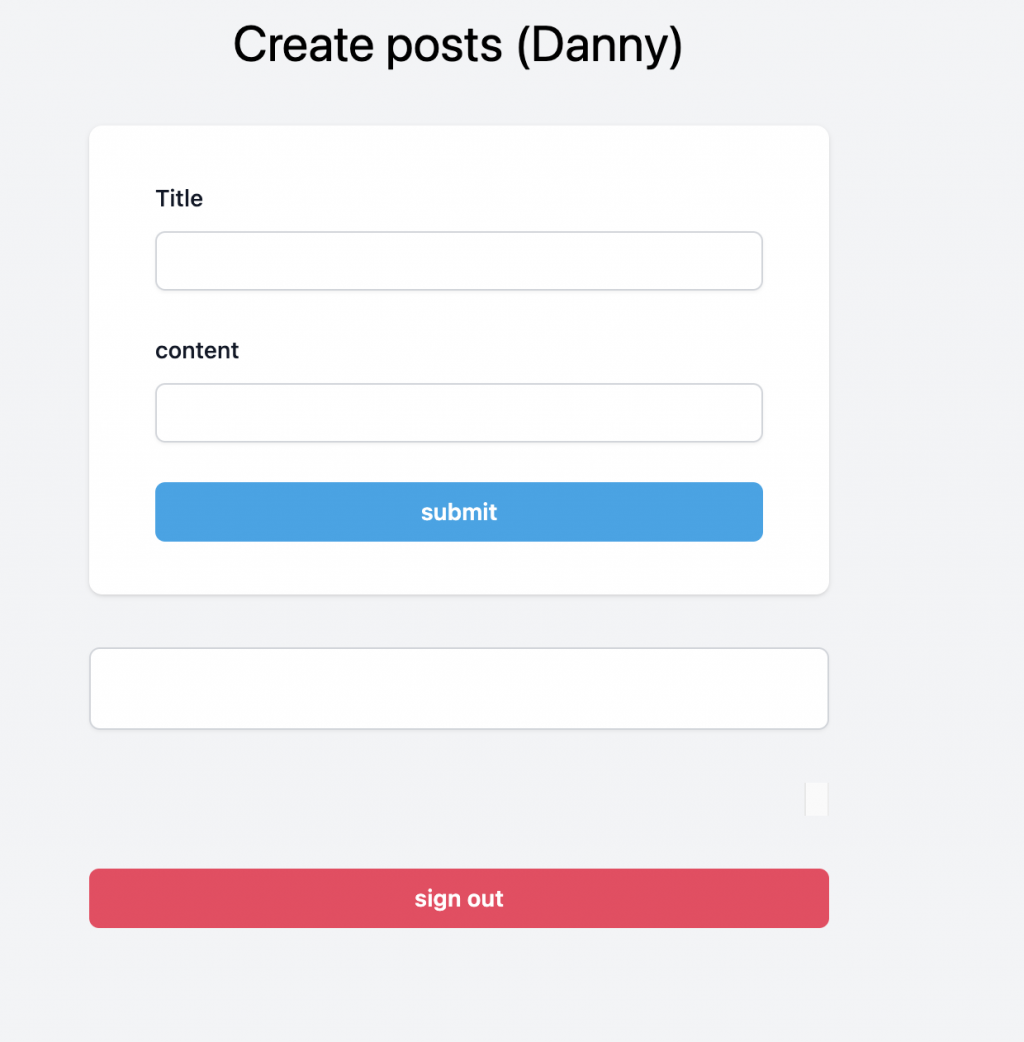
接著 user 成功登入後我們需要將 user 換頁到user 頁面,而這麼專案我們會用幾天前用過的posts 頁面當作會員頁。
那這邊我會在 AuthForm 做 user 是否登入的判斷,當然如果需要用 provider 方式去包也 ok 這邊主要是簡單介紹概念~,日後會再寫一個 middle ware 驗證這件事~
我們可以透過 next-atuh 提供的 useSession 來檢查 user login info, 當session.status 是 authenticated 時我們就去 posts 頁面。
// ~src/components/AuthForm.tsx

import {  useSession } from "next-auth/react"
//..
const session = useSession()

useEffect(() => {
    if (session.status === 'authenticated') {
      route.push('/posts')
    }
}, [session])
session 的內容如下,可以看到裡面包涵 user 簡單資料外,還有 expires 查看過期時間。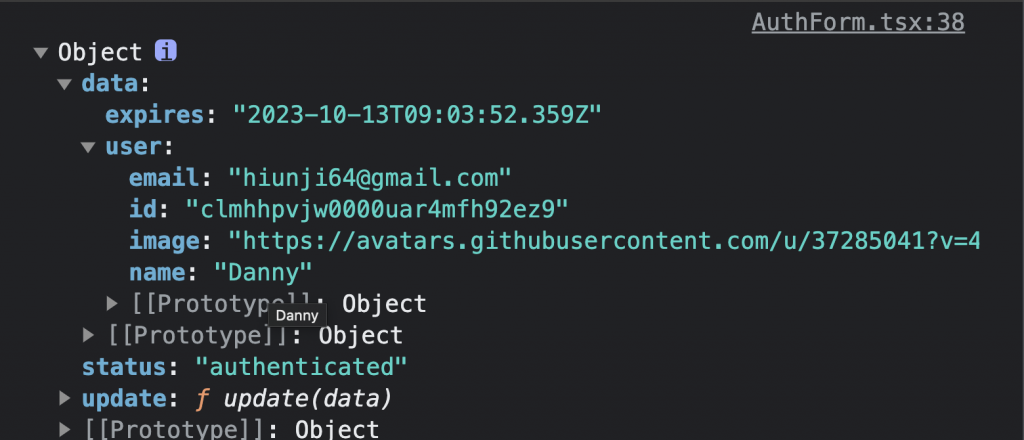
在 Next-auth 中預設是30天過期,如果讀者想自行更改時效可以到 authOptions 設定 maxAge 。
export const authOptions: AuthOptions = {
 //..
  session: {
    // default 2592000 // 30 days
    maxAge: 30 * 24 * 60 * 60
  }
}
如此一來我們就完成登入了~
補充 一下還記得在AuthOptions 中的 secret 嗎,我們可以到 cookie中查看,如果有 next-auth.session-token 代表就是登入狀態摟~而且因為有 secret 幫忙做加密處理,也不用擔心 cookie外洩, 可以大大減少資安疑慮,甚至還有 next-auth.csrf-token 初步處理 csrf 問題~

今天簡單帶大家認識 next-auth 設定以及使用,這邊給讀者一個小挑戰除了 github 外,還有 discord 跟 google 第三方登入沒有設定 OAuth app ,大家可以試著自己創創看,看能不能用在 Next-auth 中,筆者相信讀者們一定可以的~那如果設定上有什麼問題可以在底下提問,或是設定上有什麼心得也可以發表喔~
https://github.com/Danny101201/next_demo/tree/main
✅ 前端社群 :
https://lihi3.cc/kBe0Y
