今天要來介紹一些 trpc 蠻方便的 Extensions~昨天完成了 refresh token 的實作,那大家不知道會不會有一個疑問是我要怎麼產生 api 文件讓前端接值呢?,雖然說 trpc 的架構是一個全端框架,但如果你的 api 架構更大,是必須要有文件協助也比較容易 debug,那今天就來叫紹一款用於 trpc 的 api 文件~
trpc-panel 是一套類似於 swagger 的api UI 介面只需要簡單安裝就可以使用了~
作者來源: https://github.com/iway1/trpc-panel
> npm i trpc-panel
接著新增 panel api route
import type { NextApiRequest, NextApiResponse } from "next";
import { renderTrpcPanel } from "trpc-panel";
import { appRouter } from "../../server/api/root";

export default async function handler(_: NextApiRequest, res: NextApiResponse) {
  res.status(200).send(
    renderTrpcPanel(appRouter, {
      url: "http://localhost:3000/api/trpc",
      transformer: "superjson",
    })
  );
}
拿後打開 http://localhost:3000/api/panel 你就會看到美美的 api 文件拉~
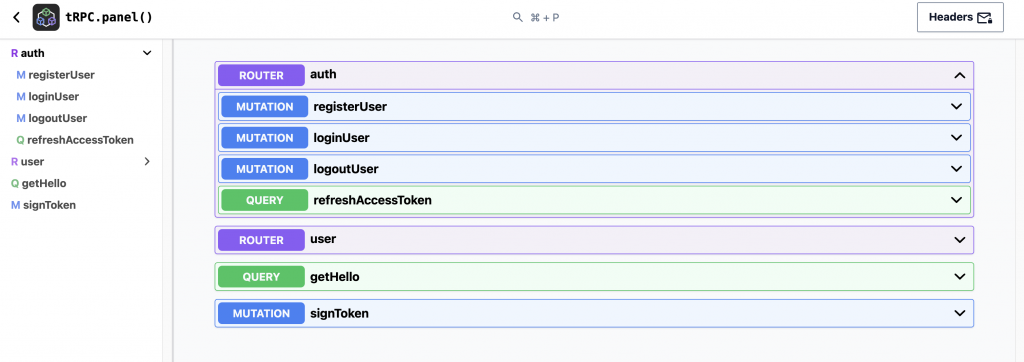
真的是非常方便,甚至你的 router 跟 api method 都幫你分類好了~
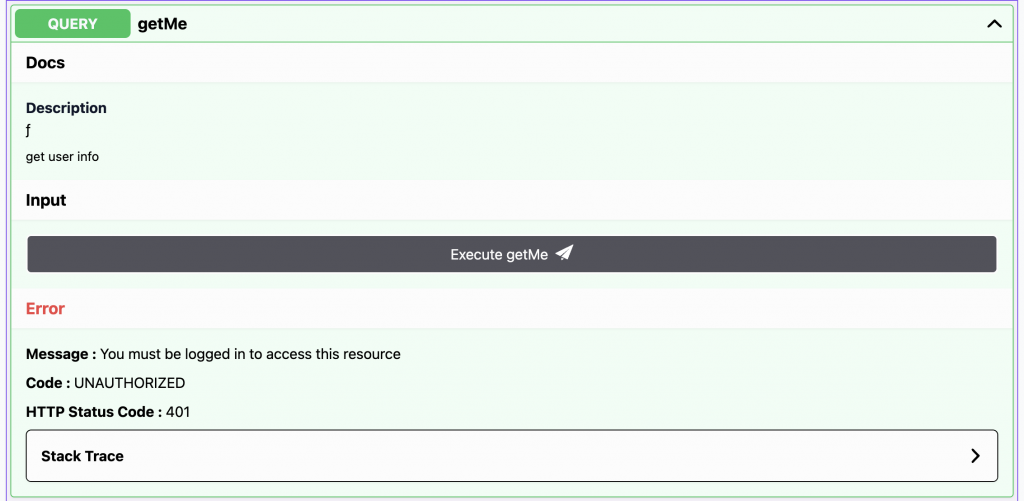
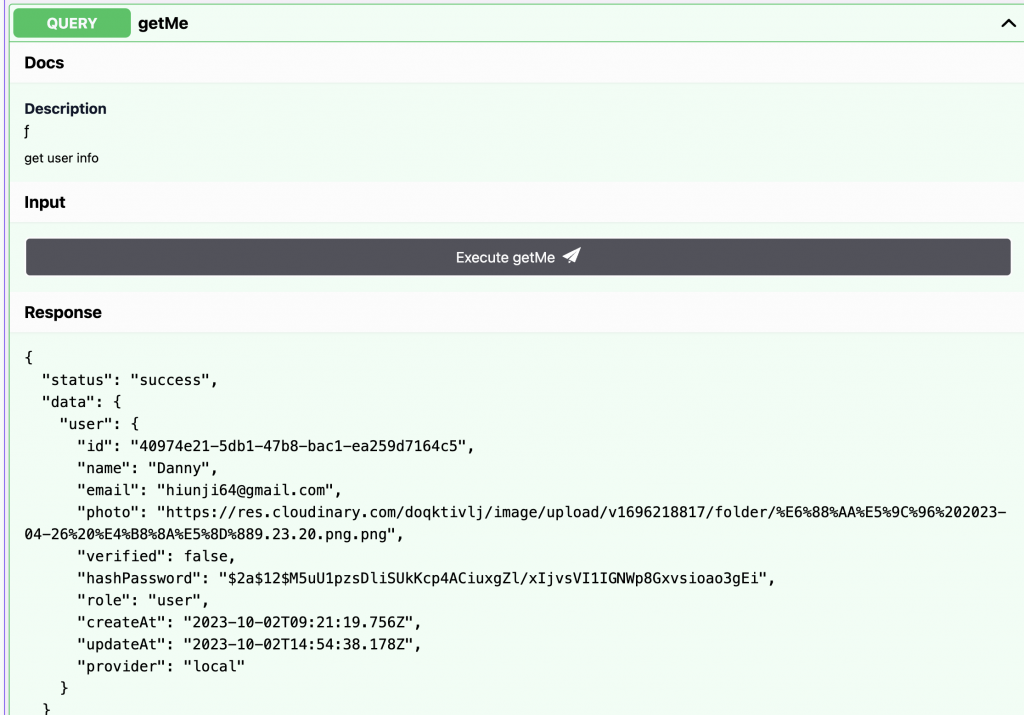
這邊就簡單測試一下,執行 getMe 你會發現返回 401 那是因為 getMe 屬於 protect route 所以我們需要先 login~
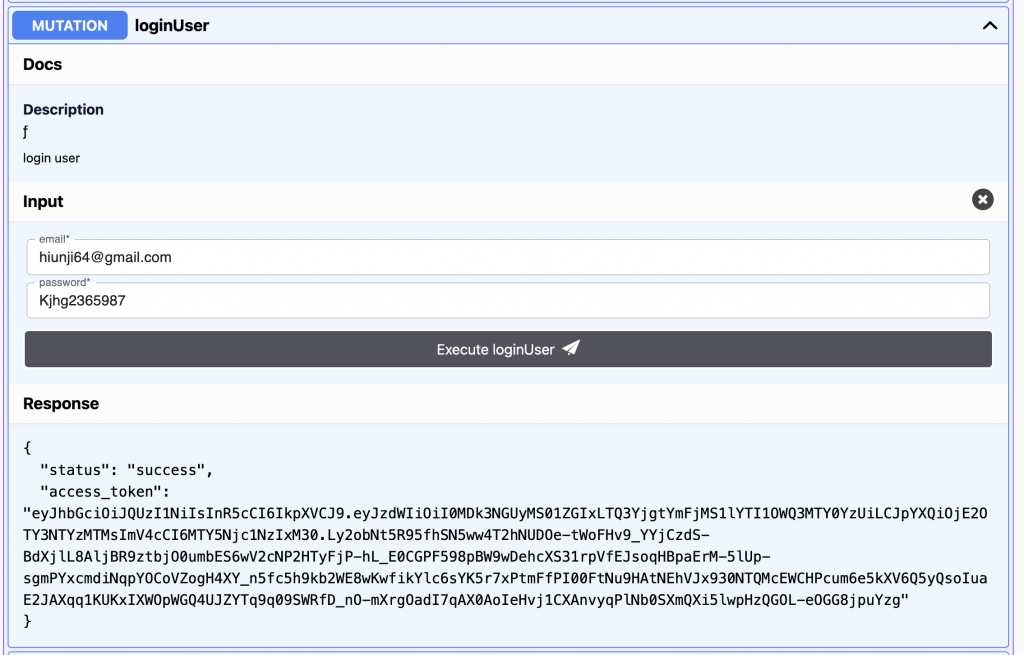
login 後會返回 access_token 記得先 copy~
點選右上角的 Header 然後新增一組 key authorization 把剛剛的 access_token 放進去後勾選 Save Headers 後點選 Confirm。
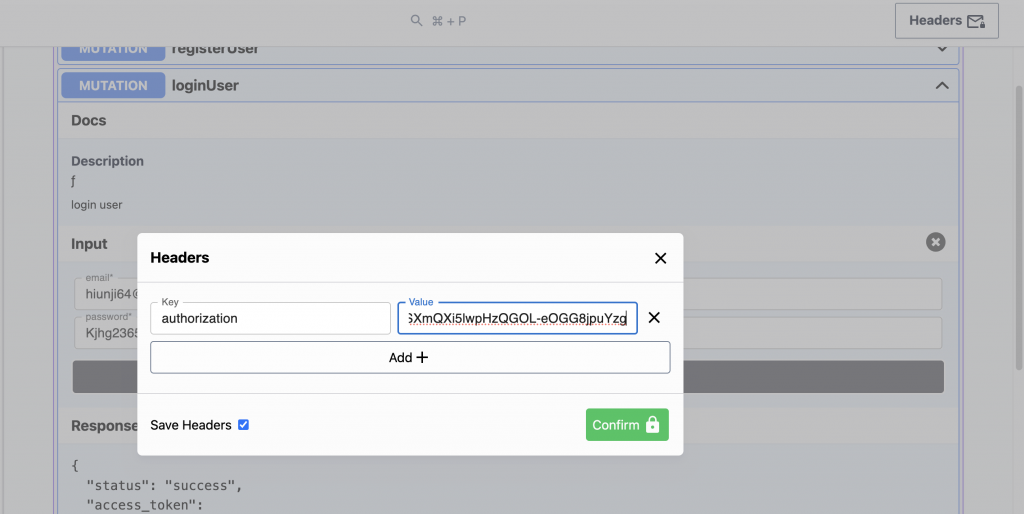
這些操作相對於我們在 req.headers 添加 authorization
export const deserializeUser = async (
  opt: CreateNextContextOptions
) => {
  try {

    const { req, res } = opt
    let access_token
    if (req.headers.authorization) {
      access_token = req.headers.authorization
    }
之後再點擊 getMe 就成功拿到 user 內容拉~
但現在還有一個問題是,我們的 api 文件沒有註解,所以對於有什麼 param 都不清楚,甚至可能對 api 功能不懂作用,所以我們要加上一些 meta data 內容~
為了讓我們 api 有 meta 記得在 initTRPC 地方加上 TRPCPanelMeta 的 interface 這樣之後的 input 就可以吃到 meta 的 type。
import { initTRPC } from "@trpc/server";
import { TRPCPanelMeta } from "trpc-panel";

const t = initTRPC.meta<TRPCPanelMeta>().create();
之後可以在每個 procedure 中添加 description
export const authRouter = router({
  registerUser:
    publicProcedure
      .meta({ description: 'register user' })
      .input(createUserSchema)
      .mutation(async ({ input }) => registerHandler({ input })),
甚至在 createUserSchema 也可以加上。
export const createUserSchema = z.object({
  name: z.string({ required_error: 'name is required' }).describe('The user name'),
  email: z.string({ required_error: 'email is required' }).email('Invalidate email').describe('register email'),
  password: z.string({ required_error: 'password is required' }).describe('user email')
    .min(8, { message: 'password must more than 8 characters' })
    .max(32, { message: 'password must less than 32 characters' }),
  photo: z.string({ required_error: 'profile is  require' }).describe('user image url')
})
這樣 registerUser 就有一些 meta info 了~
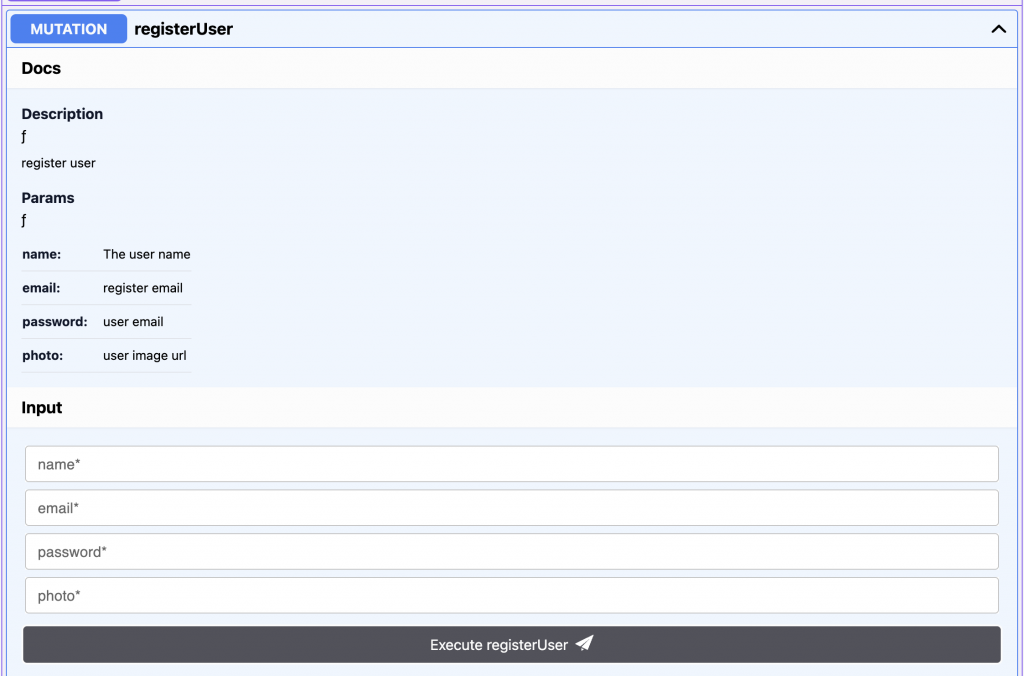
雖然說 description 部分有點簡陋,可能不像 swagger 或是 postman 那麼完善,但至少目前是堪用的,設定也非常簡單,期待之後套件可以提供更多內容~
另外在 chrome 中可以 install 這套 devtool lib
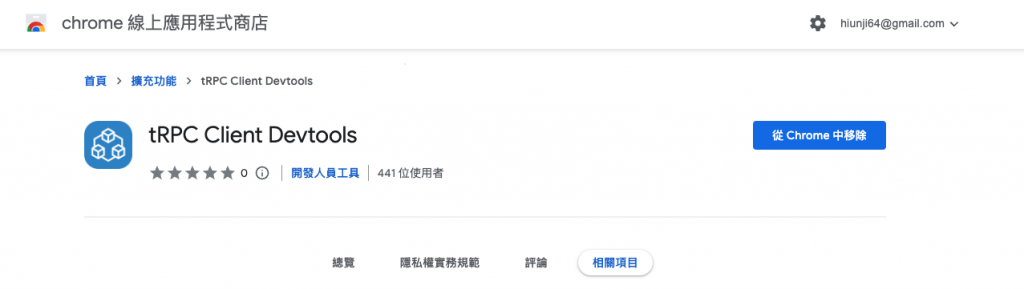
這樣在你的 console panel 就有 trpc tab 就會幫你記錄所有 api 內容了。

其實 trpc 的 extensions 東西真的很多筆者只是簡單分享一下,如果讀者有興趣可以去 trpc 官網玩玩看~
https://trpc.io/docs/community/awesome-trpc
https://github.com/iway1/trpc-panel
https://trpc.io/docs/community/awesome-trpc
✅ 前端社群 :
https://lihi3.cc/kBe0Y


 iThome鐵人賽