接著在叢集上部署 nginx。
先查看目前叢集的狀況。
kubectl get nodes

NAME                  STATUS   ROLES           AGE   VERSION
i-06e28e09e8c59e824   Ready    node            36m   v1.28.4
i-075493dae795c7a24   Ready    control-plane   38m   v1.28.4
i-0c00cf6b2e7b64548   Ready    node            36m   v1.28.4
建立完 AWS 叢集後,試著在叢集上建立應用程式。這邊使用到在 k8s 上的範例。
執行以下指令。
kubectl apply -f https://k8s.io/examples/application/deployment.yaml

deployment.apps/nginx-deployment created
查看一下 deployment 裡的 pods。
kubectl get po

NAME                                READY   STATUS    RESTARTS   AGE
nginx-deployment-86dcfdf4c6-hf4pr   1/1     Running   0          28s
nginx-deployment-86dcfdf4c6-xf7zf   1/1     Running   0          28s
再來,必須建立一個 Service 讓應用程式可以被外界(瀏覽器)存取,參考 k8s 範例。
執行以下指令,建立一個 loadbalancer 類型的 Service,之後透過 External-IP 可讓外界存取到 pods 中的應用程式。
kubectl expose deployment nginx-deployment --type=LoadBalancer --name=my-service
查看一下 Services,可以看到 my-service 的 EXTERNAL-IP。
kubectl get svc

NAME         TYPE           CLUSTER-IP       EXTERNAL-IP                                                            PORT(S)        AGE
kubernetes   ClusterIP      100.64.0.1       <none>                                                                 443/TCP        39m
my-service   LoadBalancer   100.67.249.213   a62b26710f3114ddc9c9fcd38cff7725-7155824.us-east-1.elb.amazonaws.com   80:32248/TCP   5s
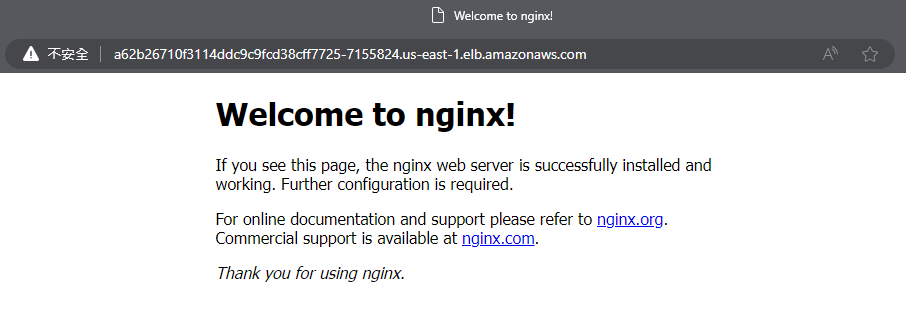
在瀏覽器上輸入 IP 位址可存取到應用程式。

或是使用以下指令。
# curl http://<external-ip>:<port>

curl http://a62b26710f3114ddc9c9fcd38cff7725-7155824.us-east-1.elb.amazonaws.com:80
  % Total    % Received % Xferd  Average Speed   Time    Time     Time  Current
                                 Dload  Upload   Total   Spent    Left  Speed
100   612  100   612    0     0    773      0 --:--:-- --:--:-- --:--:--   772<!DOCTYPE html>
<html>
<head>
<title>Welcome to nginx!</title>
<style>
    body {
        width: 35em;
        margin: 0 auto;
        font-family: Tahoma, Verdana, Arial, sans-serif;
    }
</style>
</head>
<body>
<h1>Welcome to nginx!</h1>
<p>If you see this page, the nginx web server is successfully installed and
working. Further configuration is required.</p>

<p>For online documentation and support please refer to
<a href="http://nginx.org/">nginx.org</a>.<br/>
Commercial support is available at
<a href="http://nginx.com/">nginx.com</a>.</p>

<p><em>Thank you for using nginx.</em></p>
</body>
</html>
測試完畢後刪除剛剛建立好的資源。
kubectl delete svc my-service
kubectl delete deploy nginx-deployment

service "my-service" deleted
deployment.apps "nginx-deployment" deleted
每次使用完叢集後,都記得將其刪除才不會產生額外的費用。
kops delete cluster --name ${NAME} --yes

...
Deleted cluster: "mycluster.k8s.local"
前往 AWS 主控台刪除 S3 bucket,有 State store 與 OIDC store。必須先清空內容後,才能進行移除。
後續會想要自訂一個應用程式,建立一個叢集在上面跑,而不是使用現行官網上的範例。另外就是要設定 DNS 而不是建立一個 gossip-based 的叢集。
