終於說了那麼多next-auth篇幅現在可以談主角trpc 了,有了next-auth 的 session 內容,我們就可以把它放到 trpc 的 context 拉~
跟 express 概念一樣 middleware 就是讓你來做身份驗證的,但我們要怎麼拿到 user 身份內容呢?不知道讀者還記不記得我們可以在 client 端透過 useSession 中查看 user session 內容,但其實next-auth有提供 server-side 的 function 讓你拿到 session 他可以用在 SSR 或是 api route 甚至是 server enver environment 。
import { authOptions } from 'pages/api/auth/[...nextauth]'
import { getServerSession } from "next-auth/next"

export async function getServerSideProps(context) {
  const session = await getServerSession(context.req, context.res, authOptions)

  if (!session) {
    return {
      redirect: {
        destination: '/',
        permanent: false,
      },
    }
  }

  return {
    props: {
      session,
    },
  }
}
import { authOptions } from 'pages/api/auth/[...nextauth]'
import { getServerSession } from "next-auth/next"


export default async function handler(req, res) {
  const session = await getServerSession(req, res, authOptions)

  if (!session) {
    res.status(401).json({ message: "You must be logged in." });
    return;
  }

  return res.json({
    message: 'Success',
  })
}
但如果是在 trpc 你需要先定義 getServerAuthSession
//~src/server/auth

import { getServerSession } from 'next-auth'
export const getServerAuthSession = (ctx: {
  req: GetServerSidePropsContext["req"];
  res: GetServerSidePropsContext["res"];
}) => {
  return getServerSession(ctx.req, ctx.res, authOptions);
};
之後 getServerAuthSession 會放到 createTRPCContext 中把 session 傳到 trpc context。
//~src/server/api/trpc
export const createTRPCContext = async (opts: CreateNextContextOptions) => {
  const { req, res } = opts
  const session = await getServerAuthSession({ req, res });
  return {
    session,
    prisma
  };
};
那 createTRPCContext 的 opts params 則是因為在 ~src/api/trpc/[trpc].ts create 一個 api route,所以才會有 next 的 req 跟 res 參數。
export default createNextApiHandler({
  router: appRouter,
  createContext: createTRPCContext,
});
因為我們有添加 session 到 trpc 的 contect ,所以實作 middleware 時,我們就可以判斷 ctx 中是否有 user info,接著就可以訂一個 protectProcedure 包含enforceUserIsAuthed middleware。
const enforceUserIsAuthed = t.middleware(({ ctx, next }) => {
  if (!ctx.session?.user) {
    throw new TRPCError({ code: 'UNAUTHORIZED' })
  }
  return next({
    ctx: {
      session: { ...ctx.session, user: ctx.session.user },
    }
  })
})

export const publicProcedure = t.procedure;
export const protectProcedure = t.procedure.use(enforceUserIsAuthed);
接著我們把 protectProcedure 替換 publicProcedure
export const postsRouter = router({
  infinitePosts: protectProcedure
    .input(getInfinitePostSchema)
    //..
addPost 部分也要。
addPost: protectProcedure
    .input(createPostSchema)
    .mutation(async ({ input, ctx }) => {
      const { prisma, session } = ctx
      const { title } = input
      const duplicatePost = await prisma.post.findFirst({
        where: {
          title: title
        }
      })
      //..
      return { message: 'success create post' }
    }),
然後到 PostForm 中我們加個 toast error
export const PostForm = ({ updateSuccessCallBack }: PostFormProps) => {
  const utils = api.useContext()
  const { mutateAsync: createPost } = api.posts.addPost.useMutation({
    onSuccess: () => {
      // utils.posts.getPosts.invalidate()
      utils.posts.infinitePosts.refetch()
      if (updateSuccessCallBack) {
        updateSuccessCallBack()
      }
    },
    onError: (e) => {
      if (e instanceof TRPCClientError) {
        toast.error(e.message)
      }
    }
  })
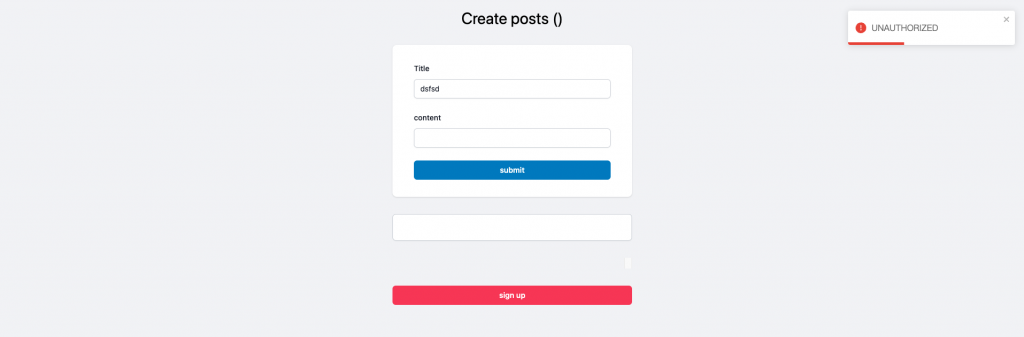
然後我們到 http://localhost:3000/posts 隨便新增 post,這時你就會發現有 error 摟~日後假如你的 router 希望有身份限制就用 protectProcedure ~
那現在 addPost 改成 protectProcedure,所以我們可以透過 ctx 拿到 session。
 addPost: protectProcedure
    .input(createPostSchema)
    .mutation(async ({ input, ctx }) => {
      const { prisma, session } = ctx
接著我們將 session 的 user.id 關聯到我們的 post 中,如此一來只要user 是登入狀態,create post 後就會自動關聯到 user.id
addPost: protectProcedure
    .input(createPostSchema)
    .mutation(async ({ input, ctx }) => {
      const { prisma, session } = ctx
      const { title } = input
      const duplicatePost = await prisma.post.findFirst({
        where: {
          title: title
        }
      })
      if (duplicatePost) {
        throw new TRPCError({ code: 'BAD_REQUEST', message: 'Title already exists' })
      }

      const newPost = await prisma.post.create({
        data: {
          title: input.title,
          content: input.content,
          author: {
            connect: {
              id: session?.user.id
            }
          }
        },
      })
      //..
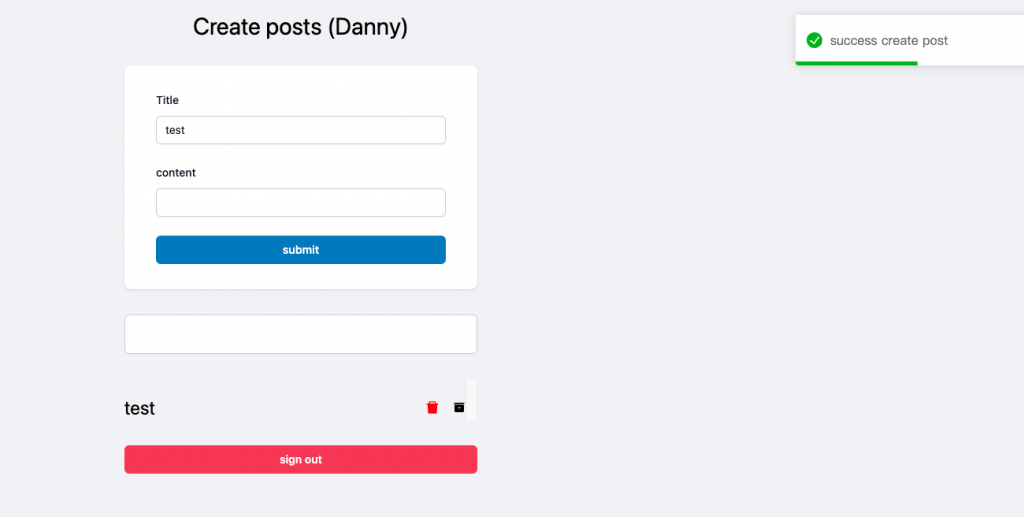
接著我們重新登入後新增post 如此一來不會有 UNAUTHORIZED error 了。
從 prisma studio 來看你會發現 post 就關聯到對應的 user了~
( 這邊圖很小讀者可以自行放大XD )

最後一步就是在 PostForm 加上 signup 功能。
export const PostForm = ({ updateSuccessCallBack }: PostFormProps) => {
 //..

  return (
      //..

        <Button type='submit' disabled={false} fullWidth>submit</Button>
     //..
  )
}
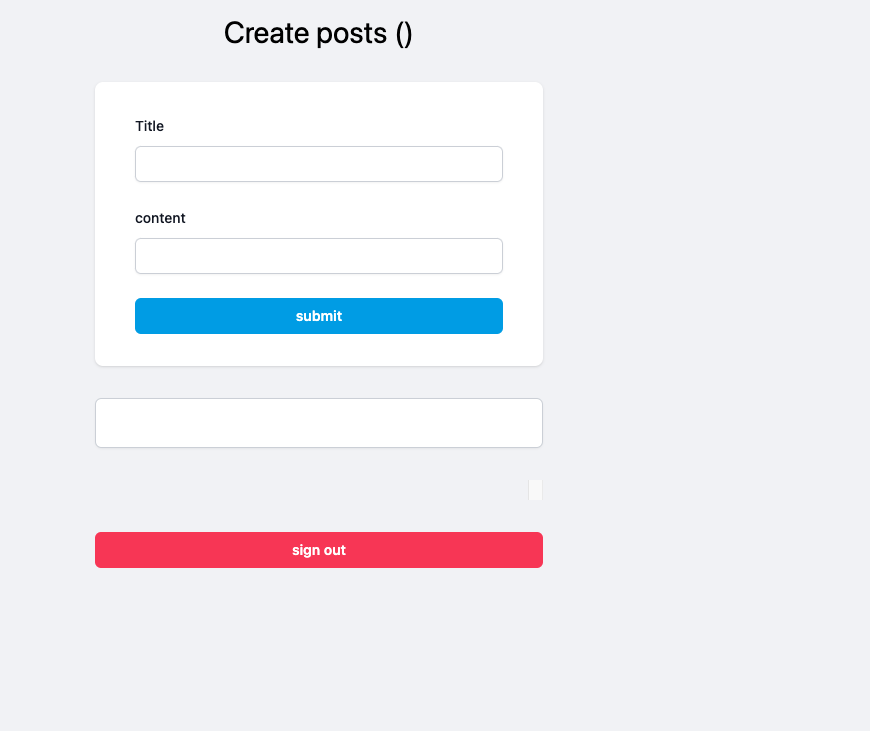
但你會發現登出後還是停留在 http://localhost:3000/posts ,那是因為我們還沒有做轉址,明天會繼續教讀者完善這功能~
以上大概是簡單說明 middleware 用法,明天我們就來優化一下 auth 其他功能期待一下吧~
https://github.com/Danny101201/next_demo/tree/main
✅ 前端社群 :
https://lihi3.cc/kBe0Y


 iThome鐵人賽