讀者還記得昨天登出後停留在 posts 頁面問題嗎?
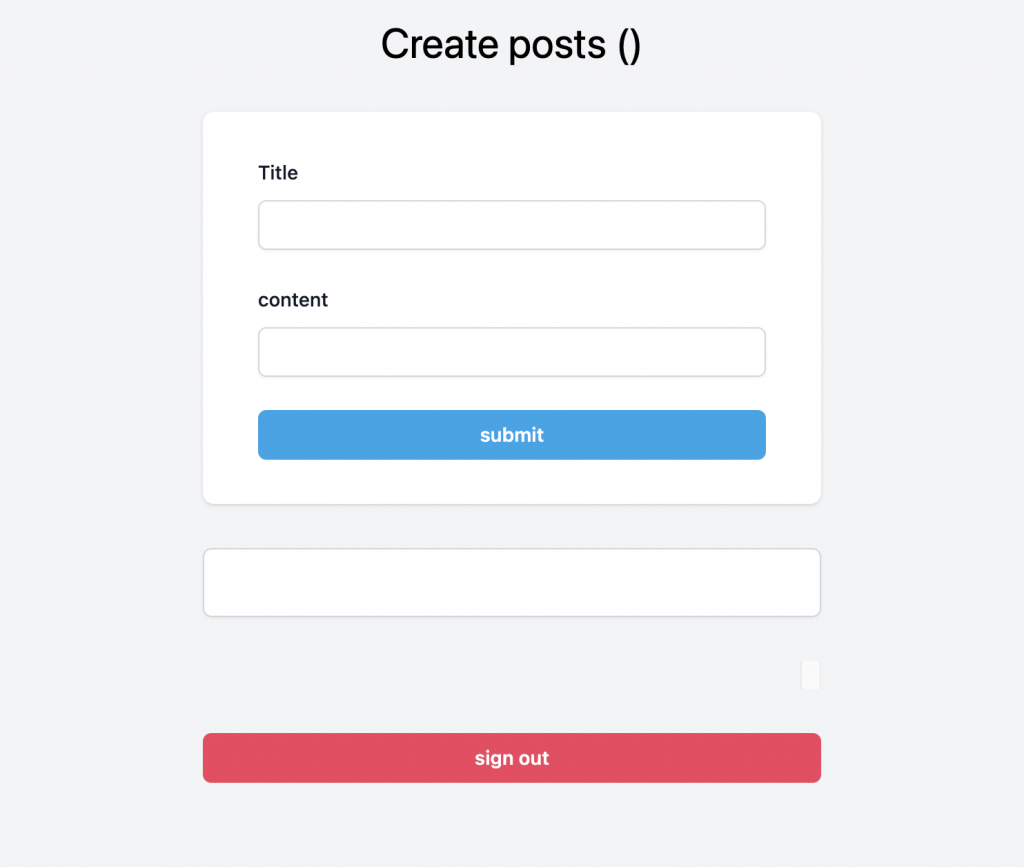
今天要來實作 moddleware 機制,概念就是在posts 頁面中只要沒有 session 就返回 sigin page。
這其實是 nextJS 中特定的功能,不管是 api route 或是 page route 都可以適用,觸發的時機點為 。api route : 發送 request 前。page route : ssr產生 inital html 前。
使用方式很簡單先在root 底下產生 middleware.ts ,每個 middleware 都需要 export middleware function ,config 則是你希望哪個 route 可以觸發,只要 page 等於 http://localhost:3000/posts 就是觸發 middleware function。
//middleware.ts
import type { NextRequest } from 'next/server'

export function middleware(request: NextRequest) {
  console.log('middle ware')
}

export const config = {
  matcher: '/posts',
}
那 next-auth 很貼心的是已經有寫好一個 middleware 的 api handler 所以只需要 import 進來就好。
import { NextResponse } from 'next/server'
import type { NextRequest } from 'next/server'

export { default } from "next-auth/middleware"
export const config = {
  matcher: '/posts',
}
這時你再重新 reload page 就成功返回 sign in page 摟~
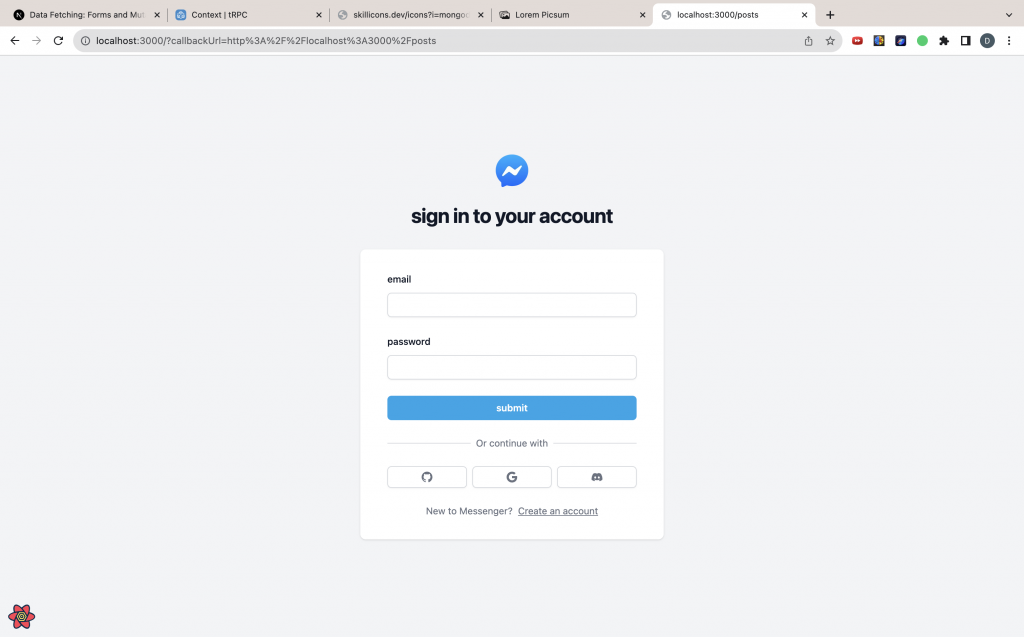
但其實你還可以客製化 next-auth 的 middleware 內容,如果讀者需要可以參考看看~
next-auth 有提供 withAuth 讓我可以客製化~
import { withAuth } from "next-auth/middleware"

export default withAuth(
  // `withAuth` augments your `Request` with the user's token.
  // `middleware` will only be invoked if the `authorized`  callback return true
  function middleware(req) {
    console.log(req.nextauth.token)
  },
  {
    pages: {
      signIn: '/'
    },
    secret: process.env.AUTH_SECRET,
    callbacks: {
      authorized: ({ token }) => {
        return token !== null
      },
    },
  }
)
因為我們的 sign in 是在 / ,所以我們可以定義一下 sing in 的 route
 pages: {
      signIn: '/'
 },
這邊記得要跟 AuthOptions 的 secret 是要一樣的喔~
備註 : 不管在 middleware 或是 AuthOptions 預設值都是 NEXTAUTH_SECRET ,但因為筆者是為了教學方便告訴 secret 用途在用自訂意的 key 塞值,但一般情況下只要你的 env 有 NEXTAUTH_SECRET 那你 secret 就可以不用設定。
secret: process.env.AUTH_SECRET,
透過 token 內容用來驗證 authorized。
 callbacks: {
      authorized: ({ token }) => {
        return token !== null
      },
    },
在使用 next-auth 登入時我們可能會遇到 OAuthAccountNotLinked 這個 error ,發生這個狀況的情緒是因為你是用到同一組 email 去登入不同的 provider ,例如你一下登入 google 一下又登入 github 。
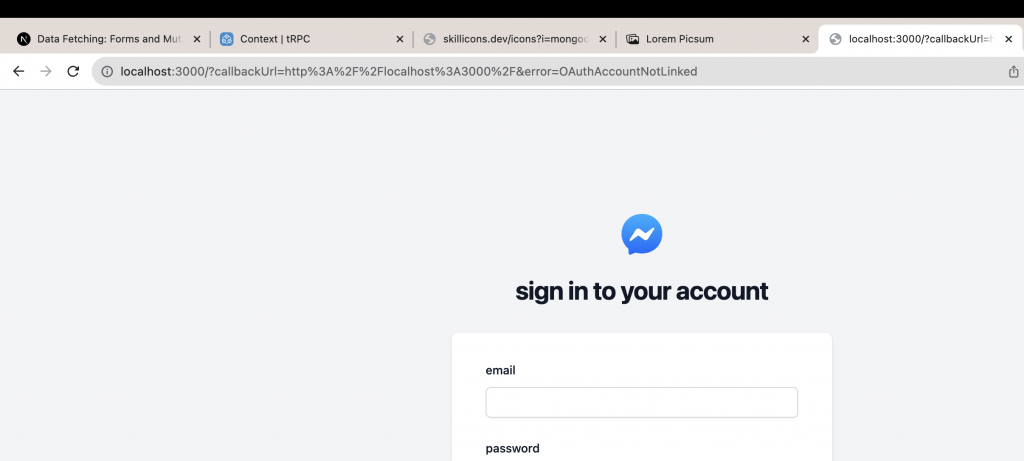
會發生這個原因是因為 next-auth 並不知道這個 email 是不是持有者登入的狀況,因為 next-auth 並沒有處理 email verify 的部分,基於安全考才才會噴 error。
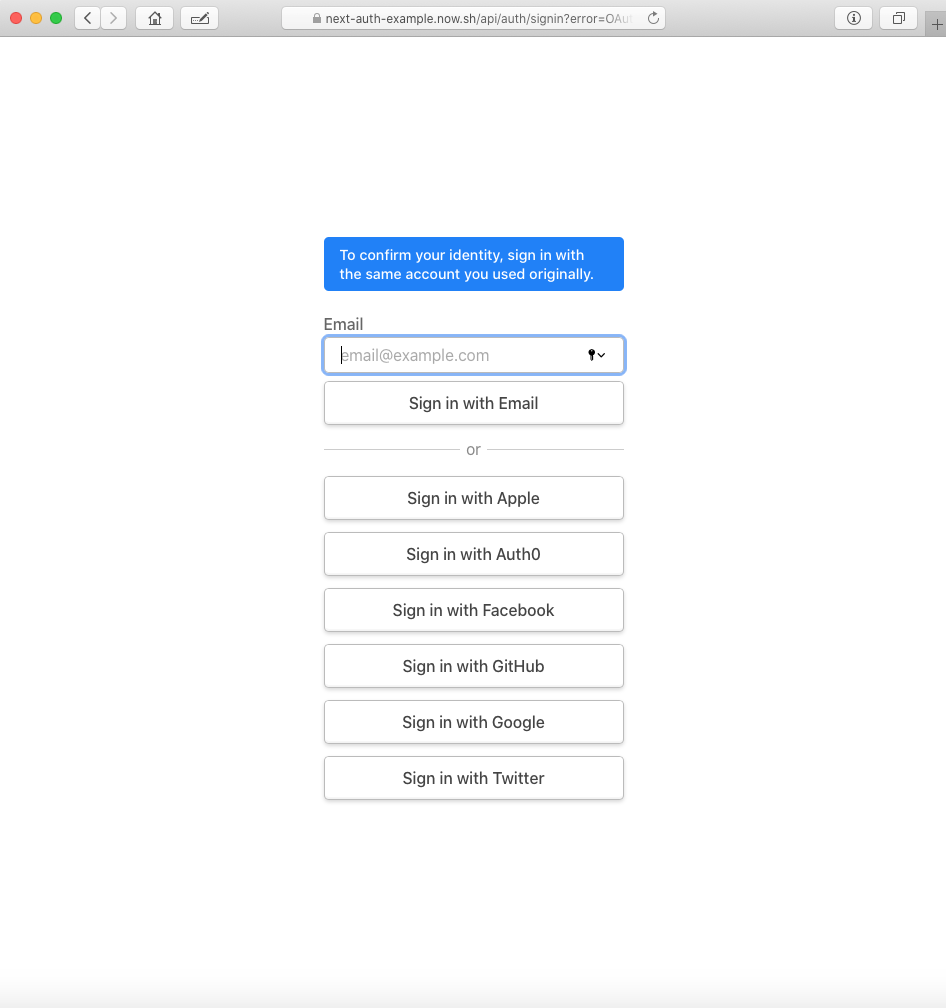
To confirm your identity, sign in with the same account you used originally. 這句話出現的原因 next-auth 的解釋是。
When an email address is associated with an OAuth account it does not necessarily mean that it has been verified as belonging to account holder — how email address verification is handled is not part of the OAuth specification and varies between providers (e.g. some do not verify first, some do verify first, others return metadata indicating the verification status).
With automatic account linking on sign in, this can be exploited by bad actors to hijack accounts by creating an OAuth account associated with the email address of another user.
簡單來說 email verify 並不是 next-auth 的規範之一,而且不同的 provider email verify 規範也不同,next-auth 很難統一。
再加上安全考量,原本第三方登陸會自動透過 email 做連結,如果一但你的 email 被不良使用者盜取,甚至不防止OAuthAccountNotLinked 的話, 不良使用者就可以根據你的 email 去劫持與該 email 有關的 oauth 帳戶。
那怎麼 handle error 呢?在 useSession 中我們可以透過 onUnauthenticated 做一些登入失敗的事件,如以下 toast erro 加上 redirect。
// AuthForm.tsx

const session = useSession({
    required: true,
    onUnauthenticated() {
      if (
        route.query.error &&
        route.query.error === 'OAuthAccountNotLinked'
      ) {
        toast.error('此 email 已經註冊過,無法登入第三方,請使用原先 email 登入方式登入')
        route.replace('/')
      }
    },
  })
required : 代表這個 component 必須是有 session 的狀態,如果沒有將觸發 onUnauthenticated callback 。onUnauthenticated : handle onUnauthenticated event。
如果沒有定義 onUnauthenticated 則會執行 signIn()
const session = useSession({
    required: true
})
useSession 有提供 update 的機制,用來更新 session token,
const { update, data: session } = useSession()
接著我們在 session callbacks 中把 token return 。
export const authOptions: AuthOptions = {
    //..
    callbacks:{
        //..
        async session({ session, token }) {
              return { ...session, user: { ...session.user, id: token.id, token } }
        },
    }

}
你會看到 session 資料多了 token 內容。
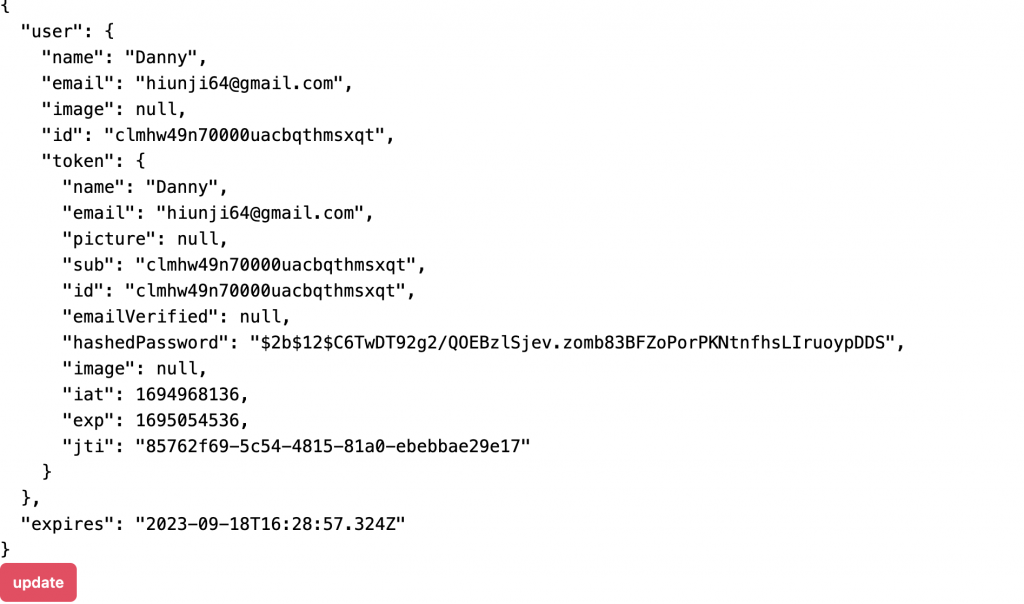
我們在 button 中 update session。
<Button danger onClick={() => update()}>update</Button>
點擊後你會發現 expires 跟 jti (JWT TOKEN ID) 自動更新了,所以我們可以根據 update 這個機制做一些登入變化。
透過 Pooling 方式我們就可以讓 user 永遠都保持登入狀態。
useEffect(() => {
    // update 1 hr Pooling
    const interval = setInterval(() => update(), 1000 * 60 * 60)
    return () => {
      clearInterval(interval)
    }
  }, [update])
但如果會覺得 pooling 會很讓費效能的話,可以添加 visibilityState event ,只要 user 一切換 tab 回來就 update session。
  useEffect(() => {
    const bisibilotyhandler = () => document.visibilityState === 'visible' && update()
    window.addEventListener('visibilitychange', bisibilotyhandler)
    return () => {
      window.removeEventListener('visibilitychange', bisibilotyhandler)
    }
  }, [update])
以上就是 update 的小技巧,讀者可以根據實際情況做取用。
如果你希望客製化 auth 可以試試看以下的 demo
import { NextResponse } from 'next/server'
import type { NextRequest } from 'next/server'
// export { default } from "next-auth/middleware"
import { withAuth } from "next-auth/middleware"
import { getToken } from 'next-auth/jwt';
export default withAuth(
  // `withAuth` augments your `Request` with the user's token.
  async function middleware(request) {

    const pathName = request.nextUrl.pathname

    // // auth
    const token = await getToken({ req: request })
    const isAuth = !!token

    const sensitiveRoutes = ['/posts']
    if (isAuth && !sensitiveRoutes.some(route => pathName.startsWith(route))) return NextResponse.redirect(new URL('/posts', request.url))
    if (!isAuth && sensitiveRoutes.some(route => pathName.startsWith(route))) return NextResponse.redirect(new URL('/', request.url))
  },
  {
    callbacks: {
      authorized: () => true
    },
  }
)
https://github.com/Danny101201/next_demo/tree/main
✅ 前端社群 :
https://lihi3.cc/kBe0Y
