在網站的目錄加一個files 的資料夾
先加一個 File 的 Controller
程式如下:
public class FileController : Controller
    {
        //
        // GET: /File/

        public ActionResult Index()
        {
            return View();
        }
        [HttpPost]
        public ActionResult Index(HttpPostedFileBase file)
        {

            if (file != null)
            {
                string filePath = Server.MapPath("~/uploadfiles/") + file.FileName;
                file.SaveAs(filePath);
                return Content("<script>alert('上傳成功!');location.href='" + Url.Content("~/uploadfiles") + "'</script>");
            }
            return View("Index");
        }

    }
public ActionResult Index() 是一個 HTTP GET 方法,用於處理顯示上傳表單的請求。
當用戶瀏覽到該控制器的動作時(例如 /File/Index),它會返回一個 View,
這個 View 通常是一個 HTML 表單,允許用戶選擇要上傳的文件。
[HttpPost] 標註表示以下的方法處理 HTTP POST 請求,也就是當用戶提交了上傳表單時觸發的操作。
public ActionResult Index(HttpPostedFileBase file)
是一個接受 HttpPostedFileBase 類型參數的方法,這是用於處理接收到的文件的方法。
在方法內,首先檢查 file 參數是否為空,如果不為空,表示用戶已經選擇了要上傳的文件。
Server.MapPath("~/uploadfiles/") 用於獲取伺服器上的實際文件系統路徑,
~/uploadfiles/ 是文件上傳後的存放路徑。
file.SaveAs(filePath) 用於將接收到的文件保存到伺服器上的指定路徑,
filePath 是伺服器上保存文件的完整路徑。
return Content("alert('上傳成功!');location.href='" + Url.Content("~/uploadfiles") + "'") 這一行代碼返回一個包含 JavaScript 腳本的 Content 結果。
它會彈出一個瀏覽器提示框,顯示 "上傳成功!",然後將用戶重新導向到文件上傳後的頁面,即 /uploadfiles。
如果 file 為空,表示用戶未選擇要上傳的文件,則返回 View("Index"),即重新顯示上傳表單。
畫面的程式如下
@{
    ViewBag.Title = "文件上傳";
}

<!DOCTYPE html>
<html>
<head>
    <meta name="viewport" content="width=device-width" />
    <title>文件上傳</title>
    <style>
        body {
            font-family: Arial, Helvetica, sans-serif;
            background-color: #f4f4f4;
            text-align: center;
        }

        h2 {
            color: #333;
        }

        .upload-container {
            background-color: #fff;
            border: 1px solid #ccc;
            padding: 20px;
            margin: 20px auto;
            width: 80%;
            max-width: 400px;
            box-shadow: 0 2px 4px rgba(0, 0, 0, 0.1);
        }

        input[type="file"] {
            margin: 10px 0;
        }

        input[type="submit"] {
            background-color: #007bff;
            color: #fff;
            padding: 10px 20px;
            border: none;
            cursor: pointer;
        }

            input[type="submit"]:hover {
                background-color: #0056b3;
            }
    </style>
</head>
<body>
    <div class="upload-container">
        <h2>文件上傳</h2>
        @using (Html.BeginForm("Index", "File", FormMethod.Post, new { enctype = "multipart/form-data" }))
        {
            <input type="file" name="file" />
            <br />
            <input type="submit" name="upload" value="提交" />
        }
    </div>
</body>
</html>
RouteConfig 也要做調整
Controller 設成 File
相關程式如下:
  public static void RegisterRoutes(RouteCollection routes)
        {
            routes.IgnoreRoute("{resource}.axd/{*pathInfo}");

            routes.MapRoute(
                name: "Default",
                url: "{controller}/{action}/{id}",
                defaults: new { controller = "File", action = "Index", id = UrlParameter.Optional }
            );
        }
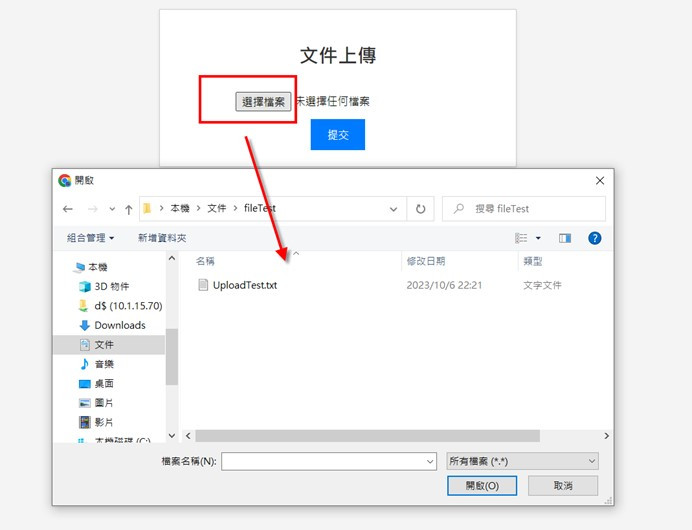
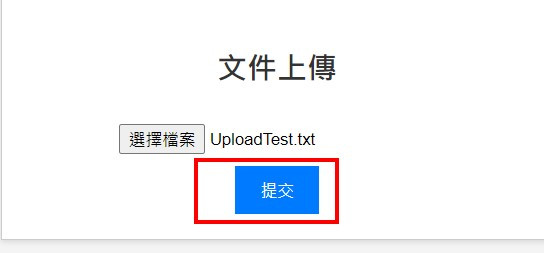
執行畫面如下