iT邦幫忙

2023 iThome 鐵人賽

DAY 23
0
WordPress

30天學會使用 CyberPanel 管理 WordPress 站台系列 第 26

<Day 23> 不使用 CyberPanel 預設安裝 WordPress 功能,就是喜歡手工建立 WordPress 站台

  • 分享至 

  • xImage
  •  

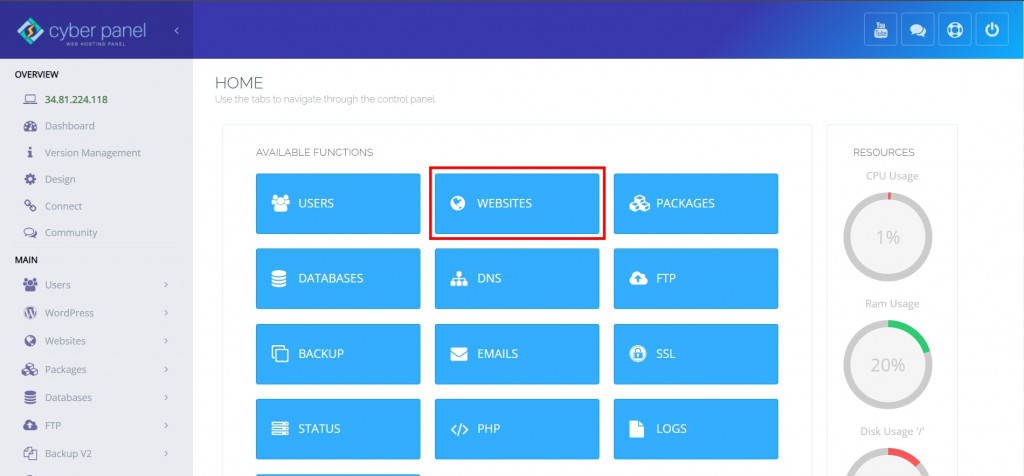
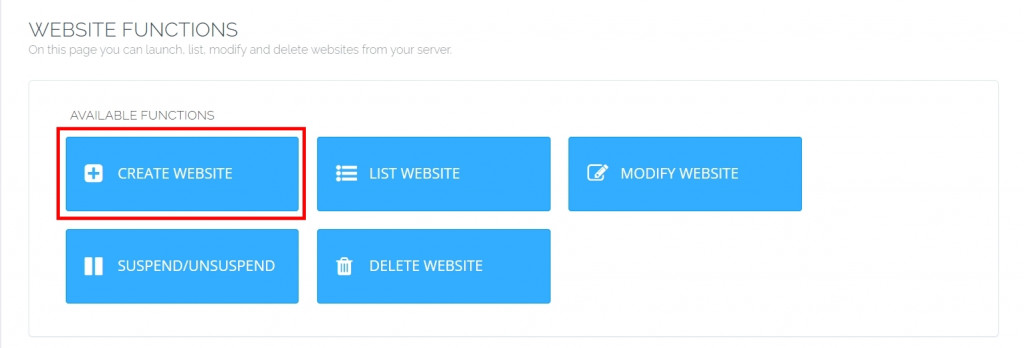
CyberPanel雖然提供了2個方式讓我們來建立WordPress站台,第一個方式是使用Deploy WordPress(這是付費功能才有)、第二個方式是使用APPLICATION INSTALLER,但是今天就是要來分解安裝步驟,一樣可以安裝好WordPress站台。

但是CyberPanel預設安裝WordPress站台的功能,也會將LiteSpeed Cache快取外掛一併安裝,雖然很方便,但總是有不同需求的時候,例如 網站管理者有
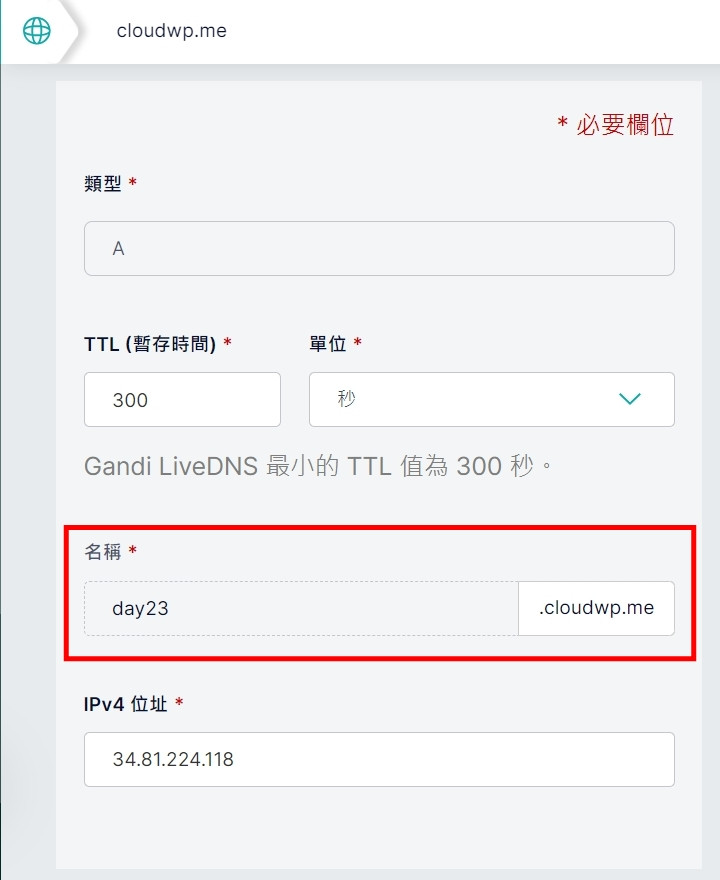
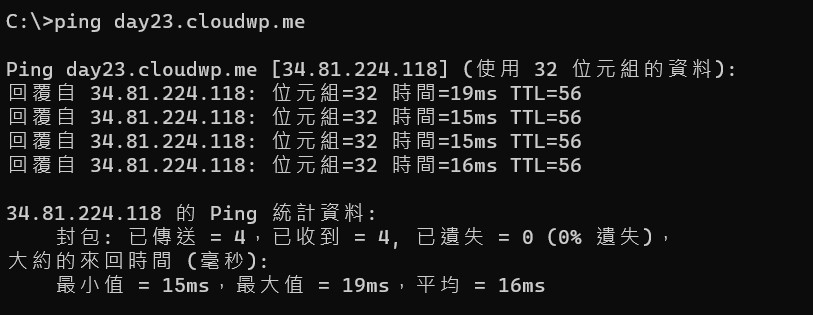
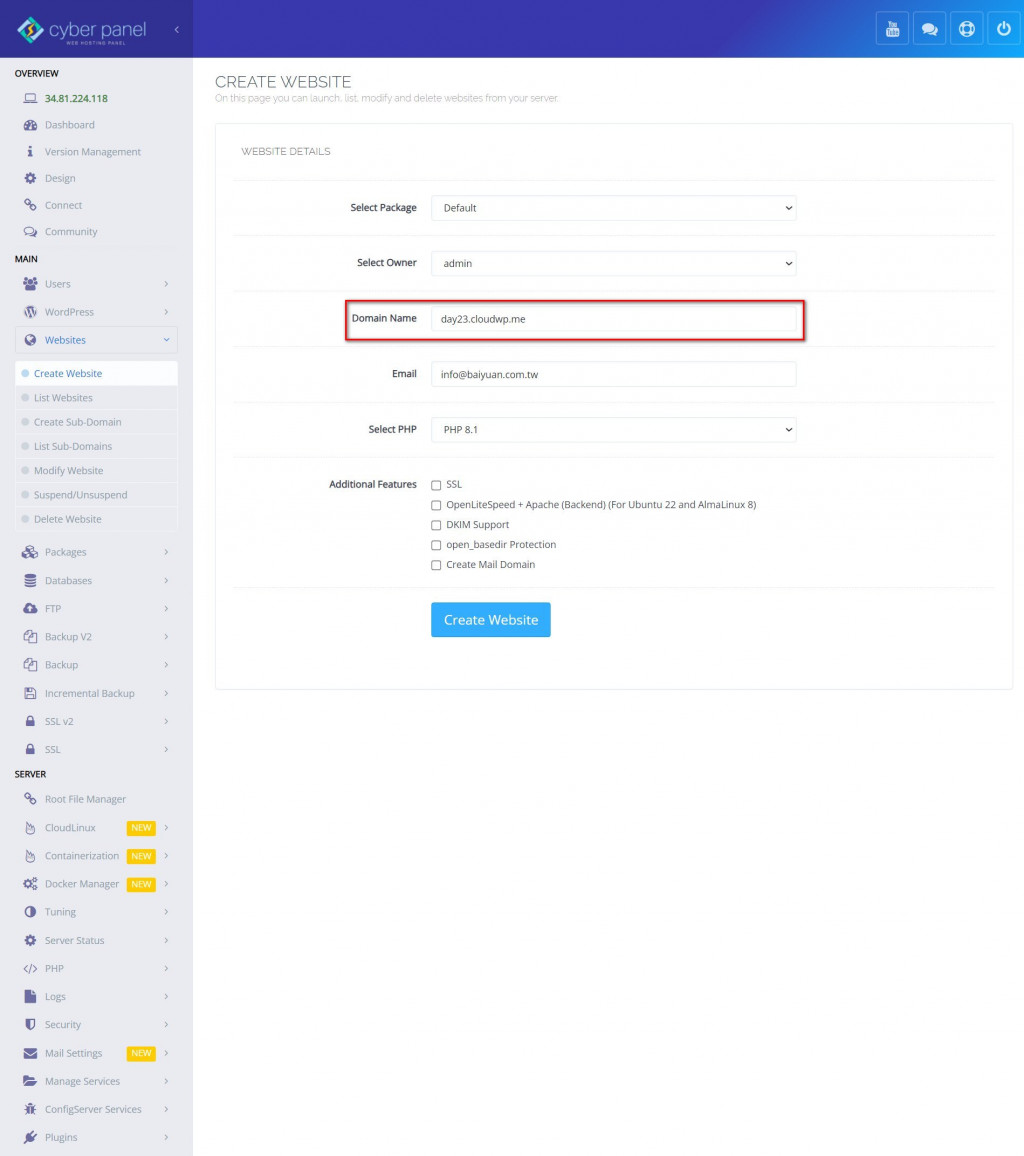
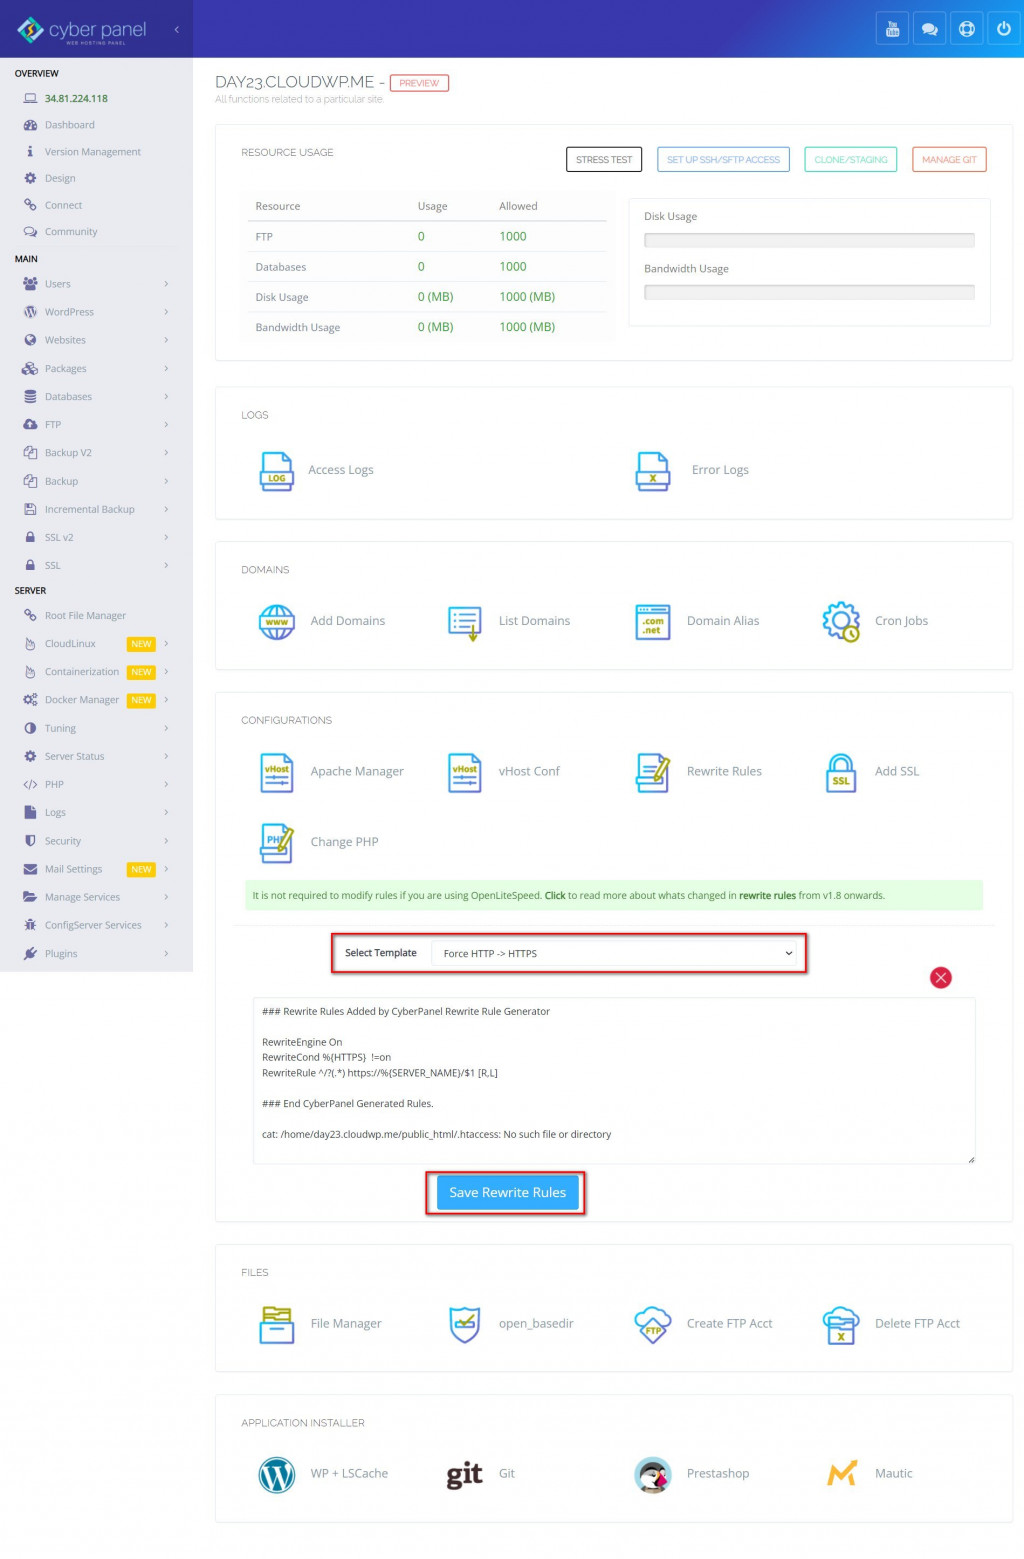
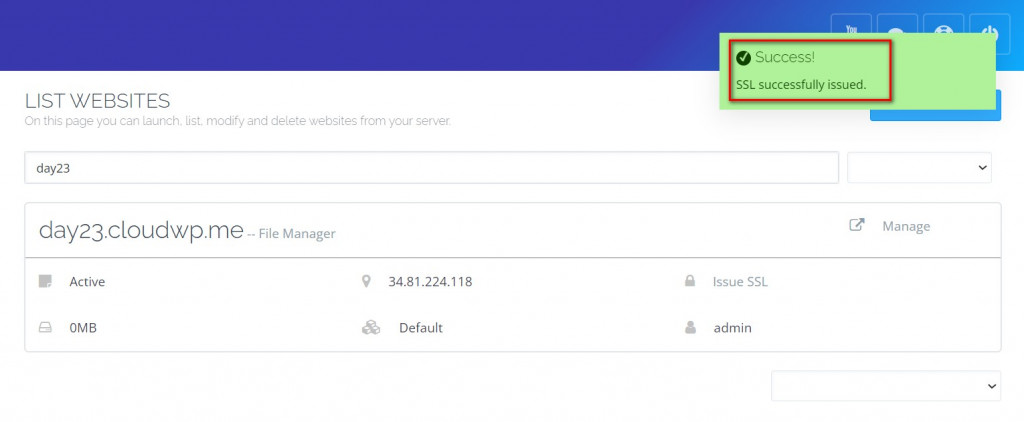
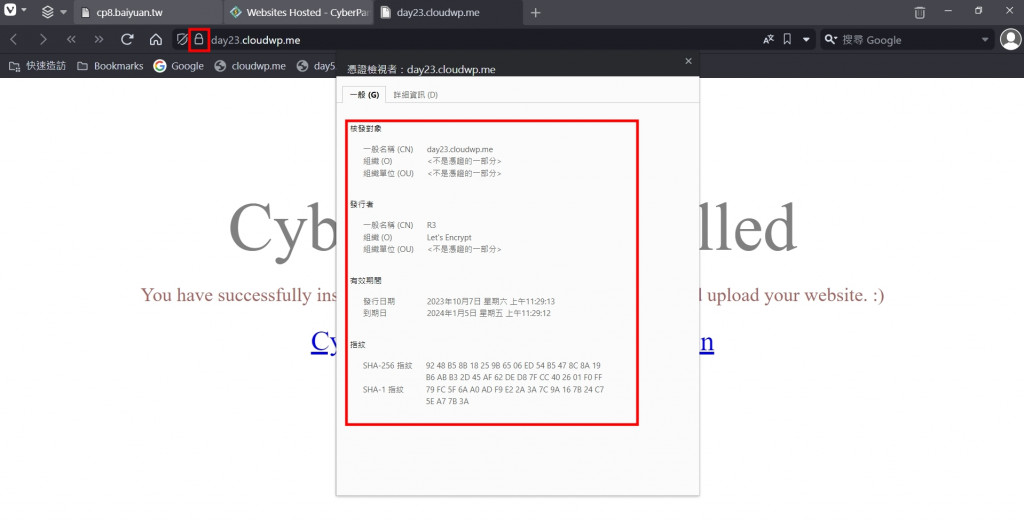
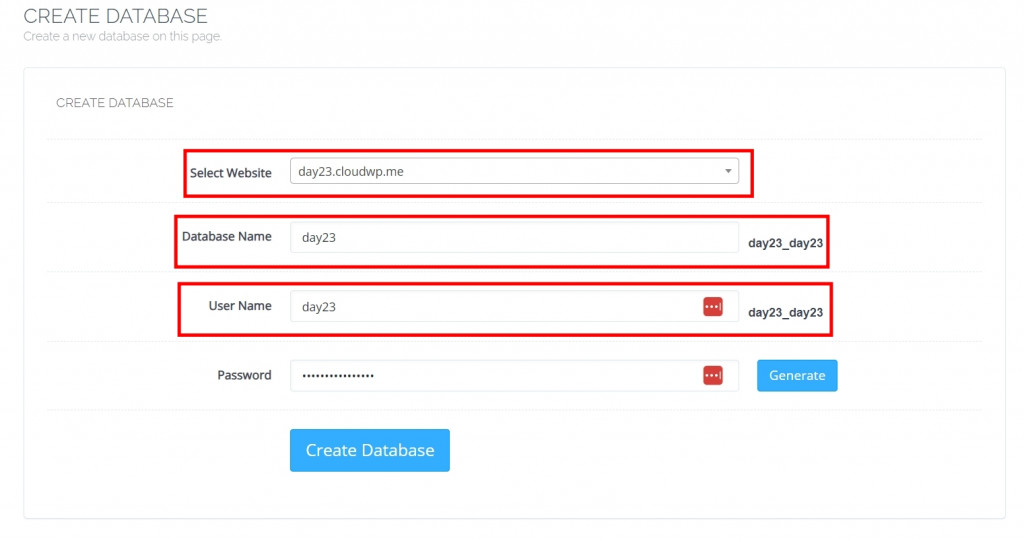
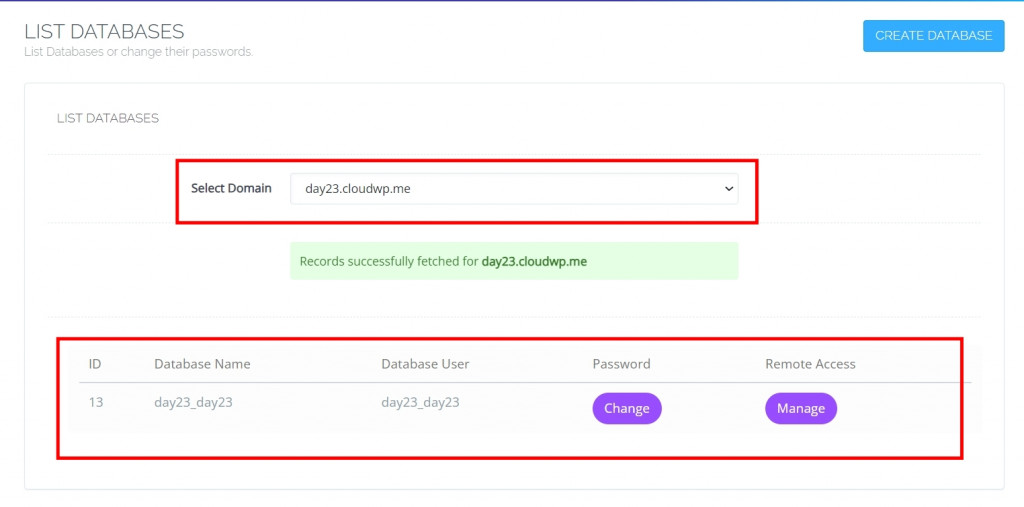
自己熟悉的快取外掛,若是使用預設的安裝模式,便要去移除LiteSpeed Cache外掛,並且要去移除.htaccess組態檔內,由LiteSpeed Cache外掛所增加的參數,因此今天來分享如何在CyberPanel管理介面,手工安裝WordPress站台,今天實作使用的網址是 https://day23.cloudwp.me


https://ithelp.ithome.com.tw/upload/images/20231007/20070781hBB8tW1K9U.jpg


  1. 步驟1,設定DNS A紀錄
    https://ithelp.ithome.com.tw/upload/images/20231007/20070781I9zZoisXEm.jpg

  1. 步驟2,測試DNS 紀錄
    https://ithelp.ithome.com.tw/upload/images/20231007/20070781FIwSrqgwJx.jpg

  1. 步驟3,使用CyberPanel管理介面,建立一個網站
    https://ithelp.ithome.com.tw/upload/images/20231007/2007078170me11jVUZ.jpg

https://ithelp.ithome.com.tw/upload/images/20231007/20070781qiXTiLVDUw.jpg


https://ithelp.ithome.com.tw/upload/images/20231007/20070781yI7430fcJG.jpg

  1. 步驟4,設定Rewrite Rules
    https://ithelp.ithome.com.tw/upload/images/20231007/200707818aXV712yXw.jpg

https://ithelp.ithome.com.tw/upload/images/20231007/20070781gxNCOp9DTV.jpg

  1. 步驟5,設定SSL
    https://ithelp.ithome.com.tw/upload/images/20231007/20070781PeARaarSyS.jpg

https://ithelp.ithome.com.tw/upload/images/20231007/20070781blgHQv4nSK.jpg


  1. 步驟6,測試網站以及驗證SSL憑證
    https://ithelp.ithome.com.tw/upload/images/20231007/20070781P2xZdIt5HJ.jpg

  1. 步驟7,建立資料庫,指定給網站,並記住資料庫名稱、資料庫帳號、資料庫密碼
    https://ithelp.ithome.com.tw/upload/images/20231007/20070781Ap1HjxslIe.jpg

https://ithelp.ithome.com.tw/upload/images/20231007/200707812XDZcZDfix.jpg


https://ithelp.ithome.com.tw/upload/images/20231007/20070781l7QigpI3Fn.jpg


  1. 步驟8,點選LIST DATABASES按鈕,再次確定,資料庫已指定給day23.cloudwp.me網站使用
    https://ithelp.ithome.com.tw/upload/images/20231007/200707817lT0O4RWBL.jpg

  1. 步驟9,下載最新版的WordPress核心程式
    https://ithelp.ithome.com.tw/upload/images/20231007/20070781cRW9QwjPax.jpg

https://ithelp.ithome.com.tw/upload/images/20231007/20070781Pae03IotqM.jpg


  1. 步驟10,使用File Manager功能,上傳最新版的wordpress-6.3.1-zh_TW.zip,到public_html路徑下
    https://ithelp.ithome.com.tw/upload/images/20231007/20070781gzh3MuhHcY.jpg

  1. 步驟11,使用File Manager功能,解壓縮最新版的wordpress-6.3.1-zh_TW.zip
    https://ithelp.ithome.com.tw/upload/images/20231007/2007078193OzidiJyN.jpg

https://ithelp.ithome.com.tw/upload/images/20231007/20070781aaaRqbvFP3.jpg
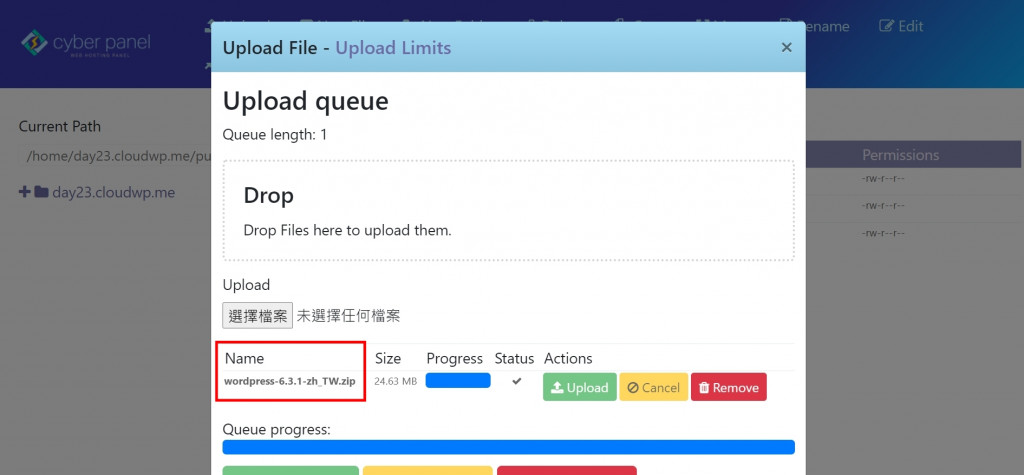
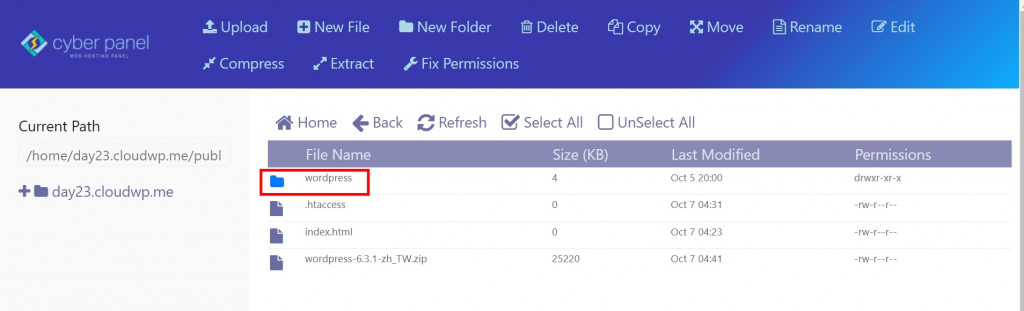
12. 步驟12,使用File Manager功能,將解壓縮後的wordpress資料夾的所有檔案,移動到public_html路徑下
https://ithelp.ithome.com.tw/upload/images/20231007/20070781PemQiQwNym.jpg


  1. 步驟13,使用File Manager功能,刪除步驟12所產生的,wordpress資料夾
    https://ithelp.ithome.com.tw/upload/images/20231007/20070781OZvYexeZOj.jpg

  1. 步驟14,開啟瀏覽器填入網址,開始安裝WordPress,在這就剩下幾個小步驟,可以參考實作影片
    Yes

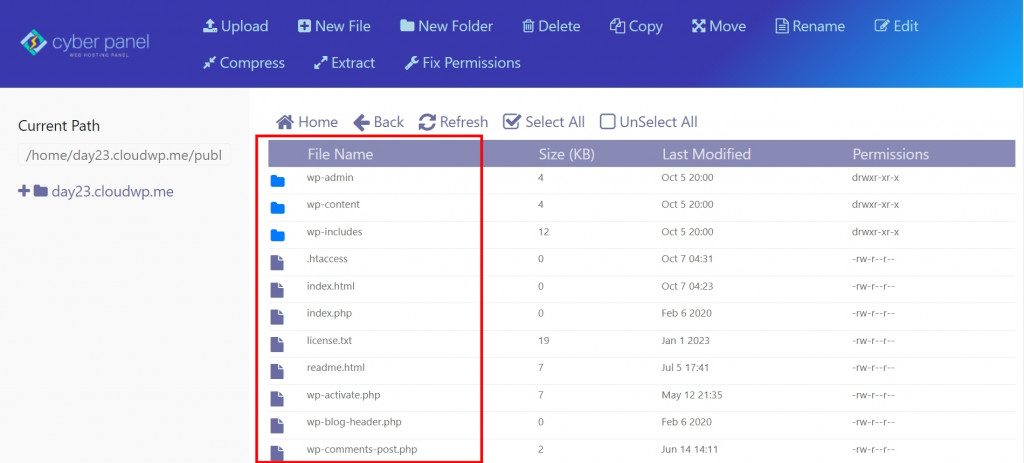
CyberPabel 官方網站 https://cyberpanel.net/
CyberPanel 線上文件 https://community.cyberpanel.net/docs


上一篇
CyberPanel 並不完美,CyberPanel官方很努力的在進步,必須予以肯定
下一篇
<Day 24> CyberPanel 啟用 OpenLiteSpeed + Apache (Backend)
系列文
30天學會使用 CyberPanel 管理 WordPress 站台33
圖片
  直播研討會
圖片
{{ item.channelVendor }} {{ item.webinarstarted }} |
{{ formatDate(item.duration) }}
直播中

尚未有邦友留言

立即登入留言