如果想要在 Spring Boot 中使用 Spring JDBC 的功能的話,首先會需要在 pom.xml 檔案中新增下方的程式,這樣才能夠將 Spring JDBC 的功能、以及 MySQL 資料庫的 driver 給載入進來。
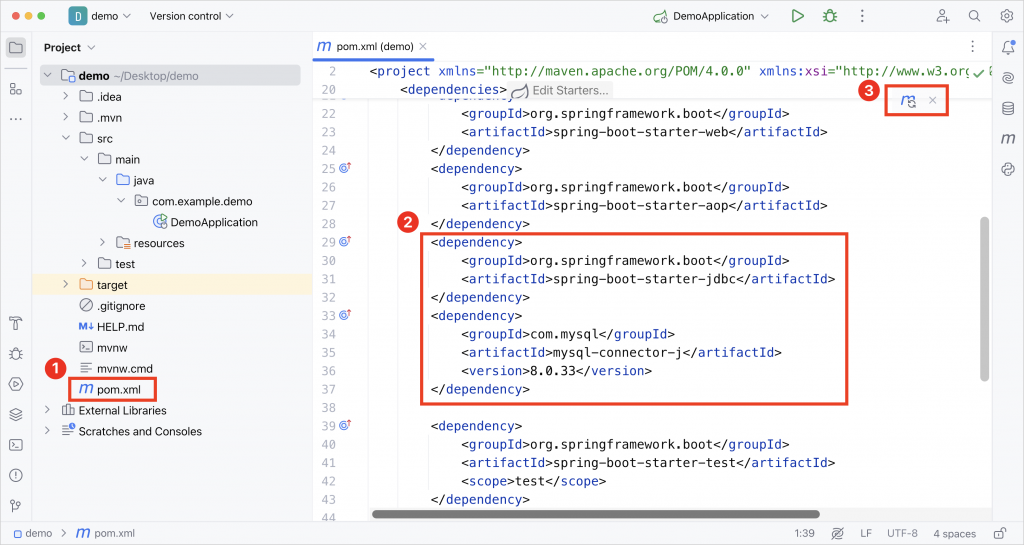
因此大家可以先打開左邊側邊欄中的 pom.xml 檔案,然後在第 29 行~第 37 行的地方,添加下面的程式:
<dependency>
    <groupId>org.springframework.boot</groupId>
    <artifactId>spring-boot-starter-jdbc</artifactId>
</dependency>
<dependency>
    <groupId>com.mysql</groupId>
    <artifactId>mysql-connector-j</artifactId>
    <version>8.0.33</version>
</dependency>
添加好上述的程式之後,此時在 pom.xml 的右上角會出現一個 M 符號,這時記得要點擊一下這個 M 符號,這樣才能夠更新 Spring Boot 程式,把 Spring JDBC 的功能、以及 MySQL 資料庫的 driver,一起給載入進來。
載入好 Spring JDBC 和 MySQL 的 driver 之後,接著我們就可以在 Spring Boot 中設定 MySQL 資料庫的連線,這樣我們後續就能夠在 Spring Boot 程式裡面,去操作 MySQL 資料庫中的數據了。
而要在 Spring Boot 中設定資料庫的連線資訊的話,就只要先打開 application.properties 檔案,並且在裡面添加下列的程式,這樣就能完成 MySQL 資料庫的連線設定了!
spring.datasource.driver-class-name=com.mysql.cj.jdbc.Driver
spring.datasource.url=jdbc:mysql://localhost:3306/myjdbc?serverTimezone=Asia/Taipei&characterEncoding=utf-8
spring.datasource.username=root
spring.datasource.password=springboot
不愧是近幾年的教學xD,下面的這個依賴都是最新的
<dependency>
    <groupId>com.mysql</groupId>
    <artifactId>mysql-connector-j</artifactId>
    <version>8.0.33</version>
</dependency>
這幾個禮拜找過不知道多少個 Spring 框架相關的教學
很多都因是較舊的文章,因此程式碼也是比較舊的,導致這段一直爆錯
我找了超多國外的影片和文章才找到上方這個
沒想到這個系列的文章就有附上
真的是太晚看到這篇文章啦!