在昨天的文章中,我們已經將基本的 workflow 設定完成,並且完成 email 寄送的測試了,今天就要來試試看 Novu 提供的 In-App 這個可以使用在 web 上的通知工具。
其實依照官方的文件,就可以很快速的建構出一個基本的通知元件。
npm install @novu/notification-center
import {NotificationBell, NovuProvider, PopoverNotificationCenter} from "@novu/notification-center";
import {useEffect, useState} from "react";

const APPLICATION_IDENTIFIER = "APPLICATION_IDENTIFIER";

const [uid, setUid] = useState(null);
// ...
setUid(user.uid);
// ...

<Box paddingRight={2}>
  {uid && (
      <NovuProvider
          subscriberId={uid}
          applicationIdentifier={APPLICATION_IDENTIFIER}
      >
        <PopoverNotificationCenter
            showUserPreferences={true}
            colorScheme={"dark"}
            position="top-start"
            offset={10}
        >
          {({unseenCount}) => <NotificationBell unseenCount={unseenCount}/>}
        </PopoverNotificationCenter>
      </NovuProvider>
  )}
</Box>
這邊我在一開始設定 user 的 subscriberId 是直接使用 firebase auth 幫我們設定好的 Unique Identifier(uid)。
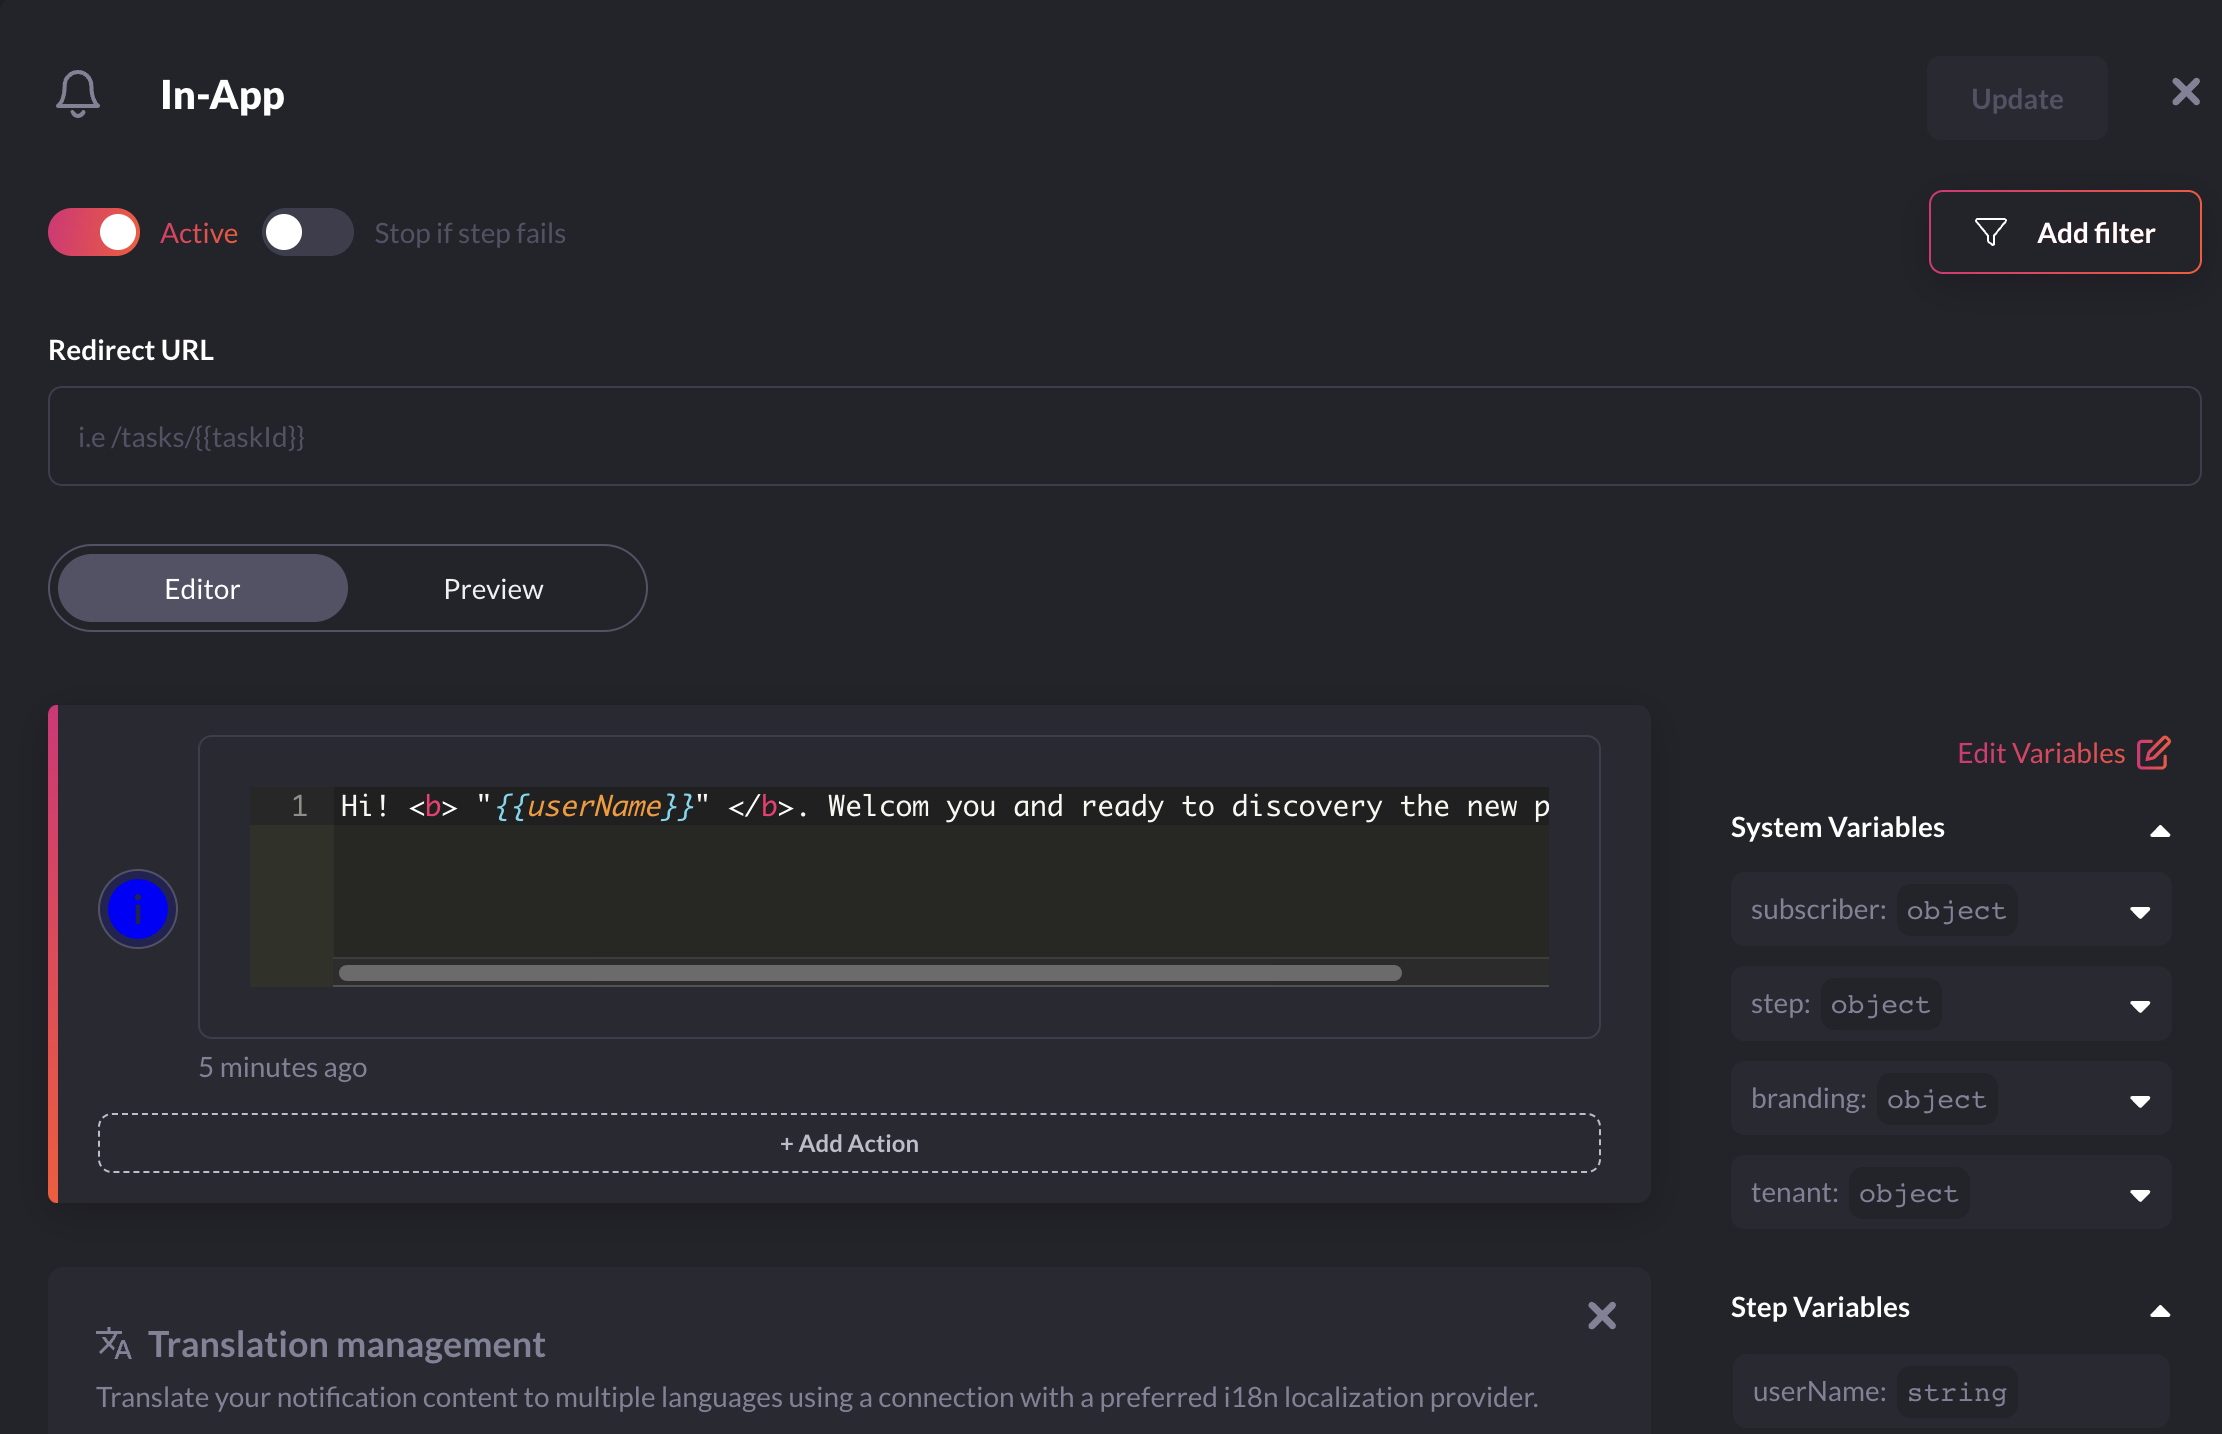
在前一篇介紹的 workflow 中設定 in-app 的訊息格式。
所以只要執行 event 的觸發,就可以看到完整的訊息傳遞到 web 中。
下面使用測試用的 API endpoint 可以快速重新發送訊息:
# {"data":{"acknowledged":true,"status":"processed","transactionId":"91311daf-de89-4714-a574-dd71f8deacc3"}}%
curl --location --request POST 'https://api.novu.co/v1/events/trigger' \
     --header 'Authorization: ApiKey API_KEY_IS_HERE' \
     --header 'Content-Type: application/json' \
     --data-raw '{
"name": "account-welcome",
    "to": {
      "subscriberId": "SUBSCRIBER_ID",
          "email": "YOUR_EMAIL"
},
"payload": {
      "userName": "Bill",
          "__source": "test-workflow"
},
"tenant": null
}'
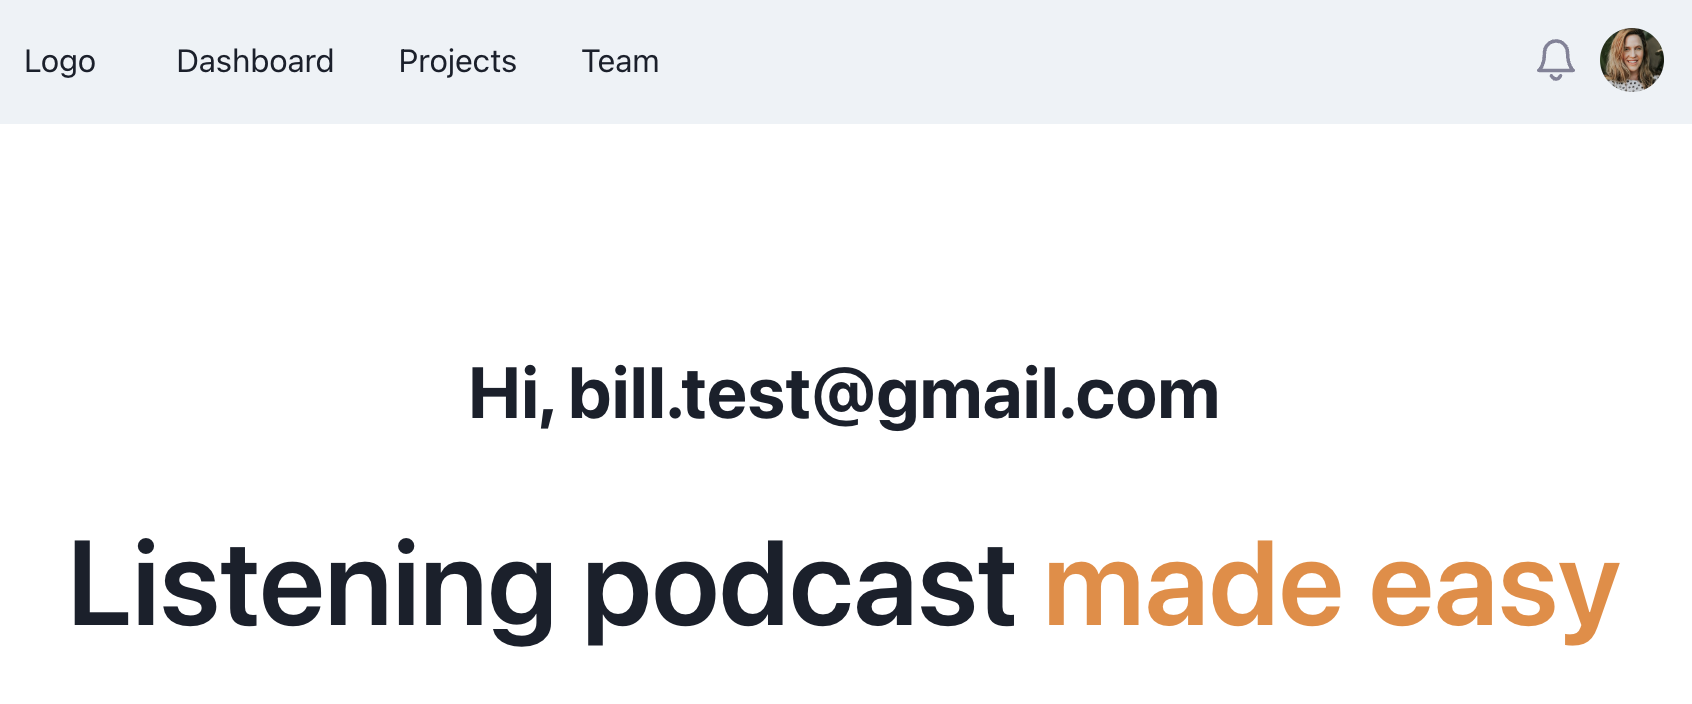
我在最上方的 NavBar 最右邊加入了 NovuProvider,所以可以看到有一個鈴鐺的圖示
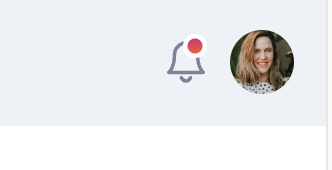
如果有小紅點就代表有收到新的未讀訊息
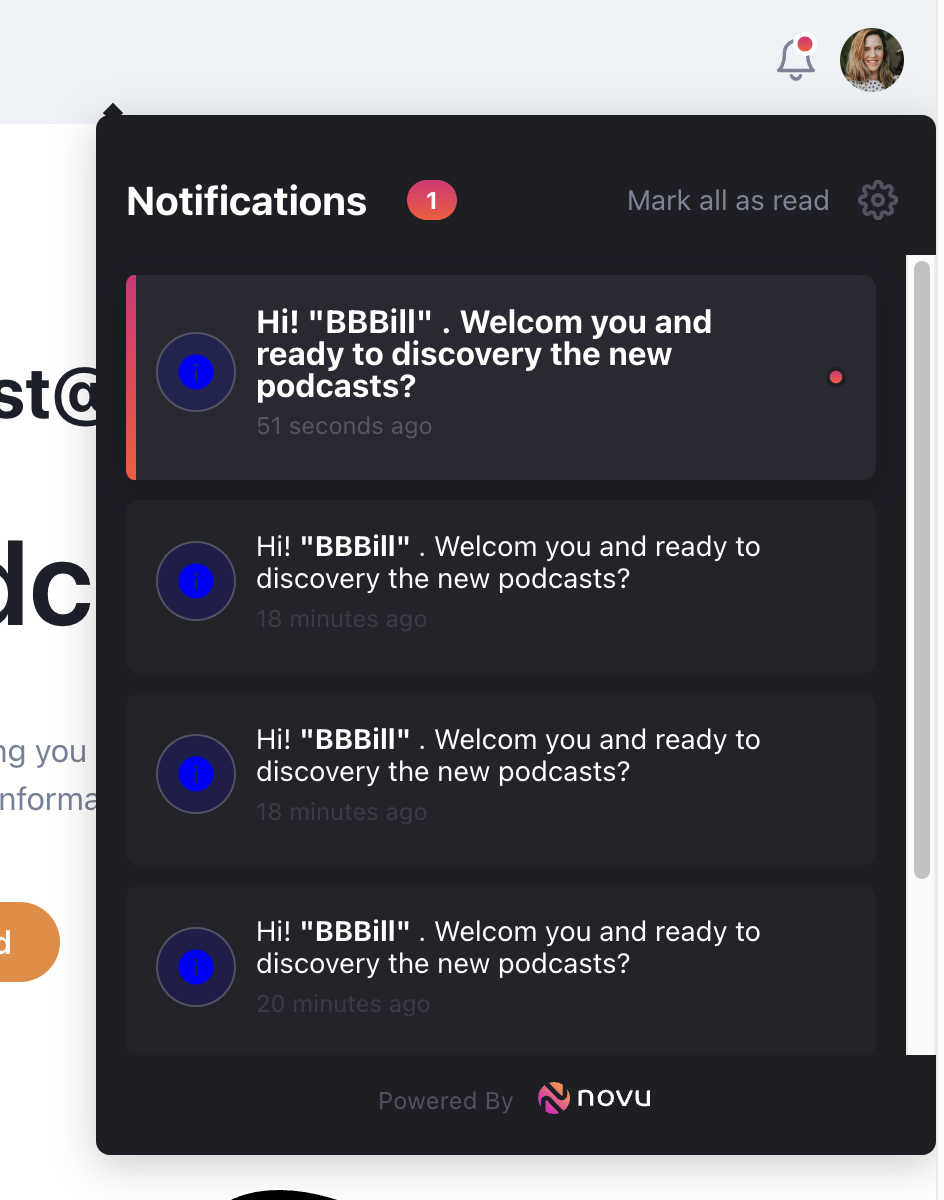
點下去之後就會有一個完整的 Notification 的 inbox 出現。
整個整合的過程就是這麼簡單,剩下的部分就在格式的更新與風格的修正了。
相較與以前的類似通知功能的建構與串接,現在的各種工具大大的降低了開發的時間與難易度。
