透過 edX - Large Language Modes: Application through Production 課程提到的 LLMOps Notebook 來探討。上一篇說明 Prepare data, LLM pipeline development, 以及透過 MLflow tracking server 紀錄 pipeline,這一篇會說明如何 test pipeline,transit to production,做到 continuous deployment。
透過 MLflow Model Registry 紀錄 pipeline (在 MLOps 是 model),在 MLflow 紀錄的 metadata 以及其他資訊包括:
None (development)Staging
Production
Archived
初始化 MLflow client 作 pipeline 驗證。
from mlflow import MlflowClient

client = MlflowClient()
透過 MlflowClient.search_registered_models 來搜尋 model。
client.search_registered_models(filter_string=f"name = '{model_name}'")
底下為 output example
[<RegisteredModel: aliases={}, creation_timestamp=1695486785044, description='', last_updated_timestamp=1695486785364, latest_versions=[<ModelVersion: aliases=[], creation_timestamp=1695486785364, current_stage='None', description='', last_updated_timestamp=1695486795565, name='summarizer - jimmyliao@jimmyliao_net', run_id='32c3aaf5a8074fafb0fed127bf60d2b5', run_link='', source='dbfs:/databricks/mlflow-tracking/20409575904108/32c3aaf5a8074fafb0fed127bf60d2b5/artifacts/summarizer', status='READY', status_message='', tags={}, user_id='jimmyliao@jimmyliao.net', version='1'>], name='summarizer - jimmyliao@jimmyliao_net', tags={}>]
Command took 0.15 seconds -- by jimmyliao@jimmyliao.net at 2023/9/24 上午12:34:01 on jimmyliao@jimmyliao.net's Cluster
model_version = 1
dev_model = mlflow.pyfunc.load_model(model_uri=f"models:/{model_name}/{model_version}")
print(f"Dev Model: {dev_model}")
底下為 output example,可以看到 model 的 metadata。
mlflow.pyfunc.loaded_model:
  artifact_path: summarizer
  flavor: mlflow.transformers
  run_id: 32c3aaf5a8074fafb0fed127bf60d2b5
透過 MlflowClient.transition_model_version_stage 來將 model version 轉換到 staging 階段。
client.transition_model_version_stage(model_name, model_version, "staging")
<ModelVersion: aliases=[], creation_timestamp=1695486785364, current_stage='Staging', description='', last_updated_timestamp=1695486889943, name='summarizer - jimmyliao@jimmyliao_net', run_id='32c3aaf5a8074fafb0fed127bf60d2b5', run_link='', source='dbfs:/databricks/mlflow-tracking/20409575904108/32c3aaf5a8074fafb0fed127bf60d2b5/artifacts/summarizer', status='READY', status_message='', tags={}, user_id='7633306072692253', version='1'>
先暫時用 dev_model 直接在 staging 作驗證用。
staging_model = dev_model

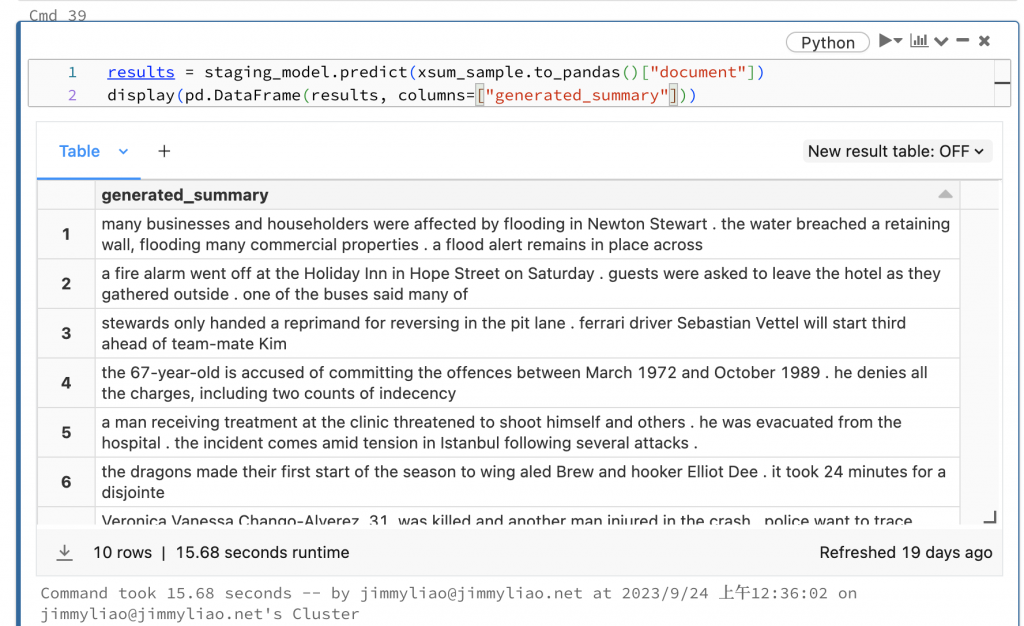
results = staging_model.predict(xsum_sample.to_pandas()["document"])
display(pd.DataFrame(results, columns=["generated_summary"]))

client.transition_model_version_stage(model_name, model_version, "production")
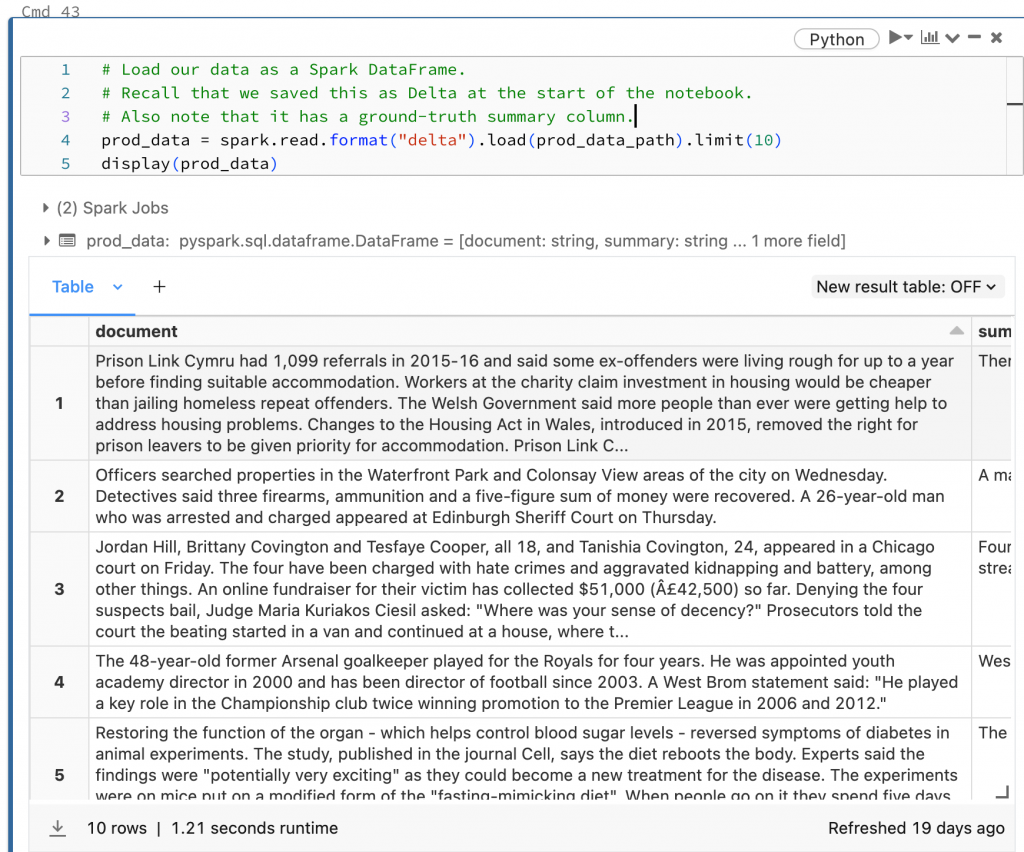
此範例示範使用 Apache Spark DataFrames + Delta Lake format,建立 batch inference workflow。
# Load our data as a Spark DataFrame.
# Recall that we saved this as Delta at the start of the notebook.
# Also note that it has a ground-truth summary column.
prod_data = spark.read.format("delta").load(prod_data_path).limit(10)
display(prod_data)

這邊使用 Spark User Defined Function 操作 model。
# MLflow lets you grab the latest model version in a given stage.  Here, we grab the latest Production version.
prod_model_udf = mlflow.pyfunc.spark_udf(
    spark,
    model_uri=f"models:/{model_name}/Production",
    env_manager="local",
    result_type="string",
)

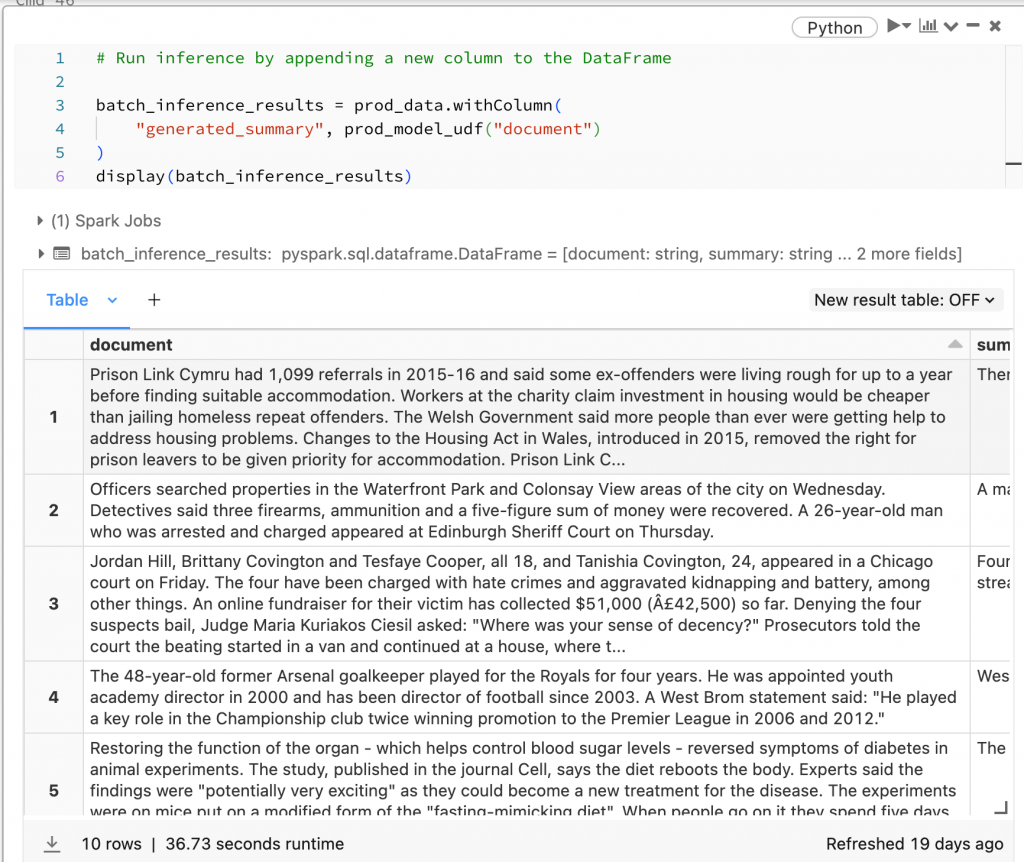
# Run inference by appending a new column to the DataFrame

batch_inference_results = prod_data.withColumn(
    "generated_summary", prod_model_udf("document")
)
display(batch_inference_results)

接著嘗試將結果寫入到 Delta Lake 的另一個 table,作為 production delta lake。
inference_results_path = f"{DA.paths.working_dir}/m6-inference-results".replace(
    "/dbfs", "dbfs:"
)
batch_inference_results.write.format("delta").mode("append").save(
    inference_results_path
)
Reference:
