昨日了解完Flask的安裝至頁面跳轉、動態生成等內容後,今天我們要更深入介紹Flask的請求和表單製作!
在學習請求前,我們要先了解HTTP方法:
HTTP(Hypertext Transfer Protocol),它是一種用於在網際網路上傳輸資訊的標準協議。而HTTP協議定義了一組不同的方法(HTTP Methods),這些方法允許客戶端和伺服器之間的通信。
當談到HTTP方法時,通常有四個最常用的方法,它們分別是:
這四個方法是HTTP中最常見且最廣泛使用的,它們使客戶端和伺服器能夠執行基本的檢索、創建、更新和刪除操作,這些操作在網頁應用程序和API中非常重要。不同的HTTP方法允許不同的交互方式,並支持多元的應用。
在Flask中,我們可以這樣寫:
@app.route("/api/getPage",methods=["GET"])
def getData():
    datas = json.load(open("flask/static/json/page.json",mode="r",encoding="utf-8"))
    return datas
使用上述的程式碼,並開啟瀏覽器中的DevTools,便可以看到我們從後端獲取的資料。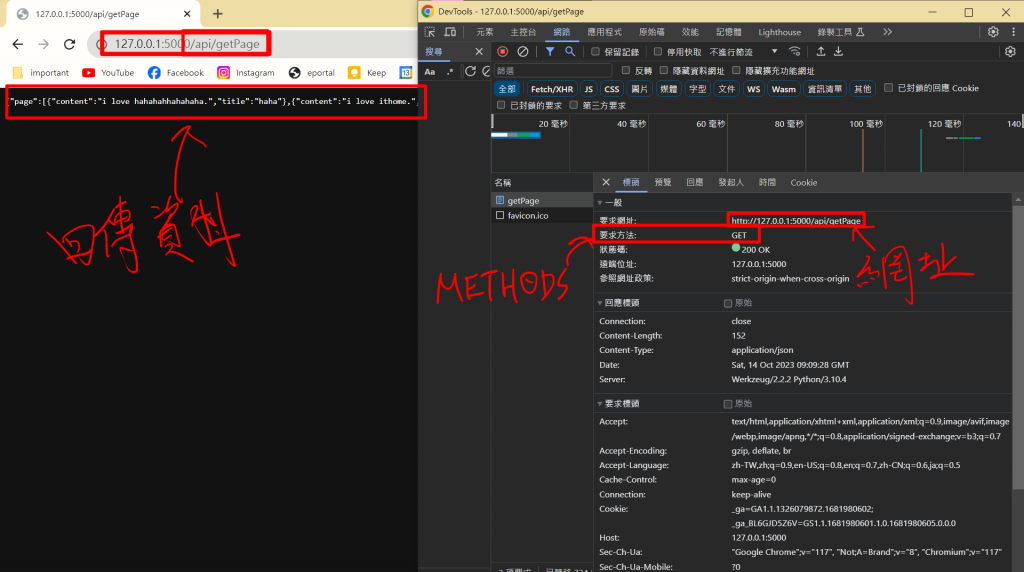
若您想要在您的網站中使用這個GET的方法時,不妨看看下方的範例:
有關jQuery之詳情可參考 ⇒ 【Day12】讓網頁動起來(2)元老級插件jQuery!
<!DOCTYPE html>
<html lang="en">
<head>
    <meta charset="UTF-8">
    <meta name="viewport" content="width=device-width, initial-scale=1.0">
    <title>Article</title>
    <script src="https://code.jquery.com/jquery-3.6.1.js" integrity="sha256-3zlB5s2uwoUzrXK3BT7AX3FyvojsraNFxCc2vC/7pNI=" crossorigin="anonymous"></script>
</head>
<body>

</body>
</html>
@app.route("/article")
def article():
    return render_template("article.html")
這裡簡單介紹一下路由(route),其實便是兩個節點間通訊的最佳路徑。更多與路由相關的資訊、運作方法…等,本篇便不詳細介紹,若您對此深感興趣,歡迎自行上網查詢喔!
ajax() 函式:先前在介紹jQuery時,我們便有大略提及AJAX(Asynchronous JavaScript and XML),現在終於使用到了,便順帶介紹一下ajax()函式的用法:
$.ajax() 方法:在 jQuery 中,您可以使用 $.ajax() 方法來執行 AJAX 請求。這個方法允許您向伺服器發送不同類型的 HTTP 請求,如 GET、POST、PUT、DELETE 等。.done()、.fail() 和 .always() 方法處理 AJAX 請求的回應。.done() 用於處理成功的回應,.fail() 用於處理錯誤,而 .always() 用於處理無論成功或失敗都應執行的程式碼。
以下是一個簡單的示例,演示如何使用 jQuery 的 $.ajax() 方法發送一個 GET 請求:
$.ajax({
    url: 'https://api.example.com/data',
    method: 'GET',
    dataType: 'json',
})
.done(function(response) {
    // 成功處理回應
    console.log('成功:', response);
})
.fail(function(jqXHR, textStatus, errorThrown) {
    // 處理錯誤
    console.error('錯誤:', errorThrown);
})
.always(function() {
    // 無論成功或失敗,都執行這個程式碼
    console.log('完成');
});
我們可以把我們想要取得資料的網頁網址給填進去: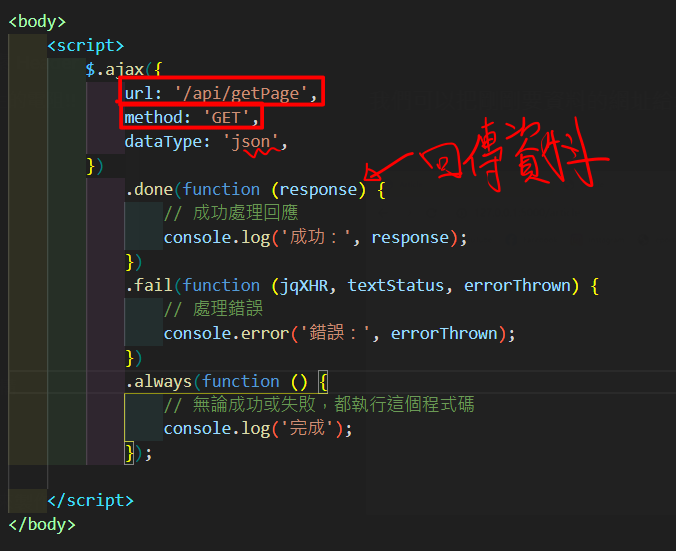
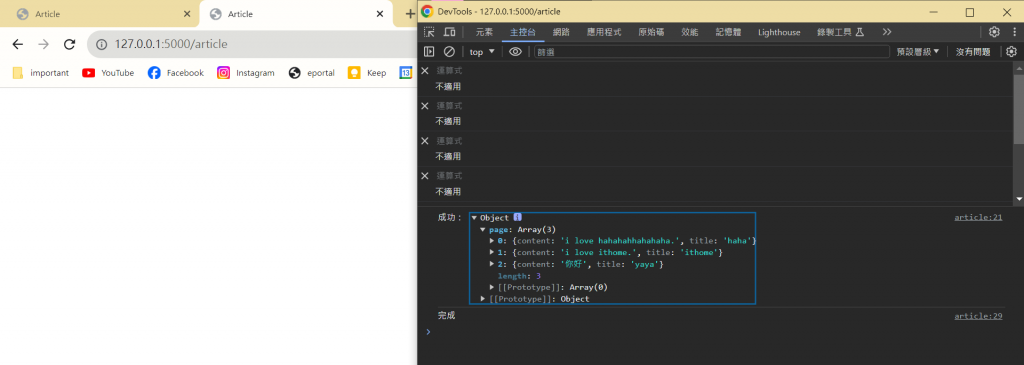
接著在瀏覽器中打開DevTools,便可以看到我們成功獲取資料了!
也可以嘗試使用程式碼較少的寫法,結果會是相同的:
$.ajax({
    url: '/api/getPage',
    method: 'GET',
    dataType: 'json',
    success:(response)=>{
        console.log(response);
    }
})
取得資料後,我們就可以做出生成的動作了:
$.ajax({
    url: '/api/getPage',
    method: 'GET',
    dataType: 'json',
    success:(response)=>{
        // todo del
        console.log(response);
        const app = $(".app");
        for (let i=0 ;i<response["page"].length;i++) {
            // todo del
            console.log(response["page"][i]["title"]);
            app.append(`<li><a href="/${response["page"][i]["title"]}">${response["page"][i]["title"]}</a></li>`)
        }
    }
})
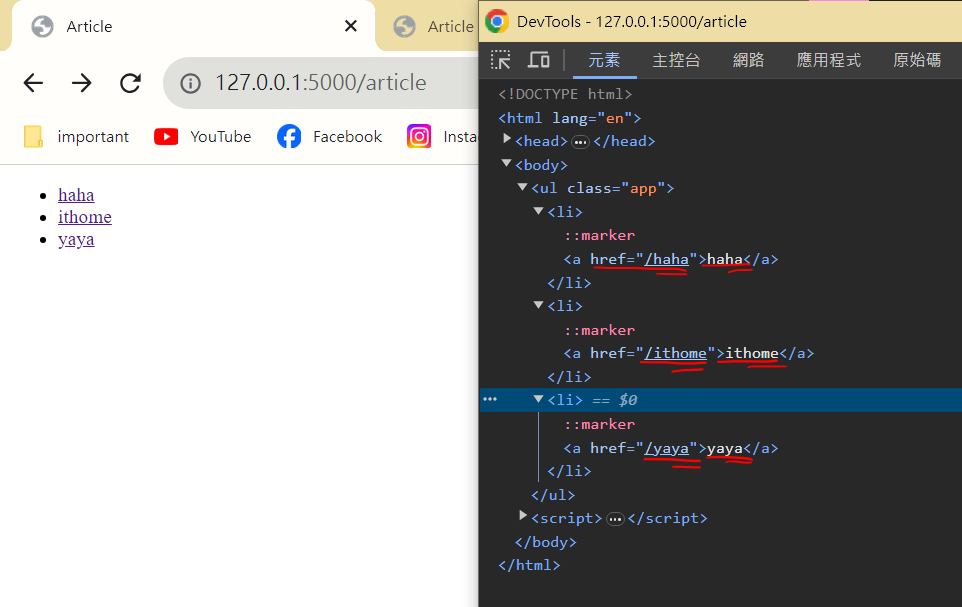
如此一來,便可以輕鬆做好連結跳轉頁面的功能了!
而跟Get相反的方法就是Post方法了。
Post 貼文,顧名思義就是把資料傳到後端去處理,而此方法能夠做到以下功能:
我們可以為網頁添增幾個輸入框,供使用者做輸入資料的動作:
<!DOCTYPE html>
<html lang="en">
<head>
    <meta charset="UTF-8">
    <meta name="viewport" content="width=device-width, initial-scale=1.0">
    <title>Form</title>
</head>
<body>
    <form action="/api/postData" method="POST">
        帳號:
        <input name="account" type="text">
        密碼:
        <input name="password" type="password">
        <input type="submit" value="submit">
    </form>
</body>
</html>
在HTML文本中,製作表單需要使用到 <form>的標籤:
在<form>標籤內我們需要填入 action和 method。action,便是當我們送出表單後,要執行何種程式的結果,而method則是要以甚麼方式操作執行。
同樣為其串上router:
@app.route("/form")
def form():
    return render_template("form.html")
接下來,在撰寫post的function前,我們要先引入名為request的插件: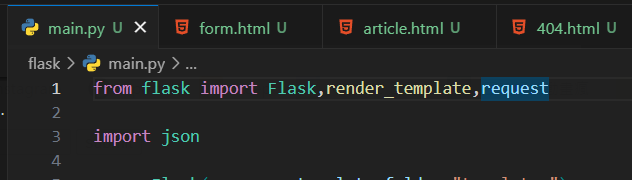
Flask Code:
@app.route("/api/postData",methods=["POST"])
def postData():
    account = request.form.get("account")
    password = request.form.get("password")
    print(account)
    print(password)
    return f'account: {account}<br>password: {password}'
我們可以透過print去輸出我們的結果,去看看前端的資料是否有正確地被傳到後端。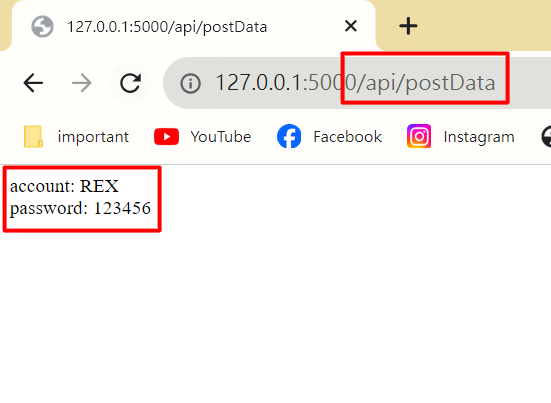
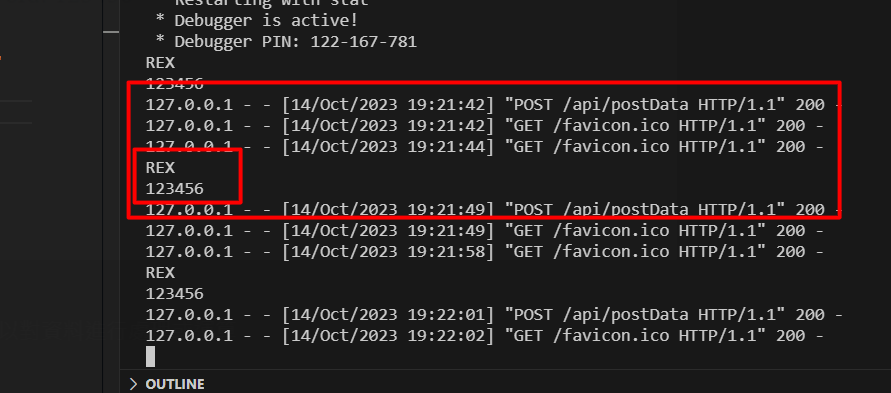
輸出結果如上:
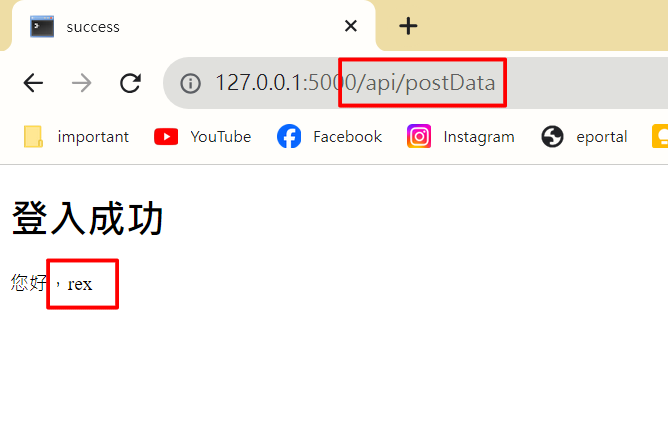
當然,也可以回傳至其他網頁:
@app.route("/api/postData",methods=["POST"])
def postData():
    account = request.form.get("account")
    password = request.form.get("password")
    return render_template("success.html",account=account)
或者使用另一個方法:
這個方法中,我們要創建一個 success的頁面 和一個 /success 的router。
@app.route("/success")
def success():
    return render_template("success.html")
而後在 postData() 的router內修改return(回傳)的值:
@app.route("/api/postData",methods=["POST"])
def postData():
    account = request.form.get("account")
    password = request.form.get("password")
    return redirect("/success")
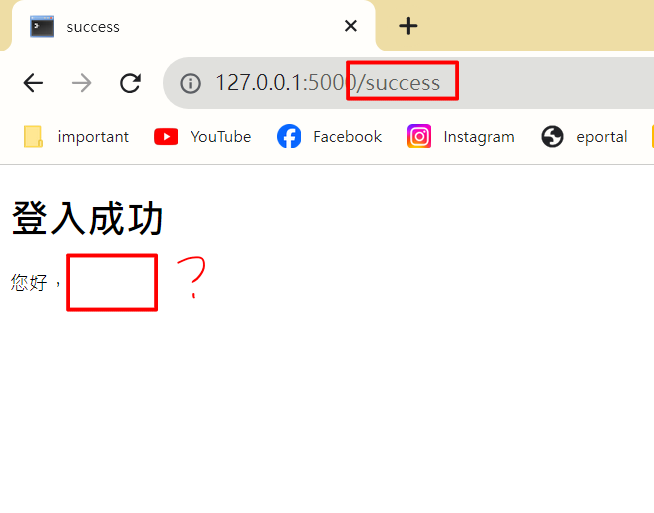
然而,這種方法,會發現我們的資料不見了,這是因為使用 redirect() 沒辦法像 render_template() 一樣,直接對傳入值做處理。
我們可以採取以下兩種方式在網頁之中傳遞值:
url_for():@app.route("/api/postData",methods=["POST"])
def postData():
account = request.form.get("account")
password = request.form.get("password")
return redirect(url_for("success", account=account,password=password))
並從網址中取值:
@app.route("/success")
def success():
    account = request.args.get('account')
    return render_template("success.html",account=account)
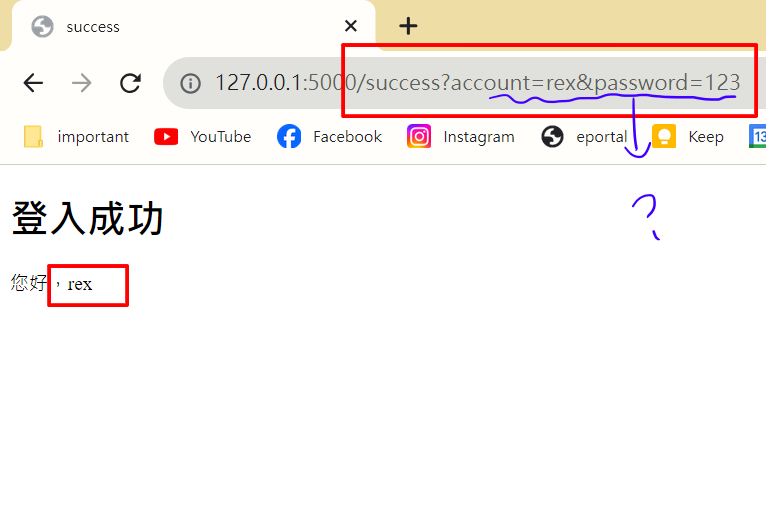
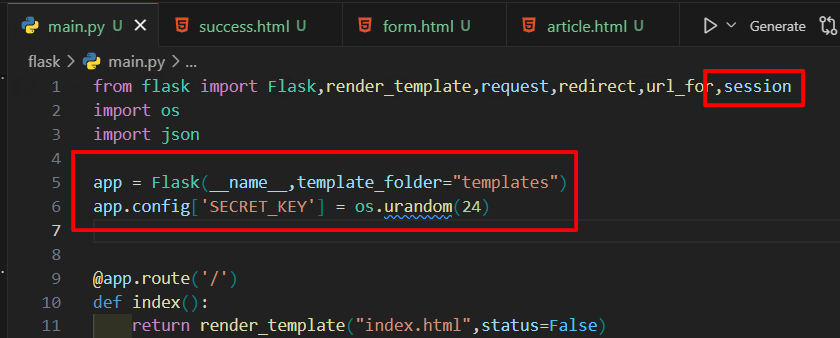
但是,使用這種方式同樣會出現尷尬的小問題 ── 我們的密碼將會被一絲不掛地顯現出來,超級不安全!所以我們會使用第二種方式:
app = Flask(__name__,template_folder="templates")
app.config['SECRET_KEY'] = os.urandom(24)
修改 postData() :
我們可以透過 session[”索引值”] 來新增或修改值。
順帶一提,session[”索引值”] = False 便是刪除session的意思。
@app.route("/api/postData",methods=["POST"])
def postData():
    account = request.form.get("account")
    password = request.form.get("password")
    session["account"] = account
    session["password"] = password

    return redirect(url_for("success"))
在 success() 中讀取session:
讀取session是使用 session.get(”索引值”) 語法去取值的:
@app.route("/success")
def success():
    account = session.get("account")
    return render_template("success.html",account=account)
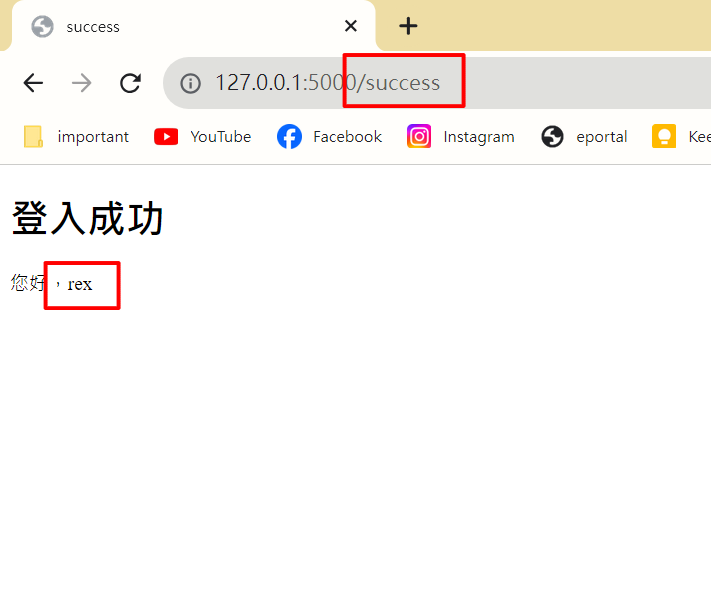
這樣就完成了。
使用這個方法,我們可以做到各式種類繁多的應用。ex.登入系統…等。
當我們登入系統時,程式去資料庫核對資料是否正確,然後回傳正確的網頁出來:
正確的話則A,不正確的話則B…,反正只要登入後將狀態用session存著,每次進入此網站時便不用重新登入。
@app.route("/api/postData",methods=["POST"])
def postData():
    account = request.form.get("account")
    password = request.form.get("password")
    if 資料正確:
        一些處理...
        return 正確的網頁
    else:
        一些處理...
        return 重新登入
然而,這部分又是一個大坑了,若您想要了解這方面的資訊,不妨自行上網查詢,關鍵字如下:
python sql
python flask login system 、python flask session 。回歸正題,使用post方法,我們也可以把表單存進資料庫中。
這裡我將會介紹使用JSON存檔的方式:
<!DOCTYPE html>
<html lang="en">
<head>
    <meta charset="UTF-8">
    <meta name="viewport" content="width=device-width, initial-scale=1.0">
    <title>Question Form</title>
</head>
<body>
    <form action="/api/updateForm" method="POST">
        你的名字:
        <input type="text" name="name" required>
        你的年齡:
        <input type="text" name="age" required>
        你的身高:
        <input type="number" name="height" required>
        <input type="submit" value="submit">
    </form>
</body>
</html>
順帶一提,上方的程式碼中,我添加了許多required,意思即為必填。
若您在該格未填寫,送出表單時,便會出現以下的結果: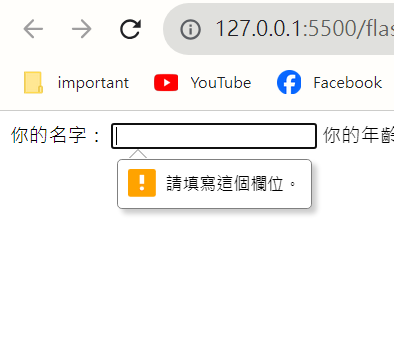
@app.route("/question")
def question():
    return render_template("question.html")
使用剛才的方式讀取表單內容:
@app.route("/api/updateForm",methods=["POST"])
def updateForm():
    account = request.form.get("name")
    age = request.form.get("age")
    height = request.form.get("height")

    return "<h1>上傳完成</h1>"
在執行這個操作前,我們會使用到先前引入過的JSON模組:
而後創建輸出資料夾和檔案: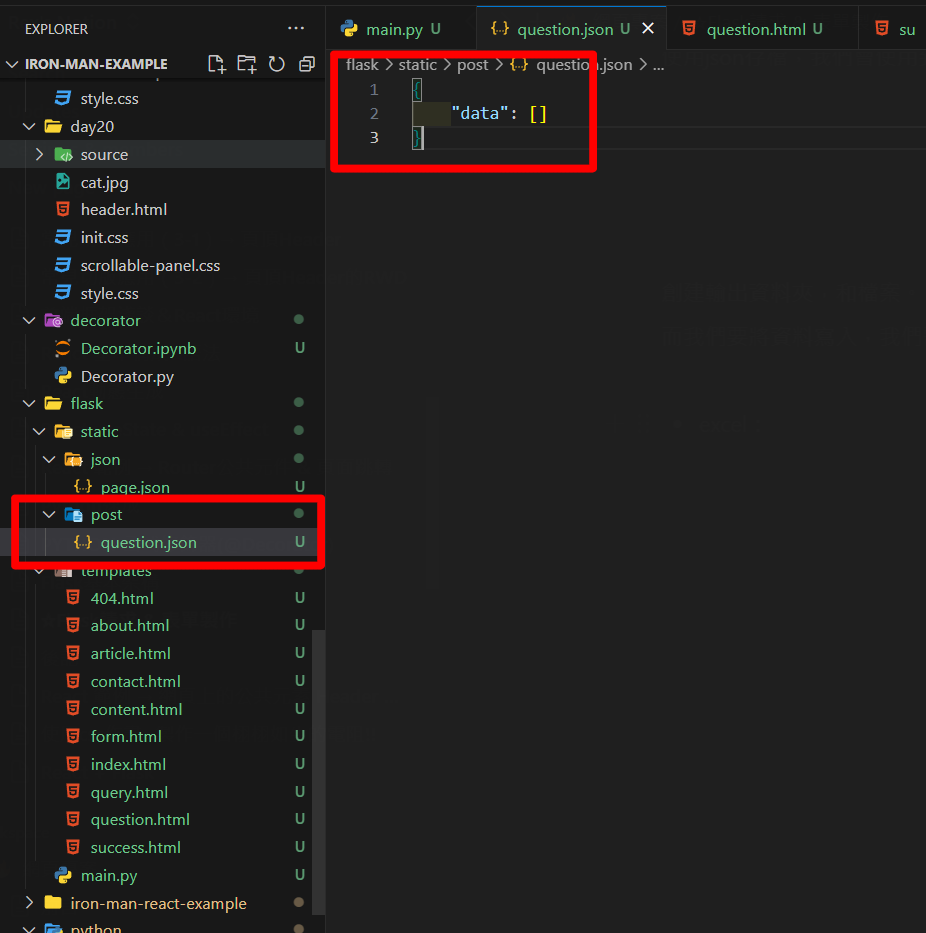
當我們要將資料寫入時,我們便需要讀取現有的資料,並把新的資料疊上去。
我們可以這麼撰寫:
@app.route("/api/updateForm",methods=["POST"])
def updateForm():
    account = request.form.get("name")
    age = request.form.get("age")
    height = request.form.get("height")

    # 讀取舊資料
    with open("flask/static/post/question.json", "r",encoding="utf-8") as json_file:
        existing_data = json.load(json_file)

    # 打包新資料
    new = {
        "account":account,
        "age":age,
        "height":height
    }
    # 新增
    existing_data["data"].append(new)

    # 上傳
    with open("flask/static/post/question.json", "w",encoding="utf-8") as json_file:
        json.dump(existing_data, json_file)

    return "<h1>上傳完成</h1>"
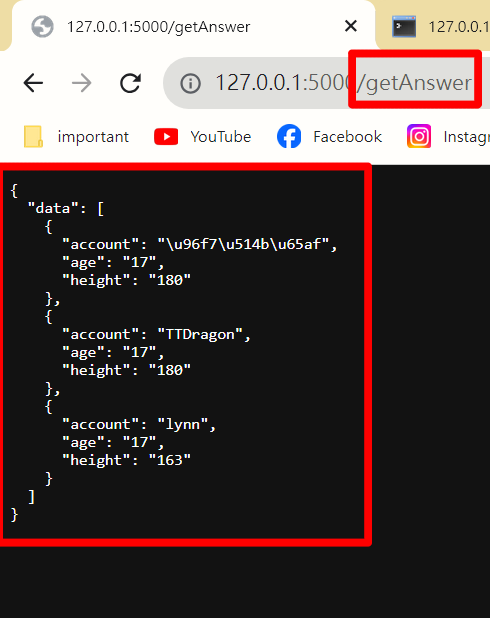
輸出結果以上,這便是使用JSON將資料存進資料庫的模樣。
以上,便是今天的Flask請求 & 表單教學,今天的內容偏多,並且較複雜 ── 但這些在網頁應用上是非常廣泛且實用的,可以說是網頁工程師都必備的技能之一!然而,登入系統是個大坑,有興趣的話,除了上網查詢資料,自行摸索、反覆練習也是很重要的喔!