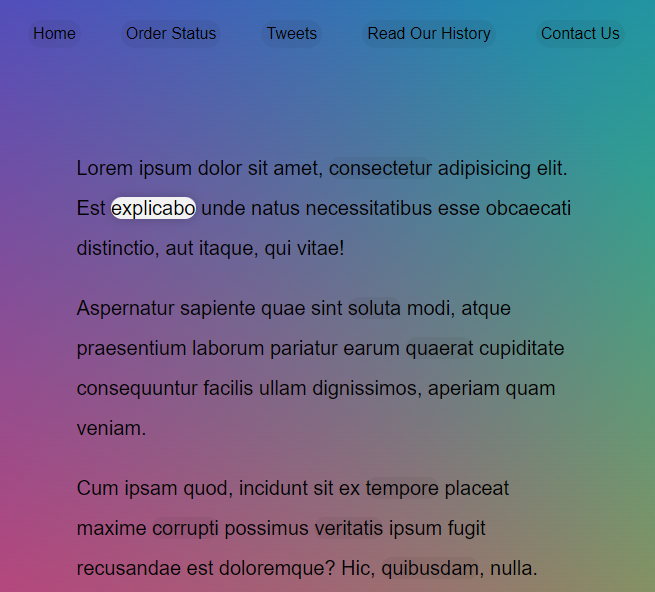
實作一個跟隨滑鼠移動的 HightLight 效果。
主要使用 getBoundingClientReact() 可以搭配 MDN
取得所有 a 連結
使用 add class 建立 HightLight
classList.add 加上 classbody.appendChlid 加到 bodya 連結綁定 mouseenter 事件,觸發 func: highlightLink,console 出來看看
function highlightLink() {
  console.log(this);
}

triggers.forEach(a => a.addEventListener('mouseenter', highlightLink));
使用 getBoundingClientReact 找到元素的大小
const linkCoords = this.getBoundingClientReact()
console.log(linkCoords);
把找到的元素取寬高出來賦予至 highlight 上
highlight.style.width = `${linkCoords.width}px`;
highlight.style.height = `${linkCoords.height}px`;
使用 transform和 translate, window.top/left 賦予highlight 位置
highlight.style.transform = `translate(${linkCoords.left}px, ${linkCoords.top}px)`
此時會發現視窗移動後 getBoundingClientReact 就找不到元素了,因為是取得視窗相對距離,所以再加上視窗的絕對距離 window.scrollY 和 window.scrollX ,有點類似第 16 天的題目。
const coords = {
  width: linkCoords.width,
  height: linkCoords.height,
  top: linkCoords.top + window.scrollY,
  left: linkCoords.left + window.scrollX
}
把 6, 7 的參數改一下
highlight.style.width = `${coords.width}px`;
highlight.style.height = `${coords.height}px`;
highlight.style.transform = `translate(${coords.left}px, ${coords.top}px)`;