目前語言模型已經來到支援多模態,所謂多模態,指的是同時支援文字與影像的輸入。這樣的模型可以支援更多的應用,例如影像標註、影像生成文字等等。而各家公司也紛紛支援,像是 OpenAI 的 GPT-4, GPT-4o (mini), Google Gemini 1.5 Pro/Flash, 以及各個開放語言模型,例如 Gemma 的 PaliGemma。
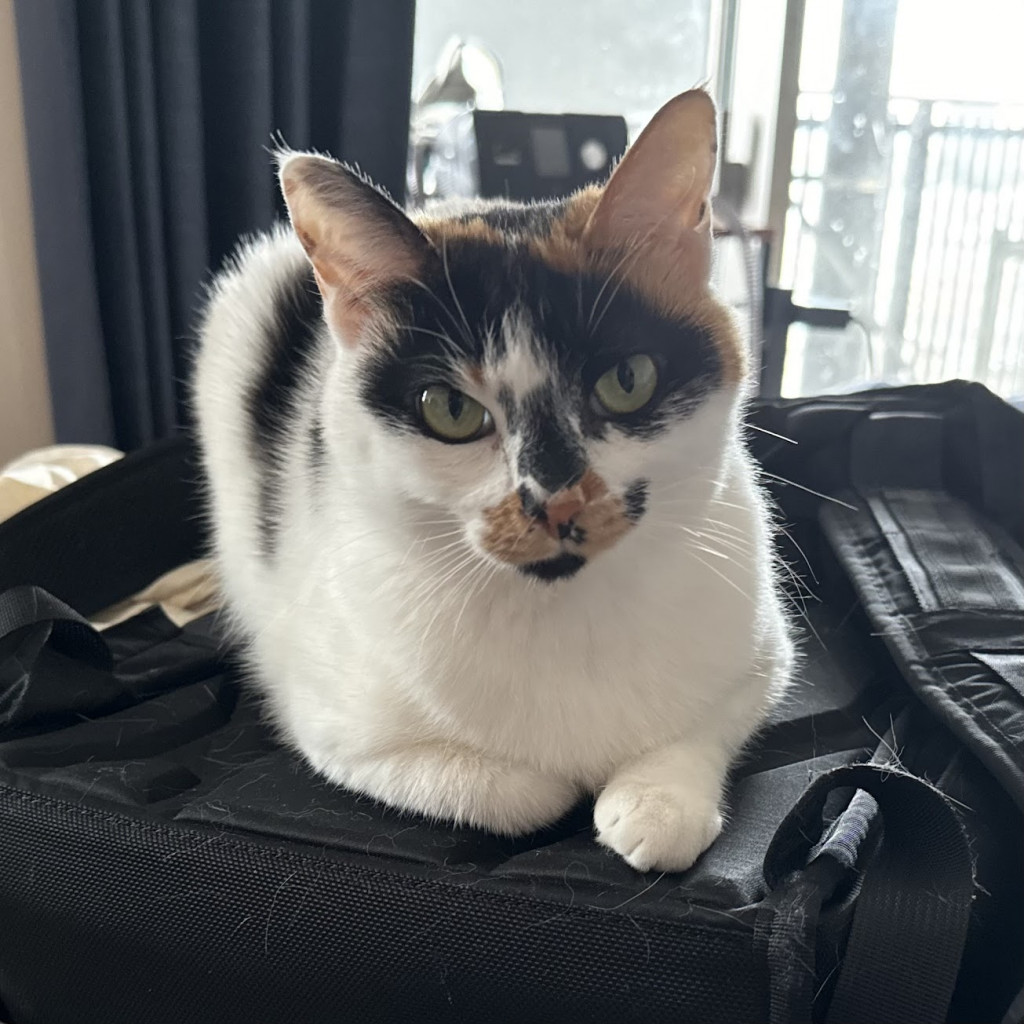
如同前幾篇,我們可以透過 Hugging Face 來使用 PaliGemma。這邊提供一個簡單的範例,透過 PaliGemma 來生成影像標註的文字。執行環境當然還是選用 Colab 提供的免費 GPU 資源。 (T4)
import os
from google.colab import userdata # 如果在 Colab 才需要

os.environ["KAGGLE_USERNAME"] = userdata.get("KAGGLE_USERNAME")
os.environ["KAGGLE_KEY"] = userdata.get("KAGGLE_KEY")
!pip install --upgrade keras-cv
!pip install --upgrade keras-nlp
!pip install --upgrade keras
import keras_nlp

# load paligemma from a preset
#
# for more info and options to use, see the docs:
# https://keras.io/api/keras_nlp/models/pali_gemma/pali_gemma_causal_lm/#frompreset-method
model_name = "pali_gemma_3b_mix_448"
pali_gemma_lm = keras_nlp.models.PaliGemmaCausalLM.from_preset(model_name)

# we need to resize the image to the size expected by the model
# we're assuming the model name ends with _NUM here
target_size_x = int(model_name[model_name.rfind("_") + 1 :])
target_size = (target_size_x, target_size_x)

from keras.preprocessing.image import load_img, img_to_array
import tensorflow as tf

# here we're loading an image of my cat because that's easier than finding a
# creative commons image
image_path = tf.keras.utils.get_file(
    "juice.jpg", "https://jethac.github.io/assets/juice.jpg"
)
keras_img = load_img(image_path, target_size=target_size)

# convert image to NumPy array
img_array = img_to_array(keras_img)

# convert NumPy array to Tensor object
img_tensor = tf.convert_to_tensor(img_array)
# define prompt separately so we can measure its length later
prompt = "Caption the image:"

# pass images and prompts to paligemma
response = pali_gemma_lm.generate({"images": [img_tensor], "prompts": [prompt]})

# we're not using an instruction-trained model so we have to cut the prompt off
# the front of our output
filtered = response[0][len(prompt) :]
print(filtered)
透過這個範例,可以快速理解多模態語言模型除了支援文字外,也可以支援影像。這樣的模型可以支援更多的應用,例如影像標註、影像生成文字等等。
Notebook link
