開頭先祝大家中秋節快樂!(。・∀・)ノ゙
接著來製作能使Button點擊前後不同樣式的方法吧~
新增Drawable Resource File,並取名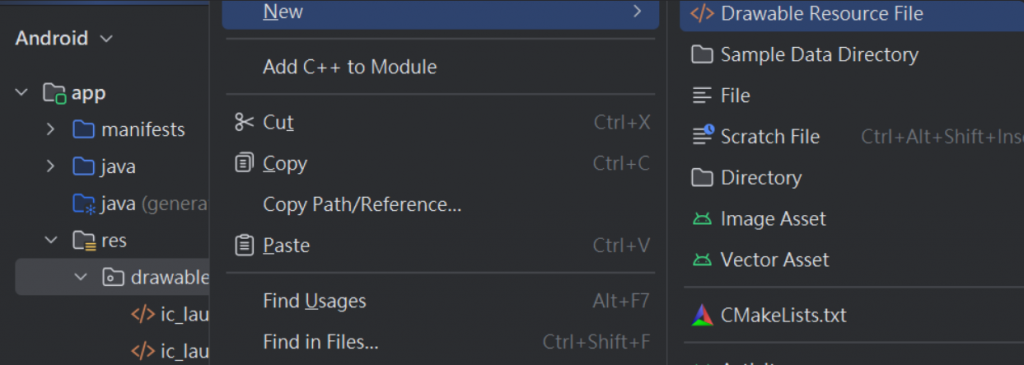
未點擊時Button狀態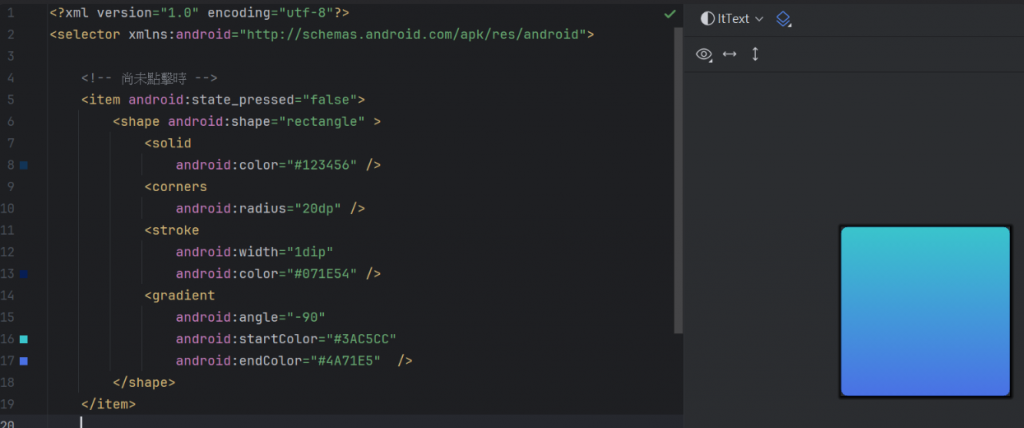
右邊會是未點擊時Button狀態的樣式預覽狀態
我們為了讓Button
android:state_pressed => 是否有點擊按鈕,false為未點擊情況,true為點擊
點擊後Button狀態
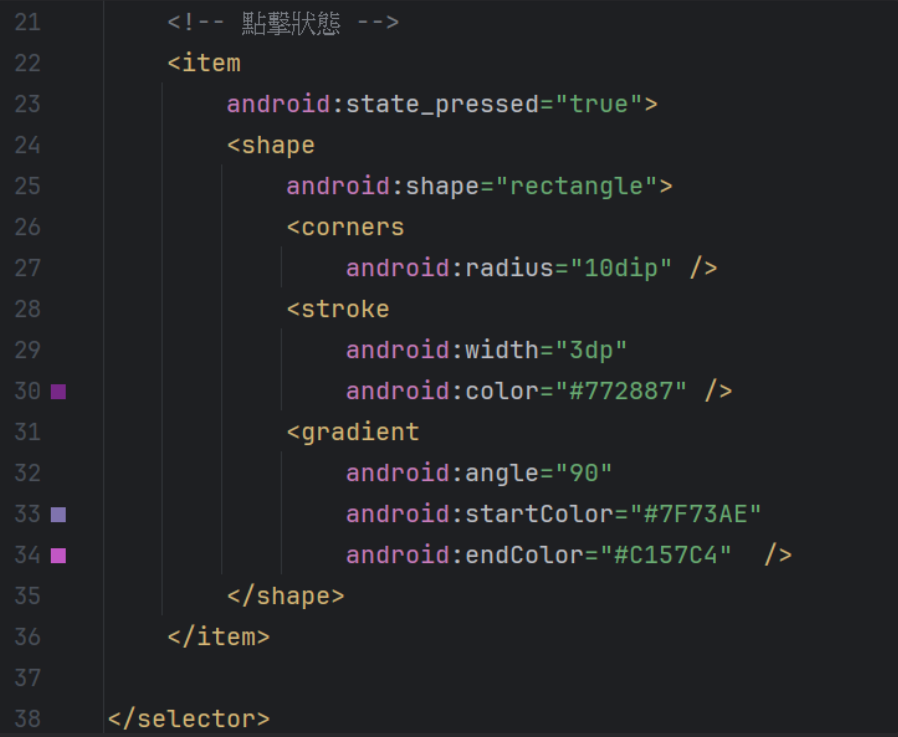
上一篇已經有介紹過各個程式碼的說明,不曉得的人可以翻上一篇,這裡就不再贅述了~
<?xml version="1.0" encoding="utf-8"?>
<selector xmlns:android="http://schemas.android.com/apk/res/android">

    <!-- 尚未點擊時 -->
    <item android:state_pressed="false">
        <shape android:shape="rectangle" >
            <solid
                android:color="#123456" />
            <corners
                android:radius="20dp" />
            <stroke
                android:width="1dip"
                android:color="#071E54" />
            <gradient
                android:angle="-90"
                android:startColor="#3AC5CC"
                android:endColor="#4A71E5"  />
        </shape>
    </item>

    <!-- 點擊狀態 -->
    <item
        android:state_pressed="true">
        <shape
            android:shape="rectangle">
            <corners
                android:radius="10dip" />
            <stroke
                android:width="3dp"
                android:color="#772887" />
            <gradient
                android:angle="90"
                android:startColor="#7F73AE"
                android:endColor="#C157C4"  />
        </shape>
    </item>

</selector>

<Button
        android:id="@+id/main_myButton_btn"
        android:layout_width="0dp"
        android:layout_height="0dp"
        android:text="Button"
        android:background="@drawable/my_button_pro"
        app:backgroundTint="@null"
        app:layout_constraintBottom_toTopOf="@+id/guideline2"
        app:layout_constraintEnd_toStartOf="@+id/guideline4"
        app:layout_constraintStart_toStartOf="@+id/guideline3"
        app:layout_constraintTop_toTopOf="@+id/guideline" />
拖移一個ImageView到牌色區域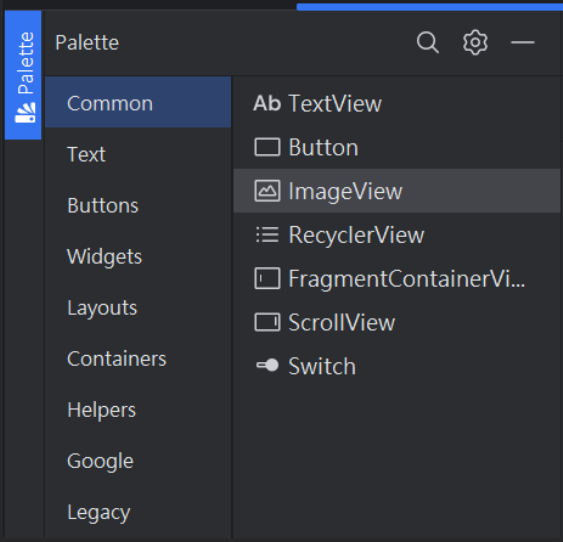
這裡就是可以讓ImageView顯示喜歡圖片的地方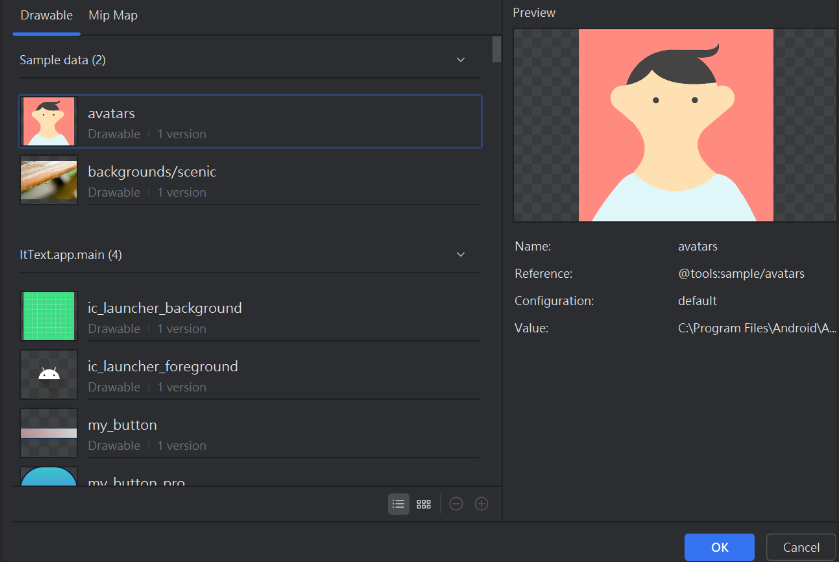
點擊左上方 + 圖示,再點選Import Drawables 就可以選擇自己想要顯示的圖片啦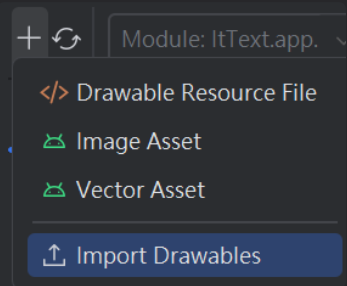
選擇好之後,點選Next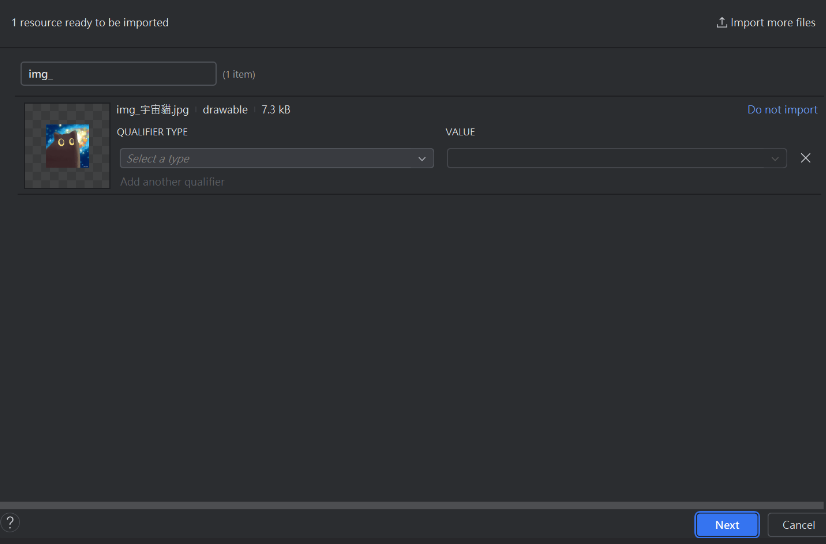
點擊 Import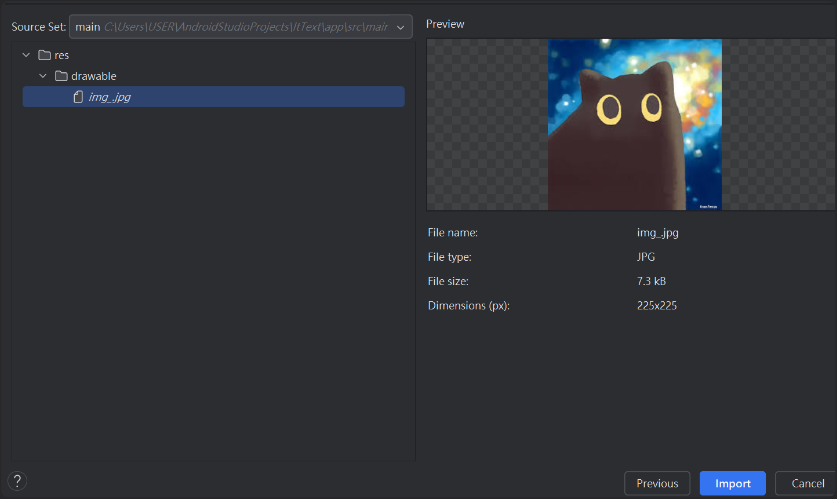
這樣它就會出現在左側,如果找不到可以用上方進行搜尋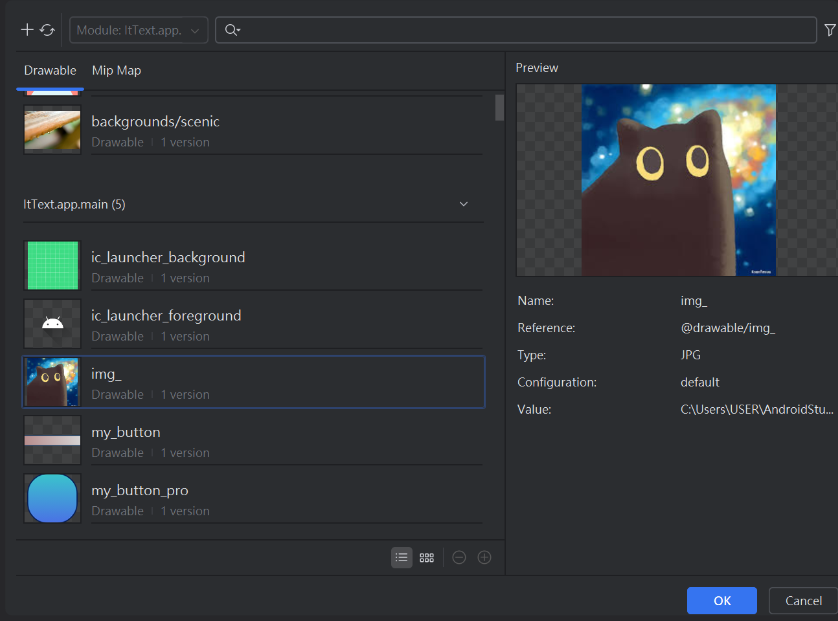
點擊OK後,圖片就出來了,接著放在自己喜歡的位置進行困定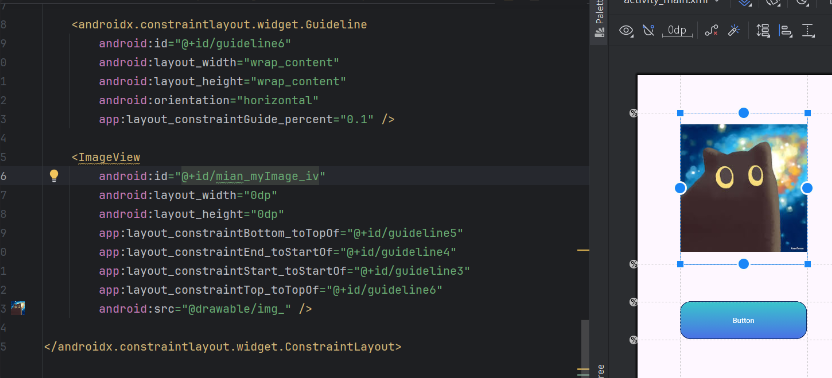
如果想換張圖可以使用右鍵點擊ImageView,點選Set Sample Data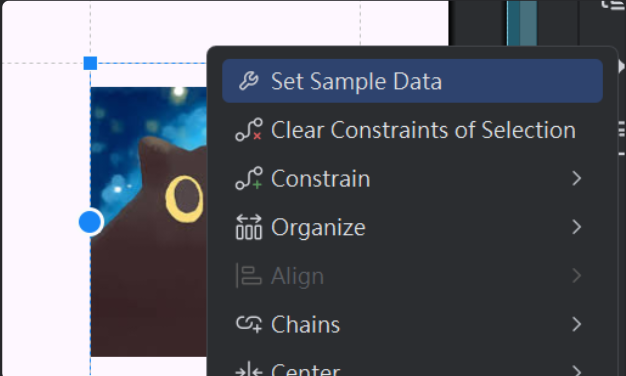
就可以再次進入Pick a Drawable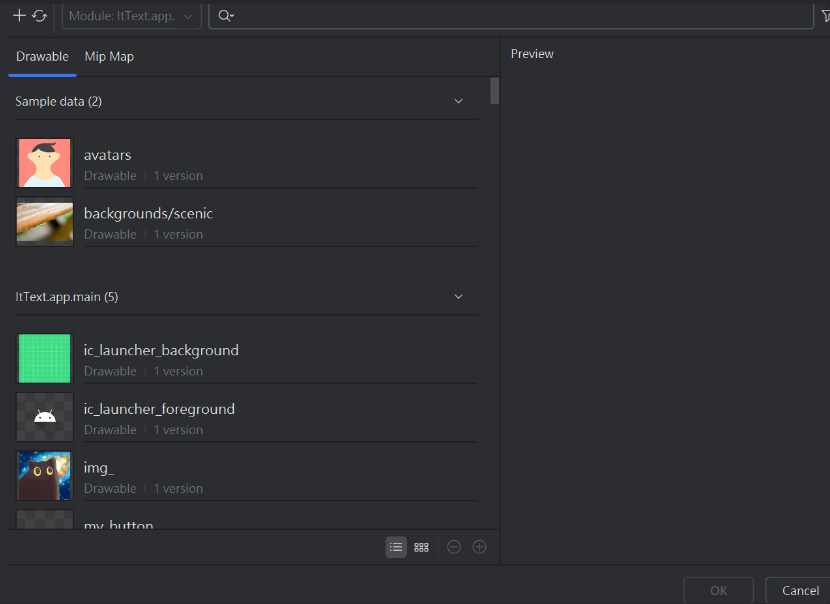
<?xml version="1.0" encoding="utf-8"?>
<androidx.constraintlayout.widget.ConstraintLayout xmlns:android="http://schemas.android.com/apk/res/android"
    xmlns:app="http://schemas.android.com/apk/res-auto"
    xmlns:tools="http://schemas.android.com/tools"
    android:id="@+id/main"
    android:layout_width="match_parent"
    android:layout_height="match_parent"
    tools:context=".MainActivity">


    <androidx.constraintlayout.widget.Guideline
        android:id="@+id/guideline"
        android:layout_width="wrap_content"
        android:layout_height="wrap_content"
        android:orientation="horizontal"
        app:layout_constraintGuide_percent="0.6" />

    <androidx.constraintlayout.widget.Guideline
        android:id="@+id/guideline2"
        android:layout_width="wrap_content"
        android:layout_height="wrap_content"
        android:orientation="horizontal"
        app:layout_constraintGuide_percent="0.7" />

    <androidx.constraintlayout.widget.Guideline
        android:id="@+id/guideline3"
        android:layout_width="wrap_content"
        android:layout_height="wrap_content"
        android:orientation="vertical"
        app:layout_constraintGuide_percent="0.2" />

    <androidx.constraintlayout.widget.Guideline
        android:id="@+id/guideline4"
        android:layout_width="wrap_content"
        android:layout_height="wrap_content"
        android:orientation="vertical"
        app:layout_constraintGuide_percent="0.8" />

    <Button
        android:id="@+id/main_myButton_btn"
        android:layout_width="0dp"
        android:layout_height="0dp"
        android:background="@drawable/my_button_pro"
        android:text="Button"
        app:backgroundTint="@null"
        app:layout_constraintBottom_toTopOf="@+id/guideline2"
        app:layout_constraintEnd_toStartOf="@+id/guideline4"
        app:layout_constraintStart_toStartOf="@+id/guideline3"
        app:layout_constraintTop_toTopOf="@+id/guideline" />

    <androidx.constraintlayout.widget.Guideline
        android:id="@+id/guideline5"
        android:layout_width="wrap_content"
        android:layout_height="wrap_content"
        android:orientation="horizontal"
        app:layout_constraintGuide_percent="0.5" />

    <androidx.constraintlayout.widget.Guideline
        android:id="@+id/guideline6"
        android:layout_width="wrap_content"
        android:layout_height="wrap_content"
        android:orientation="horizontal"
        app:layout_constraintGuide_percent="0.1" />

    <ImageView
        android:id="@+id/mian_myImage_iv"
        android:layout_width="0dp"
        android:layout_height="0dp"
        app:layout_constraintBottom_toTopOf="@+id/guideline5"
        app:layout_constraintEnd_toStartOf="@+id/guideline4"
        app:layout_constraintStart_toStartOf="@+id/guideline3"
        app:layout_constraintTop_toTopOf="@+id/guideline6"
        android:src="@drawable/img_" />

</androidx.constraintlayout.widget.ConstraintLayout>
按下按鈕後變換圖片,因此需要監聽器去進行動作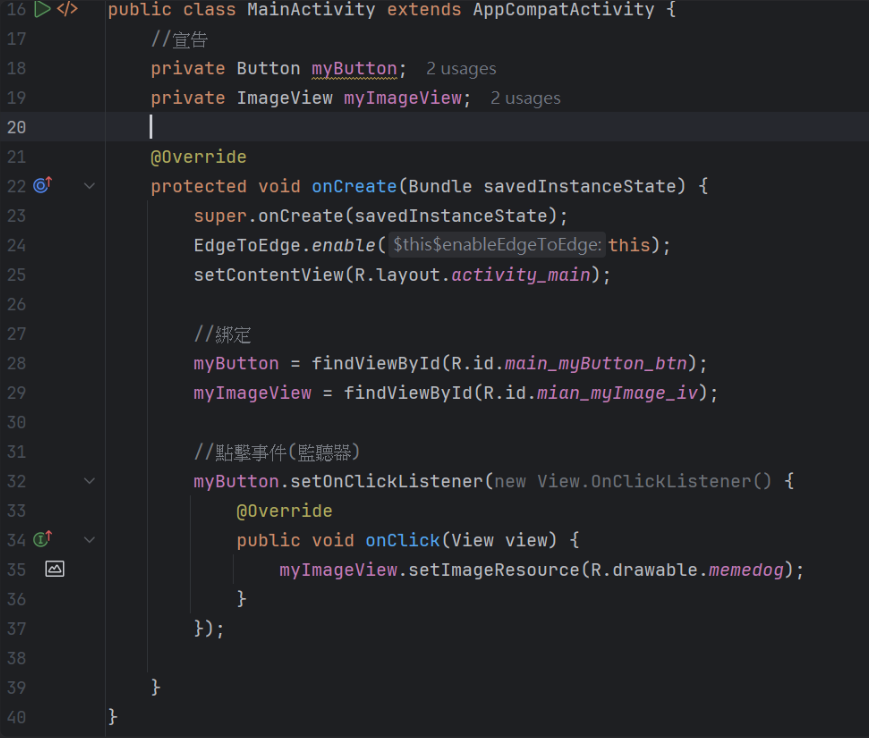
未點擊按鈕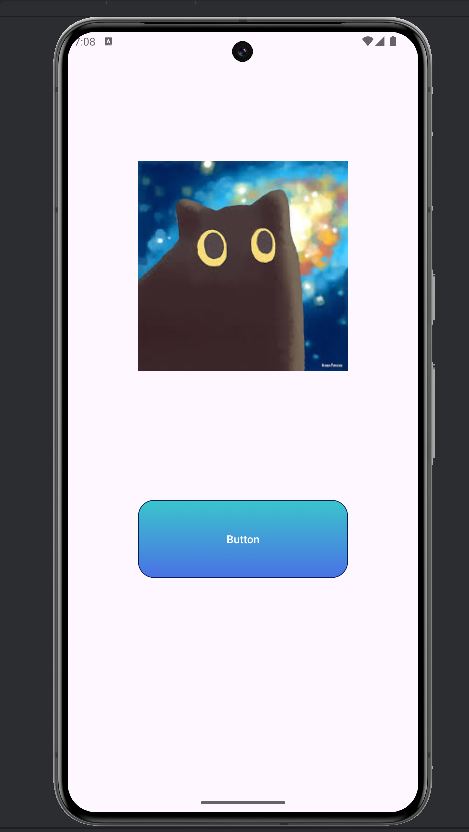
點擊按鈕(未放開手)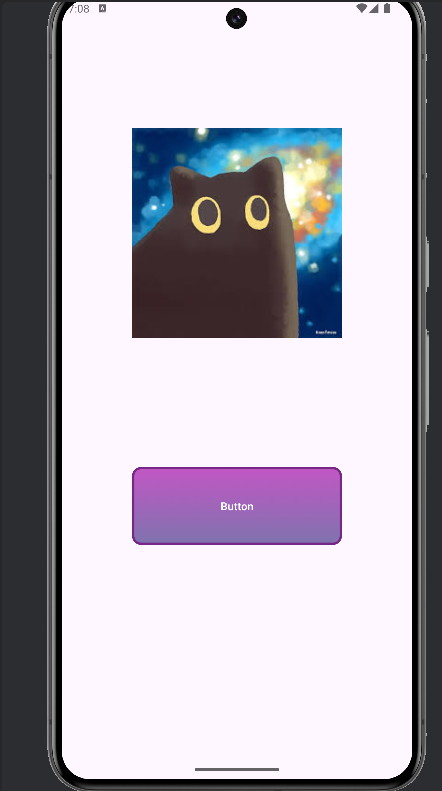
點擊按鈕(放開手)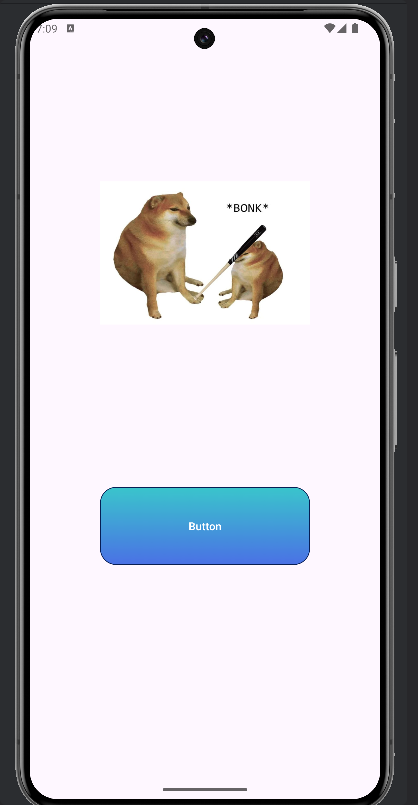
package com.example.ittext;

import android.annotation.SuppressLint;
import android.os.Bundle;
import android.view.View;
import android.widget.Button;
import android.widget.ImageView;
import android.widget.TextView;

import androidx.activity.EdgeToEdge;
import androidx.appcompat.app.AppCompatActivity;
import androidx.core.graphics.Insets;
import androidx.core.view.ViewCompat;
import androidx.core.view.WindowInsetsCompat;

public class MainActivity extends AppCompatActivity {
    //宣告
    private Button myButton;
    private ImageView myImageView;

    @Override
    protected void onCreate(Bundle savedInstanceState) {
        super.onCreate(savedInstanceState);
        EdgeToEdge.enable(this);
        setContentView(R.layout.activity_main);

        //綁定
        myButton = findViewById(R.id.main_myButton_btn);
        myImageView = findViewById(R.id.mian_myImage_iv);

        //點擊事件(監聽器)
        myButton.setOnClickListener(new View.OnClickListener() {
            @Override
            public void onClick(View view) {
                myImageView.setImageResource(R.drawable.memedog);
            }
        });

    }
}
