Selenium 是 python 的模組,用於瀏覽器操作的自動化,通常用於自動網頁爬蟲等需求
在vscode開啟新專案,新增一py檔 test.py 並開啟終端,輸入
pip install selenium
在終端執行後即可再專案使用Selenium,要再專案中使用要 import 到專案內
,在剛剛的py檔輸入
from selenium import webdriver
from selenium.webdriver.chrome.service import Service
from selenium.webdriver.chrome.options import Options
即可
在使用 Selenium 前需要先下載 WebDriver,根據使用的瀏覽器下載不同的 Webdriver,在這邊以 Chrome 為例
首先新增一個變數 service
service=
service=Service(ChromeDriverManager().install()
此方法可自動安裝最新版本的driver到電腦上,優點是不用另外裝driver,缺點是Chrome剛更新成新版本可能會暫時不能用
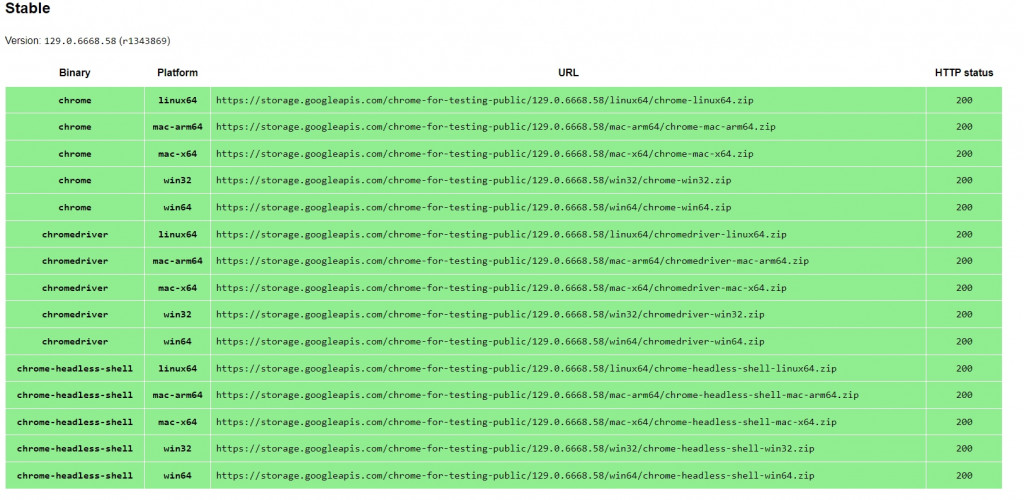
在 ChromeDriver下載最新版本 driver(通常選 stable)。
記得版本要與電腦使用的Chrome版本一致(前面開頭版本要一樣)
選擇 chromedriver win64 的 url ,就會自動下載

解壓縮後把資料夾放在想放的位置,並複製chromedriver.exe的位址
把位址存成一個變數新增到專案內
browesr_path = ".\chromedriver.exe"
然後在 service 變數後新增
service = Service(browesr_path)
即可
此方法雖然麻煩,但是穩定,不太會因為更新而無法使用driver
自動和手動各有優缺點,筆者在這邊採用手動的方法
Option 是設定瀏覽器在啟動時要執行的命令,使用方法很簡單。
options = Options()
這樣就完成基本指令,再來就是新增 argument,介紹幾個常用的argument
# 設定瀏覽器語言為中文
options.add_argument("--lang=zh-TW")
# 無頭模式,允許瀏覽器在後台運作
options.add_argument("--headless")
# 全螢幕模式
options.add_argument("--kiosk")
設定完 Service 與 Options 後, 就快完成瀏覽器自動化了
設定 browser 變數
browser = webdriver.Chrome(service=service, options=options)
然後設定要前往的網頁
browser.get("https://www.google.com")
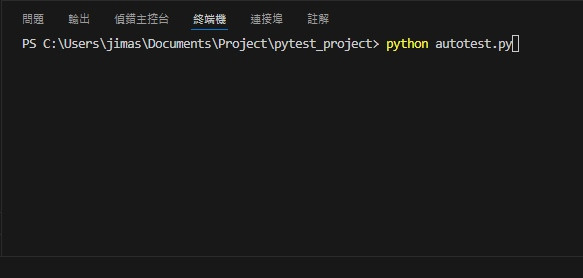
然後在終端輸入
python test.py

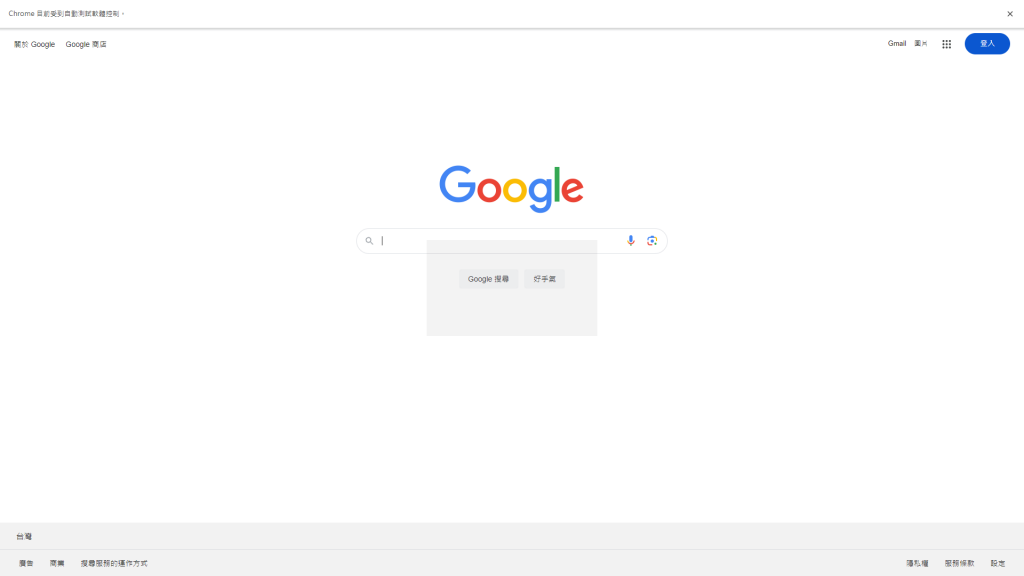
如果成功打開瀏覽器,代表已經可以正常使用 selenium 了
明天預計會介紹在selenium操作網頁的方法
在最後附上此次文章完整的code
from selenium import webdriver
from selenium.webdriver.chrome.service import Service
from selenium.webdriver.chrome.options import Options

# 設定 ChromeDriver 的路徑

browesr_path = "c:\Program Files\chromedriver-win64\chromedriver-win64\chromedriver.exe"

service = Service(browesr_path)

# 設定 Chrome 的啟動參數
options = Options()

# 設定瀏覽器語言為中文
options.add_argument("--lang=zh-TW")

# 全螢幕模式
options.add_argument("--kiosk")

browser = webdriver.Chrome(service=service, options=options)

browser.get("https://www.google.com")
