Cloud SQL 的連線設定完後還剩下 Memorystore for Redis 跟 Pub/Sub 一樣依序來進行配置
先前建立 Redis 時我們有多建立了一台 GCE 來進行連線的測試,我們可以再使用相同的指令來進行連線的測試
gcloud compute ssh [GCE_INSTANCE_NAME] --zone=[GCE_REGION] -- -N -L 6379:[REDIS_IP]:6379
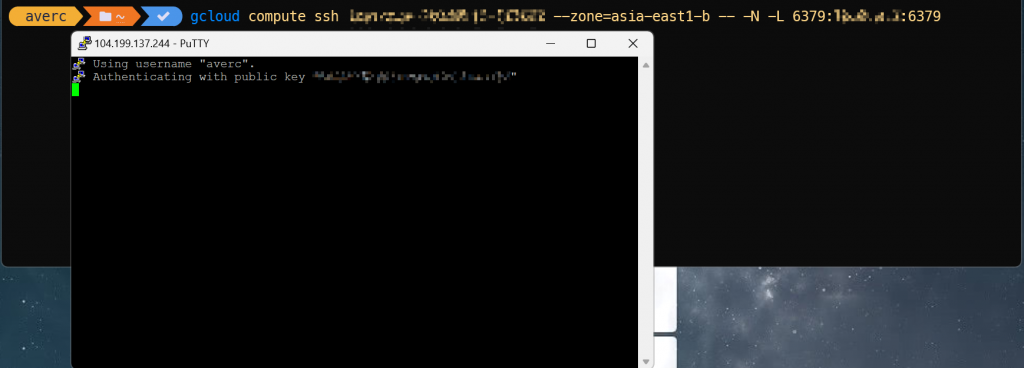
在Windows 執行時會開啟一個 PuTTY 的視窗,此時就會將我們localhost:6379 post 的流量透過 GCE 轉導到 Redis。
接下來我們要透過程式碼來連線到 Redis
首先我們先安裝需要使用到的套件,.NET 環境有很多操作 Redis 的套件,依照個人使用習慣選擇就可以了,我這裡選了官方文件使用的 NRedisStack
dotnet add package NRedisStack
建立一個 Redis Service,新增 Service 資料夾在裡面建立 RedisService.cs
我們先寫兩個簡單的 Function 幫助我們做測試
using StackExchange.Redis;

namespace iThome2024.SalesService.Service;

public class RedisService
{
    private IDatabase _db;

    public RedisService(string connectionString)
    {
        ConnectionMultiplexer redis = ConnectionMultiplexer.Connect(connectionString);
        _db = redis.GetDatabase();
    }
    public void StringSet(string key, string value)
    {
        _db.StringSet(key, value);
    }
    public string StringGet(string key)
    {
        return _db.StringGet(key).ToString();
    }
}
在 Minimal API 註冊 Service,我們這裡使用的 Connection String 一樣使用從 appsetting 取出來
builder.Services.AddSingleton<RedisService>(new RedisService(builder.Configuration.GetConnectionString("Redis")));
新增 API
app.MapPost("/Test/RedisAddString", (RedisService redisService, string key, string value) =>
{
    redisService.StringSet(key, value);
    return $"Set {key} to {value}";
})
.WithName("TestRedisAddString")
.WithOpenApi();

app.MapGet("/Test/RedisGetString", (string key, RedisService redisService) =>
{
    return redisService.StringGet(key).ToString();
})
.WithName("TestRedisGetString")
.WithOpenApi();
appsetting.json 新增連線資訊

測試一下

OK 在 Local 連線到 Redis 連線就完成了。
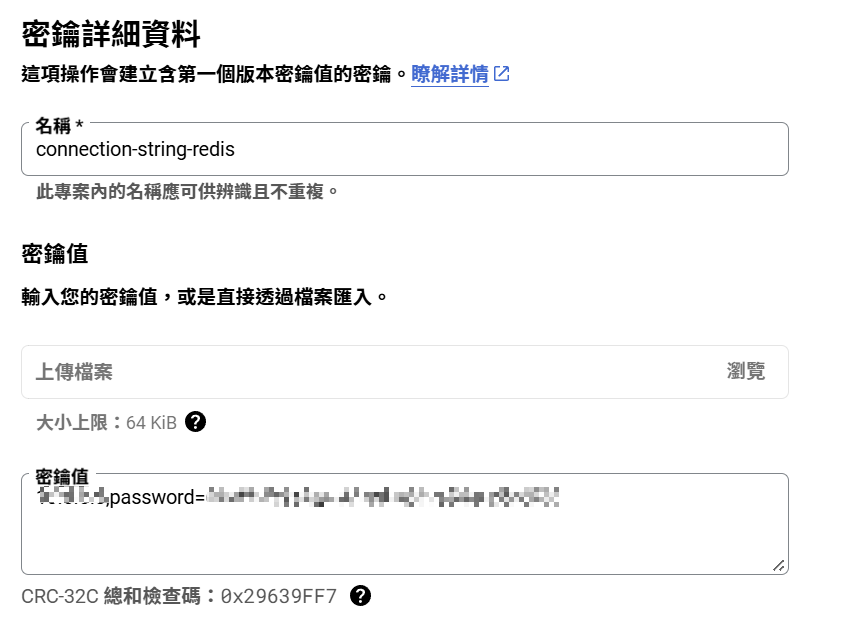
把調整完畢的程式碼推送至 Github 讓 Cloud Build 自動幫我們上版,如果 appsetting.json 內沒有 Redis 的 ConnectionString 部屬可能會失敗,要先去 Secret Manager 建立一個 Redis ConnectionString 的 Secret ,記得密要值的 IP 要替換成 Redis 實際的 IP 而不是 localhost
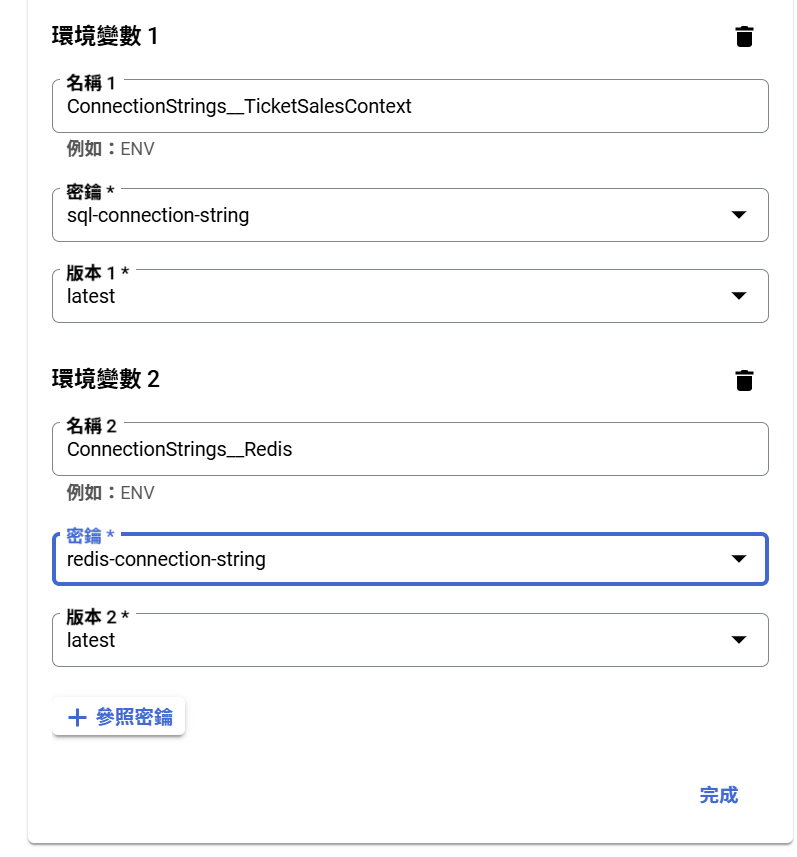
回到 Cloud Run 編輯一個新的版本把 RedisConnectstring 加上
重新佈署後 Cloud Run 狀態就會是良好,我們再來測試一下
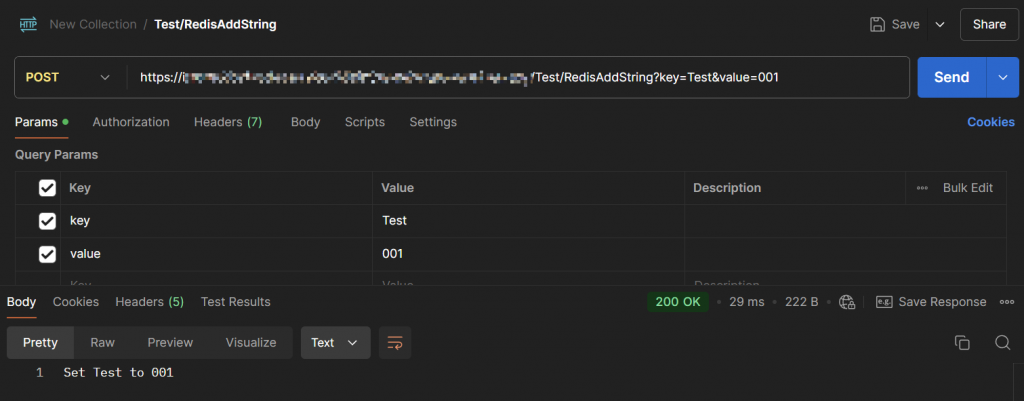
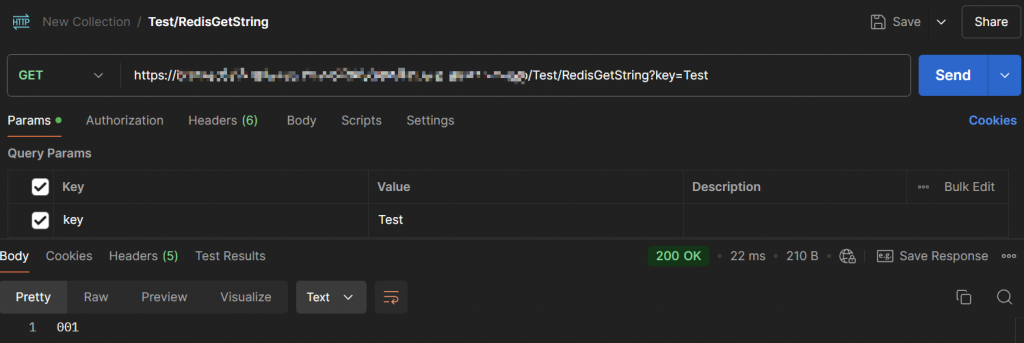
OK 這樣 Redis 的連線也完成了
最後是我們的緩衝層 Message Service 服務 Pub/Sub。
Pub/Sub 是套 SaaS 服務,要跟他交互基本上就是使用 Google 官方提供的 SDK ,首先先把套件加入到我們的專案
dotnet add package Google.Cloud.PubSub.V1
在 Service 資料夾內新增 PublisherService 跟 SubscriberService
using Google.Cloud.PubSub.V1;

namespace iThome2024.SalesService.Service;

public class PublisherService
{
    private PublisherClient _publisher;

    public PublisherService(string projectId, string topicId)
    {
        TopicName topicName = new(projectId, topicId);
        _publisher = PublisherClient.Create(topicName);
    }
    public async Task<string> Publish(string message)
    {
        return await _publisher.PublishAsync(message);
    }
}
using Google.Cloud.PubSub.V1;

namespace iThome2024.SalesService.Service;

public class SubscriberService
{

    private SubscriptionName _subscriptionName;
    public SubscriberService(string projectId, string subscriptionId)
    {
        _subscriptionName = new(projectId, subscriptionId);

    }
    public async Task<List<string>> Subscribe()
    {
        var subscriber = await SubscriberClient.CreateAsync(_subscriptionName);
        List<string> receivedMessages = [];
        await subscriber.StartAsync((msg, cancellationToken) =>
        {
            receivedMessages.Add(msg.Data.ToStringUtf8());
            subscriber.StopAsync(TimeSpan.FromSeconds(15));
            return Task.FromResult(SubscriberClient.Reply.Ack);
        });
        return receivedMessages;
    }

}
註冊 Service
builder.Services.AddSingleton(
    new PublisherService(builder.Configuration["GoogleCloud:ProjectId"]!,
                         builder.Configuration["GoogleCloud:PubSub-Ticket:TopicId"]!));
builder.Services.AddSingleton(
    new SubscriberService(builder.Configuration["GoogleCloud:ProjectId"]!,
                          builder.Configuration["GoogleCloud:PubSub-Ticket:SubscriptionId"]!));
appsetting 新增 topic 相關設定
"GoogleCloud": {
    "ProjectId": "[Your Project Id]",
    "PubSub-Ticket": {
      "TopicId": "ithome-2024-topic",
      "SubscriptionId": "ithome-2024-topic-sub"
    }
  }
新增兩個測試用的 API
app.MapPost("/Test/PubSubPublishMessage", async (string message, PublisherService publisherService) =>
{
    return await publisherService.Publish(message);
})
.WithName("TestPubSubPublishMessage")
.WithOpenApi();

app.MapGet("/Test/PubSubSubscribeMessage", async (SubscriberService subscriberService) =>
{
    return await subscriberService.Subscribe();
})
.WithName("TestPubSubSubscribeMessage")
.WithOpenApi();
在 Local 測試看看

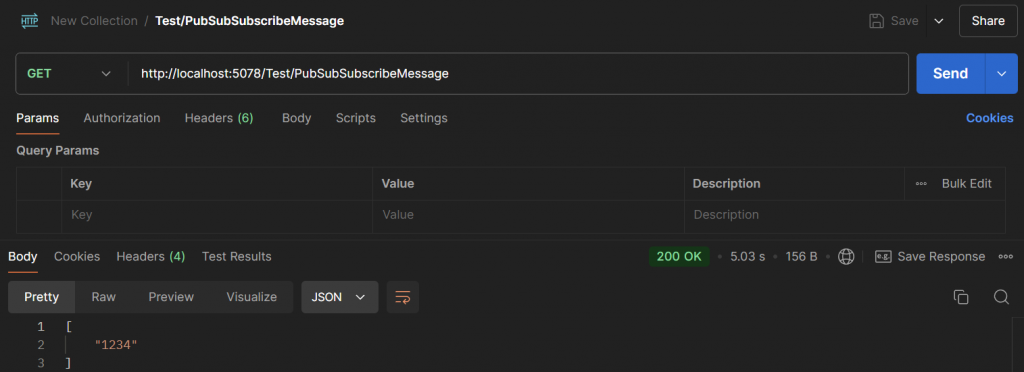
測試 OK 。
接下來推上 Cloud Run 就可以了,Pub/Sub 是 SaaS 服務原則上只要 Cloud Run 的 Service Account 權限有設置好就不需要做多餘的配置,Project Id 跟Topic Id 也不是機敏資訊通常不會需要存放到 Secret Manager。
