歡迎來到我們React學習之旅的第八天!今天,我們來認識一下React的Context API。這是一個強大的特性,允許我們在不同層級的組件之間共享資料,而無需顯式地通過props傳遞。
Context就像是一個大家庭或公司裡的公共佈告欄。它讓我們可以在React應用的不同部分之間分享資訊,而不需要一層一層地傳遞。想像一下,如果沒有這個佈告欄,每次要通知所有人一件事,就得逐一告訴每個人,然後讓他們再告訴其他人。
Context的設計目的是為了分享那些在應用中很多地方都需要用到的「全域」資訊。
例如:
有了Context,這些資訊就像貼在佈告欄上一樣,所有的組件都可以直接看到,不用再辛苦地一個一個傳遞了。這樣不僅讓程式碼更簡潔,也讓管理這些全域資訊變得更容易。
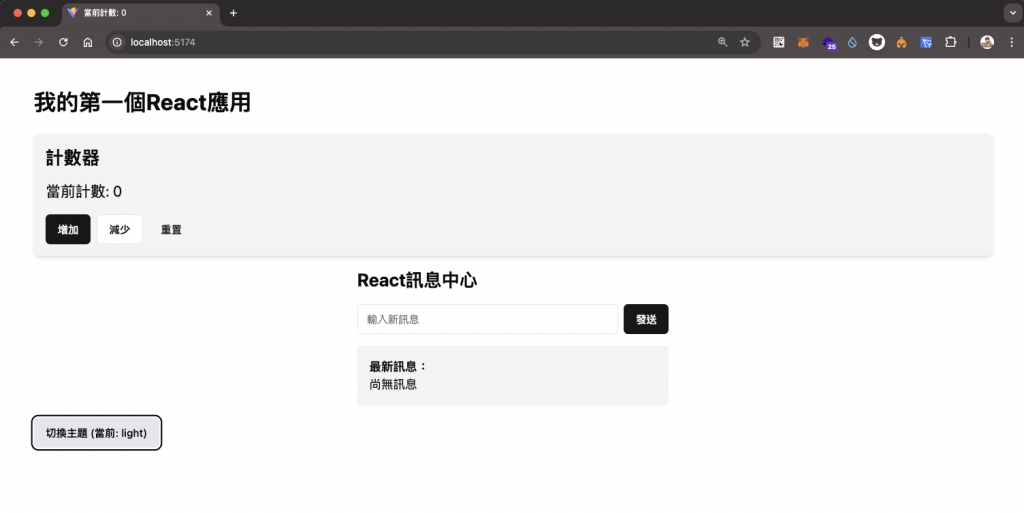
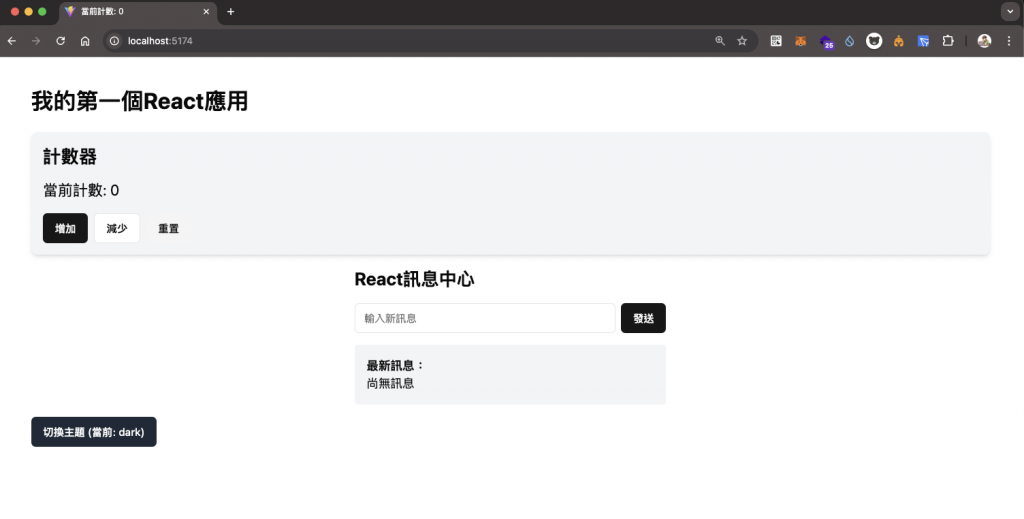
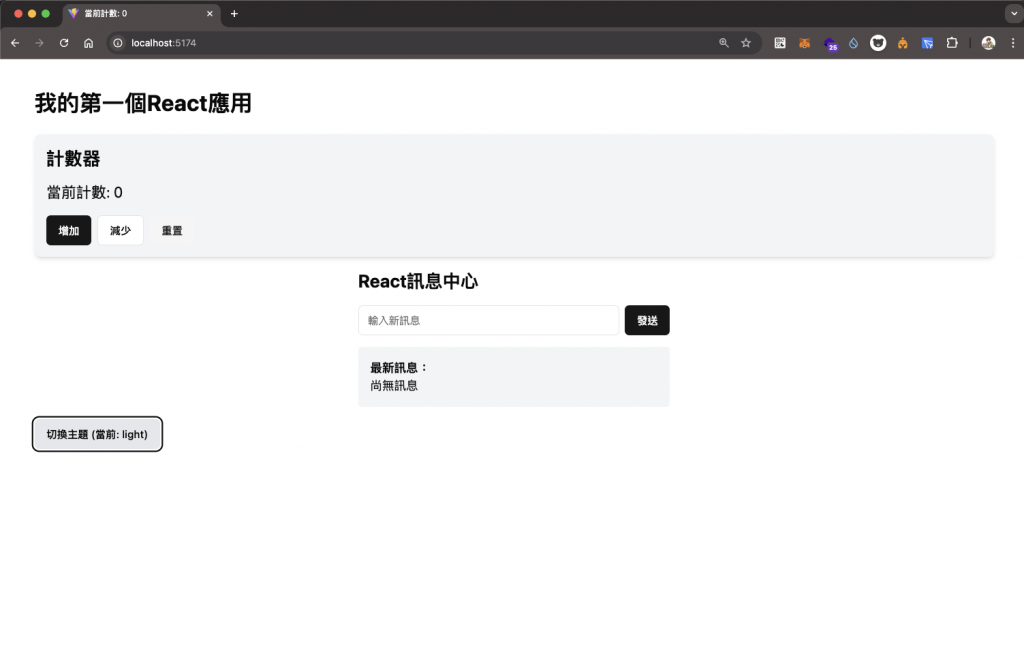
讓我們通過一個主題切換的範例來了解如何建立和使用Context。
首先,建立一個新文件 ThemeContext.tsx:
import React, { createContext, useState, useContext } from 'react';

type Theme = 'light' | 'dark';

interface ThemeContextType {
  theme: Theme;
  toggleTheme: () => void;
}

const ThemeContext = createContext<ThemeContextType | undefined>(undefined);

export const ThemeProvider: React.FC<{ children: React.ReactNode }> = ({ children }) => {
  const [theme, setTheme] = useState<Theme>('light');

  const toggleTheme = () => {
    setTheme(prevTheme => prevTheme === 'light' ? 'dark' : 'light');
  };

  return (
    <ThemeContext.Provider value={{ theme, toggleTheme }}>
      {children}
    </ThemeContext.Provider>
  );
};

export const useTheme = () => {
  const context = useContext(ThemeContext);
  if (context === undefined) {
    throw new Error('useTheme must be used within a ThemeProvider');
  }
  return context;
};
這個程式做了以下幾件事:
ThemeContext。ThemeProvider組件,它管理主題狀態並提供切換主題的方法。useTheme,用於在其他組件中方便地訪問主題狀態和切換方法。現在,讓我們在專案中使用這個Context:
// App.tsx
import React from 'react';
import { ThemeProvider } from './ThemeContext';
import ThemedButton from './ThemedButton';

const App: React.FC = () => {
  return (
    <ThemeProvider>
      <div className="p-4">
        <h1 className="text-2xl font-bold mb-4">主題切換示例</h1>
        <ThemedButton />
      </div>
    </ThemeProvider>
  );
};

export default App;
// ThemedButton.tsx
import React from 'react';
import { useTheme } from './ThemeContext';
import { Button } from "@/components/ui/button"

const ThemedButton: React.FC = () => {
  const { theme, toggleTheme } = useTheme();

  return (
    <Button
      onClick={toggleTheme}
      className={`${theme === 'dark' ? 'bg-gray-800 text-white' : 'bg-gray-200 text-black'}`}
    >
      切換主題 (當前: {theme})
    </Button>
  );
};

export default ThemedButton;
在這個例子中:
App組件使用ThemeProvider包裝了整個應用。ThemedButton組件使用useTheme Hook來訪問當前主題和切換主題的方法。我們可以進一步優化我們的程式,建立一個更強大的自定義Hook來管理主題:
// useThemeManager.ts
import { useState, useCallback, useEffect } from 'react';

export const useThemeManager = () => {
  const [theme, setTheme] = useState<'light' | 'dark'>(() => {
    // 從本地存儲中獲取主題,如果沒有則默認為'light'
    return (localStorage.getItem('theme') as 'light' | 'dark') || 'light';
  });

  const toggleTheme = useCallback(() => {
    setTheme(prevTheme => prevTheme === 'light' ? 'dark' : 'light');
  }, []);

  useEffect(() => {
    // 當主題變化時,更新本地存儲和文檔類
    localStorage.setItem('theme', theme);
    document.documentElement.classList.toggle('dark', theme === 'dark');
  }, [theme]);

  return { theme, toggleTheme };
};
然後,我們可以在我們的ThemeProvider中使用這個Hook:
export const ThemeProvider: React.FC<{ children: React.ReactNode }> = ({ children }) => {
  const themeManager = useThemeManager();

  return (
    <ThemeContext.Provider value={themeManager}>
      {children}
    </ThemeContext.Provider>
  );
};
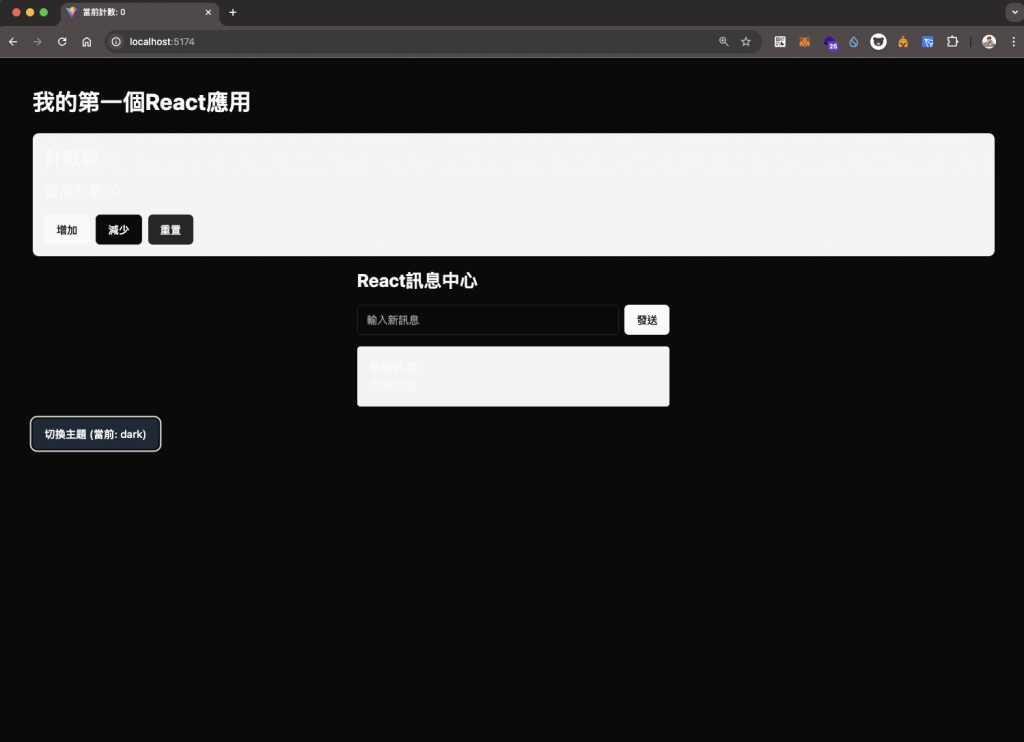
這種方法將主題管理邏輯封裝在一個自定義Hook中,使得我們的Context Provider更加簡潔,同時也使得主題管理邏輯可以在其他地方覆用。
今天,我們認識了React的Context API,了解了如何建立和使用Context,以及如何將其與自定義Hooks結合使用。Context是一個強大的工具,可以幫助我們管理全局狀態並避免prop drilling。
然而Context並不是用來取代所有的props傳遞。對於只需要在少數組件間共享的資料,props通常是更簡單和更直接的解決方案。Context最適合用於那些需要在專案的多個部分共享的全域資料。
如果想深入了解Context,可以查看React官方文件中關於Context的章節。
明天,我們將學習React的錯誤邊界(Error Boundaries)。


 iThome鐵人賽