接下來我們就要部署前端,一樣建立Docker file
FROM node:18-alpine as build

WORKDIR /app

COPY package*.json ./
RUN npm ci
COPY . .
RUN npm run build

FROM nginx:stable-alpine

RUN rm /etc/nginx/conf.d/default.conf

COPY nginx.conf /etc/nginx/conf.d/default.conf

COPY --from=build /app/dist /usr/share/nginx/html

EXPOSE 80

RUN nginx -t

CMD ["nginx", "-g", "daemon off;"]
裡面有使用到 nginx,所以我們需要導流至後端的url需要配置一下我們的 nginx的conf!
nginx.conf
server {
    listen 80;
    server_name localhost;
    root /usr/share/nginx/html;
    index index.html;

    location / {
        try_files $uri $uri/ /index.html;
    }

    location /api/ {
        proxy_pass https://xxxx.run.app/api/;
        proxy_http_version 1.1;
        proxy_set_header Upgrade $http_upgrade;
        proxy_set_header Connection 'upgrade';
        proxy_set_header Host xxxx.run.app;
        proxy_cache_bypass $http_upgrade;
        proxy_set_header X-Real-IP $remote_addr;
        proxy_set_header X-Forwarded-For $proxy_add_x_forwarded_for;
        proxy_set_header X-Forwarded-Proto $scheme;
    }
}
ps:xxxx為後端的url!
接著跟著後端一樣的設定方式,但前端的好處就是不用設定太多奇怪的東西nginx反向代理處理好以及docker file寫好,本地端測試docker build及docker run沒問題通常整體來說都會沒問題!

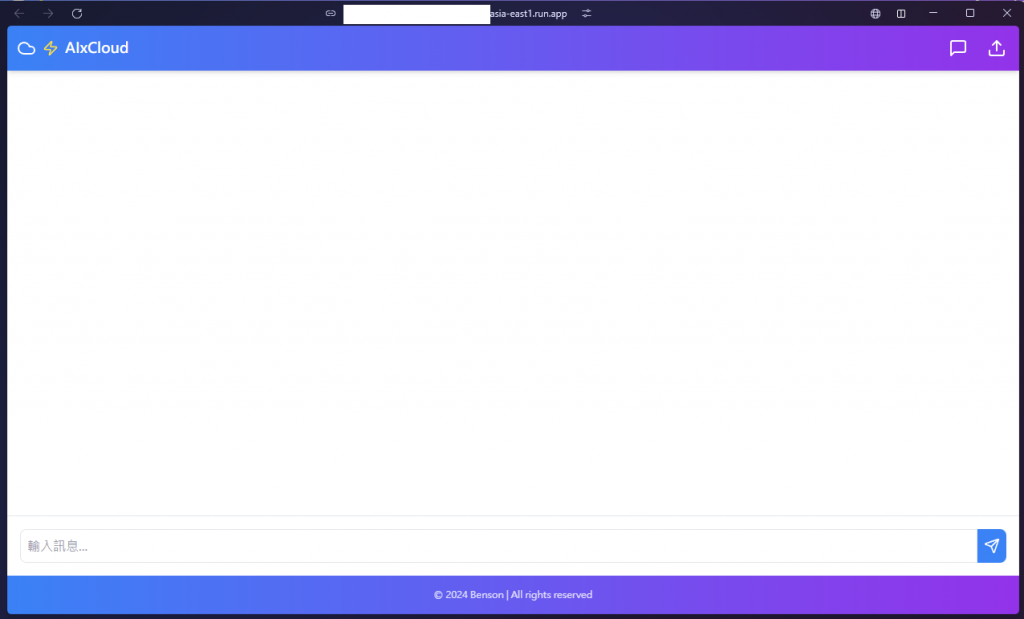
url連接畫面

是不是簡單又快速呢!
