今天來繼續介紹可以互動的圖形化元件:下拉式選單。
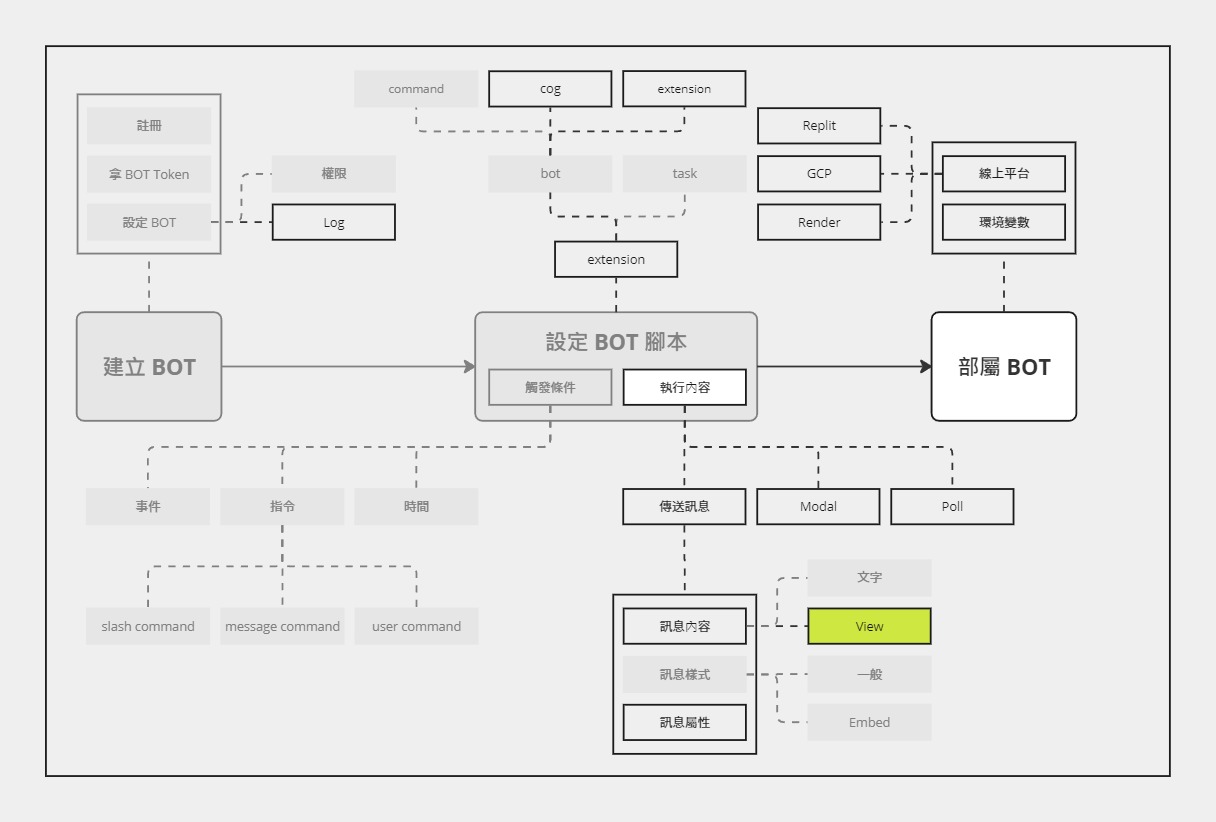
進度沒有變化,還在 View ~
有昨天按鈕的經驗,再來看下拉式選單應該很容易上手了,讓我們直接來看這個範例。
import discord
from discord.ext import commands
intents = discord.Intents.default()
intents.message_content = True
bot = commands.Bot(command_prefix="", intents=intents)
async def on_select(interaction: discord.Interaction):
result = interaction.data["values"][0]
await interaction.response.send_message(result)
@bot.command()
async def ping(ctx: commands.Context):
view = discord.ui.View()
select = discord.ui.Select(
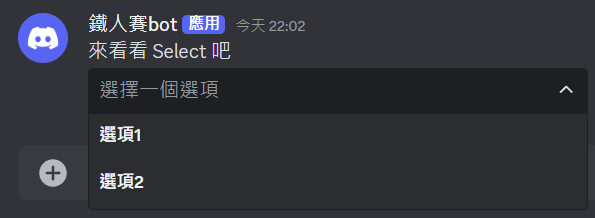
placeholder="選擇一個選項",
options=[
discord.SelectOption(label="選項1", value="1"),
discord.SelectOption(label="選項2", value="2"),
],
)
select.callback = on_select
view.add_item(select)
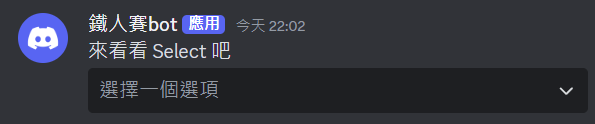
await ctx.send("來看看 Select 吧", view=view)
bot.run("token")
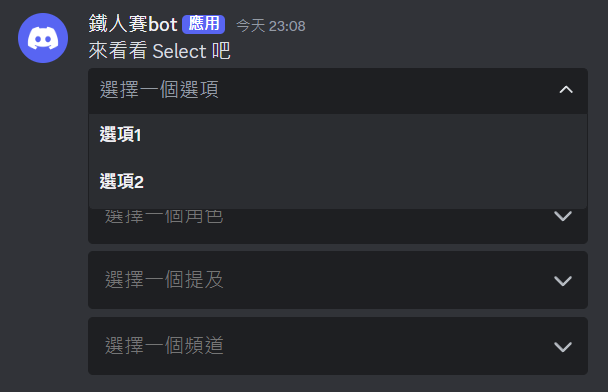
效果如下:

雖然我相信有許多人已經理解了,但還是讓我來說明一下~
Select 元件 @bot.command()
async def ping(ctx: commands.Context):
+ view = discord.ui.View()
+ select = discord.ui.Select(
+ placeholder="選擇一個選項",
+ options=[
+ discord.SelectOption(label="選項1", value="1"),
+ discord.SelectOption(label="選項2", value="2"),
+ ],
+ )
+ select.callback = on_select
+ view.add_item(select)
await ctx.send("來看看 Select 吧", view=view)
這部分應該還算好理解,就是建立一個 Select 元件和它的選項,並設定好 callback,最後再把它加進 View 中。
Select 常用參數包含:
placeholder (str):尚未選擇前所顯示的文字。min_values (int):最少要選的選項數量。預設為 1,數值只能落在 0 到 25 之間。max_values (int):最多能選的選項數量。預設為 1,數值只能落在 1 到 25 之間。disabled (bool):是否為 disabled 狀態。預設為 False
其他參數細節可以看 discord.py 的文件
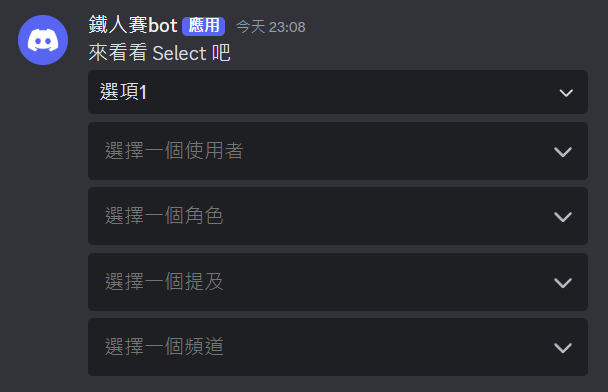
async def on_select(interaction: discord.Interaction):
    result = interaction.data["values"][0]
    await interaction.response.send_message(result)
這部分可能要理解一下這個 interaction.data 到底是什麼,如果我們把 interaction.data 印出來,就會得到
{'values': ['1'], 'custom_id': 'c09568a622fc9c9a7e706270ab1fce48', 'component_type': 3}
如果此時再改選另一個選項,就只是
values從['1']變成'[2]'而已。
所以,想要拿到選項,就需要從 values 獲得。
interaction.data 內還有兩個參數沒有介紹到,先來看一下 component_type。
component_type 是什麼?在 Discord,訊息可以夾帶的元件都稱為 Component。Component 一共有 8 種:
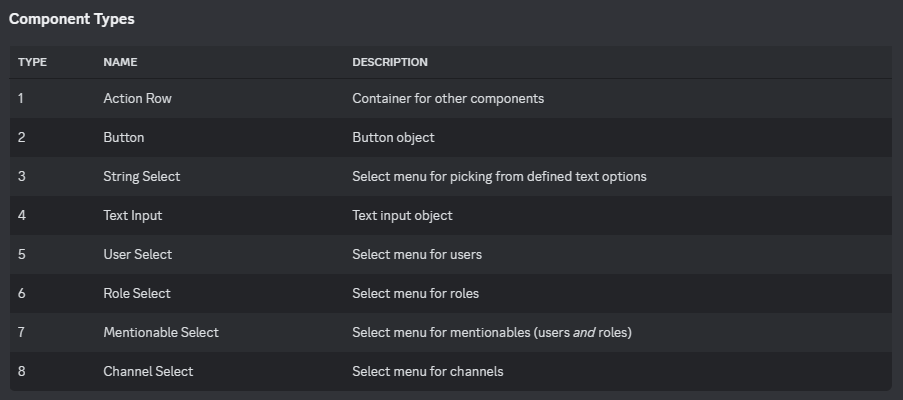
(資料來源:Discord 文件)
每個不同的元件都有對應的種類編號。上面範例使用的下拉式選單屬於第三種:String Select,也就是由自己定義文字選項的選單。
如果是 button,
interaction.data印出來長這樣:{'custom_id': '8f8851575f9b90772fa6c35d99697891', 'component_type': 2}沒有
values,component_type是 2
custom_id 是什麼?每個 Component 都會有一個專屬的 ID,也就是 Custom ID。它可以很有效地幫助 Discord BOT 知道指的是哪一個元件。在建立元件時,可以自己定義 Custom ID;如果沒有,系統就會自動生成。
也因此,設定元件的 callback 也可以改成:監聽 interaction 相關事件時,如果是某個自己定義的
custom_id的元件觸發的,就執行 callback 函數。
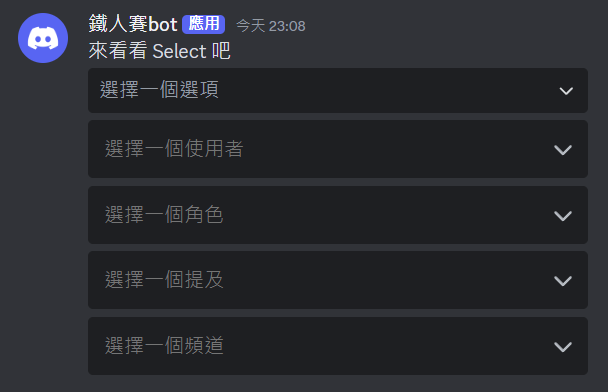
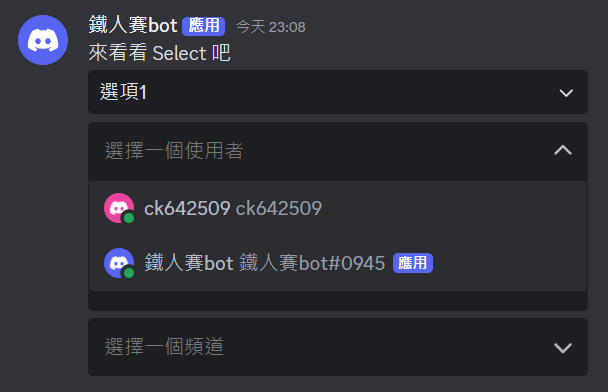
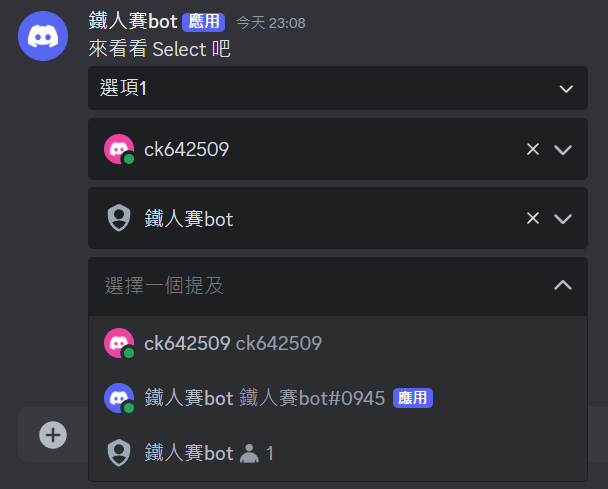
根據上面的 Component 清單,可以看到還有好幾個不同的 Select,包含:
這些 Select 都是已經定義好選項的,使用方法與範例的 String Select 差不多,就所有範例一起看吧!
@bot.command()
async def ping(ctx: commands.Context):
view = discord.ui.View()
select = discord.ui.Select(
placeholder="選擇一個選項",
options=[
discord.SelectOption(label="選項1", value="1"),
discord.SelectOption(label="選項2", value="2"),
],
)
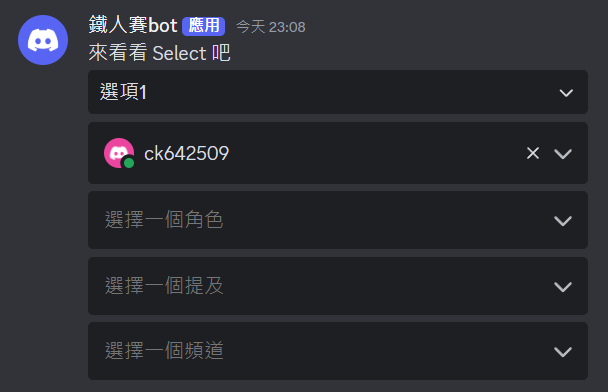
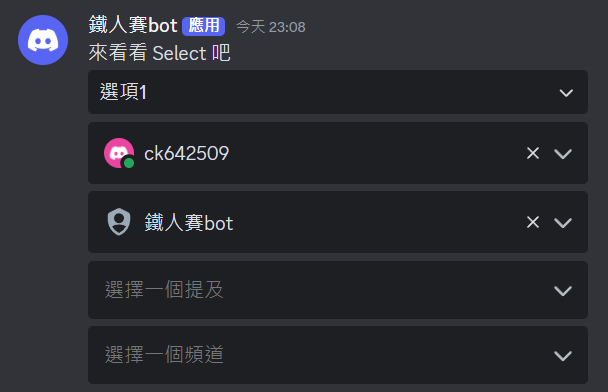
user_select = discord.ui.UserSelect(placeholder="選擇一個使用者", min_values=0)
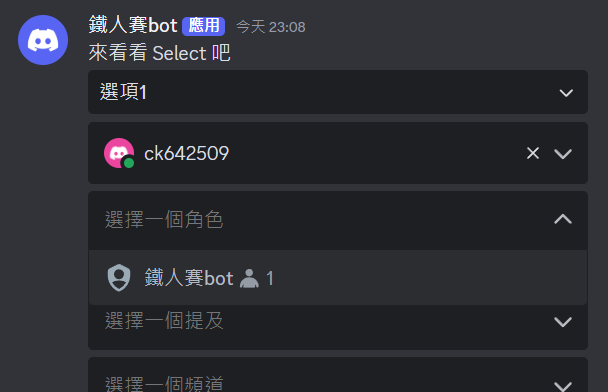
role_select = discord.ui.RoleSelect(placeholder="選擇一個角色", min_values=0)
mentionable_select = discord.ui.MentionableSelect(
placeholder="選擇一個提及", min_values=0
)
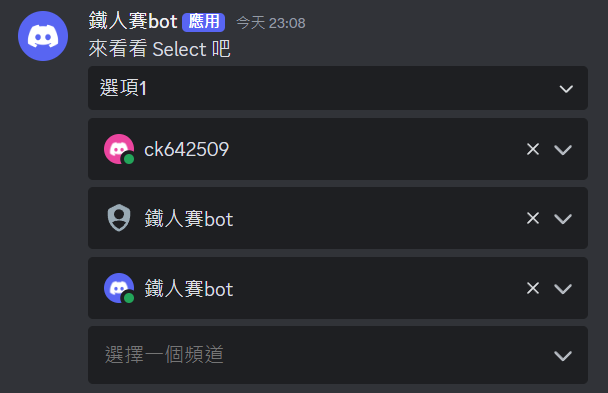
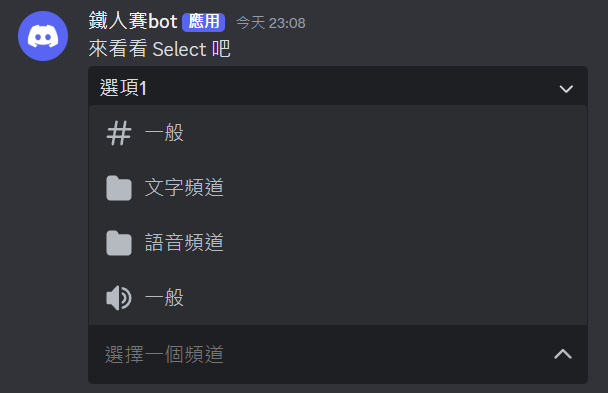
channel_select = discord.ui.ChannelSelect(
placeholder="選擇一個頻道", min_values=0
)
select.callback = on_click
user_select.callback = on_click
role_select.callback = on_click
mentionable_select.callback = on_click
channel_select.callback = on_click
view.add_item(select)
view.add_item(user_select)
view.add_item(role_select)
view.add_item(mentionable_select)
view.add_item(channel_select)
await ctx.send("來看看 Select 吧", view=view)
什麼都還沒選

今天介紹了第二個 View 的圖形化元件:下拉式選單,View 的部分就暫時告一個段落了~