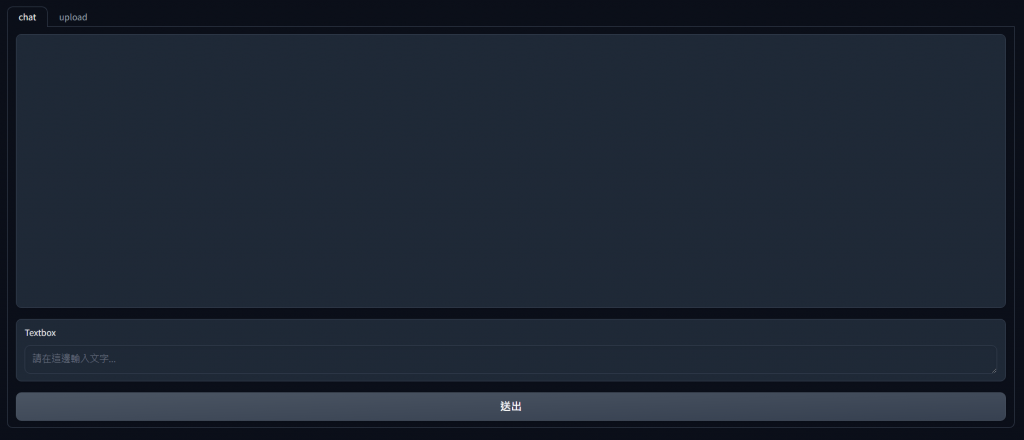
說實在,若想使用上傳檔案以及聊天功能,一直改程式碼也有點白癡,所以這時可以用 Gradio 的分頁功能,也就是 Tab,其具體實現方法就是把寫好的不同頁面,整合在一個元件裡面
| 名稱 | 型別 |
|---|---|
| label | str | None |
| visible | bool |
| interactive | bool |
| id | int | str | None |
| elem_id | str | None |
| elem_classes | list[str] | str | None |
| render | bool |
import gradio as gr
from utils import Chat, File, qdrant_client
from dotenv import load_dotenv
load_dotenv(dotenv_path="./.env", override=True)

with gr.Blocks() as demo:
    with gr.Tab(label="chat"):
        with gr.Row():
            with gr.Column():
                chatbot = gr.Chatbot(layout="bubble", show_label=False)
                textbox = gr.Textbox(placeholder="請在這邊輸入文字...")
                submit_btn = gr.Button(value="送出")

            submit_btn.click(
                Chat.send_query,
                inputs=[textbox, chatbot],
                outputs=[textbox, chatbot]
            )

    with gr.Tab(label="upload"):
        with gr.Row():
            with gr.Row():
                upload = gr.Files(label="上傳檔案")

            with gr.Row():
                upload_status = gr.Markdown(value="")

        upload.upload(
            File.upload_file,
            inputs=[upload],
            outputs=[upload_status]
        )


if __name__ == "__main__":
    collection_list = []
    collections = qdrant_client.get_collections()
    for collection in collections:
        for c in list(collection[1]):
            collection_list.append(c.name)


    qdrant_client.set_model("intfloat/multilingual-e5-large", cache_dir="./.cache")
    if "iron" not in collection_list:
        qdrant_client.create_collection(
            collection_name="iron",
            vectors_config=qdrant_client.get_fastembed_vector_params()
        )
    demo.launch(
        server_port=7860,
        server_name="0.0.0.0"
    )
透過 Tab 的元件,將兩支寫好的頁面整合進不同的 Tab 中,而 Gradio 初始化時,就會讀取所有 Tab 的頁面
這時我們看看效果
chat

upload

這時就可以點擊上方的 "chat" 與 "upload" 按鈕去切換不同的分頁
