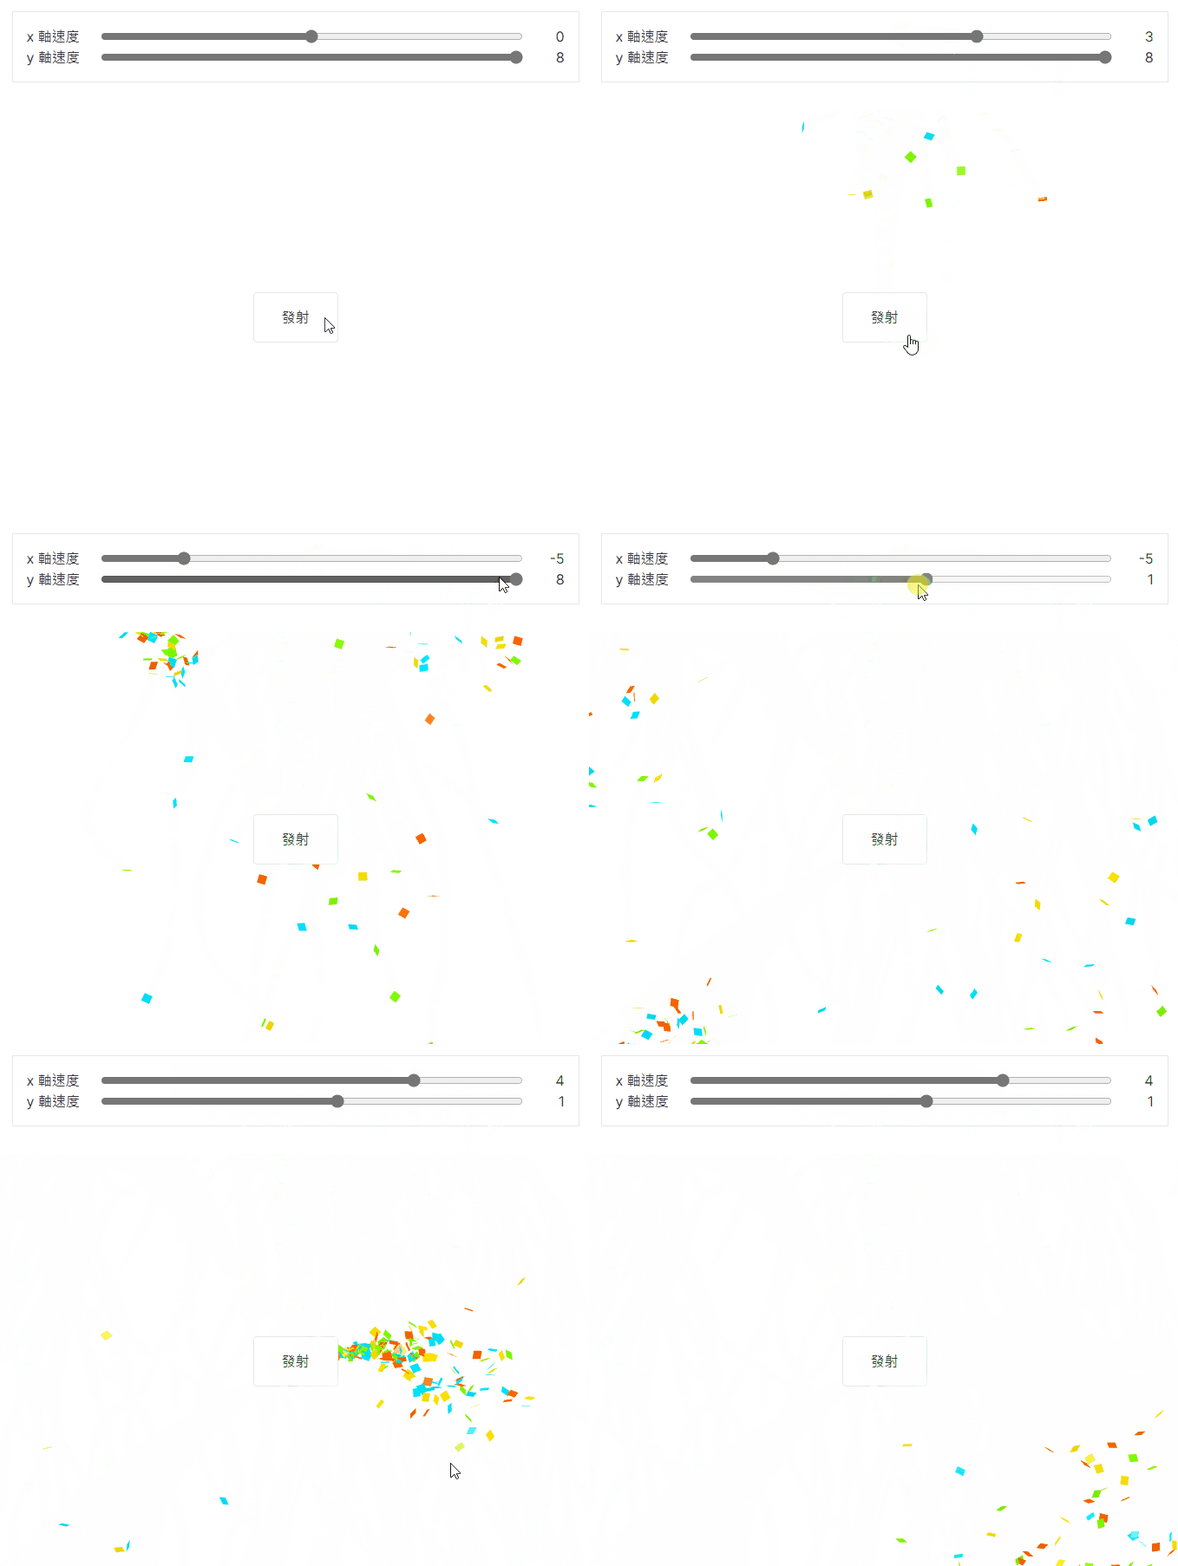
提供更多範例,讓使用者了解此元件用法吧。◝( •ω• )◟
調整發射速度向量,就可以往任意方向發射。
src\components\util-party-popper\examples\emit-params.vue
<template>
  <div class="flex flex-col gap-4 w-full border border-gray-300">
    <div class=" flex flex-col p-4 m-4 border ">
      <div class="flex gap-6">
        <label class="flex-1 text-right">
          x 軸速度
        </label>

        <input
          v-model.number="param.velocity.x"
          type="range"
          min="-8"
          max="8"
          class="flex-[3]"
        >

        <div class="w-6 text-right">
          {{ param.velocity.x }}
        </div>
      </div>

      <div class="flex gap-6">
        <label class="flex-1 text-right">
          y 軸速度
        </label>

        <input
          v-model.number="param.velocity.y"
          type="range"
          min="-8"
          max="8"
          class="flex-[3]"
        >

        <div class="w-6 text-right">
          {{ param.velocity.y }}
        </div>
      </div>
    </div>

    <div
      ref="containerRef"
      class=" relative flex justify-center items-center h-[50vh]"
    >
      <util-party-popper
        ref="popperRef"
        class=" absolute w-full h-full pointer-events-none"
        v-bind="param"
        :max-concurrency="50"
      />

      <div
        class=" border px-8 py-4 rounded select-none cursor-pointer  bg-white z-10"
        @click="emit()"
      >
        發射
      </div>
    </div>
  </div>
</template>

<script setup lang="ts">
import { reactive, ref } from 'vue';

import UtilPartyPopper from '../util-party-popper.vue';

import { useElementSize } from '@vueuse/core';

const param = ref({
  quantityOfPerEmit: 20,
  velocity: {
    x: 0,
    y: 8,
  }
});

const popperRef = ref<InstanceType<typeof UtilPartyPopper>>();
const containerRef = ref<HTMLDivElement>();

/** 容器尺寸 */
const containerSize = reactive(useElementSize(containerRef))

function emit() {
  // 從按鈕正中間發射
  popperRef.value?.emit(() => ({
    x: containerSize.width / 2,
    y: containerSize.height / 2,
    velocity: param.value.velocity,
  }));
}
</script>
在文件中引入範例。
docs\components\util-party-popper\index.md
...

<script setup>
...
import EmitParams from '../../../src/components/util-party-popper/examples/emit-params.vue'
</script>

...

### 發射參數

可以調整每一次發射的速度方向。

<emit-params />

::: details 查看範例原始碼
<<< ../../../src/components/util-party-popper/examples/emit-params.vue
:::

...
自由調整噴射方向。◝( •ω• )◟

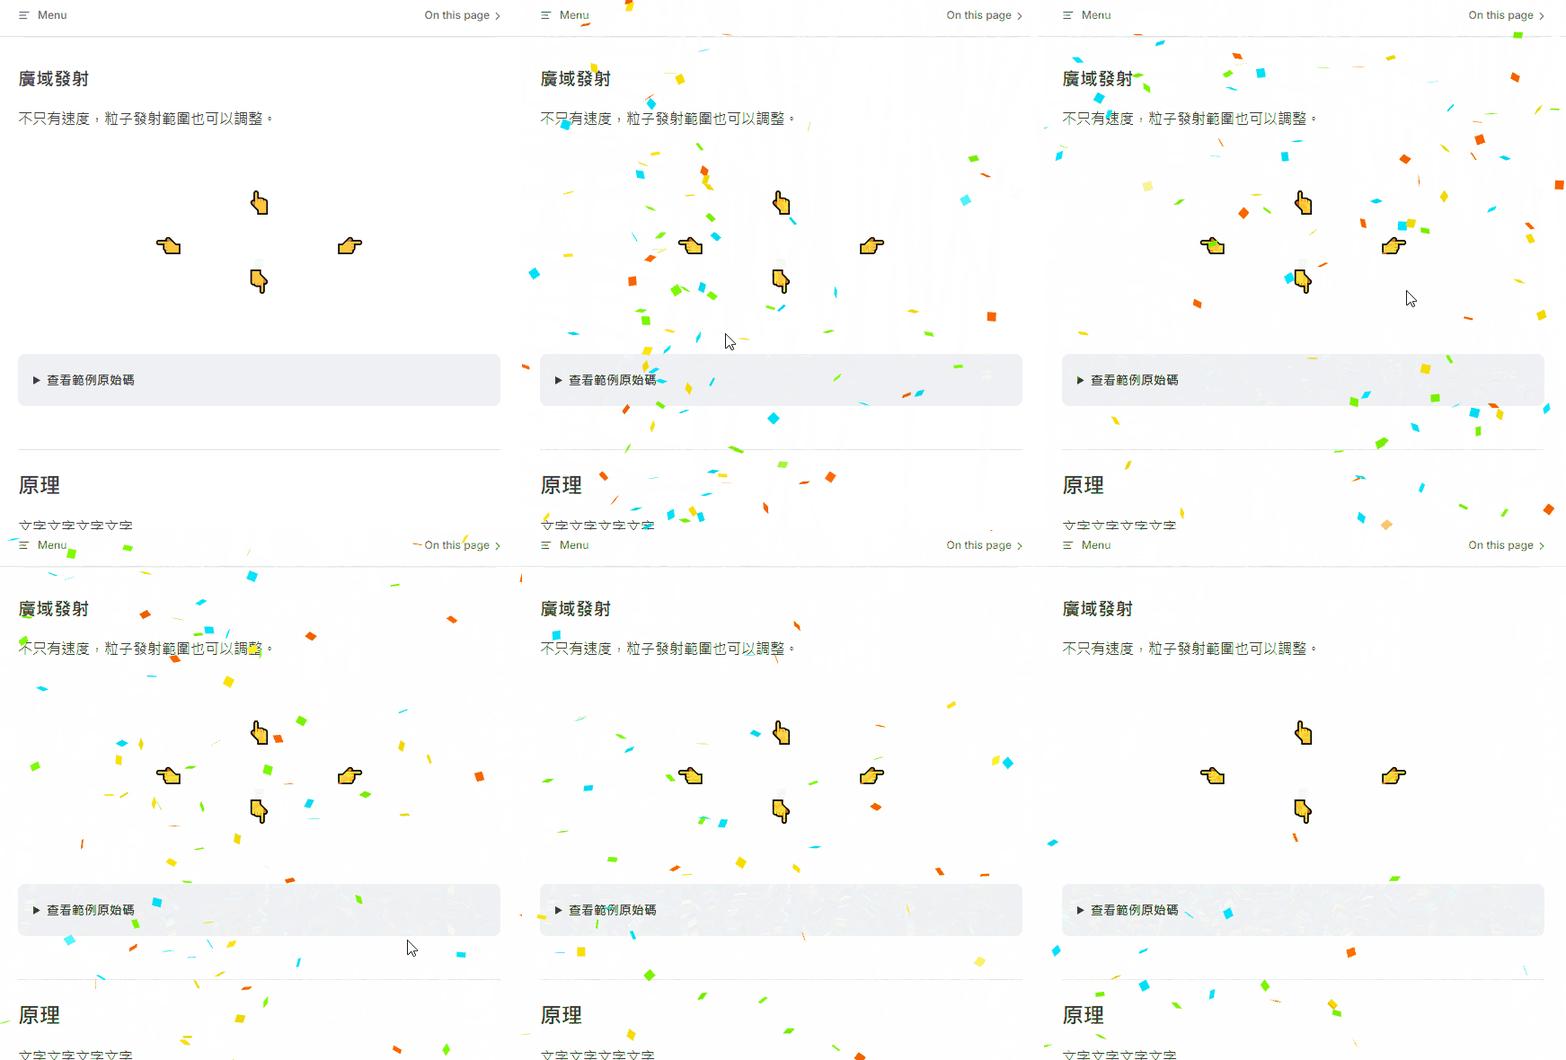
不只有單點發射,廣域發射更有派對的感覺。✧⁑。٩(ˊᗜˋ*)و✧⁕。
src\components\util-party-popper\examples\wide-area-emit.vue
<template>
  <div class="flex flex-col gap-4 w-full">
    <div class=" w-full h-full flex justify-center items-center gap-10 p-10">
      <div
        class=" bg-white text-2xl rounded px-4 py-2 select-none cursor-pointer"
        @click="emit('left')"
      >
        👈
      </div>

      <div class="flex flex-col gap-10">
        <div
          class="bg-white text-2xl rounded px-4 py-2 select-none cursor-pointer"
          @click="emit('top')"
        >
          👆
        </div>

        <div
          class="bg-white text-2xl rounded px-4 py-2 select-none cursor-pointer"
          @click="emit('bottom')"
        >
          👇
        </div>
      </div>

      <div
        class="bg-white text-2xl rounded px-4 py-2 select-none cursor-pointer"
        @click="emit('right')"
      >
        👉
      </div>
    </div>

    <util-party-popper
      ref="popperRef"
      class=" !fixed left-0 top-0 w-full h-full z-50 pointer-events-none"
      :quantity-of-per-emit="50"
      :max-concurrency="50"
    />
  </div>
</template>

<script setup lang="ts">
import { reactive, ref } from 'vue';
import { Scalar } from '@babylonjs/core';

import UtilPartyPopper from '../util-party-popper.vue';

import { useWindowSize } from '@vueuse/core';

const popperRef = ref<InstanceType<typeof UtilPartyPopper>>();
const windowSize = reactive(useWindowSize());

function emit(position: 'top' | 'bottom' | 'left' | 'right') {
  const popperEmit = popperRef.value?.emit;
  if (!popperEmit) return;

  const offset = 10;

  if (position === 'top') {
    popperEmit(() => ({
      x: Scalar.RandomRange(0, windowSize.width),
      y: -offset,
      velocity: {
        x: Scalar.RandomRange(1, -1),
        y: Scalar.RandomRange(0, -10)
      },
    }))
    return;
  }

  if (position === 'bottom') {
    popperEmit(() => ({
      x: Scalar.RandomRange(0, windowSize.width),
      y: windowSize.height + offset,
      velocity: {
        x: Scalar.RandomRange(1, -1),
        y: Scalar.RandomRange(10, 15)
      },
    }))
    return;
  }

  if (position === 'left') {
    popperEmit(() => ({
      x: -offset,
      y: Scalar.RandomRange(0, windowSize.height),
      velocity: {
        x: Scalar.RandomRange(5, 10),
        y: Scalar.RandomRange(-1, 1)
      },
    }))
    return;
  }

  if (position === 'right') {
    popperEmit(() => ({
      x: windowSize.width + offset,
      y: Scalar.RandomRange(0, windowSize.height),
      velocity: {
        x: Scalar.RandomRange(-5, -10),
        y: Scalar.RandomRange(-1, 1)
      },
    }))
    return;
  }
}
</script>
在文件中引入範例。
docs\components\util-party-popper\index.md
...

<script setup>
...
import WideAreaEmit from '../../../src/components/util-party-popper/examples/wide-area-emit.vue'
</script>

...

### 廣域發射

不只有速度,粒子發射範圍也可以調整。

<wide-area-emit />

::: details 查看範例原始碼
<<< ../../../src/components/util-party-popper/examples/wide-area-emit.vue
:::

...
開派對囉!(/≧▽≦)/

最後讓我們補充一下原理簡介。
docs\components\util-party-popper\index.md
...

## 原理

利用 babylon.js 的 SolidParticleSystem 製作粒子效果。

📚 [An Introduction To The Solid Particle System](https://doc.babylonjs.com/features/featuresDeepDive/particles/solid_particle_system/sps_intro)

...
以上程式碼已同步至 GitLab,大家可以前往下載:
