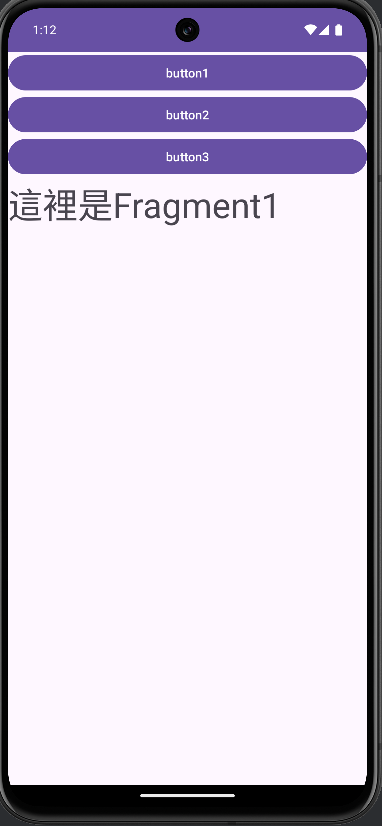
Fragment 和 ViewPager2 常用於實現頁面之間的切換,特別是在應用中需要橫向滑動展示多個頁面時,這種組合非常常見。
每個頁面可以作為一個獨立的 Fragment,而 ViewPager2 負責處理頁面的切換,為用戶提供順暢的滑動效果。透過這種結合方式,可以輕鬆實現多頁面的動態切換,並保持頁面間的流暢過渡。
介紹ViewPager主要特點:
1.他可以水平和垂直方向的滑動。
2.也可以左右滑動,也支援頁面間的滑動效果
上一篇有教怎麼建立Fragment的布局,這篇就不再介紹,還有不懂怎麼立Fragment的布局,可以去看上一篇。

製作農產品的選單
首先,一樣先拉介面,我會跟上篇一樣先把Fragment.xml商品的布局介面拉好,再會到activity_main.xml做連接二個Fragment的button的布局和ViewPager的布局。
Fragment1.xml
<FrameLayout xmlns:android="http://schemas.android.com/apk/res/android"
    xmlns:tools="http://schemas.android.com/tools"
    android:layout_width="match_parent"
    android:layout_height="match_parent"
    tools:context=".Fragment1">


    <TextView
        android:id="@+id/tv_fragment_1"
        android:layout_width="match_parent"
        android:layout_height="match_parent"
        android:textSize="40sp"
        android:text="主要銷售水果"
        android:gravity="center"/>

</FrameLayout>

Fragment2.xml
<FrameLayout xmlns:android="http://schemas.android.com/apk/res/android"
    xmlns:tools="http://schemas.android.com/tools"
    android:layout_width="match_parent"
    android:layout_height="match_parent"
    tools:context=".Fragment2">


    <TextView
        android:id="@+id/tv_fragment_2"
        android:layout_width="match_parent"
        android:layout_height="match_parent"
        android:textSize="40sp"
        android:text="主要銷售蔬菜"
        android:gravity="center"/>

</FrameLayout>

activity_main.xml
<LinearLayout
    xmlns:android="http://schemas.android.com/apk/res/android"
    xmlns:app="http://schemas.android.com/apk/res-auto"
    xmlns:tools="http://schemas.android.com/tools"
    android:id="@+id/main"
    android:layout_width="match_parent"
    android:layout_height="match_parent"
    tools:context=".MainActivity"
    android:orientation="vertical">


    <LinearLayout
        android:layout_width="match_parent"
        android:layout_height="50dp"
        android:orientation="horizontal">

        <Button
            android:id="@+id/fragment_1"
            android:layout_width="match_parent"
            android:layout_height="wrap_content"
            android:layout_weight="1"
            android:text="水果" />

        <Button
            android:id="@+id/fragment_2"
            android:layout_width="match_parent"
            android:layout_height="wrap_content"
            android:layout_weight="1"
            android:text="蔬菜" />

    </LinearLayout>

    <androidx.viewpager2.widget.ViewPager2
        android:id="@+id/viewPager"
        android:layout_width="match_parent"
        android:layout_height="match_parent"/>

        //viewpager2連接Fragment的布局介面,讓整個介面顯示滑動的效果
</LinearLayout>
紅色 ->指的綠框就是viewpager2的布局介面
布局介面都設置完後,開始連接程式碼,讓製作的農產品選單呈現你滑動的效果
Fragment1.Java
public class Fragment1 extends Fragment {
    private TextView textView1;

    @Override
    public void onCreate(Bundle savedInstanceState) {
        super.onCreate(savedInstanceState);

        }

    @Override
    public View onCreateView(LayoutInflater inflater, ViewGroup container,
                             Bundle savedInstanceState) {
        return inflater.inflate(R.layout.fragment_1, container, false);
    }
    @Override
    public void onViewCreated(@NonNull View view, @Nullable Bundle savedInstanceState){
        super.onViewCreated(view,savedInstanceState);
        textView1 = view.findViewById(R.id.tv_fragment_1);
        textView1.setText("水果專區");
    }
}
Fragment2.Java
public class Fragment2 extends Fragment {
    private TextView textView2;
    @Override
    public void onCreate(Bundle savedInstanceState) {
        super.onCreate(savedInstanceState);
    }
    @Override
    public View onCreateView(LayoutInflater inflater, ViewGroup container,
                             Bundle savedInstanceState) {
        return inflater.inflate(R.layout.fragment_2, container, false);
    }
    @Override
    public void onViewCreated(@NonNull View view, @Nullable Bundle savedInstanceState){
        super.onViewCreated(view,savedInstanceState);
        textView2 = view.findViewById(R.id.tv_fragment_2);
        textView2.setText("蔬菜專區");
    }
}
MainActivity.Java
public class MainActivity extends AppCompatActivity {
    private Button button1,button2;
    private ViewPager2 viewPager;

    // 宣告兩個按鈕變數一個 ViewPager2 物件

    @Override
    protected void onCreate(Bundle savedInstanceState) {
        super.onCreate(savedInstanceState);
        setContentView(R.layout.activity_main);


        // 綁定按鈕和 ViewPager2,並連接至相對應的元件
        button1 = findViewById(R.id.fragment_1);
        button2 = findViewById(R.id.fragment_2);
        viewPager = findViewById(R.id.viewPager);

         // 設置 ViewPager ,負責管理 Fragment 切換
        ViewPagerAdapter adapter = new ViewPagerAdapter(this);
        viewPager.setAdapter(adapter);
        viewPager.setCurrentItem(0); // 預設顯示的頁面Fragment1


        //增加點擊事件,當按下 button1或button2 時,則顯示對應的介面
        button1.setOnClickListener(view -> viewPager.setCurrentItem(0));
        button2.setOnClickListener(view -> viewPager.setCurrentItem(1));

    }

    定義 ViewPager ,用來管理不同位置的 Fragment

    public static class ViewPagerAdapter extends FragmentStateAdapter {
        public ViewPagerAdapter(FragmentActivity fragmentActivity) {
            super(fragmentActivity);
        }
        @Override
        @NonNull
        public Fragment createFragment(int position) {
            switch (position) {
                case 0:
                    return new Fragment1();
                case 1:
                    return new Fragment2();
                default:
                    return null;
            }
        }
        @Override
        public int getItemCount() {
            return 2;
        }
    }
}
顯示成果:
簡單介紹 Fragment + Viewpager2介紹完畢
下一篇介紹 天氣API(上)
