想要讓主應用的使用者資訊同步 Rocket.chat 的使用者,就要經由 Keycloak 做登入管理,所以來設定 Rocket.chat 的 SSO 登入。
跟之前一樣先在 Keycloak 開一個帶 Client Authentication 的 client ,Valid redirect URIs 設定為 Rocket.chat 的位置 http://localhost:3000/_oauth/keycloak ,然後取得 Client secret 。
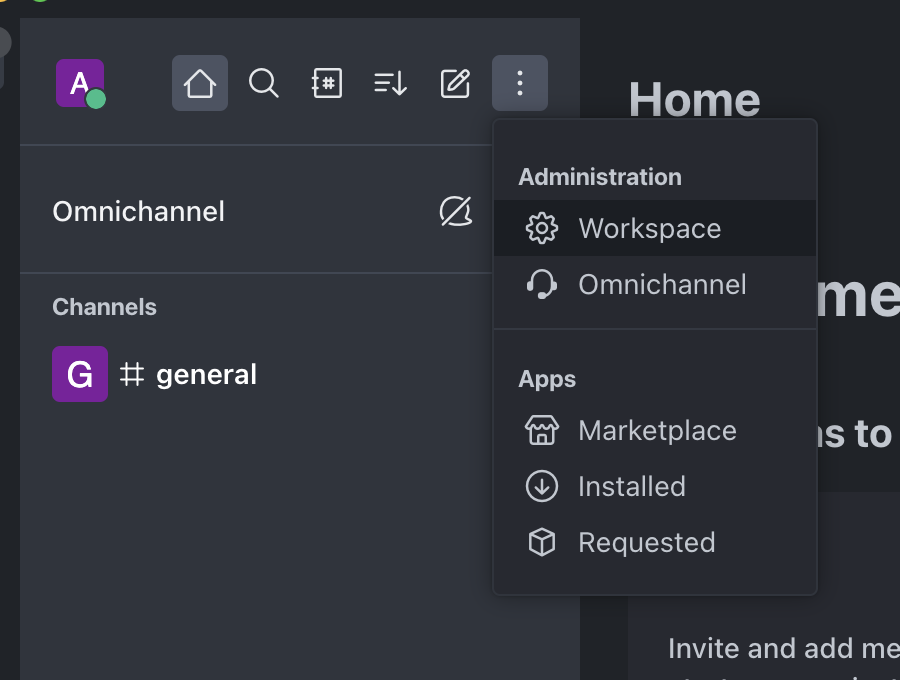
接下來回到 Rocket.chat 應用這邊,找到工作區的管理入口。
接著進到 Settings → Ouath ,右上角選擇 Add custom OAuth ,名稱選 Keycloak。
找到剛剛新增的 Custom OAuth: Keycloak ,開始設定。
URL
設定 Keycloak 在本機上的位置,例如
http://localhost:8080/realms/{realm}/protocol
Token Path
/openid-connect/token
Token Sent Via
Header
Identity Token Sent Via
Same as “Token Sent Via”
Identity Path
/openid-connect/userinfo
Authorize Path
/openid-connect/auth
Param Name for access token
access_token
Id
Keycloak 上設定的 client id 。
Secret
Keycloak client secret。
Button Text
登入按鈕的文字,選個喜歡的。
設定完記得選 Enable,然後 Save Changes 接著 Refresh OAuth Services。
再來因為目前沒有另外掛 SMTP ,所以到 Administration → Settings → Accounts 關掉兩步驟驗證選項 Enable Two Factor Authentication 並儲存。
接著登出後登入頁面就會出現 Login with Keycloak 的按鈕,如果沒出現的話就重新整理一下(cmd+R 或 ctrl+R)。
點擊後有彈出 Keycloak 登入視窗並登入成功,但回到 Rocket.chat 沒有登入成功,還是 Docker 間的通訊問題。