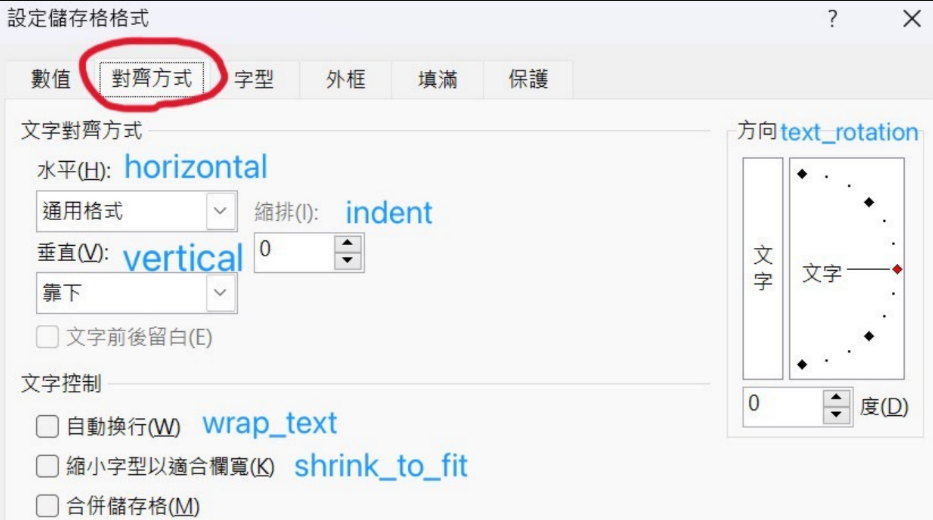
各參數說明如下:
horizontal:水平方向
- 'general'
- 'left'
- 'center'
- 'right'
- 'fill'
- 'justify'
- 'centerContinuous'
- 'distributed'
vertical:垂直方向
- 'top'
- 'center'
- 'bottom'
- 'justify'
- 'distributed'
text_rotation:文字旋轉角度,預設是0度
wrap_text:是否自動換行,預設是False
shrink_to_fit:是否自動縮小適合欄寬
index:縮排,預設是0
ws[儲存格].alignment=Alignment(xx) # xx是圖案的系列屬性設定
也就是工作表的儲存格物件引用alignment屬性,再執行賦值設定。設定 Alignment框線時,只能單一儲存格設定,因為單一儲存格才有alignment屬性,如果要設定儲存格區間需使用迥圈方式。
#ch3_10.py
import openpyxl
from openpyxl.styles import Border,Side,Alignment

fn = "out1_5.xlsx"
wb = openpyxl.load_workbook(fn)
ws = wb.active

side = Side(border_style='thin')
borders = Border(left=side,right=side,top=side,bottom=side)
for rows in ws['A1':'D10']:
    for cell in rows:
        cell.border = borders
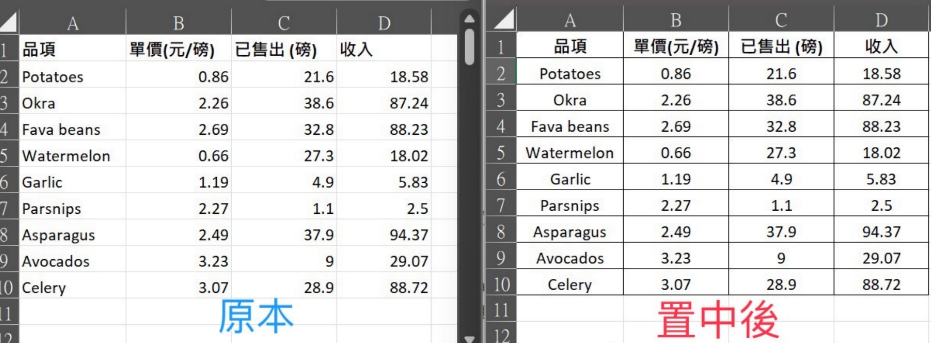
        cell.alignment = Alignment(horizontal='center')
wb.save('out3_10.xlsx')

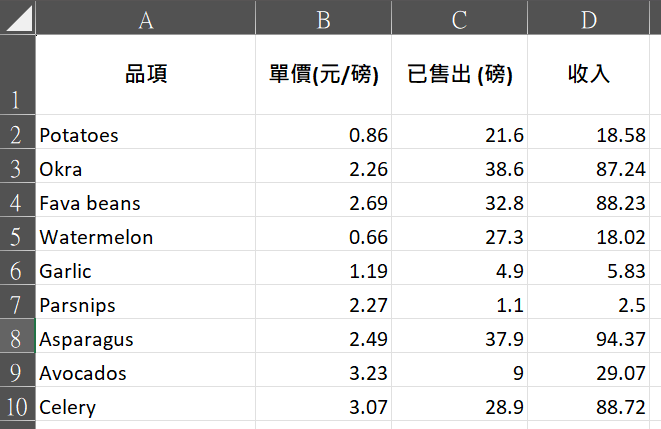
可以試試看設定A1字串在更改欄寬和列高後,要上下與左右置中
#ch3_10_1.py
import openpyxl
from openpyxl.styles import Alignment

fn = "out1_5.xlsx"
wb = openpyxl.load_workbook(fn)
ws = wb.active
#設定A欄寬度是20,第一列高度是40
ws.column_dimensions['A'].width = 20
ws.row_dimensions[1].height = 40
# A1到D1上下與左右置中對齊
for row in ws['A1':'D1']:
    for cell in row:
        cell.alignment = Alignment(horizontal='center', vertical='center')
wb.save('out3_10_1.xlsx')

