在準備訓練資料時,可能會需要蒐集大量影像,在網頁上瀏覽到需要的影像時,最直接的方法為一張張手動儲存,但如果想要大量儲存,例如一整個頁面的影像都需要的話,這樣會顯得沒有效率(手也會痠)。今天來介紹網路爬蟲的方法,來讓這件事情透過程式幫忙完成。
網路爬蟲(Web Crawler)為模擬真實使用者瀏覽網站,取得網站上某些資訊的一種技術,例如爬取網頁上的文字或影像等等,但網路爬蟲並不是每個網站都允許的,需要遵守每個網站的規範,例如網站的 robots.txt,會告訴大家允許/不允許哪些爬蟲機器人,或是允許/不允許去爬取哪些頁面。(想了解 robots.txt 可以參考我之前寫的文章:robots.txt 介紹)
在 Python 中,可以使用套件 requests 和 BeautifulSoup 來進行網路爬蟲,requests 套件用來做 HTTP 的請求,例如 GET 或 POST,BeautifulSoup 套件則是用來解析 HTML 文件,讓網頁內容結構化,更加清晰以便後續處理。
假設今天想要爬取いらすとや搜尋「くま(熊)」的結果:
目標是想要存取搜尋結果頁面的 15 張影像的原圖,首先要知道原圖路徑在哪裡。我們可以發現原圖在點選搜尋結果的圖片,進入該圖片的頁面,再點選圖片所開啟的網址,即原圖網址。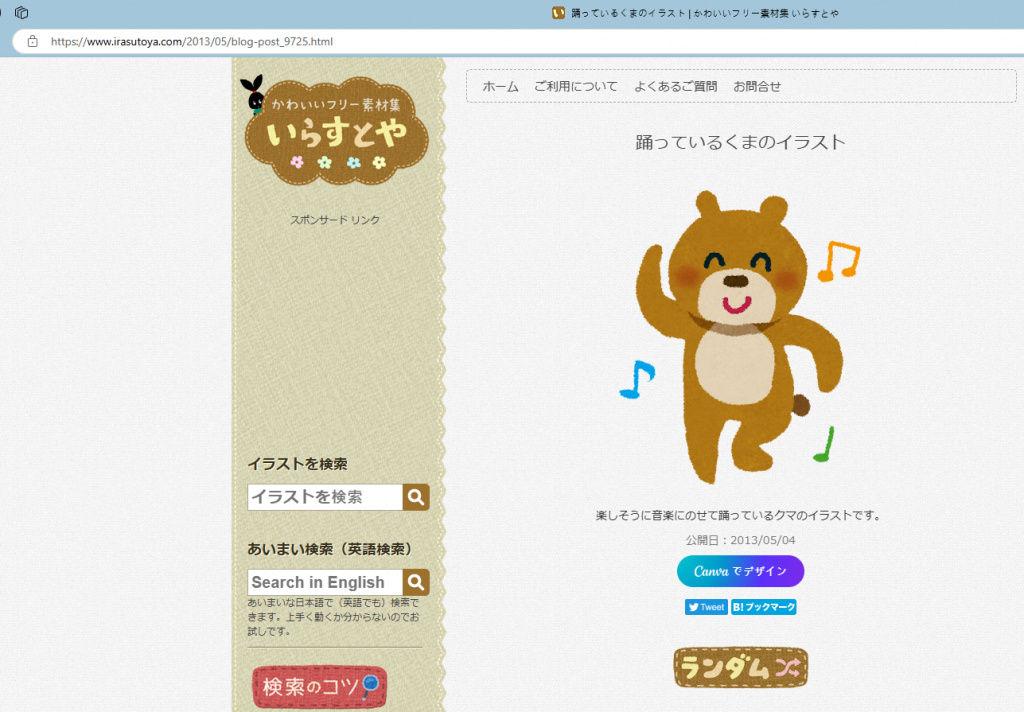
這個頁面點選圖片會開啟原圖網址,只要找到 15 張影像的原圖網址,透過程式碼就可以儲存到電腦上了。
目標:先取得 15 張影像的頁面網址。
可以先在搜尋結果頁面中 15 張影像任一張點選右鍵選擇「檢查」,會顯示對應的原始碼位置: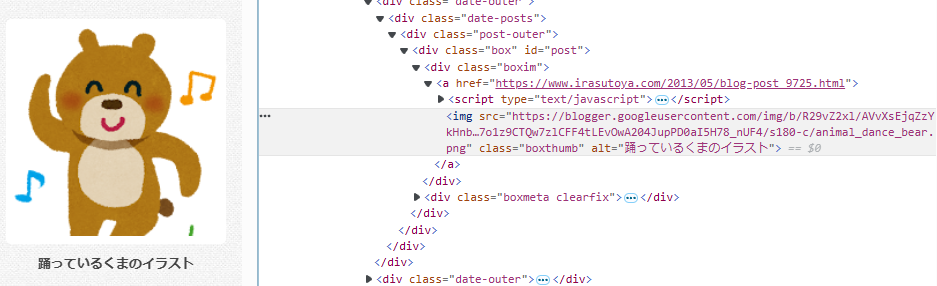
觀察到對應的頁面網址為紅框標示處,及網址在 <div class="boxim"> 這個標籤下: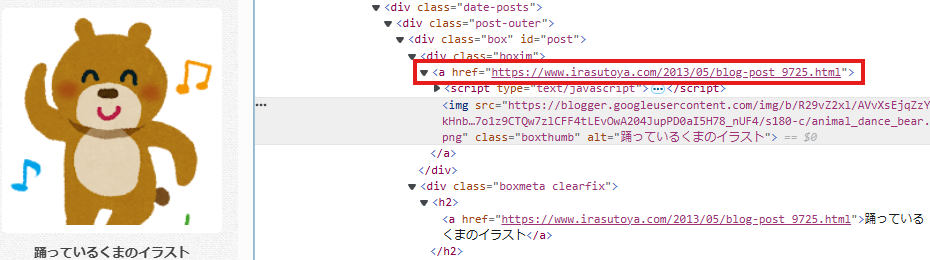
用程式碼取得 15 張影像的頁面網址:
import requests
from bs4 import BeautifulSoup

url = 'https://www.irasutoya.com/search?q=%E3%81%8F%E3%81%BE'
response = requests.get(url) # 使用 GET 請求
soup = BeautifulSoup(response.text, 'html.parser') # 使用 html.parser 解析網頁內容
results = soup.select('.boxim') # 選擇標籤屬性為 boxim

# 尋找 boxim 下 <a> 標籤的 href 屬性
links = []
for result in results:
    a_tag = result.find('a')
    if a_tag and 'href' in a_tag.attrs:
        links.append(a_tag['href'])

# 印出取得的網址
print(links)
執行結果:
['https://www.irasutoya.com/2014/12/blog-post_84.html', 'https://www.irasutoya.com/2012/03/blog-post_8739.html', 'https://www.irasutoya.com/2012/03/blog-post_2943.html', 'https://www.irasutoya.com/2019/06/blog-post_8.html', 'https://www.irasutoya.com/2014/07/blog-post_2457.html', 'https://www.irasutoya.com/2017/07/blog-post_608.html', 'https://www.irasutoya.com/2017/04/blog-post_473.html', 'https://www.irasutoya.com/2012/03/blog-post_8871.html', 'https://www.irasutoya.com/2014/01/blog-post_9847.html', 'https://www.irasutoya.com/2017/01/blog-post_899.html', 'https://www.irasutoya.com/2020/06/blog-post_90.html', 'https://www.irasutoya.com/2020/06/blog-post_40.html', 'https://www.irasutoya.com/2017/07/blog-post_265.html', 'https://www.irasutoya.com/2013/05/blog-post_9725.html', 'https://www.irasutoya.com/2016/04/blog-post_665.html']
找到 15 張影像各自的頁面網址了!
目標:取得 15 個頁面的影像原圖網址。
可以依照第一階段的技巧,先在其中一張影像頁面的影像上點選右鍵選擇「檢查」,查看對應的原始碼位置,並找到原圖的網址在標籤 <div class="separator" style="clear: both; text-align: center;"> 下的紅框標示處:
用程式碼取得 15 個頁面的原圖網址:
# 接續第一階段程式碼
# 遍歷第一階段得到的 15 個網址
for link in links:
    img_url = link
    img_response = requests.get(img_url) # 使用 GET 請求
    img_soup = BeautifulSoup(img_response.text, 'html.parser') # 使用 html.parser 解析網頁內容
    img_results = img_soup.select('.separator') # 選擇標籤屬性為 separator

    # 尋找 separator 下 <a> 標籤的 href 屬性
    img_links = []
    for img_result in img_results:
        a_tag = img_result.find('a')
        if a_tag and 'href' in a_tag.attrs:
            img_links.append(a_tag['href'])

    # 印出取得的網址
    print(img_links)
執行結果:
['https://blogger.googleusercontent.com/img/b/R29vZ2xl/AVvXsEggQai94vm15S7EJWZ-uPGh0QIryDGjrYOzD_GDSHD-PUbQOgY3jx3wcxghFb38Rx2JbQ8HXMmlY1a494AHr5ybYaZBb-2Lzx9wU862HU_J2GdhLcw9BbK6TFhIzzofh2QMug60svOH0TUN/s800/kakigoori_shirokuma.png']
['https://blogger.googleusercontent.com/img/b/R29vZ2xl/AVvXsEhoYrPrqCy91_nyJECoVkTAlhyUexppRzzpKB1lY8YC6pz3Q5b6_8139BunjO17OcYyUm_CazKVj3JxI0vl_TPE-pjkY9Ha7DZglO6QXoaGqmh3TcWHl7hjO8EF9FRYVz6sAZDrOmqu_PaF/s800/chichinohi_kuma_necktie.png']
...(以下省略)
會發現兩階段程式碼非常相似,可以寫成函式重複利用,提高程式易讀性:
import requests
from bs4 import BeautifulSoup

"""
Parameters of get_a_url():
    web_url: website URL (string)
    class_name: class name (string) e.g. '.boxim', mind the dot
"""
def get_a_url(web_url, class_name):
    url = web_url
    response = requests.get(url)
    soup = BeautifulSoup(response.text, 'html.parser')
    results = soup.select(class_name)
    links = []
    for result in results:
        a_tag = result.find('a')
        if a_tag and 'href' in a_tag.attrs:
            links.append(a_tag['href'])
    return links

# search result page
search_url = 'https://www.irasutoya.com/search?q=%E3%81%8F%E3%81%BE'
links = get_a_url(search_url, '.boxim')
img_links = []
for link in links:
    img_links.extend(get_a_url(link, '.separator'))

print(img_links) # list of 15 images URL
會印出一個 list 包含 15 個網址。
目標:下載影像。
這裡會使用 ThreadPoolExecutor 來進行並行運算(Concurrent Computing),讓程式能以非同步方式執行,可以讓下載圖片的速度快速很多。
結合前兩階段的完整程式碼:
import os
import requests
from bs4 import BeautifulSoup
from concurrent.futures import ThreadPoolExecutor

# 建立儲存影像的資料夾,如果路徑不存在就建立資料夾
folderpath = './image'
if os.path.isdir(folderpath):
    pass
else:
    os.mkdir(folderpath)

# 定義取得目標網址的函式
def get_a_url(web_url, class_name):
    url = web_url
    response = requests.get(url)
    soup = BeautifulSoup(response.text, 'html.parser')
    results = soup.select(class_name)
    links = []
    for result in results:
        a_tag = result.find('a')
        if a_tag and 'href' in a_tag.attrs:
            links.append(a_tag['href'])
    return links

# 定義下載影像的函式
def download(img_url, id):
    img_file = requests.get(img_url)
    f = open(folderpath+f'/{id}.png', 'wb')
    f.write(img_file.content)
    f.close()

# 使用搜尋結果網址
search_url = 'https://www.irasutoya.com/search?q=%E3%81%8F%E3%81%BE'
links = get_a_url(search_url, '.boxim')
img_links = []
for link in links:
    img_links.extend(get_a_url(link, '.separator'))

# 使用 ThreadPoolExecutor 同時下載圖片
executor = ThreadPoolExecutor()
with ThreadPoolExecutor() as executor:
    executor.map(lambda img_link, index: download(img_link, index), img_links, range(len(img_links)))
執行後,到 ./image 路徑下會發現圖片下載好了: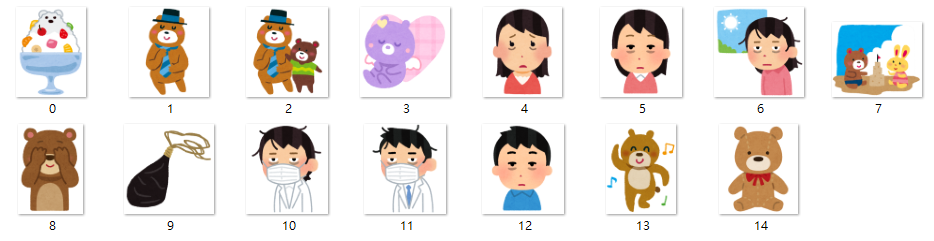
爬蟲技術是不是很有效率又很有趣呢?