
各位看官好呀~
本喵要在此野人獻曝~分享在 ESP32-DevKitC (WROOM-32D) 上,用 MicroPython 開發 Insulin Delivery Service BLE peripheral 的經驗。
預計會實作以下 Characteristics:
因為各 Control Point 有太多指令,所以只會挑選 Bolus 和 Annunciation 相關的來做。
現在先讓咱們把開發環境架設好吧!
ESP32-DevKitC (WROOM-32D) 使用的驅動程式是 (https://www.silabs.com/documents/public/software/CP210x_Universal_Windows_Driver.zip)
直接到 (https://thonny.org/) 下載並安裝好後,咱們就來對它進行一些設定。
點選「Tools」>「Options」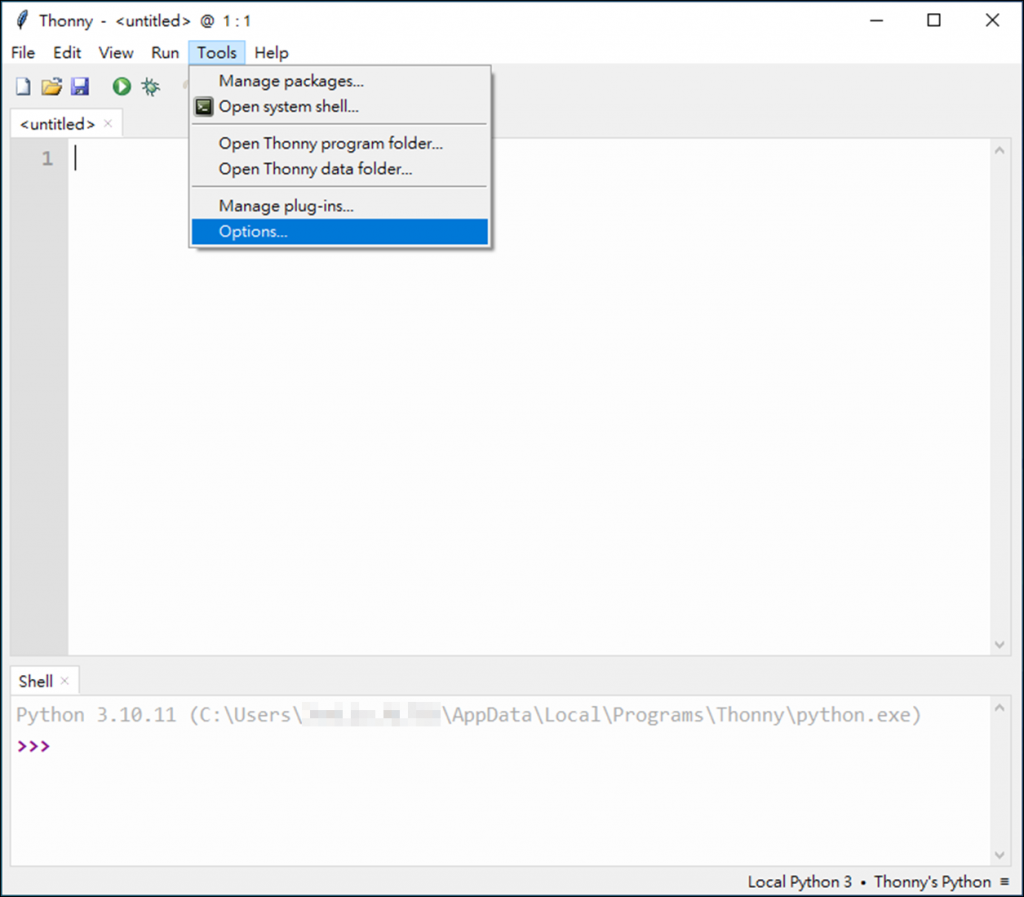
選擇「Editor」標籤頁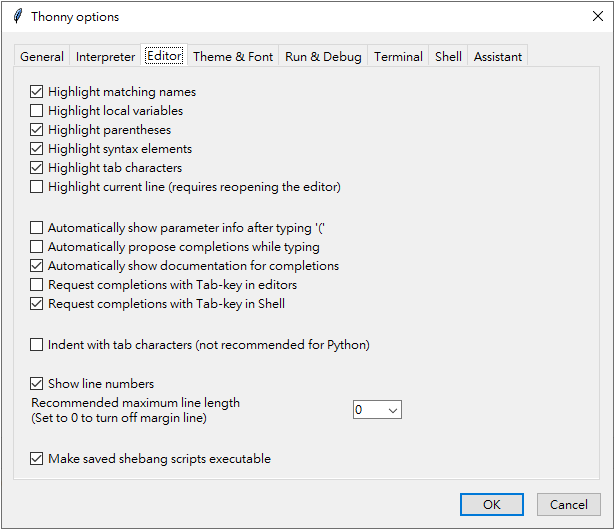
勾選「Automatically show parameter info after typing '('」
當輸入一個函數名和一個小括號後,會出現如下圖的參數提示: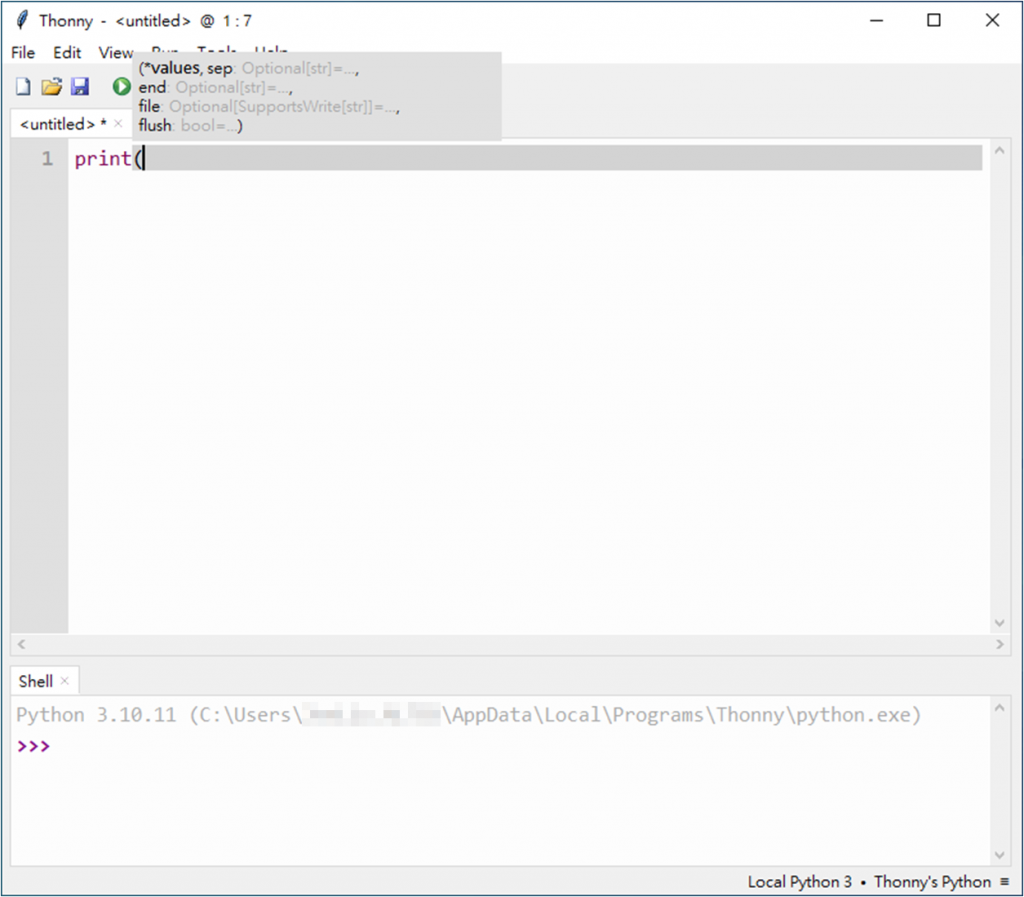
勾選「Automatically propose completions while typing」
文字輸入期間可以顯示後續可接的關鍵字、函數、參數等訊息:
勾選「Request completions with Tab-key in editors」
某些情況自動補全功能不會運作,此時可按下 Tab 鍵以強制執行自動補全功能。
但此功能啟用後,只要游標所在行有文字,Tab 鍵將無法輸入 Tab 字元。
要注意的是,這些功能只針對 Thonny 安裝時附帶的套件有效,對於之後自行安裝的套件未必有作用。
點選「Tools」>「Options」後進入「Interpreter」頁面
將直譯器版本設為「MicroPython (ESP32)」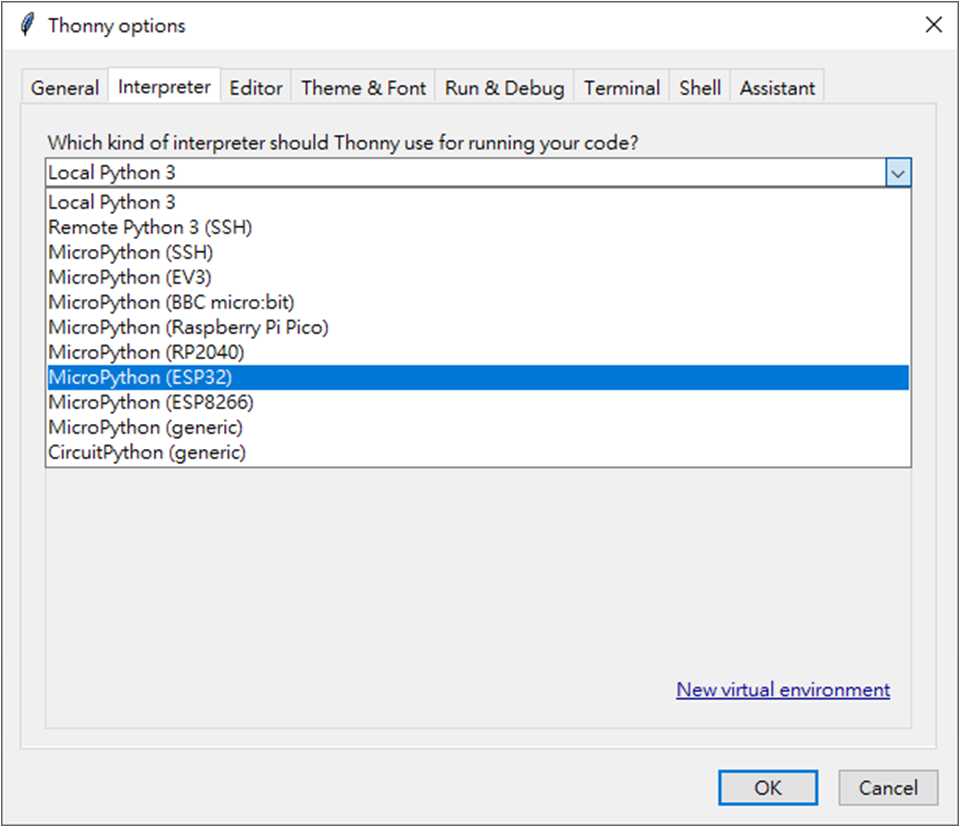
選擇 ESP 裝置所在 COM 編號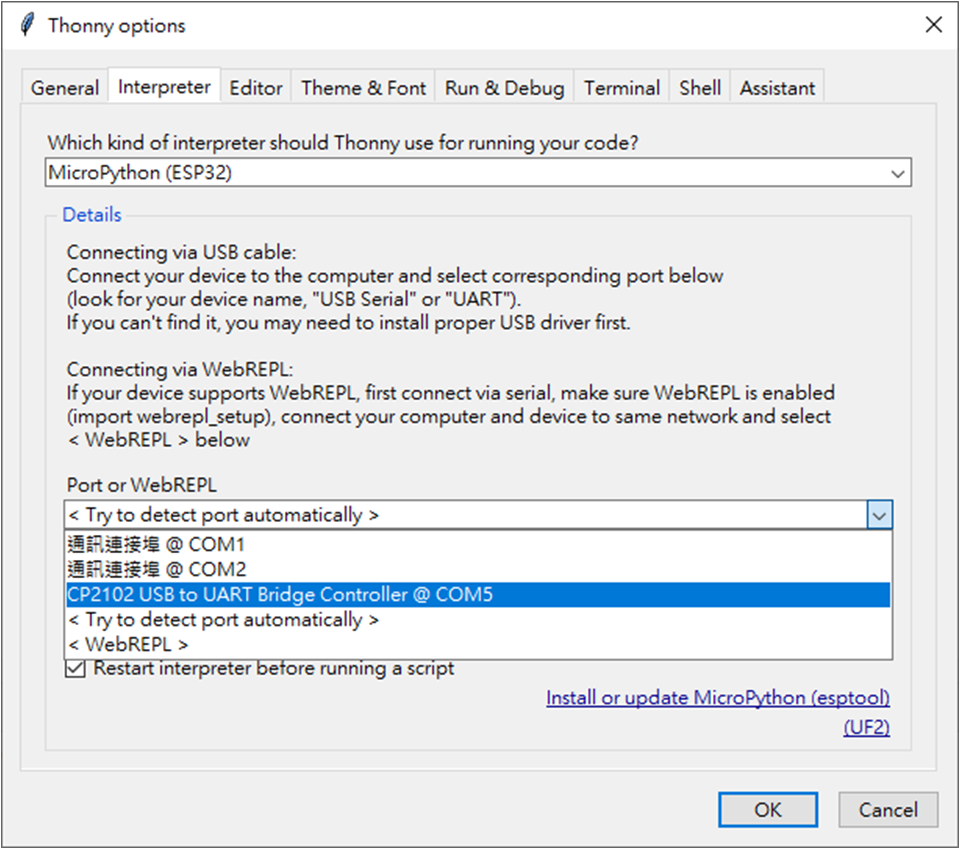
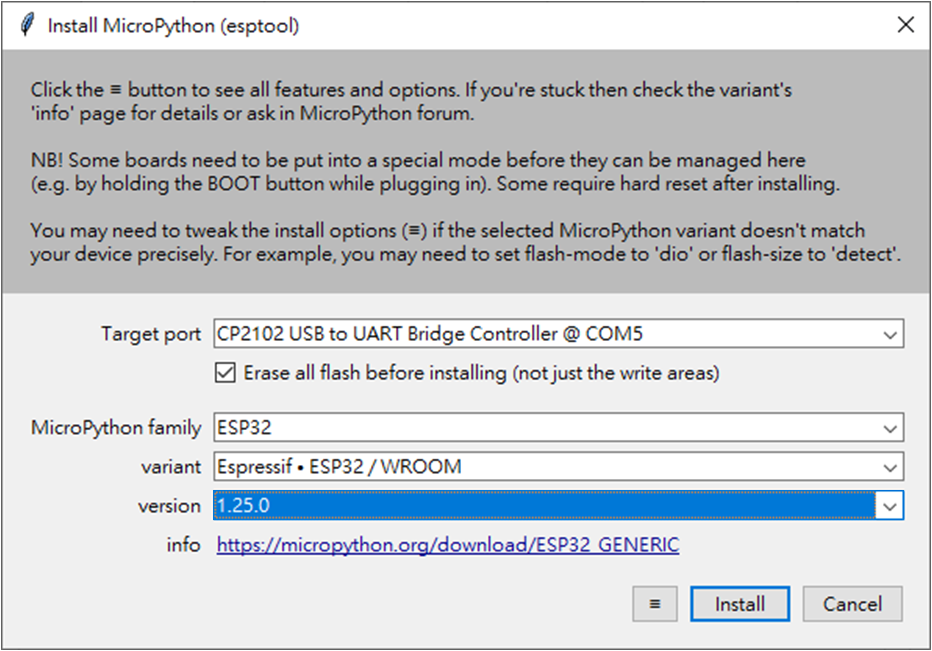
點擊「Install or update MicroPython (esptool)」
一切就緒後,Shell 窗格應類似如下:
至此,就可以在 Thonny 裡開發程式,並且將程式上傳到 ESP32 後運行程式。
雖然 Thonny 已經做得不錯了,但在開發非單一檔案的專案時稍嫌不足:
因此,本喵習慣用 VS Code 來編寫程式,要執行時才使用 Thonny。
首先下載 (https://code.visualstudio.com) 進行安裝,然後安裝 Python 必備的 extensions:ms-python.python、ms-python.debugpy、ms-python.vscode-pylance。
為了使 ms-python.vscode-pylance 能執行程式碼補全功能:

username 為實際使用者名稱
之後在輸入 MicroPython 相關模組與函數時即可顯示提示: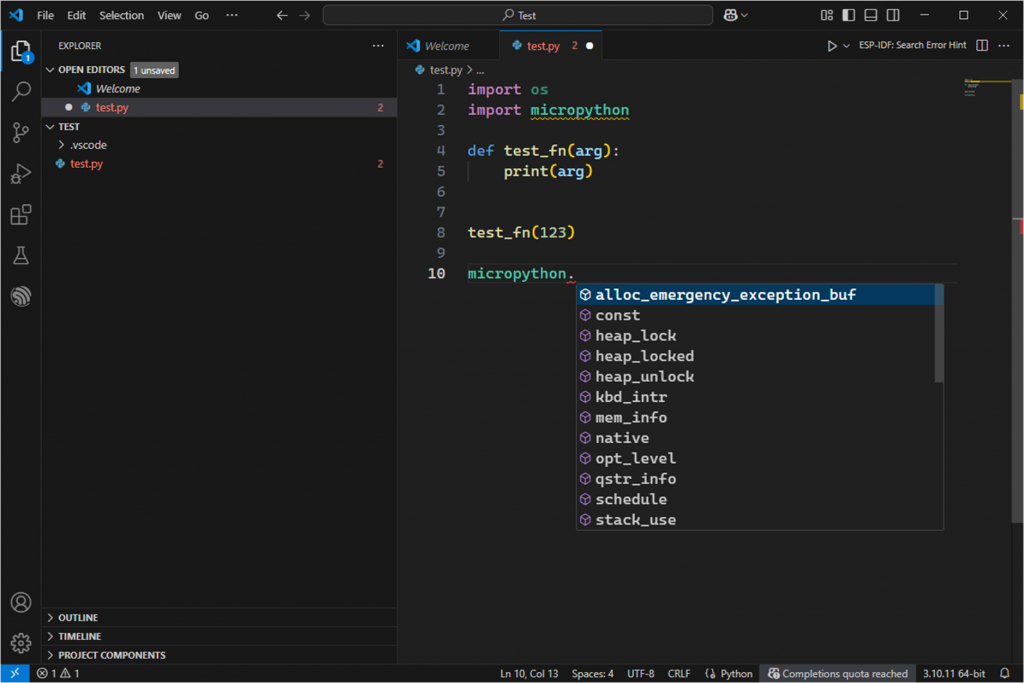
本喵版主您好,感謝您分享在ESP32上使用MicroPython開發Insulin Delivery Service BLE peripheral的寶貴經驗!
這篇文章對於開發環境的架設,從驅動程式、Thonny IDE設定到VS Code的整合與優化,都提供了實用且清晰的步驟。特別是您詳細分析Thonny和VS Code的優缺點,並提出結合使用的策略,以及 python.analysis.extraPaths 的設定技巧,這對提升開發效率非常有幫助,也解決了許多讀者的困擾。
期待您後續Bolus和Annunciation相關Control Point的實作分享,這個應用真的很有意義!
也歡迎版主有空參考我的系列文「南桃AI重生記」:
https://ithelp.ithome.com.tw/users/20046160/ironman/8311

 iThome鐵人賽