今天主要聚焦於畫面設計與使用者介面的實作,結合前幾章提到的 AI 助手輔助,在完整實作設計系統的情況下,觀察完成各功能所需時間,今日將完成以下三個主要頁面:
| 旅遊列表頁 | 行程輸入頁 | 行程生成頁 |
|---|---|---|
 |
 |
 |
由於這次多了 AI 相關的頁面,我將專案的資料夾整理如下:
lib/
├── views/
│   ├── trip_list_view.dart       # 旅遊列表頁
│   └── ai/
│       ├── ai_trip_input_view.dart  # 行程輸入頁
│       └── ai_loading_view.dart     # 行程生成頁
└── utils/
    └── icon_utils.dart           # Icon 工具
views/ai/
這樣分類能讓專案結構清楚,未來維護或擴充更方便。
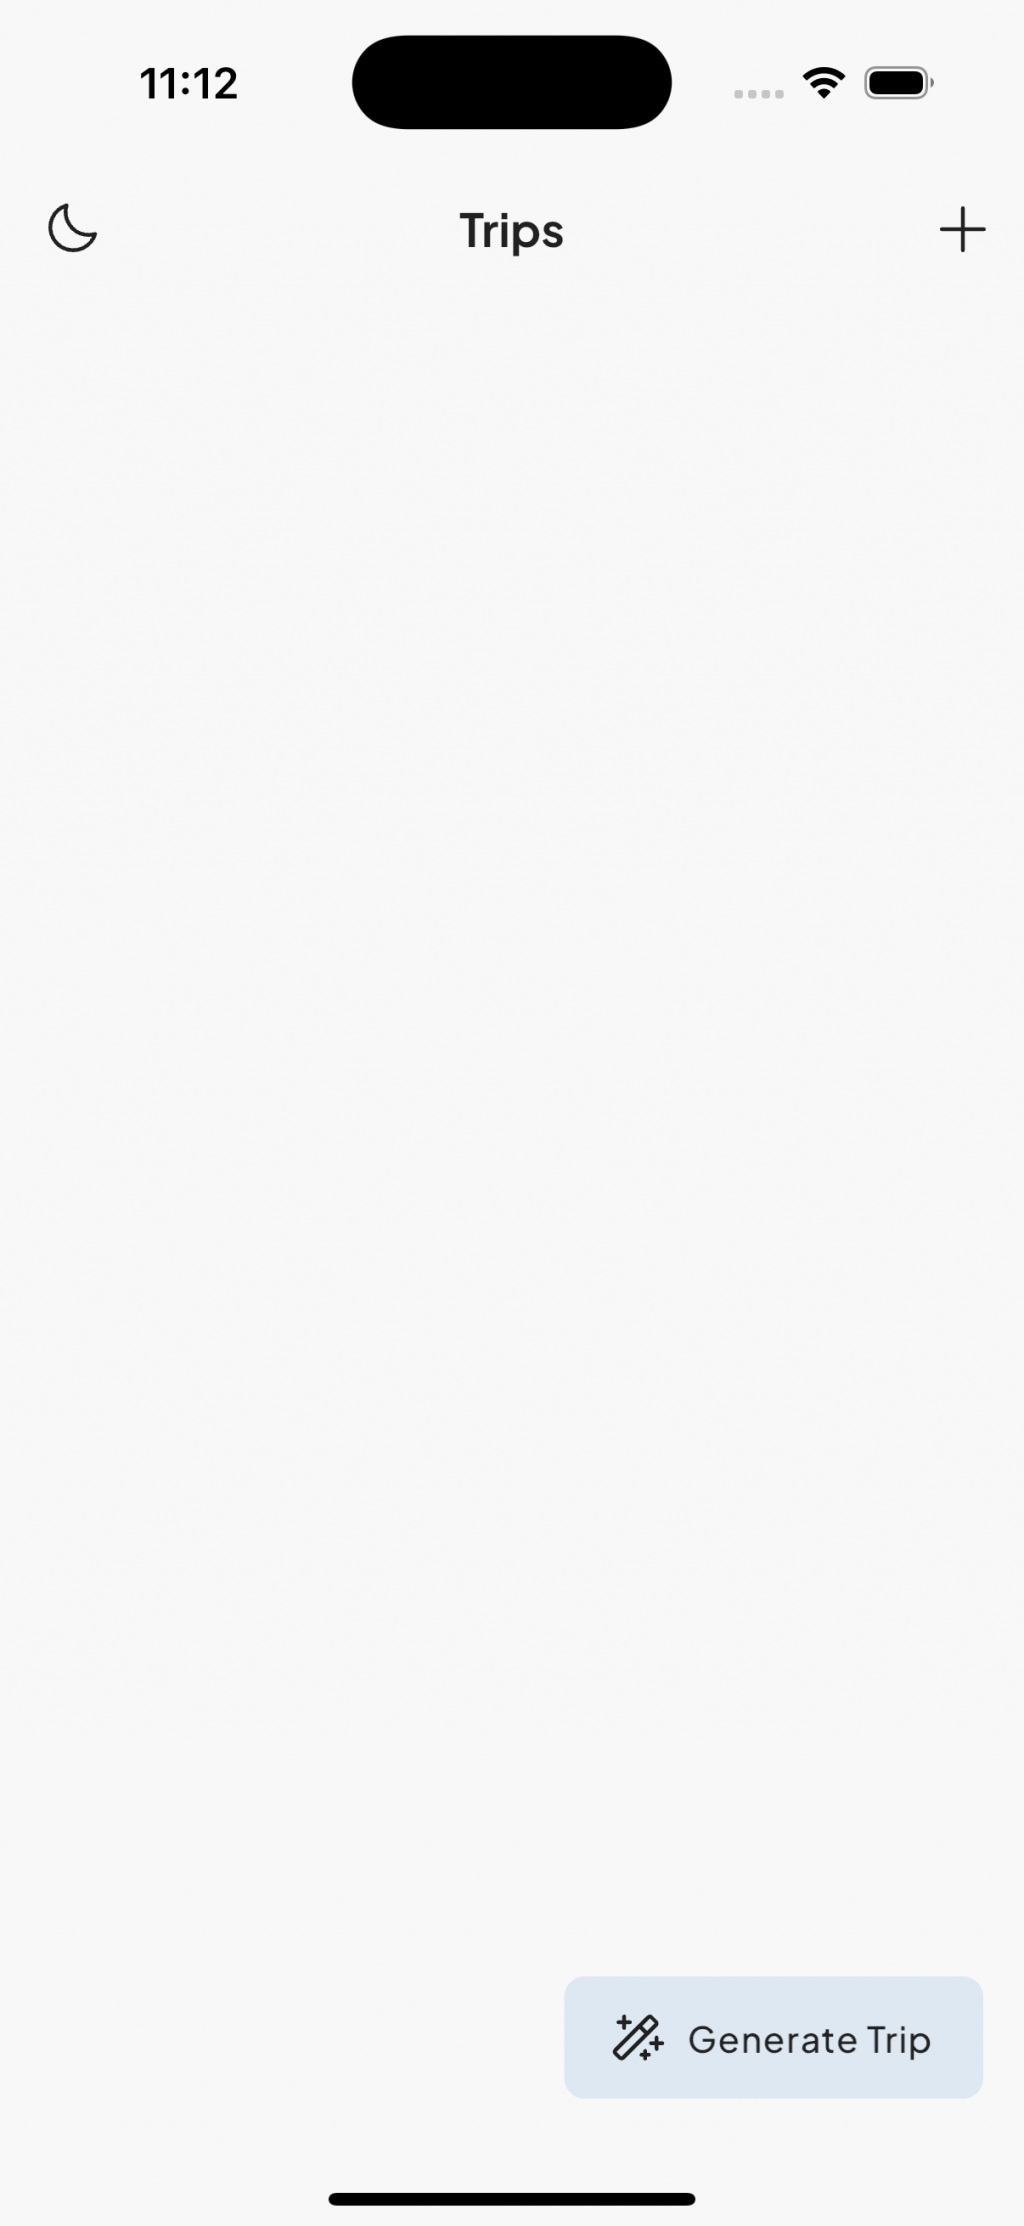
旅遊列表頁主要展示使用者的行程清單,並在右下角提供 產生 AI 行程 的入口。
floatingActionButton: AppFloatingActionButton(
  onPressed: () {
    Navigator.push(
      context,
      MaterialPageRoute(builder: (_) => const AiTripInputView()),
    );
  },
  label: 'Generate Trip',
  icon: 'magic',
),
Scaffold 及清單顯示部分則依設計稿完成~
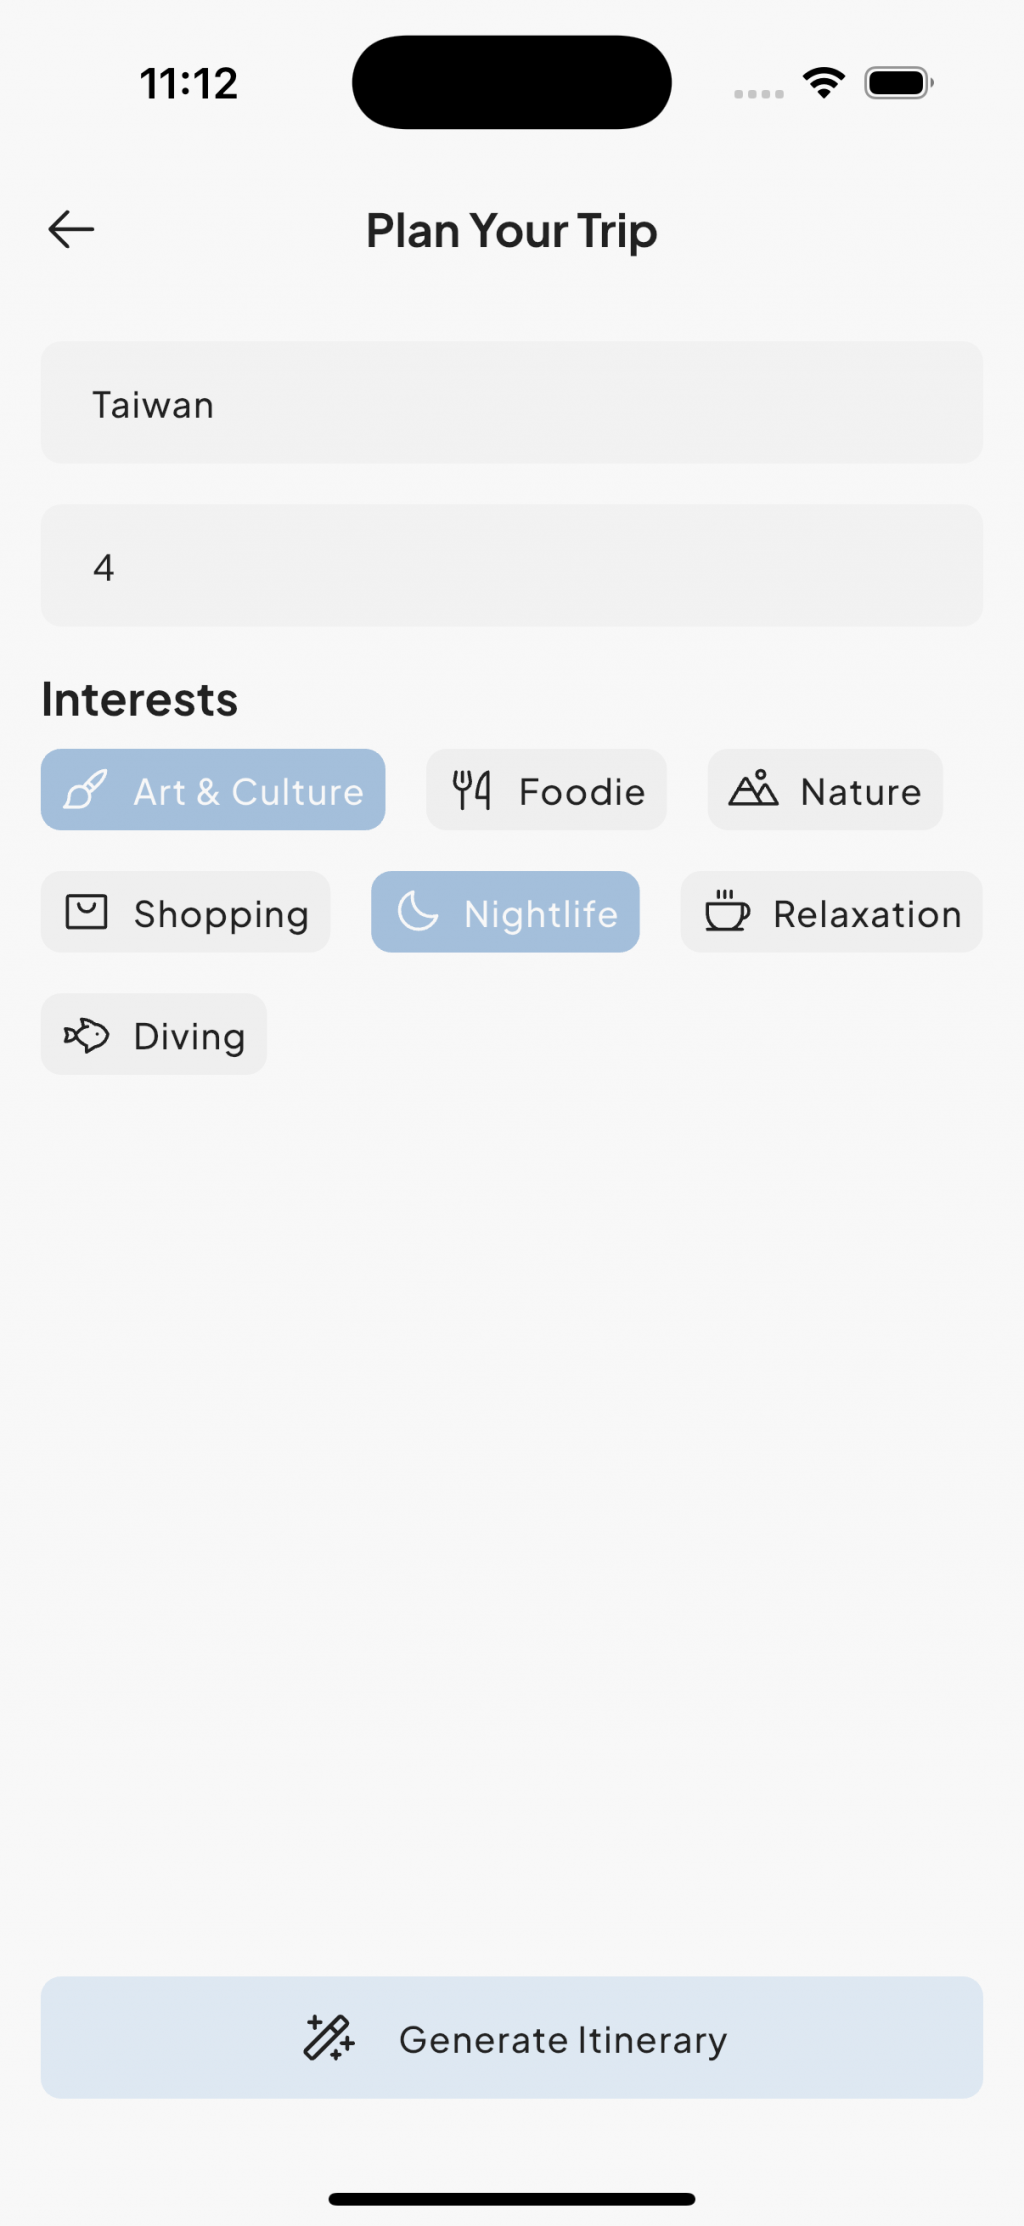
這個頁面讓使用者輸入目的地、天數,並選擇興趣類別。
主要包含兩個功能:
表單驗證
防止使用者輸入錯誤值,例如天數必須在 1 ~ 30 之間:
validator: (value) {
  if (value == null || value.isEmpty) {
    return 'This field is required.';
  }
  if (int.tryParse(value) == null) {
    return 'Please enter a valid number.';
  }
  if (int.parse(value) < 1 || int.parse(value) > 30) {
    return 'The number of days must be between 1 and 30.';
  }
  return null;
},
興趣選擇
我使用 Wrap 動態渲染一組 SelectionButton,讓使用者多選:
Wrap(
  spacing: AppSpacing.medium,
  runSpacing: AppSpacing.medium,
  children: selectedButtons.keys.map((key) {
    final data = selectedButtons[key]!;
    return SelectionButton(
      text: key,
      leftIcon: data['icon'],
      isSelected: data['isSelected'],
      onPressed: () => _onButtonPressed(key),
    );
  }).toList(),
),
輸入欄位的 FocusNode 控制(輸入完成自動跳下一格)也已實作,這裡不再附上完整程式碼。
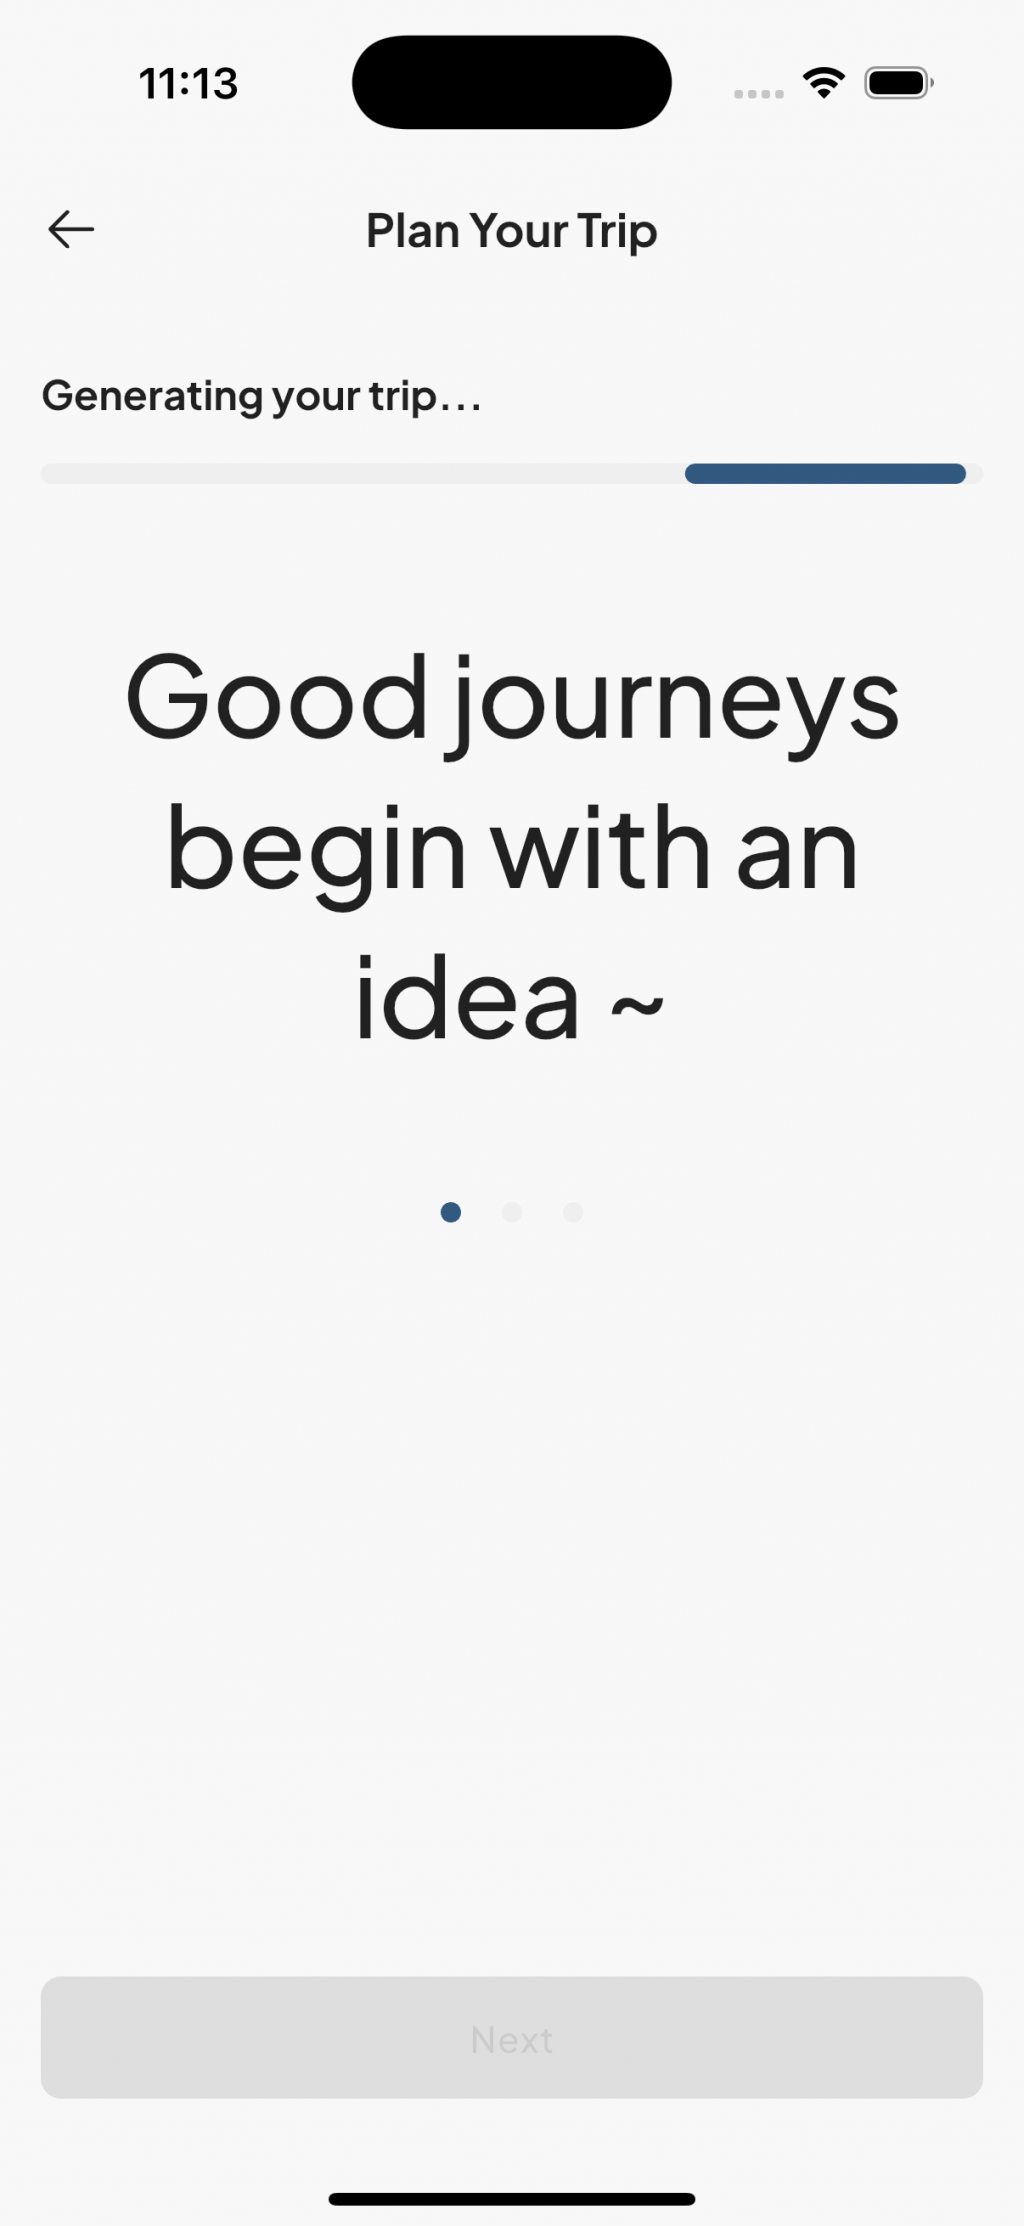
行程生成頁用來等待 AI 回傳結果。為了提升使用者體驗,我做了兩個設計:
不確定進度條
利用 LinearProgressIndicator 在不設定 value 時自動進入動畫模式:
LinearProgressIndicator(
  backgroundColor: colors.gray200,
  valueColor: AlwaysStoppedAnimation<Color>(colors.primary700),
  minHeight: 8,
),
旅行祝福語輪播
使用 PageView 循環顯示幾句隨機的旅行祝福語,讓等待過程不無聊:
PageView.builder(
  controller: _pageController,
  itemCount: _loadingMessages.length,
  onPageChanged: (page) => setState(() => _currentPage = page),
  itemBuilder: (context, index) {
    return Center(
      child: Text(_loadingMessages[index],
          textAlign: TextAlign.center,
          style: textTheme.displayLarge?.copyWith(color: colors.gray800)),
    );
  },
),
為了避免在專案中重複寫 Icon,我把它們抽成一個通用工具 utils/icon_utils.dart:
Widget buildAppIcon(
  String iconName, {
  required Color color,
  AppIconSize size = AppIconSize.regular,
}) {
  final iconSize = getIconSize(size);
  return SvgPicture.asset(
    'assets/icons/$iconName.svg',
    width: iconSize,
    height: iconSize,
    colorFilter: ColorFilter.mode(color, BlendMode.srcIn),
  );
}
使用方式就很直覺:
IconButton(
  icon: buildAppIcon('left', color: colors.gray800),
  onPressed: () => Navigator.pop(context),
),
這次在 UX 上也做了一些加強:
行程輸入頁
行程生成頁
整體而言,這次的畫面刻畫進展相當順利,沒有遇到重大阻礙,總共花費約 1.5 小時完成,看來明天就可以把主要畫面刻完了~今天使用 AI 的部分不多,僅在遇到破版情況時簡單使用了 Gemini Code Assist 而已,對於 AI 工具的幫助可能要再觀察,整體所花時間與平常差異不大~
| 淺色 | 深色 |
|---|---|
 |
 |


 iThome鐵人賽