這裡是鐵匠史密斯(Bro fist)~
既然我們已經渲染了牆壁,我們接下來也試試看渲染地板吧~
老樣子,直接上圖: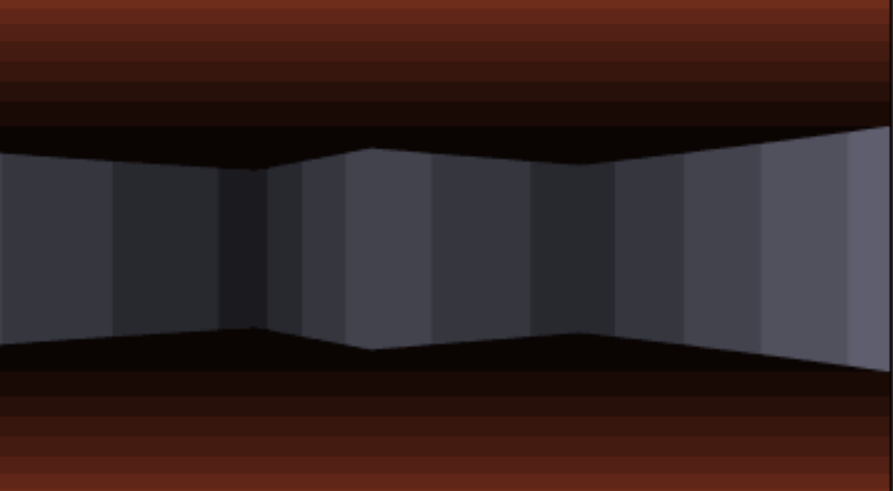
由德軍總部3D的圖中我們也得知:
// Decide the height of the wall by distance to the wall
int nCeiling = (float)(nScreenHeight / 2.0) - nScreenHeight / ((float)fDistanceToWall);
int nFloor = (float)(nScreenHeight / 2.0) + nScreenHeight / ((float)fDistanceToWall); // nFloor = nScreenHeight - nCeiling;

short nShade = ' ';
if (fDistanceToWall <= fDepth / 4.0f) // Get very close to wall -> will be full-shaded
    nShade = 0x2588;
else if (fDistanceToWall <= fDepth / 3.0f)
    nShade = 0x2593;
else if (fDistanceToWall <= fDepth / 2.0f)
    nShade = 0x2592;
else if (fDistanceToWall <= fDepth) // Get far to wall -> will be light-shaded
    nShade = 0x2591;
else
    nShade = ' '; // So far, far way -> will see nothing

for (int y = 0; y < nScreenHeight; y++)
{
    if (y < nCeiling) // If the pixel is above the nCeiling -> should be ceiling
    {
        screen[y * nScreenWidth + x] = ' '; // Set to space
    }
    else if (y > nCeiling && y <= nFloor) // If the pixel is between the nCeiling and nFloor -> should be wall
    {
        screen[y * nScreenWidth + x] = nShade; // Set to wall character
    }
    else // If the pixel is below the nFloor -> should be floor
    {
        screen[y * nScreenWidth + x] = ' '; // Set to floor character
    }
}
尤其,渲染地板的部分為:
    else // If the pixel is below the nFloor -> should be floor
    {
        screen[y * nScreenWidth + x] = ' '; // Set to floor character
    }
目前地板皆為 ' ' 字元,是該在這個地方動手腳了
    else // If the pixel is below the nFloor -> should be floor
    {
        // Shade floor based on poroption of the way from the center to the bottom of the screen
        float b{ 1.0f - (((float)y - nScreenHeight / 2.0f) / ((float)nScreenHeight / 2.0f)) };

        if (b < 0.25)
            nShade = '#';
        else if (b < 0.5)
            nShade = 'x';
        else if (b < 0.75)
            nShade = '.';
        else if (b < 0.9)
            nShade = '-';
        else
            nShade = ' ';

        screen[y * nScreenWidth + x] = nShade;
    }
在這裡有幾個特點:
#、x、.、-、 附值 short nShade
fDistanceToWall 進行渲染,float b{ 1.0f - (((float)y - nScreenHeight / 2.0f) / ((float)nScreenHeight / 2.0f)) };
#、x、.、-、 字元渲染fDistanceToWall 來決定渲染的深淺明日會提到一點小原理,並展示一下渲染的成果圖~
地板渲染原理的部分會以自己的理解嘗試解釋~
繼續走下去~

