各位是否也想記錄自己的打卡時間呢?像我每天常常會忘記自己是幾點打卡的,然後就不知道要幾點下班(?
我們的目標是利用 iPhone 的「捷徑」App,判斷你接近或離開公司的地理位置時,自動觸發 n8n,將當下時間寫入指定的 Google Sheets 試算表,輕鬆完成打卡紀錄
整個流程的運作方式如下: iPhone 捷徑 -> Webhook -> n8n -> Google Sheets
而這個流程實際上是從範本上面改來的,有興趣也可以去看看
https://n8n.io/workflows/2530-automated-work-attendance-with-location-triggers/
本系列預計分 4 篇來說明,今天,我們先來完成第一步,也是最關鍵的前置作業:在 Google Cloud 中設定 n8n 所需的服務憑證
首先,我們需要在 Google Cloud Platform (GCP) 建立一個專案來管理相關的 API 服務
請前往 Google Cloud
點選導覽列的「開啟專案挑選器」
接著點選彈出視窗右上角的「新增專案」
建立專案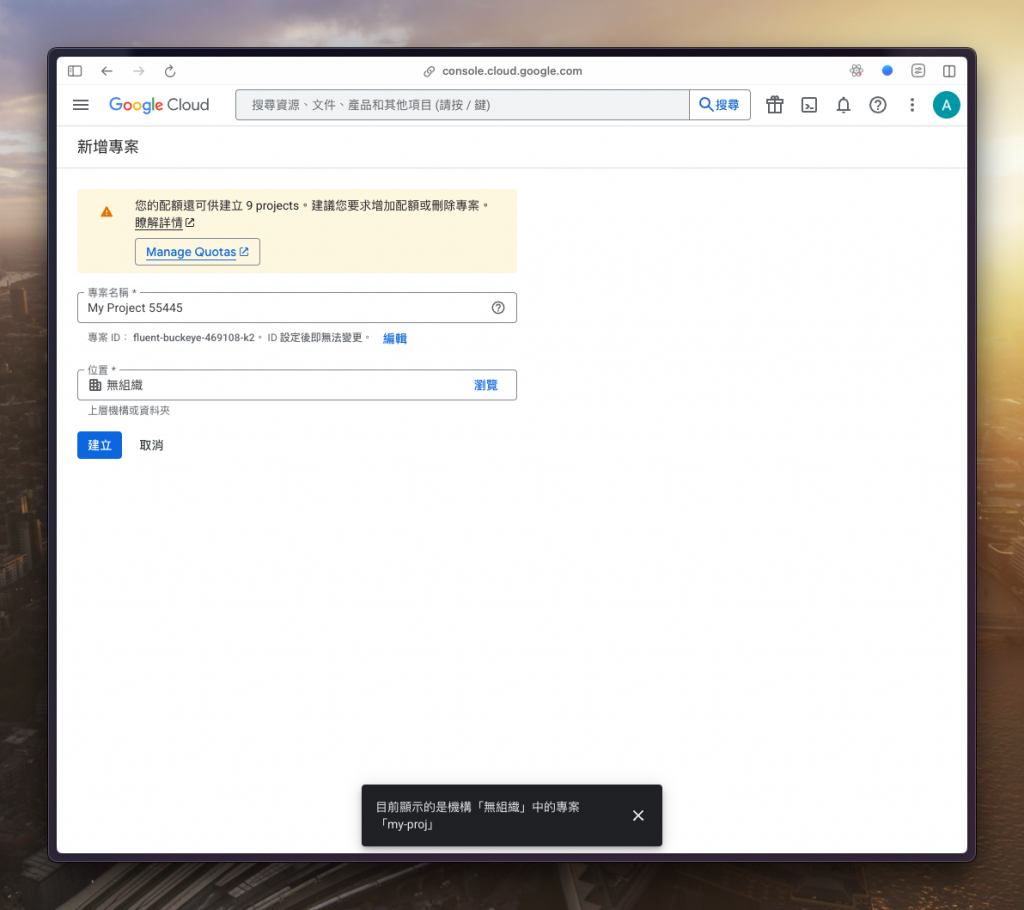
建立完成後,導覽列會彈出通知,可以從這邊點選「選取專案」來進入該專案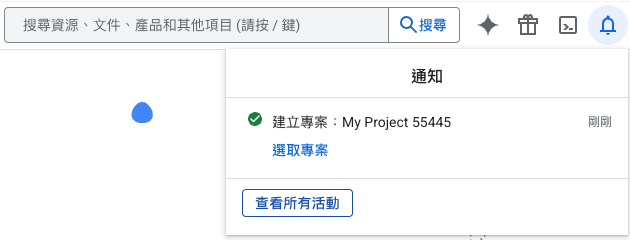
為了讓 n8n 能夠讀寫 Google Sheets,我們必須先啟用對應的 API
再來從導覽列的搜尋找到「API 和服務」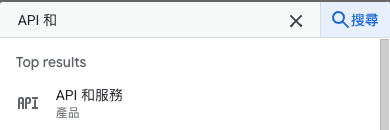
選擇側邊欄的「程式庫」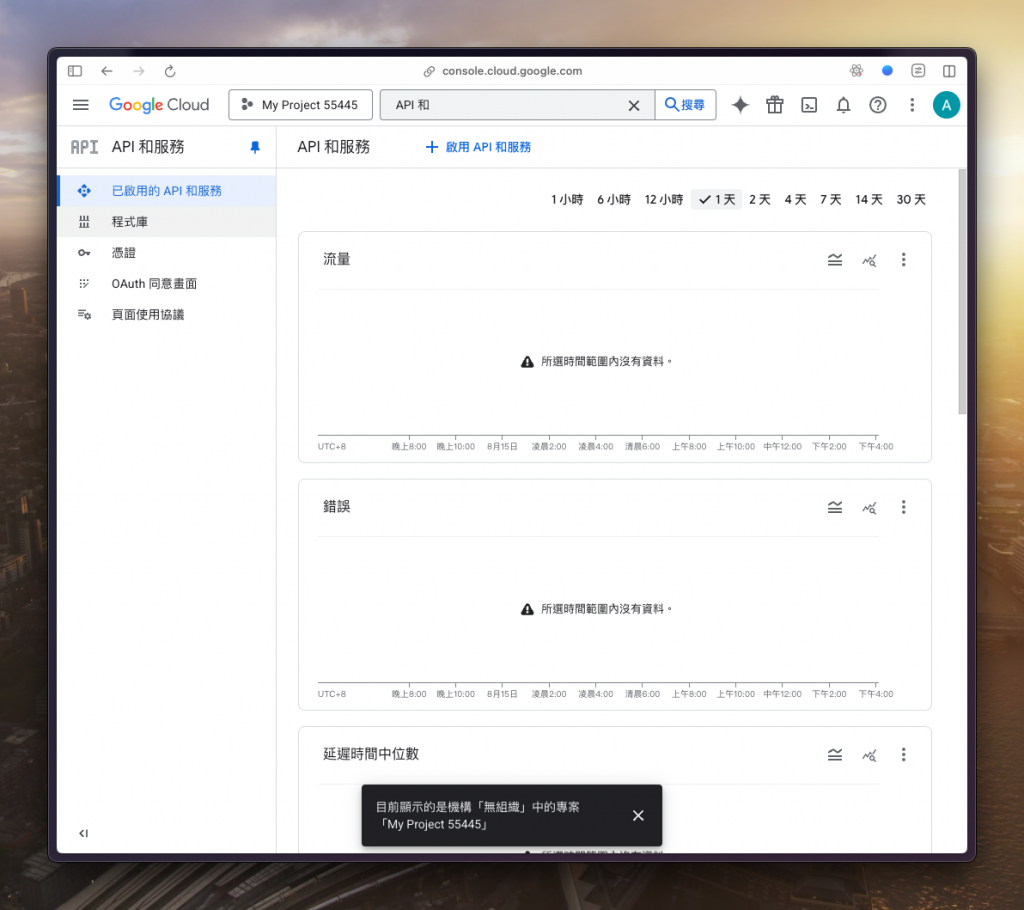
搜尋「shhet」來找到「Google Sheets API」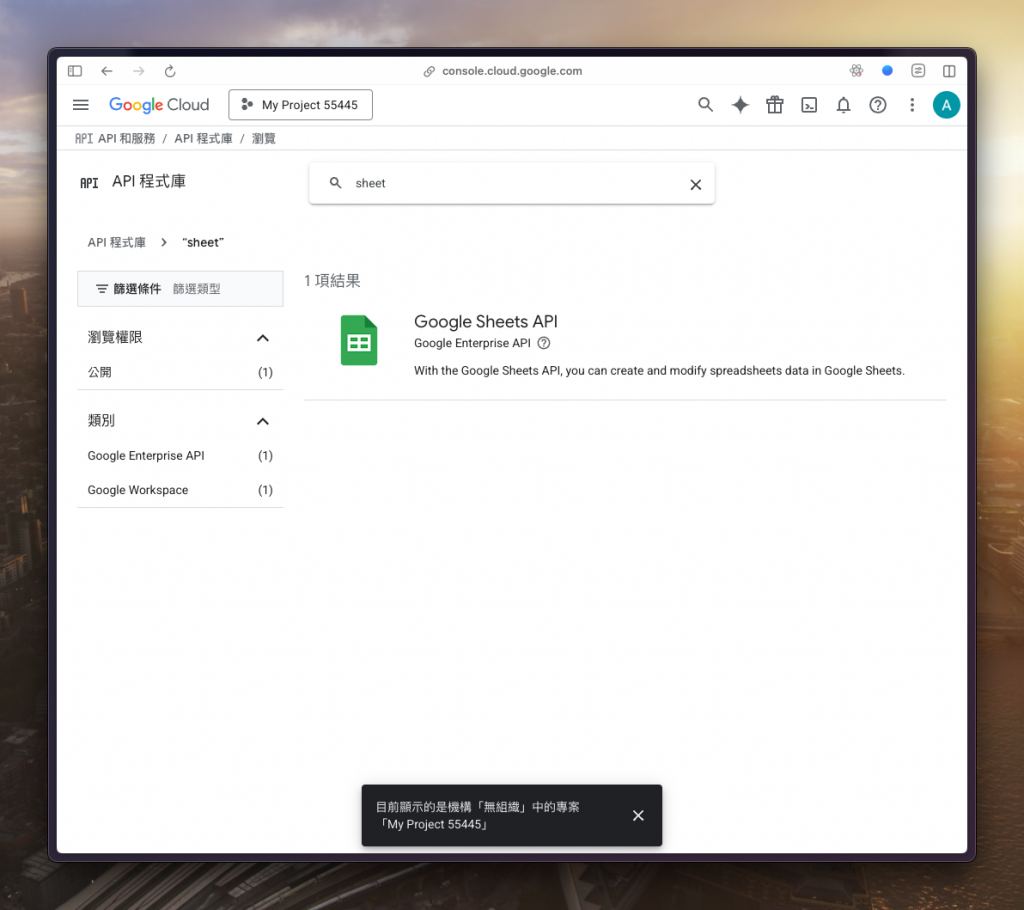
點選「啟用」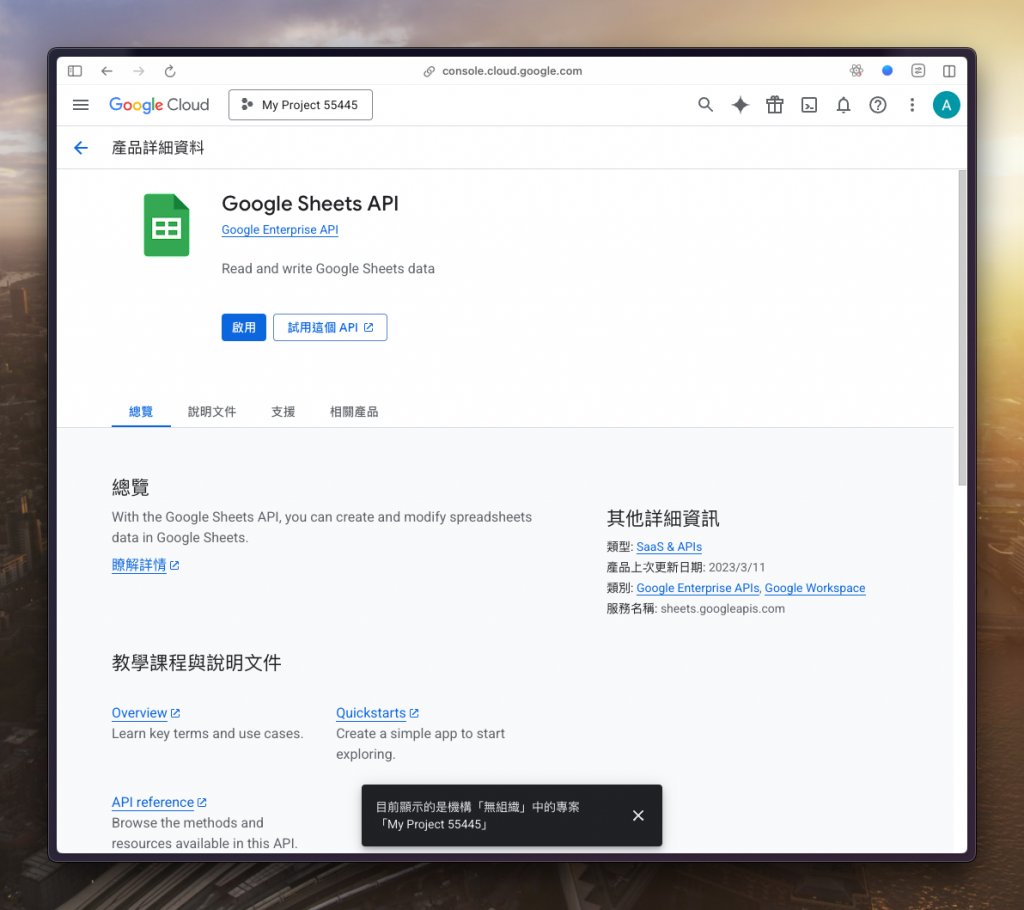
到這邊也建議同時把我們以後可能會用到的服務一起開一開,像是「Google Drive」、「Google Doc」等等有的沒的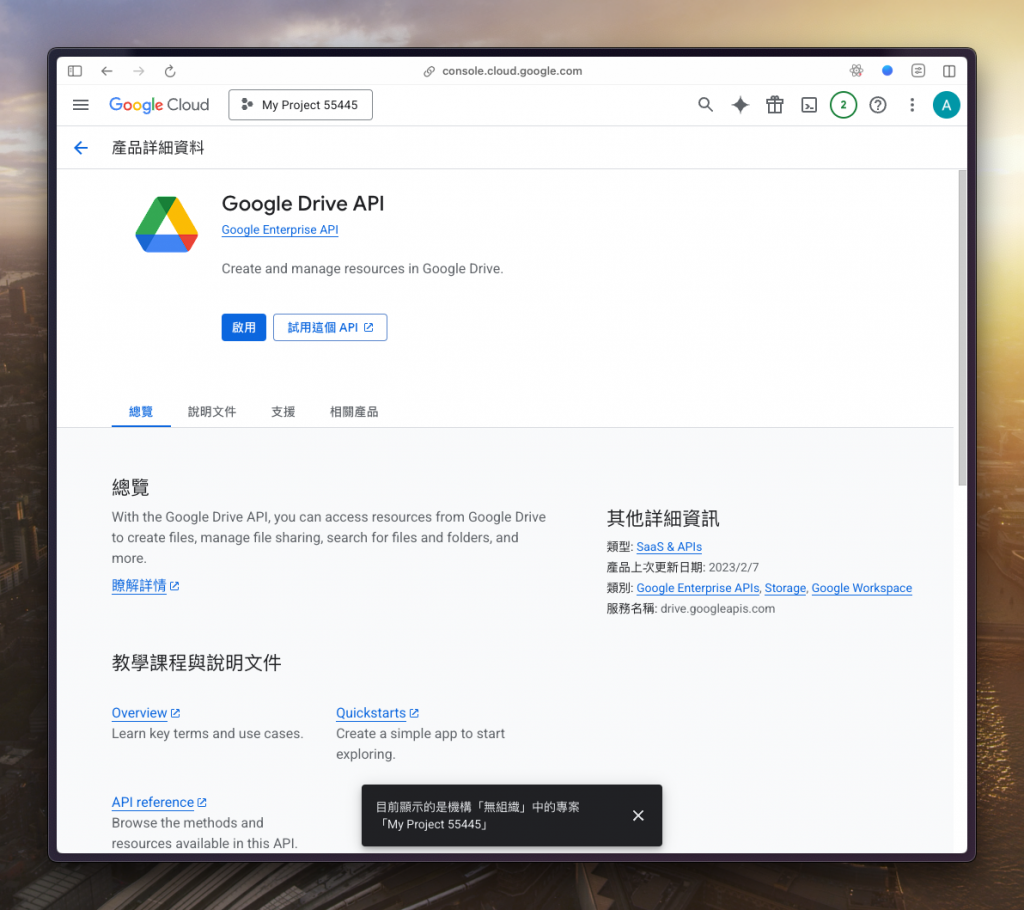
接下來,我們要設定 OAuth 同意畫面,這決定了當 n8n 請求授權時,使用者會看到的資訊
回到側邊欄,找到「OAuth 同意畫面」
「開始」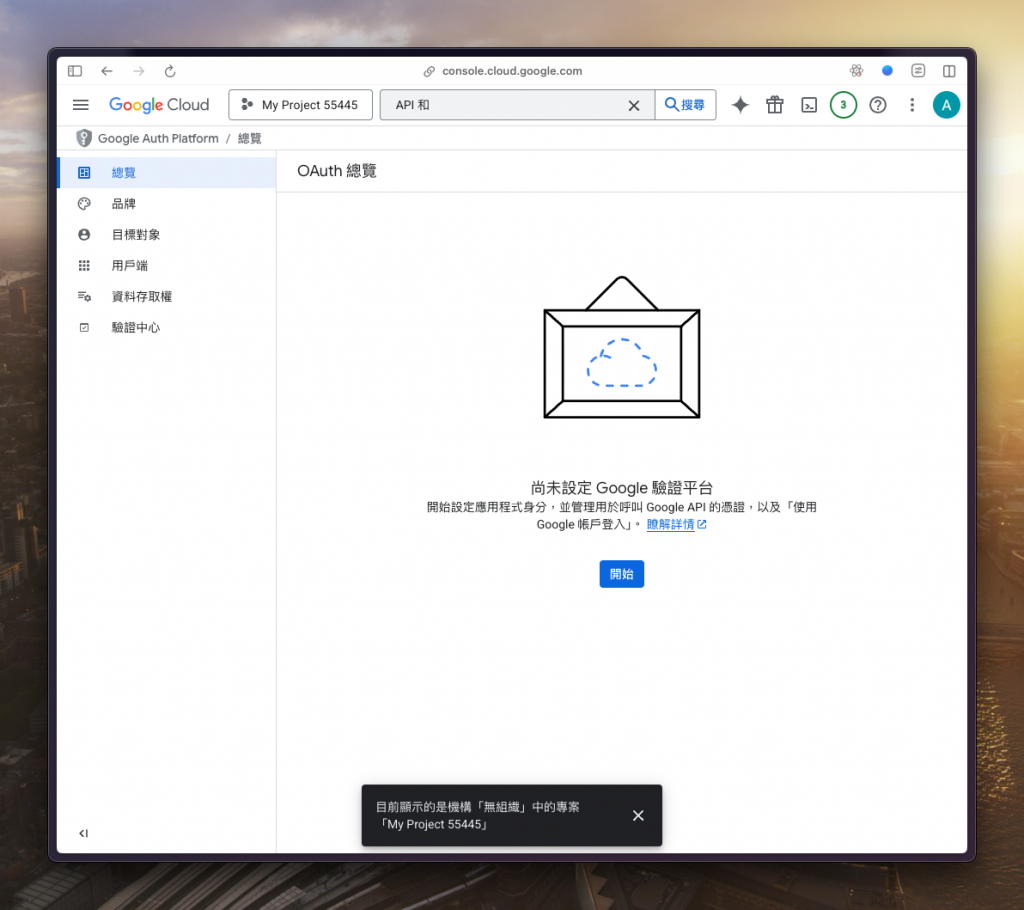
填上相關資料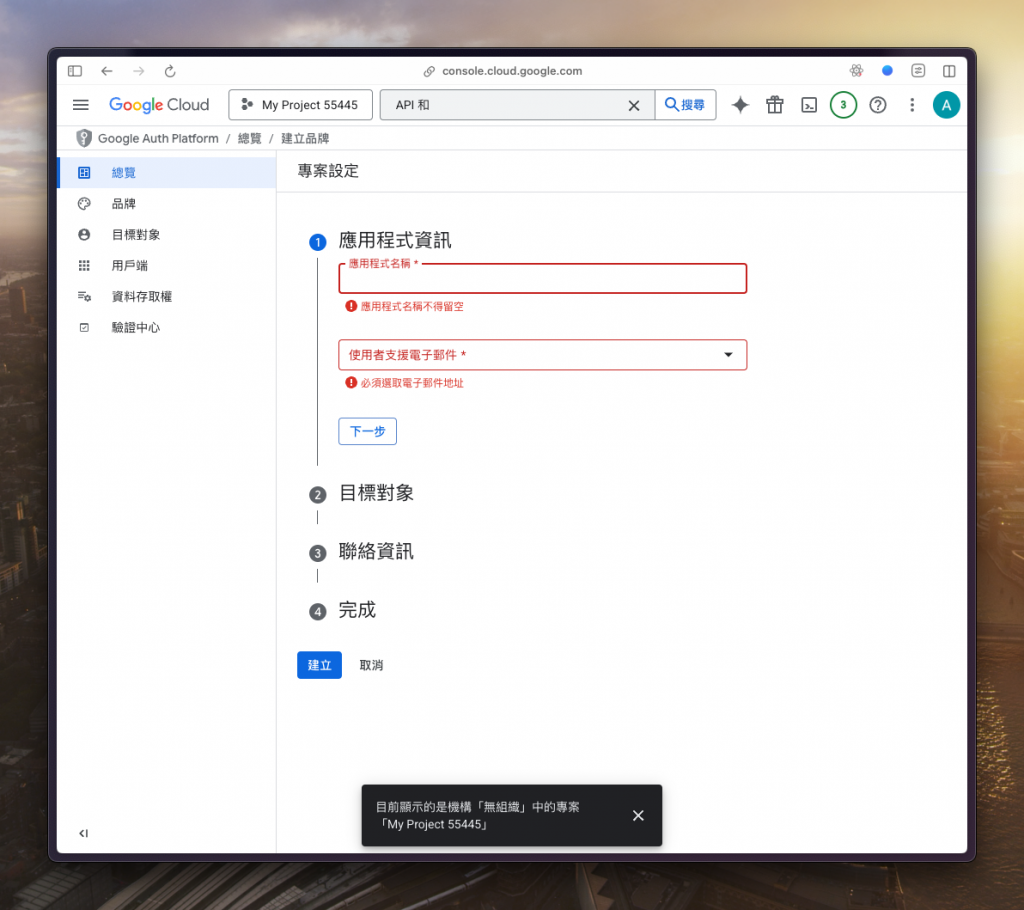
接著選擇「外部」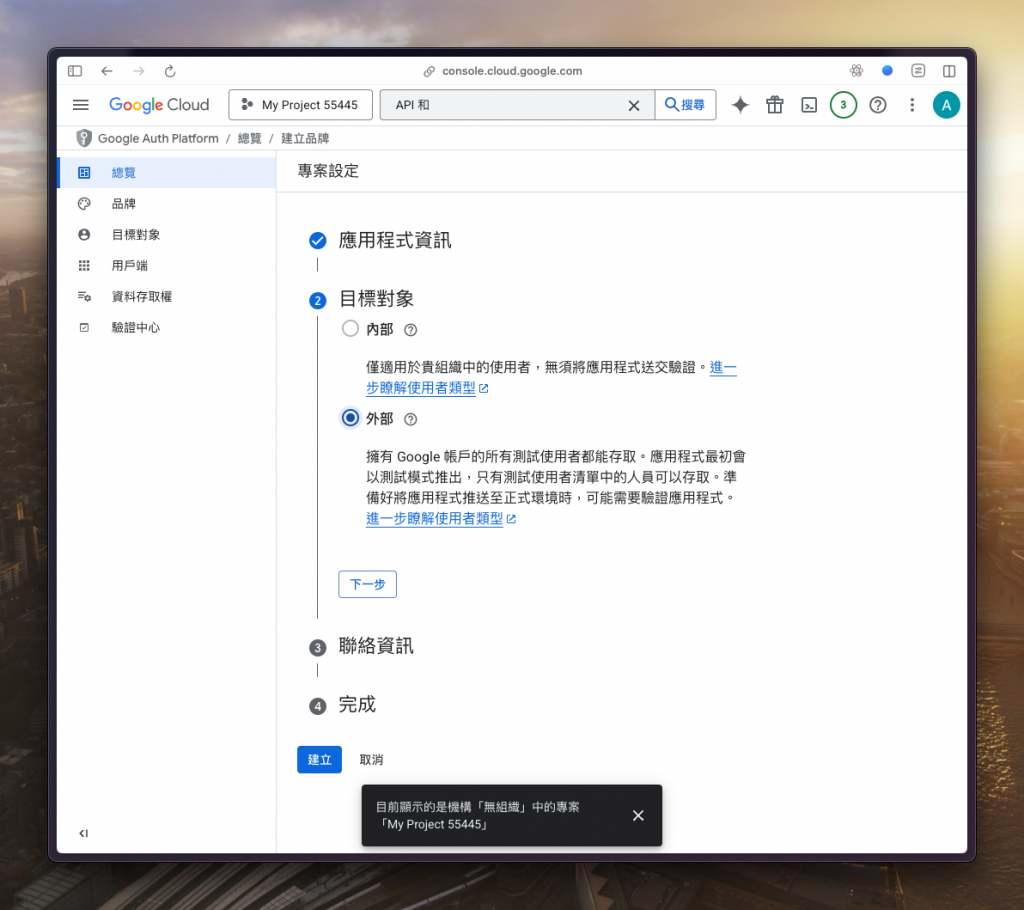
同樣填寫資料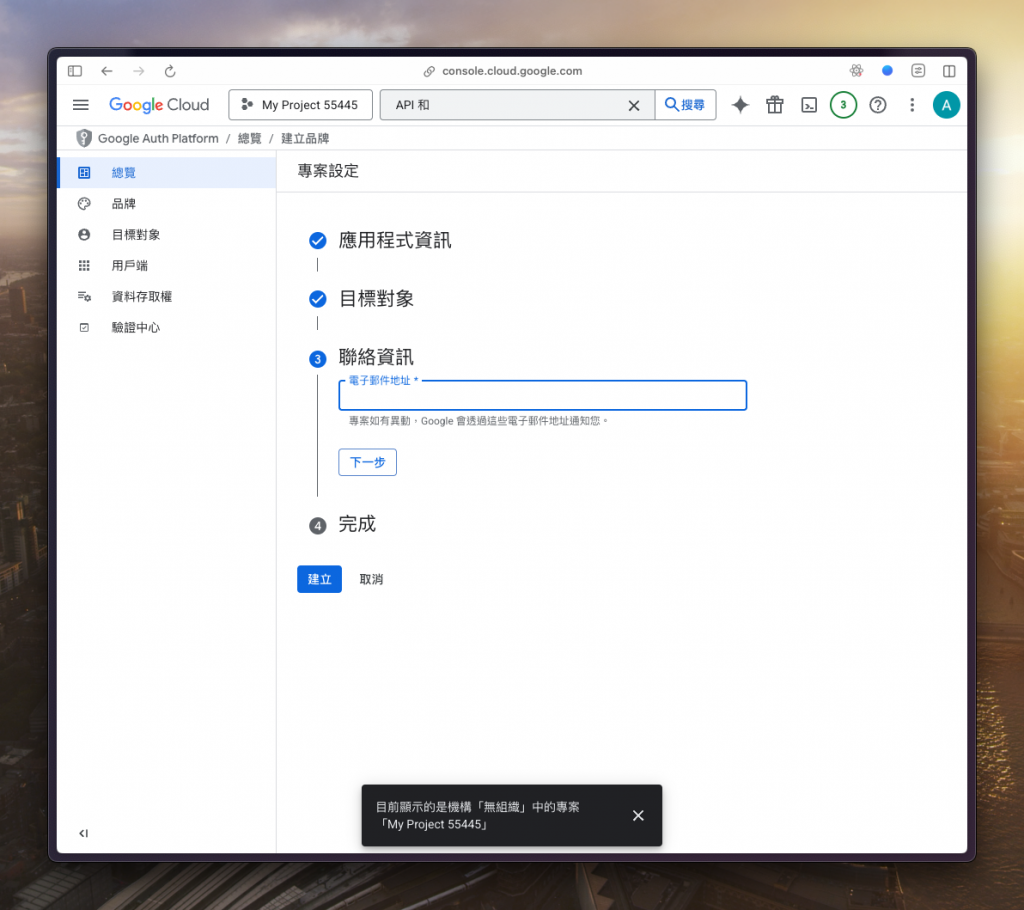
勾選「同意」後並點選「建立」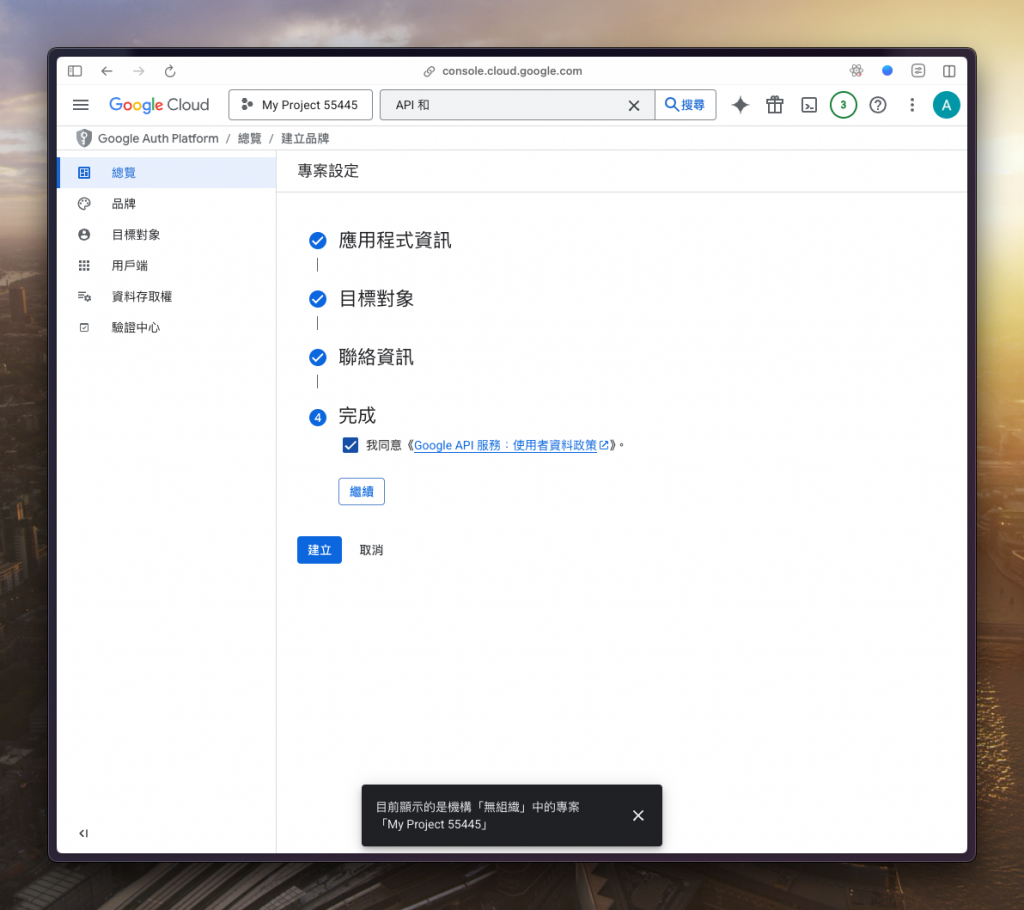
點選「建立 OAuth 用戶端」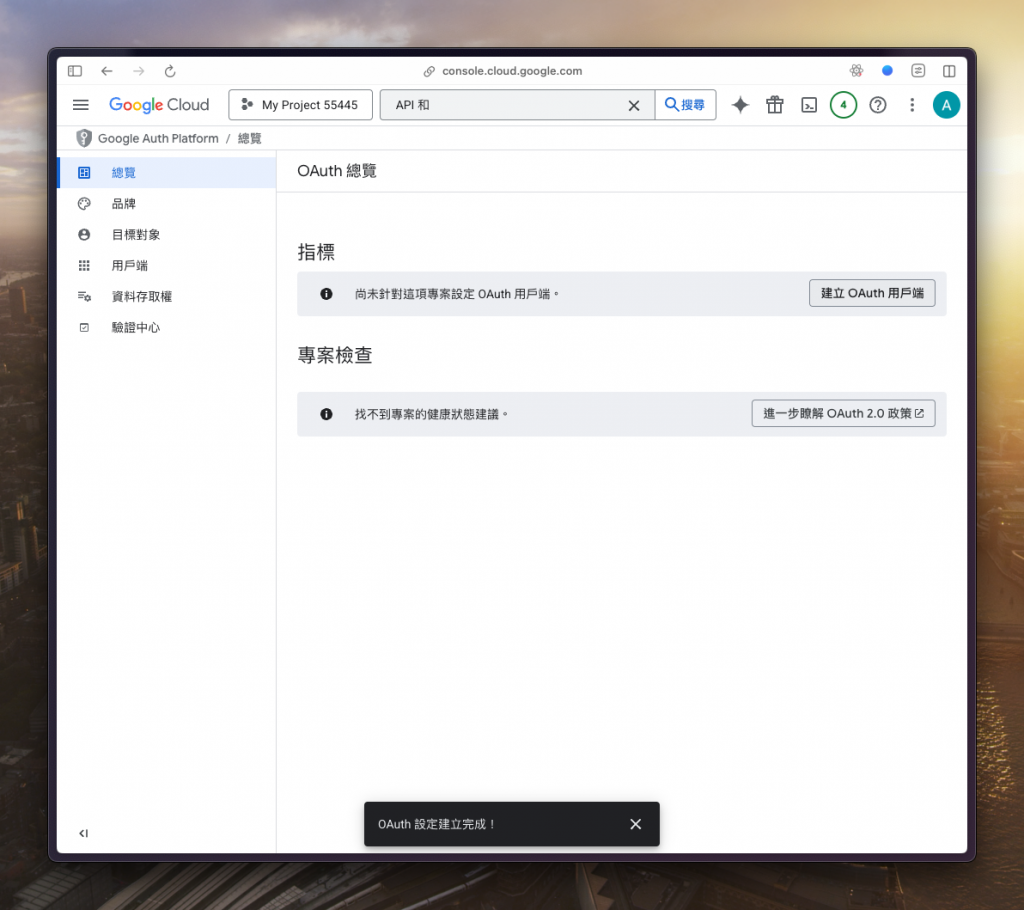
選擇「網頁應用程式」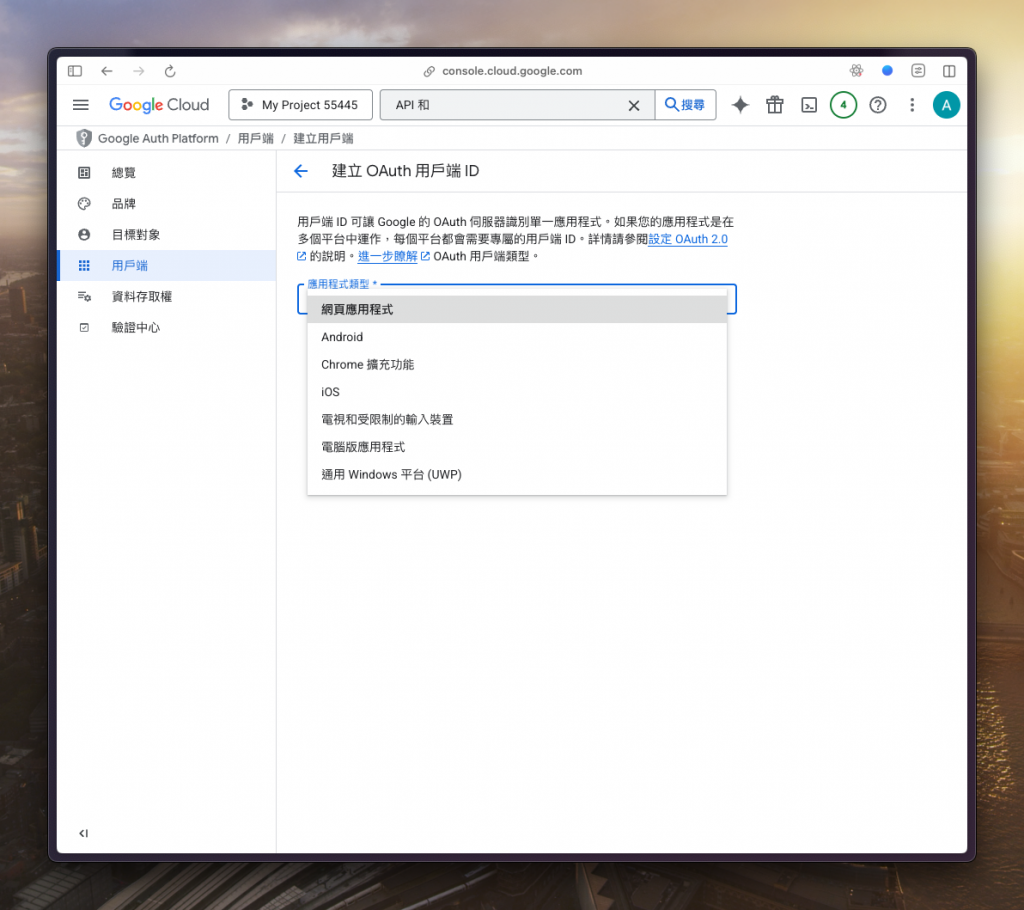
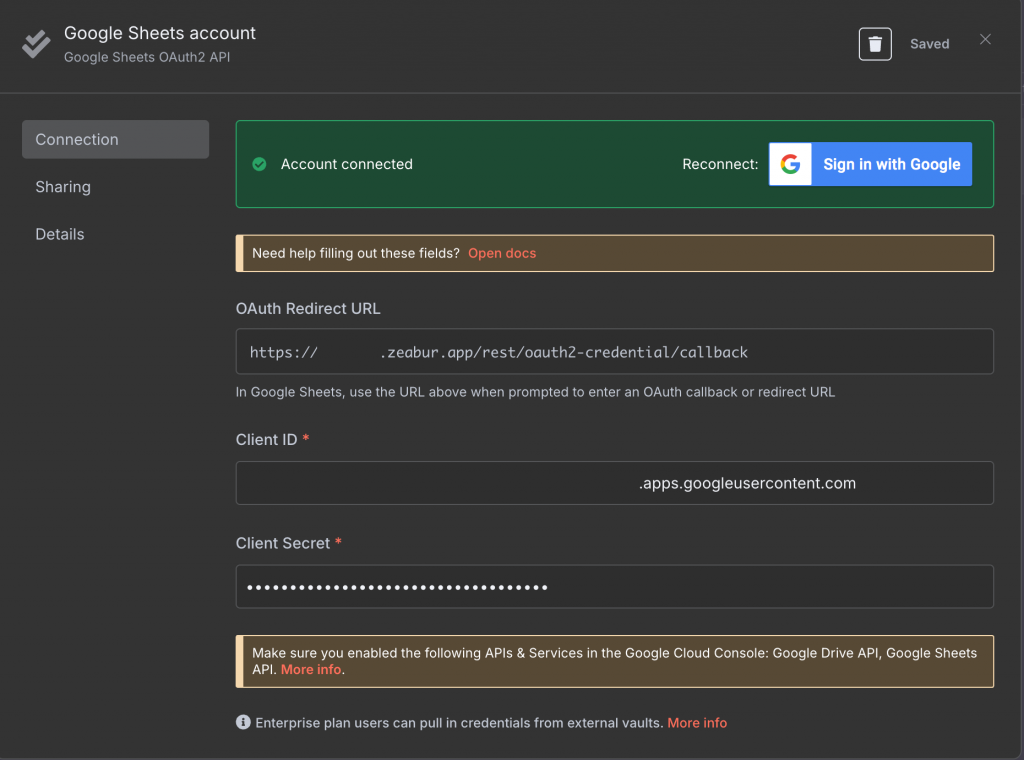
現在,我們要讓 n8n 和剛剛建立的 Google Cloud 憑證互相認識
回到 n8n,在儀表板的右上角選擇「Create Credential」來建立憑證
找到「Google Sheets OAuth2 API」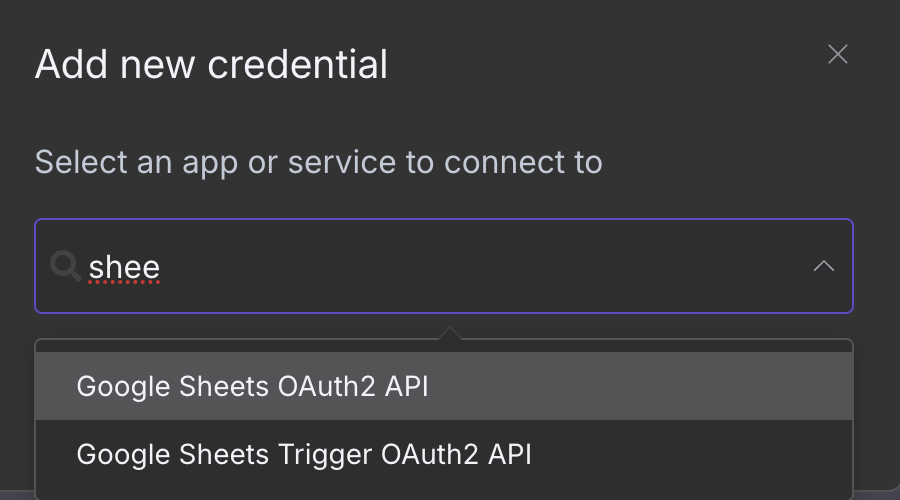
接著把 n8n 提供的「OAuth Redirect URL」複製起來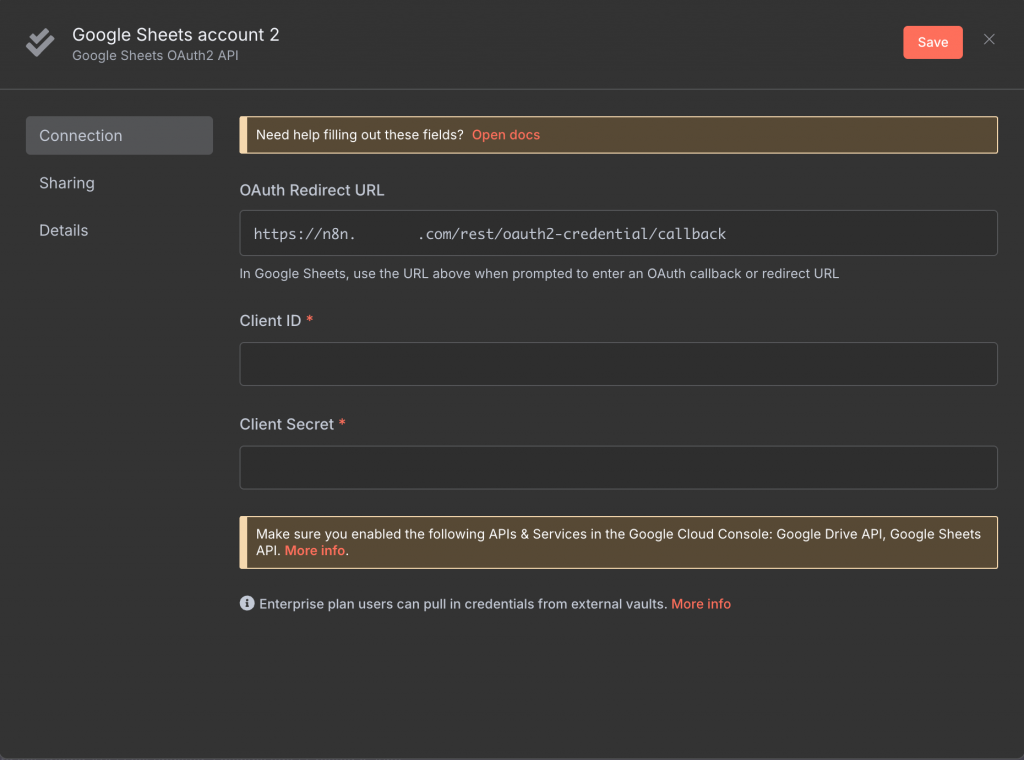
貼回去剛剛「建立 OAuth 用戶端 ID」畫面裡面的「URI」區塊
建立後會提供一串 ID,請複製下來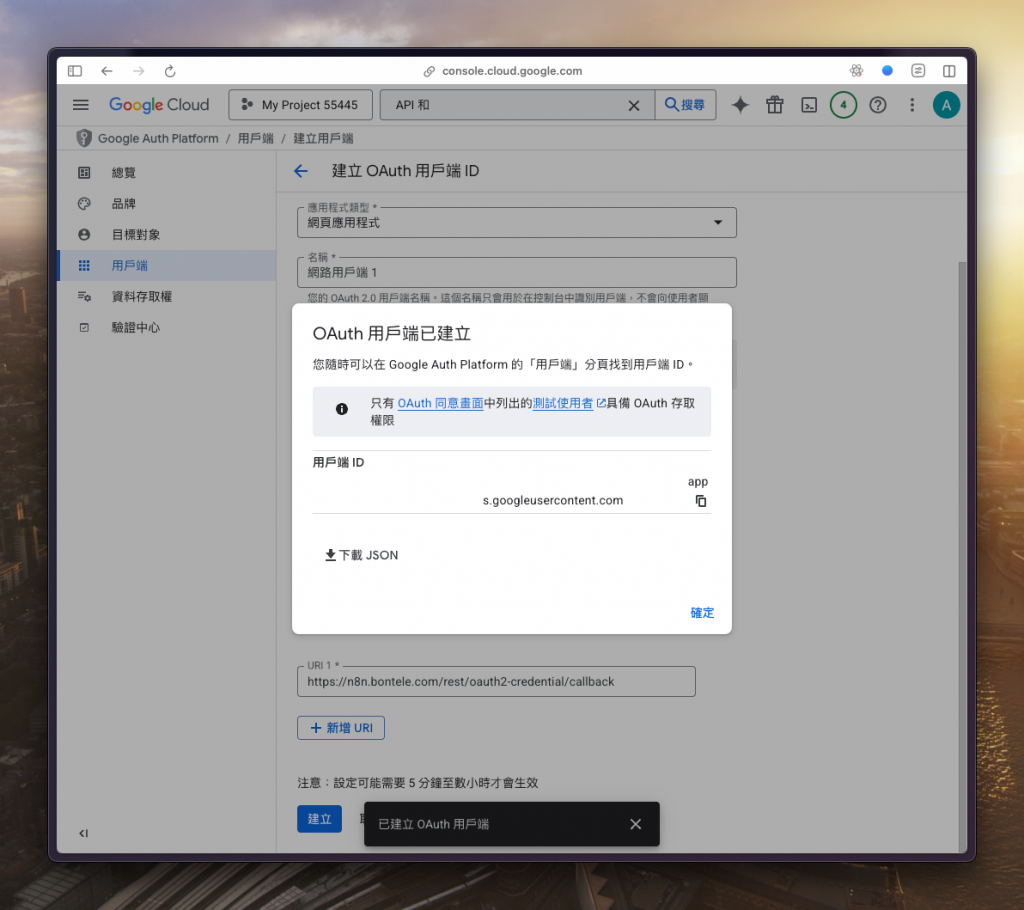
貼回去剛剛 n8n 的「Client ID」欄位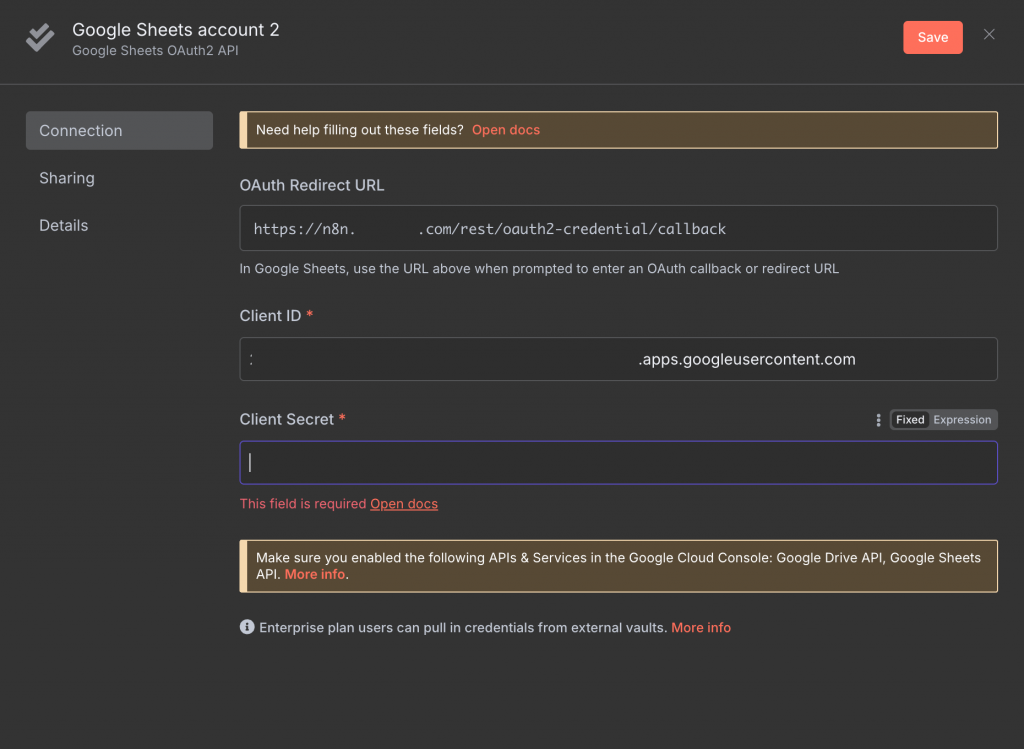
然後「用戶端」的右上角有個「資訊與摘要」按鈕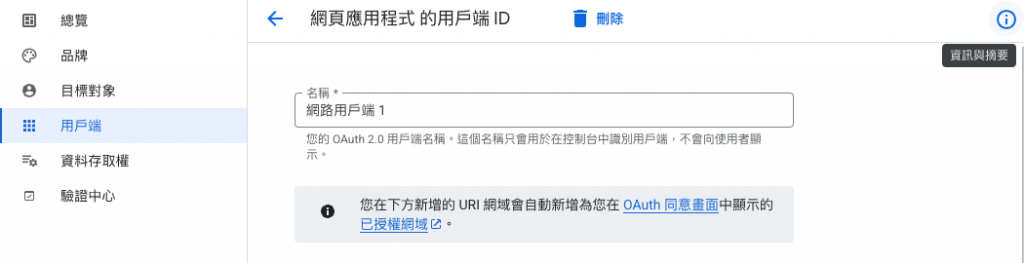
點進去可以看到「用戶端密鑰」,同樣把它複製起來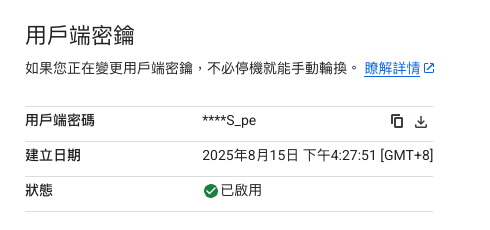
貼到 n8n 的「Client Secret」欄位
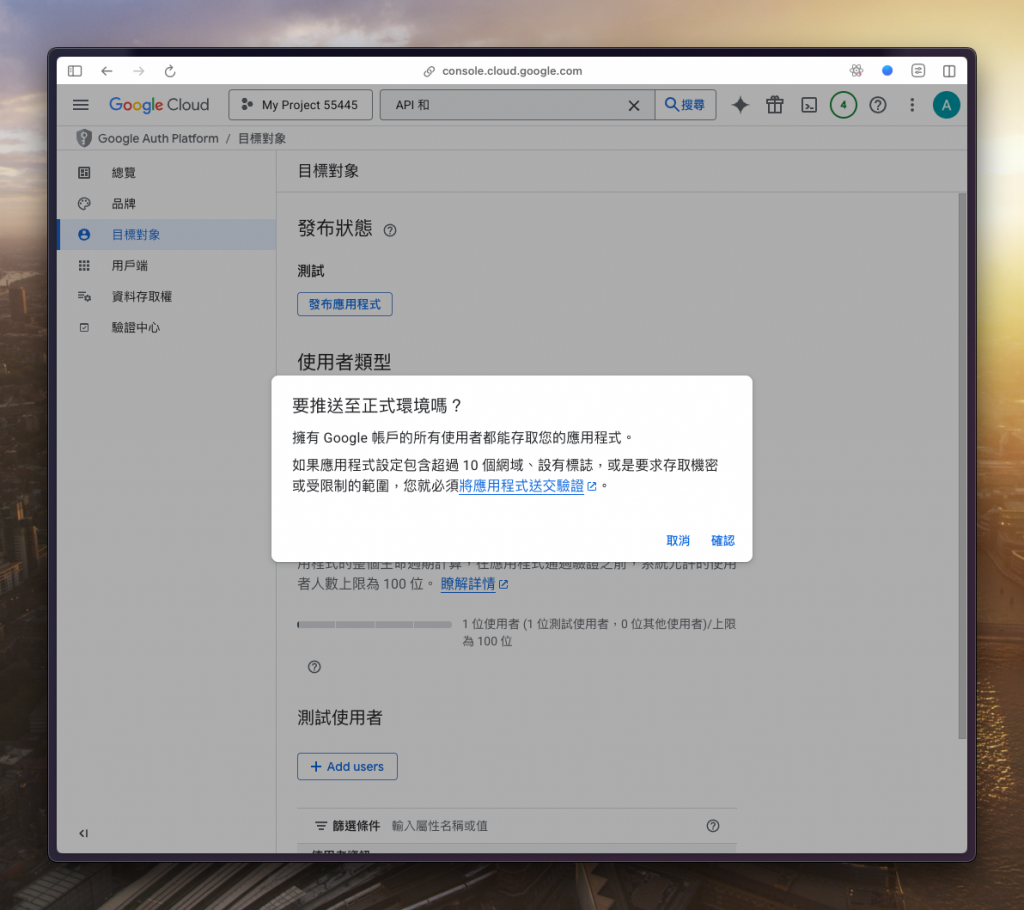
接著回到側邊欄選擇「目標對象」,底下有個「測試使用者」,點選「Add users」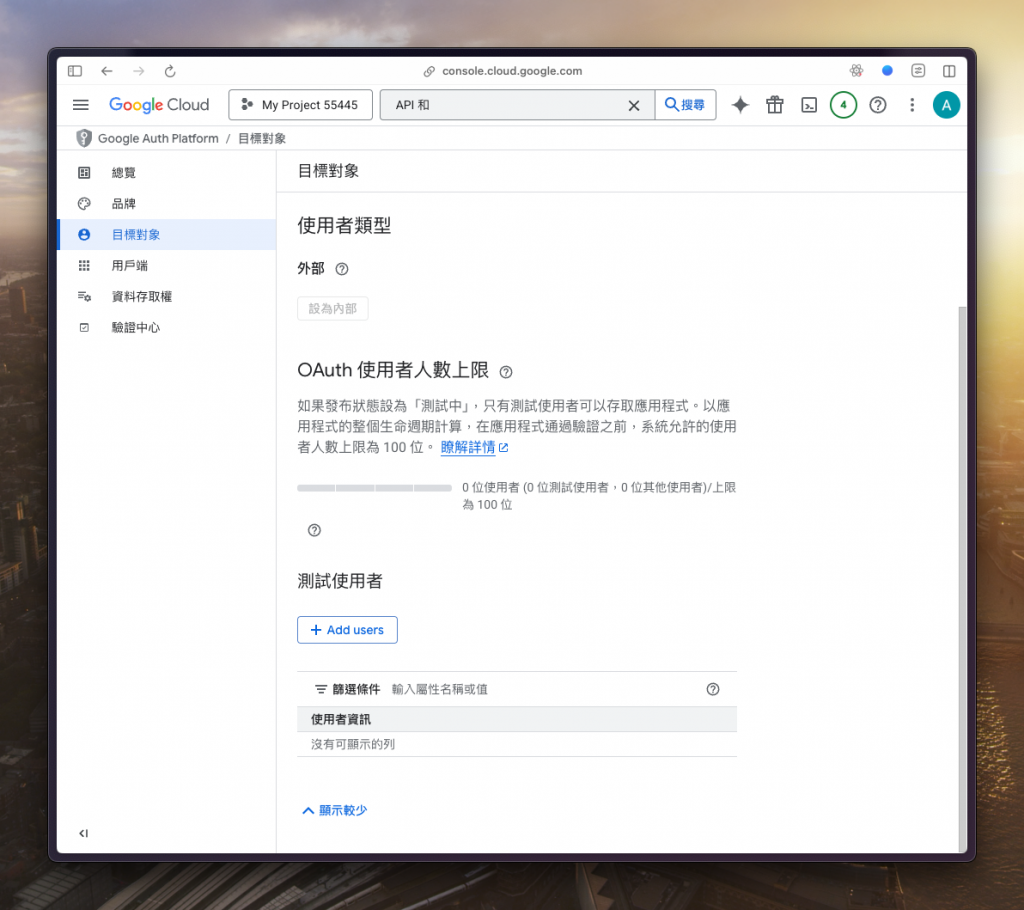
把自己的信箱加進去並「儲存」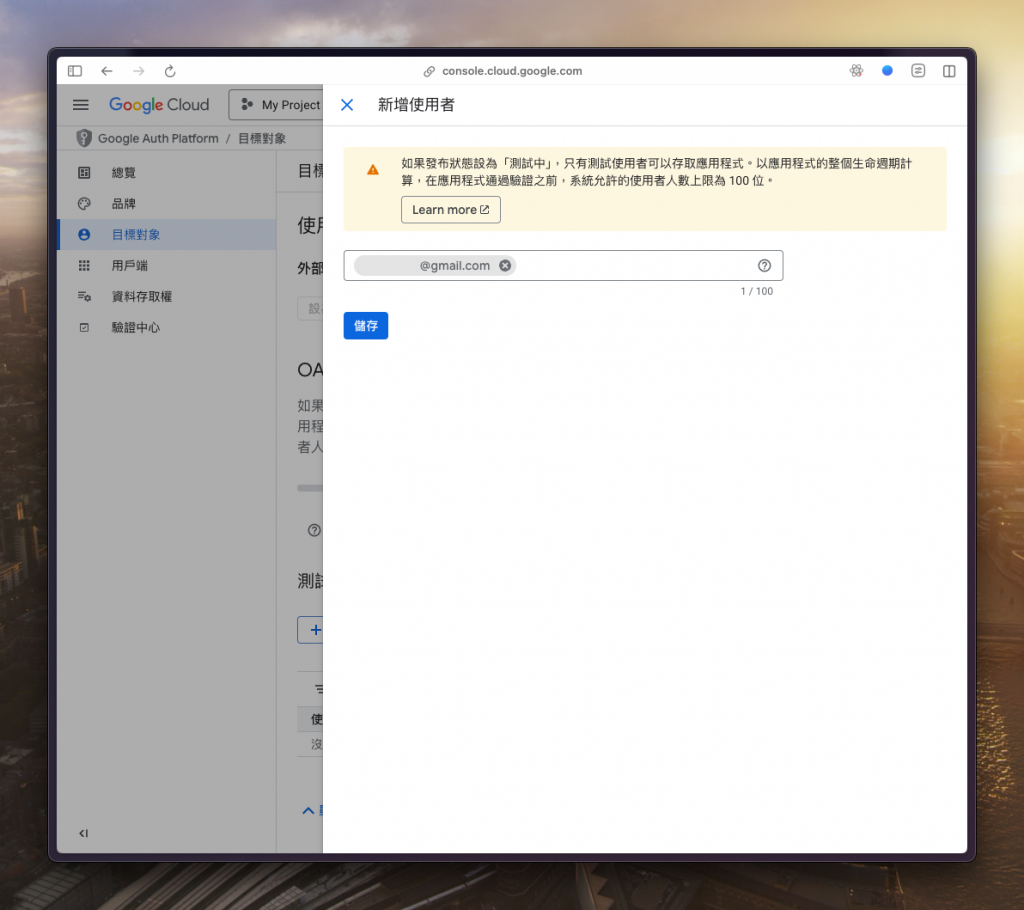
再來點選「發佈應用程式」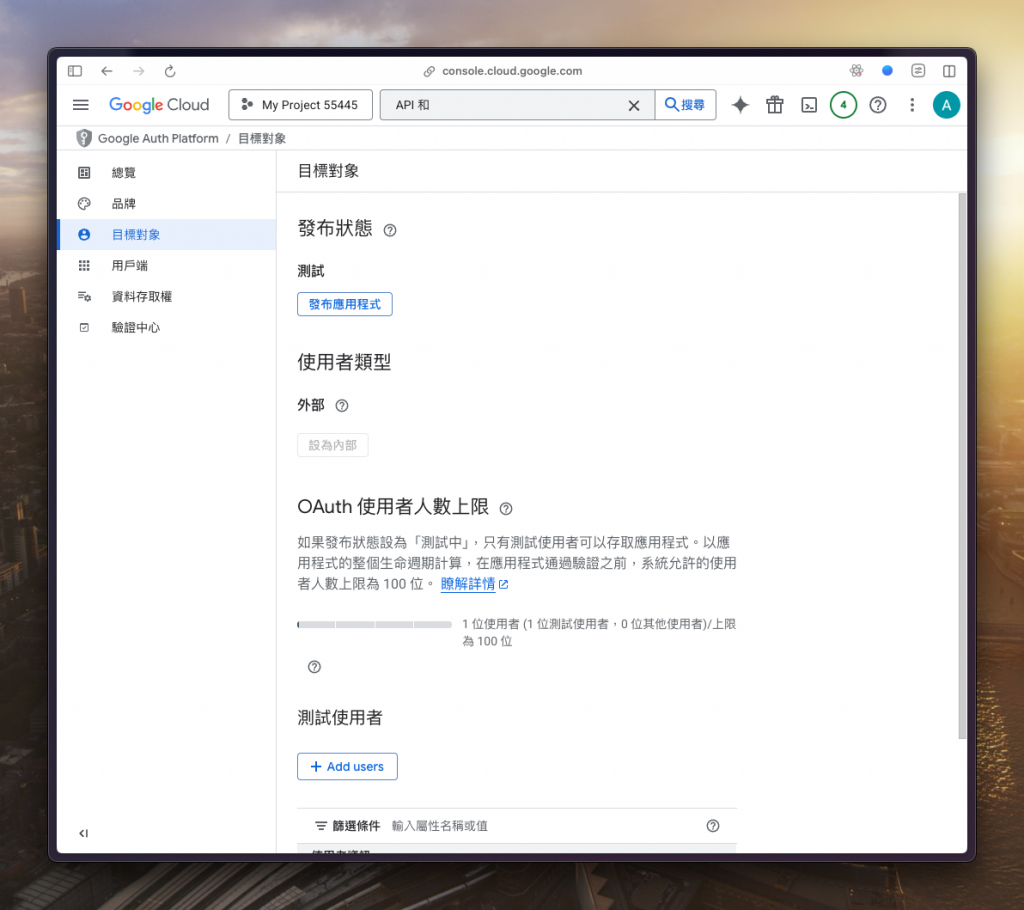
回到 n8n 點選「Sign in with Google」做驗證
點選最底下的「前往」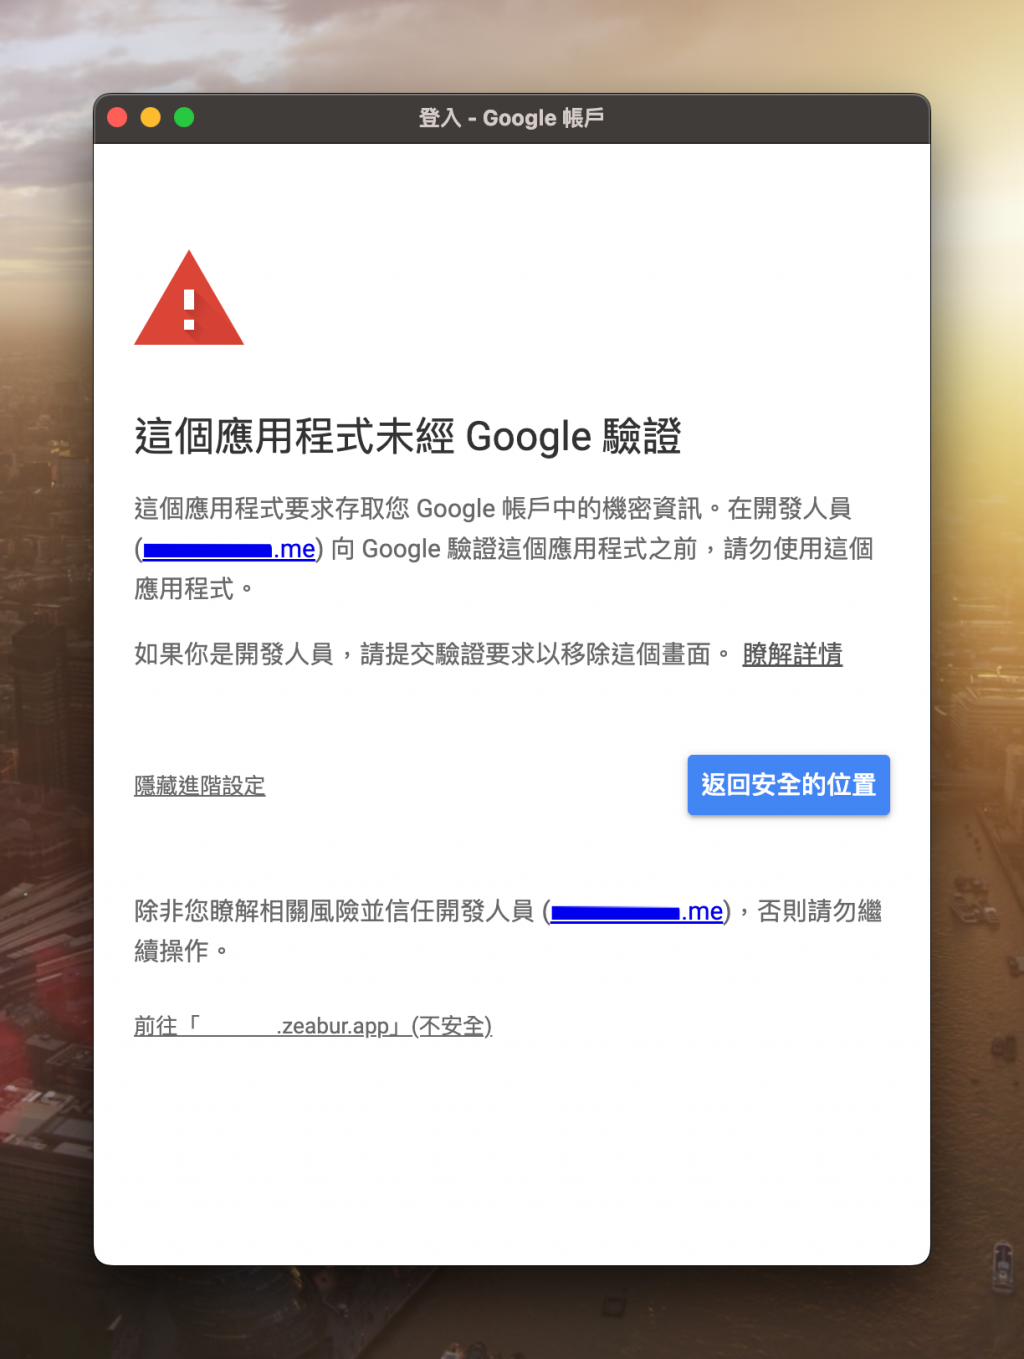
途中會遇到需要給的權限都打勾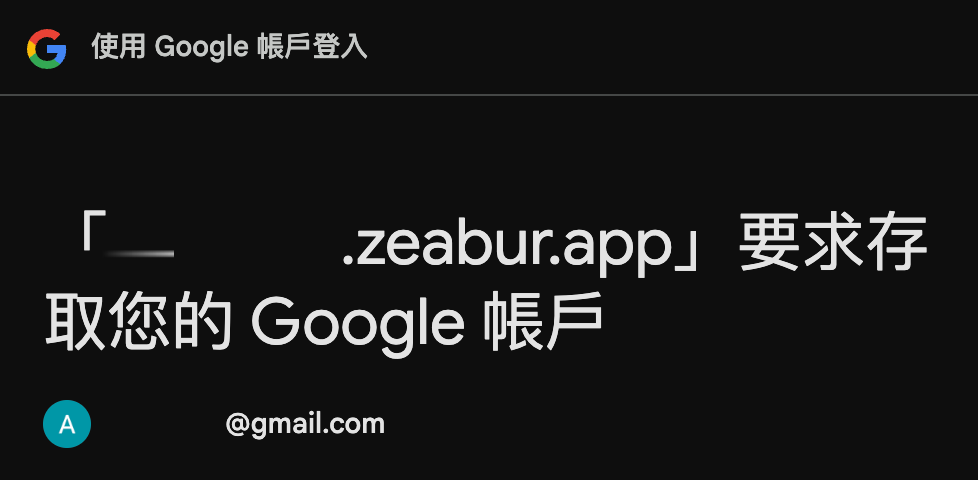
最後看到這個畫面就代表成功囉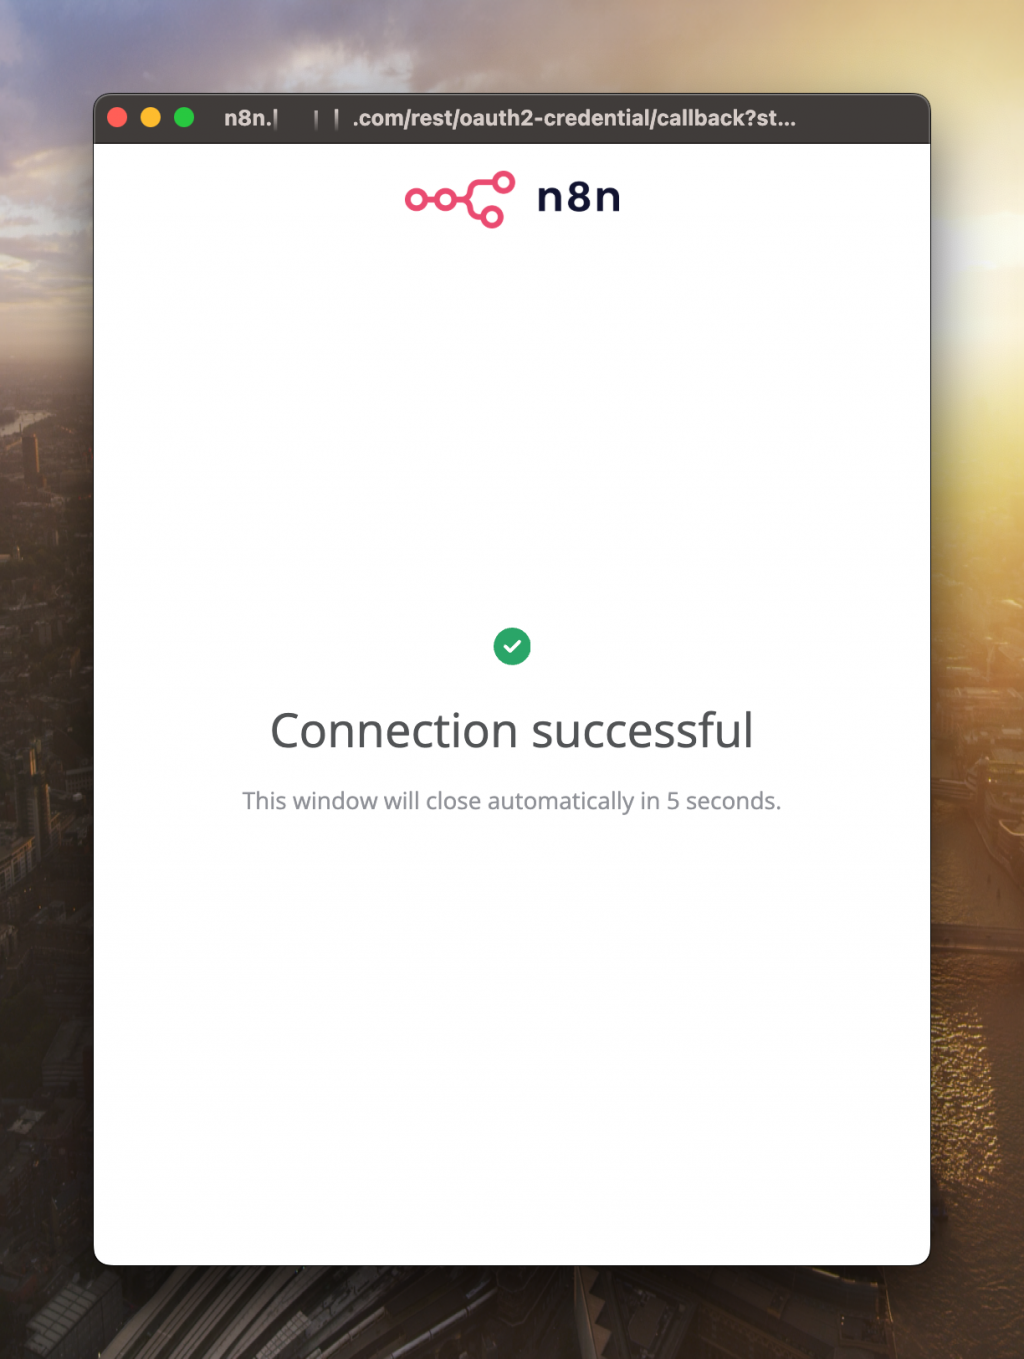
憑證設定好了,讓我們建立一個簡單的工作流來驗證成果吧
回到 n8n 儀表板,點選右上角的「Create Workflow」來建立新的流程
點下畫布正中間的「Add first step」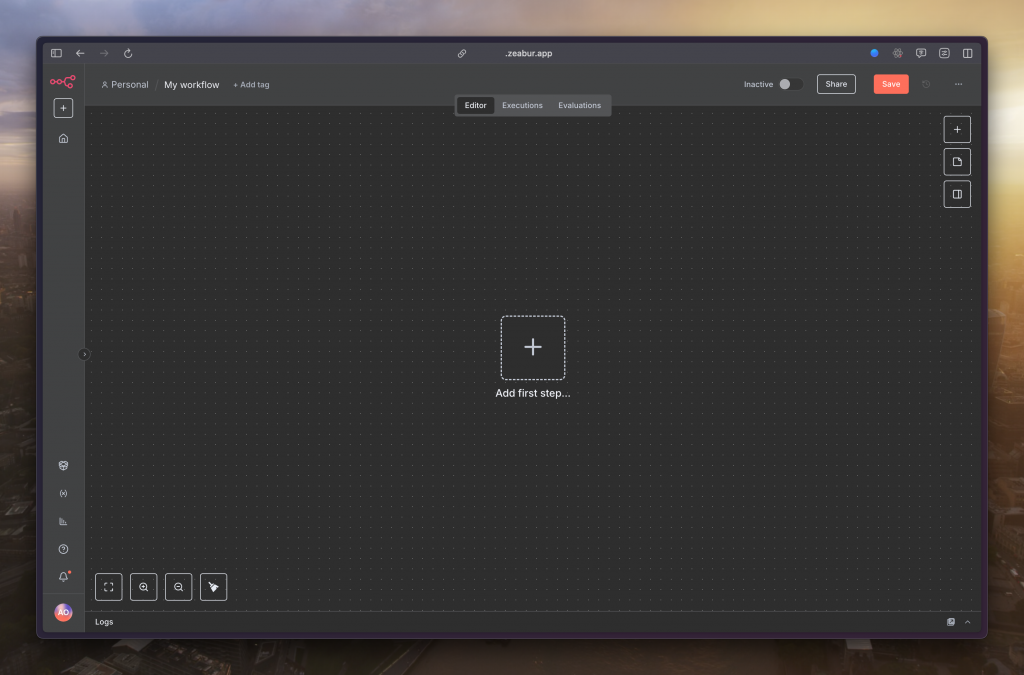
選擇「Trigger manually」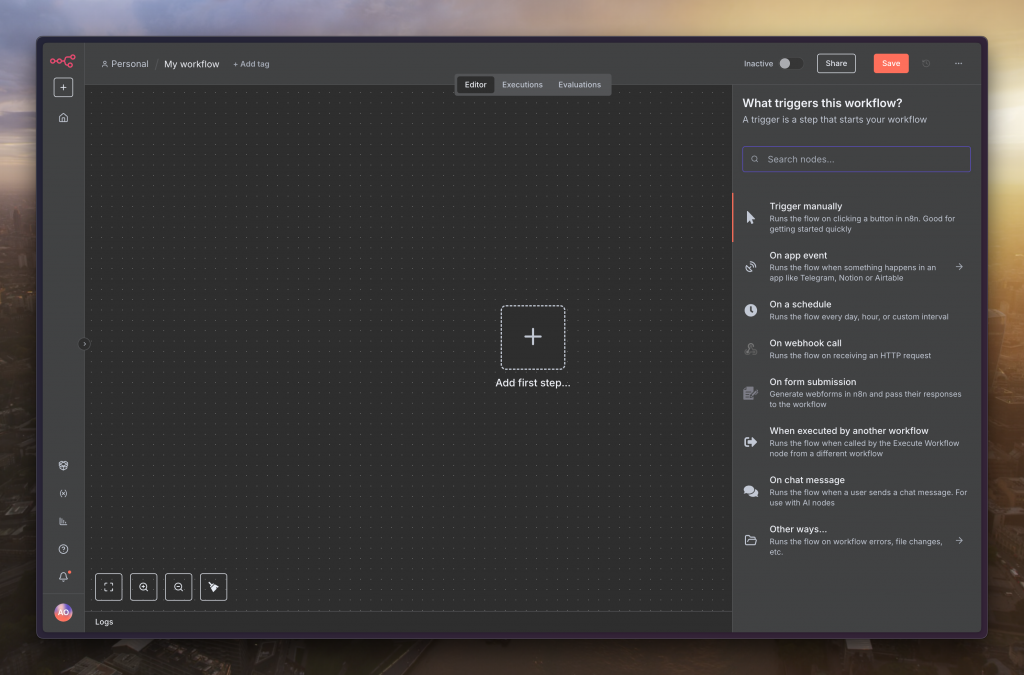
下個節點選擇「Google Sheets」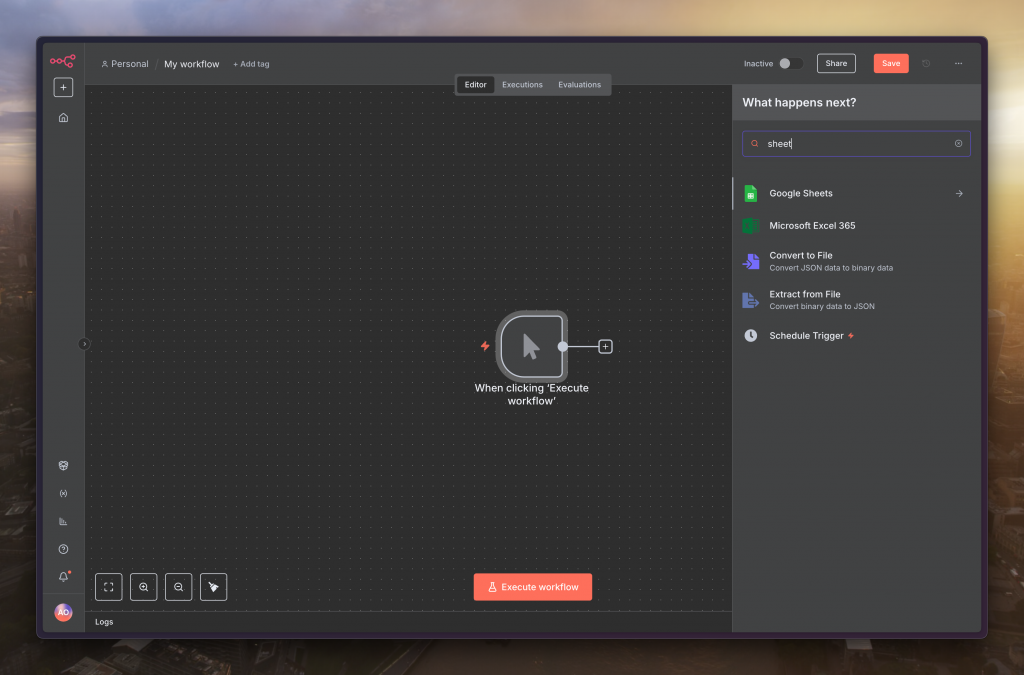
選擇「Get row(s) in sheet」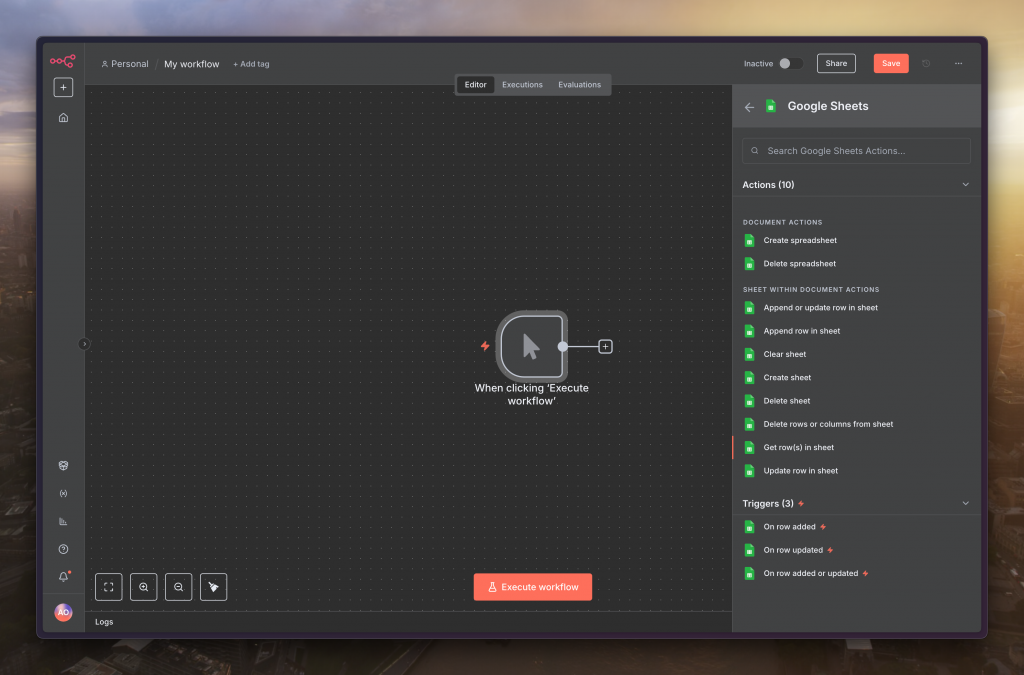
選個有存在的試算表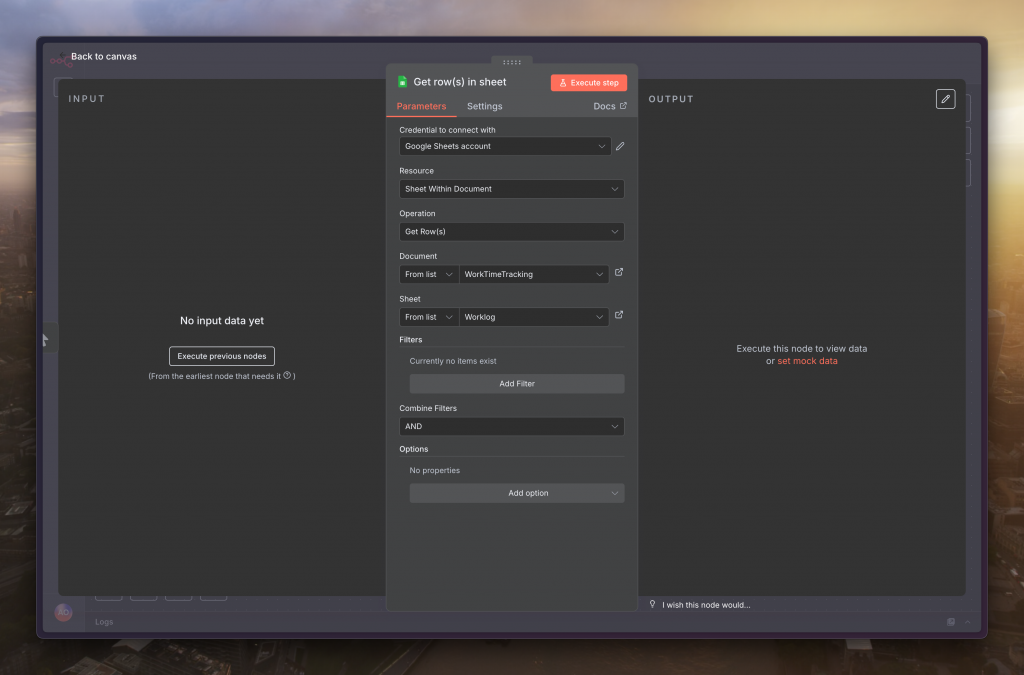
接著點選正下方的「Execute workflow」來測試流程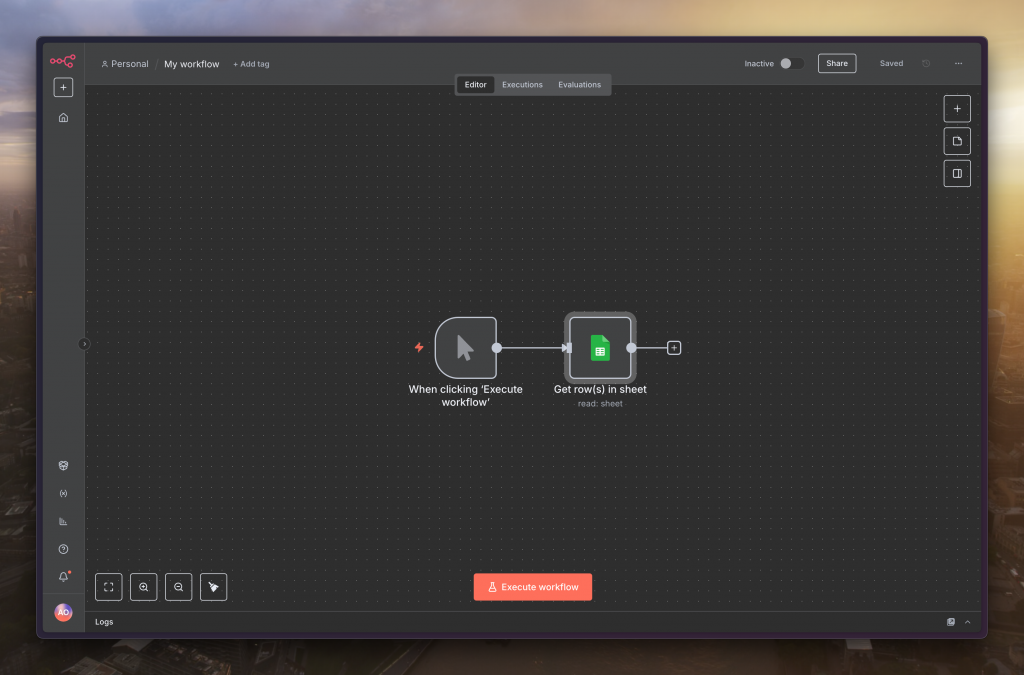
看到綠色輸出就代表有成功啦
如果一切順利,節點會顯示為綠色,並成功輸出試算表的資料
恭喜你,已經完成了最重要的第一步惹
明天我們就來測試如何從 n8n 往試算表寫入資料
https://docs.n8n.io/integrations/builtin/credentials/google/oauth-single-service/


 iThome鐵人賽