今天會用比較簡單的方式,在 GitHub 上建立一個 Streamlit repo 後,再加入 SQLite。(也可以將 Day33 的 SQLite 專案上傳到 Github 後,再設定 Streamlit~)
Streamlit 是一個開源的 Python 函式庫,,可以快速建立網頁應用程式(Web App)。
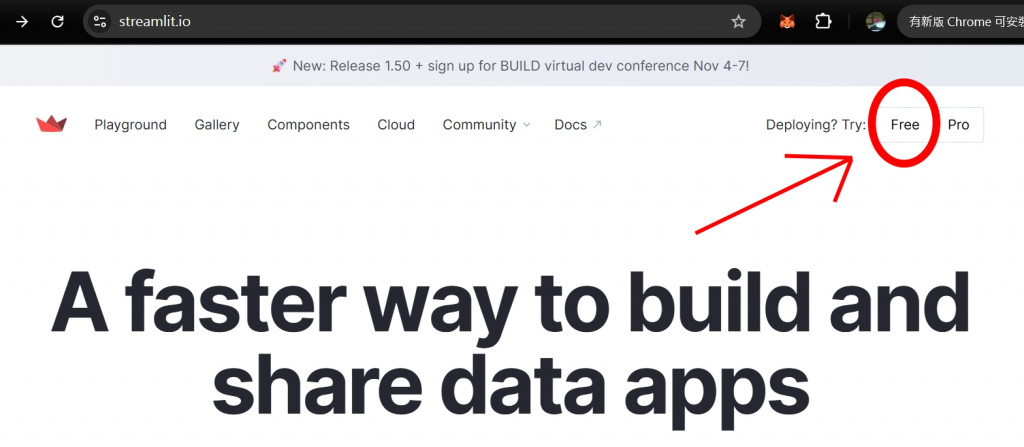
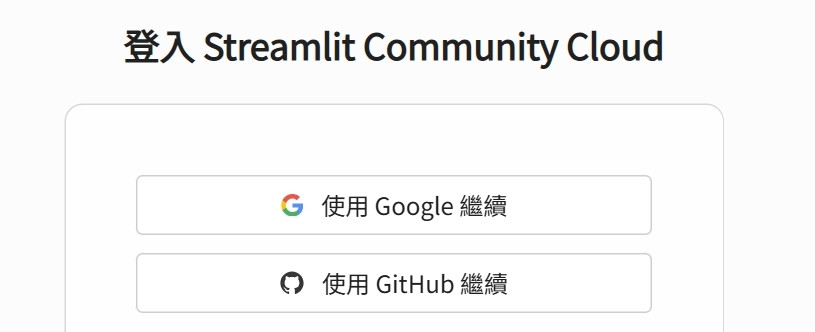
跟 Gradio 一樣(可以使用 Hugging Face 帳號),Streamlit 可以直接使用 Github 的帳號登入
右上方有個 Free 按鈕
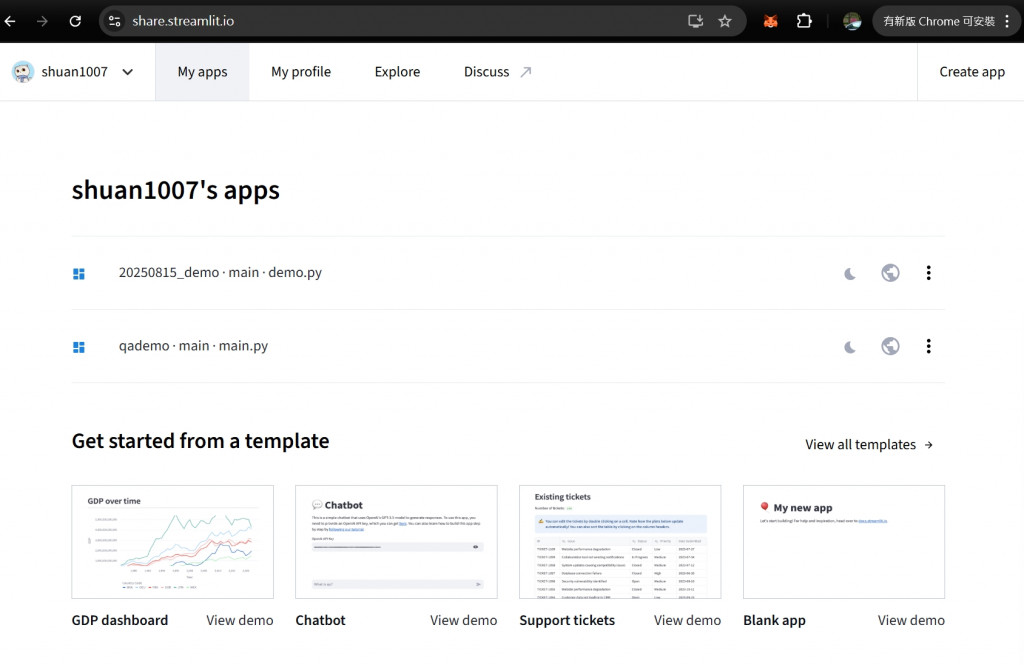
(1) Create app(右上方)
(2) 使用現有的 Template
建立 app 後,會出現在「帳號名稱's app」的下方列
登入 Github,開啟剛才在 Streamlit 建立的 app 檔案,加入以下的程式碼:
import streamlit as st

uploaded_files = st.file_uploader(
    "Upload images", accept_multiple_files="directory", type=["jpg", "png", "jpeg"]
)
for uploaded_file in uploaded_files:
    st.image(uploaded_file)
st.subheader("操作")
col1, col2, col3 = st.columns(3)

with col1:
    st.button("儲存")

with col2:
    st.button("查看打卡紀錄")

with col3:
    st.button("生成/下載 NFT")
import streamlit as st
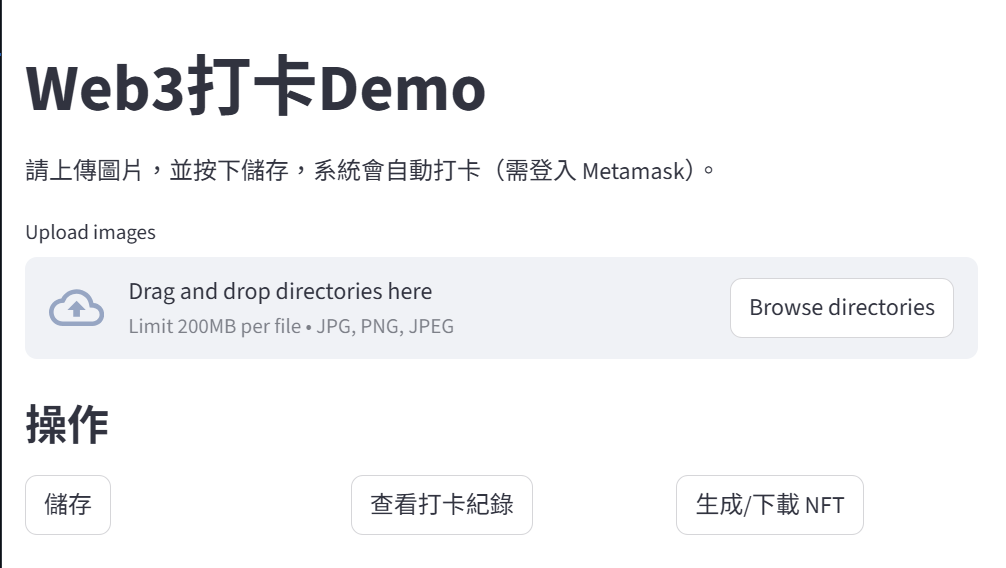
# 標題
st.title("Web3打卡Demo")
# 說明
st.write("請上傳圖片,並按下儲存,系統會自動打卡(需登入 Metamask)。")
# 檔案上傳
uploaded_files = st.file_uploader(
"Upload images", accept_multiple_files="directory", type=["jpg", "png", "jpeg"]
)
for uploaded_file in uploaded_files:
st.image(uploaded_file)
# 按鈕
st.subheader("操作")
col1, col2, col3 = st.columns(3)
with col1:
st.button("儲存")
with col2:
st.button("查看打卡紀錄")
with col3:
st.button("生成/下載 NFT")
就是把 Day33 的那個 SQLite 檔案加入 streamlit 的 Github repo

Streamlit 官方文件 — 檔案上傳
Streamlit Cloud 教學
Python 檔案處理與資料夾儲存範例
GitHub Actions 設定自動部署 Streamlit


 iThome鐵人賽