前兩篇我們介紹了 Google ADK 和 Master Agent,
這篇就要實際操作一次,來用 Google ADK 建立 root_agent,也就是 Master Agent。


在 VSCode 的終端機輸入:
pip install google-adk
如果你使用虛擬環境,請先啟動虛擬環境再安裝套件。
我們會在同一個資料夾下建立三個檔案:__init__.py、.env、root_agent.py,並貼上以下的程式碼。
.envGOOGLE_GENAI_USE_VERTEXAI=FALSE
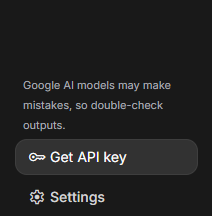
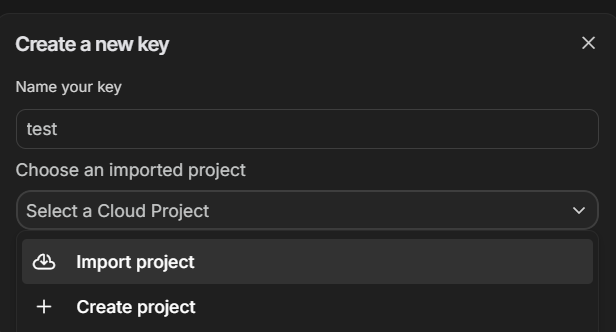
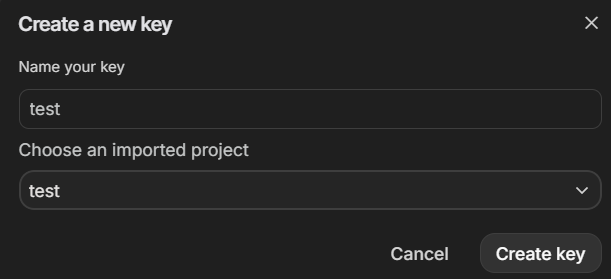
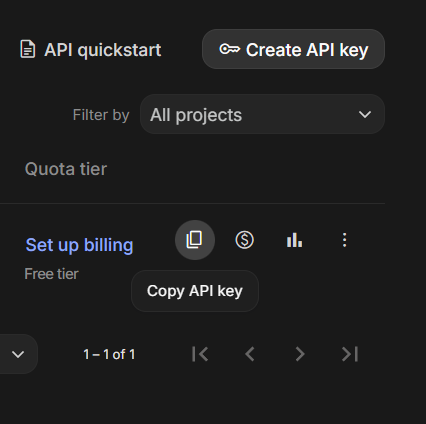
GOOGLE_API_KEY=YOUR_GOOGLE_API_KEY
__init__.pyfrom .RootAgent import root_agent
root_agent.pyfrom google.adk.agents import Agent
def add_numbers(a: int, b: int) -> dict:
"""Adds two numbers and returns the result.
Args:
a (int): First number
b (int): Second number
Returns:
dict: status and result
"""
try:
result = a + b
return {"status": "success", "result": f"The sum of {a} and {b} is {result}."}
except Exception as e:
return {"status": "error", "error_message": str(e)}
def reverse_text(text: str) -> dict:
"""Reverses the given text string.
Args:
text (str): Input string to reverse
Returns:
dict: status and result
"""
try:
reversed_text = text[::-1]
return {"status": "success", "result": f"The reversed text is: {reversed_text}"}
except Exception as e:
return {"status": "error", "error_message": str(e)}
root_agent = Agent(
name="math_text_agent",
model="gemini-2.0-flash",
description="Agent to perform simple math operations and text manipulations.",
instruction="You are a helpful agent who can solve simple math problems and reverse text.",
tools=[add_numbers, reverse_text],
)
這樣我們的 Agent 就算大致完成了!
下一篇文章,我們會帶大家深入解析程式碼,並示範如何測試這個 Agent 的功能。


 iThome鐵人賽