這次的程式比之前稍微進階一點,所以我會一段一段來解說,重點放在 root_agent 的部分。
這行是匯入 Google ADK 的 Agent 類別,我們會用它來建立自己的 AI Agent:
from google.adk.agents import Agent
add_numbers這個工具負責處理 加法運算,把兩個數字加總並回傳結果:
def add_numbers(a: int, b: int) -> dict:
    """Adds two numbers and returns the result.
    Args:
        a (int): First number
        b (int): Second number
    Returns:
        dict: status and result
    """
    try:
        result = a + b
        return {"status": "success", "result": f"The sum of {a} and {b} is {result}."}
    except Exception as e:
        return {"status": "error", "error_message": str(e)}
reverse_text這個工具用來將使用者輸入的 字串反轉:
def reverse_text(text: str) -> dict:
    """Reverses the given text string.
    Args:
        text (str): Input string to reverse
    Returns:
        dict: status and result
    """
    try:
        reversed_text = text[::-1]
        return {"status": "success", "result": f"The reversed text is: {reversed_text}"}
    except Exception as e:
        return {"status": "error", "error_message": str(e)}
root_agent最後我們建立一個 Agent,並指定它的屬性:
name:Agent 名稱,用來識別model:要使用的模型(這裡是 Gemini 2.0 Flash)description:簡單描述它能做什麼instruction:給模型的行為指令,告訴它應該如何回應tools:Agent 可以調用的工具函式root_agent = Agent(
name="math_text_agent",
model="gemini-2.0-flash",
description="Agent to perform simple math operations and text manipulations.",
instruction="You are a helpful agent who can solve simple math problems and reverse text.",
tools=[add_numbers, reverse_text],
)
範例的資料夾結構如下:
ExampleProject
 └─ RootAgentTest
     ├─ __init__.py
     ├─ .env
     └─ RootAgent.py
ExampleProject,執行:adk web --port 5678
這裡將 port 指定為 5678
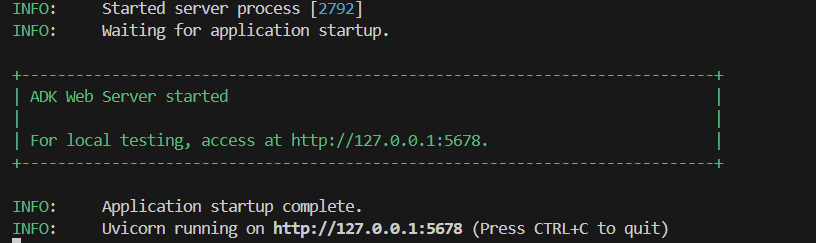
http://localhost:5678/: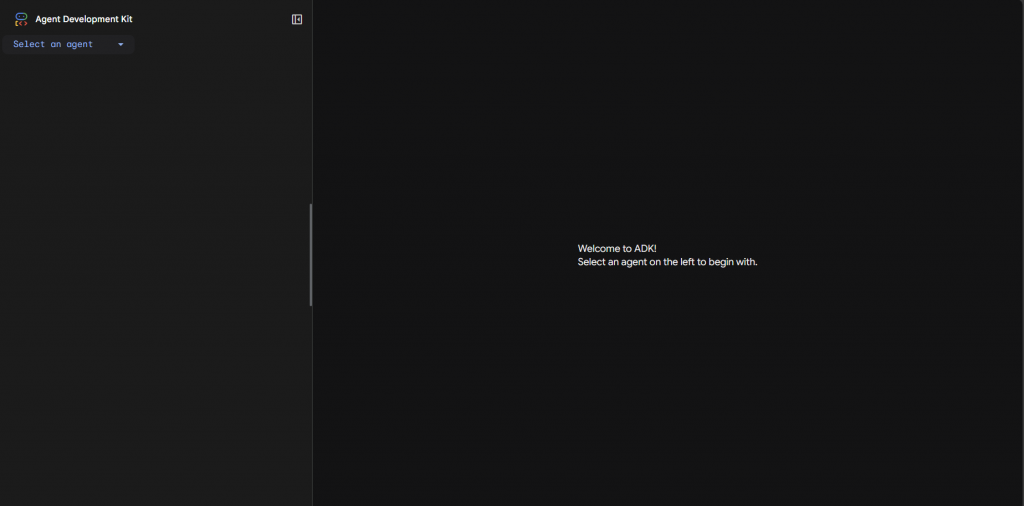
RootAgentTest,就能開始互動:
add_numbers → 回傳 The sum of 56 and 46 is 102.
reverse_text → 回傳 The reversed text is: olleh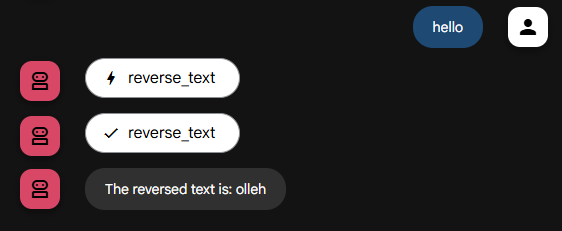
ExampleProject 資料夾,執行:adk run RootAgentTest

The sum of 5 and 8 is 13.
The reversed text is: aheh
小提醒:有些系統需要用 系統管理員身分 開終端機才能正常執行。
除了以上兩種方式,我們也可以把 Agent 包在 FastAPI 裡執行,這樣前端應用就能更方便地和 Agent 串接。


 iThome鐵人賽