
今天我們要來實際演練如何設計OIDC登入,實際的程式碼可以參考以下的github
Github repository : spring-security-30days
接下來,就讓我們開始看程式碼吧!
/login 觸發 Google OIDC 登入,同意 openid profile email。SecurityContext 中有 OidcUser(含 ID Token claims)。/me 顯示目前登入者的基本資訊(email、name、picture…)。/logout 一鍵登出(本地 Session),可選擇導回首頁。基本上,Spring boot Security已經提供了OIDC的登入方法,只要引用了這個Dependecy,使用oauth2Login就能啟用 OIDC 登入的主流程,實際的SecurityConfig程式碼如下
@Configuration
@EnableWebSecurity
public class SecurityConfig {

    @Bean
    SecurityFilterChain securityFilterChain(HttpSecurity http) throws Exception {
        http
            .authorizeHttpRequests(auth -> auth
                .requestMatchers("/").permitAll()
                .anyRequest().authenticated()
            )
            .oauth2Login(withDefaults()); // 啟用 OIDC Login
        return http.build();
    }
}
接下來要做的,是把 Google 端的設定 與 application.properties填好,再加上 1~2 個實用端點。本次專案都是用properties來設定,還有另一個常用的是yaml,但這並不在本次的專案範圍內。
在完成前面的設定之後,我們可以先到Google OAuth來設定同意畫面
整個流程說明如下,如果想要跟著圖片操作,可以參考這位大大的文章
https://ithelp.ithome.com.tw/articles/10328911
openid email profile)http://localhost:8080/login/oauth2/code/google
client_id 與 client_secret,複製下來等下填進 application.yml。注意:Redirect URI 必須與 Spring Security 預設的 Google client 一致(/login/oauth2/code/{registrationId})。你的 registrationId 是 google,所以路徑就是 /login/oauth2/code/google。
Maven
<dependencies>
  <dependency>
    <groupId>org.springframework.boot</groupId>
    <artifactId>spring-boot-starter-web</artifactId>
  </dependency>
  <dependency>
    <groupId>org.springframework.boot</groupId>
    <artifactId>spring-boot-starter-security</artifactId>
  </dependency>
  <dependency>
    <groupId>org.springframework.boot</groupId>
    <artifactId>spring-boot-starter-oauth2-client</artifactId>
  </dependency>

</dependencies>
application.properties把剛拿到的 client-id / client-secret 放進來,並設定 scope 與 provider(用 issuer-uri 可自動發現 OIDC 端點):
spring.application.name=spring-security-30days

spring.security.oauth2.client.registration.google.client-id=你的ID
spring.security.oauth2.client.registration.google.client-secret=你的Secret
spring.security.oauth2.client.registration.google.scope=openid,profile,email
小提醒
issuer-uri讓 Spring 透過 Discovery 自動找到授權端/Token 端/JWKS。scope包含openid就會走 OIDC,並拿到 ID Token。
/me 顯示 OIDC 使用者資訊創立一個MeController.java,然後寫下以下程式碼
package com.ansathsean.web;

import org.springframework.security.core.annotation.AuthenticationPrincipal;
import org.springframework.security.oauth2.core.oidc.user.OidcUser;
import org.springframework.web.bind.annotation.GetMapping;
import org.springframework.web.bind.annotation.RestController;

import java.util.Map;

@RestController
public class MeController {

    @GetMapping("/me")
    public Map<String, Object> me(@AuthenticationPrincipal OidcUser user) {
        // OidcUser 內含 ID Token claims + (可選) UserInfo
        return Map.of(
            "subject", user.getSubject(),               // sub
            "email", user.getEmail(),
            "email_verified", user.getEmailVerified(),
            "name", user.getFullName(),
            "claims", user.getClaims()                  // 全部 claims
        );
    }
}
這個端點需要登入才能存取(因為在 SecurityConfig 中除了 / 都要認證)。
http://localhost:8080/me → 會被導向 /oauth2/authorization/google → Google 同意畫面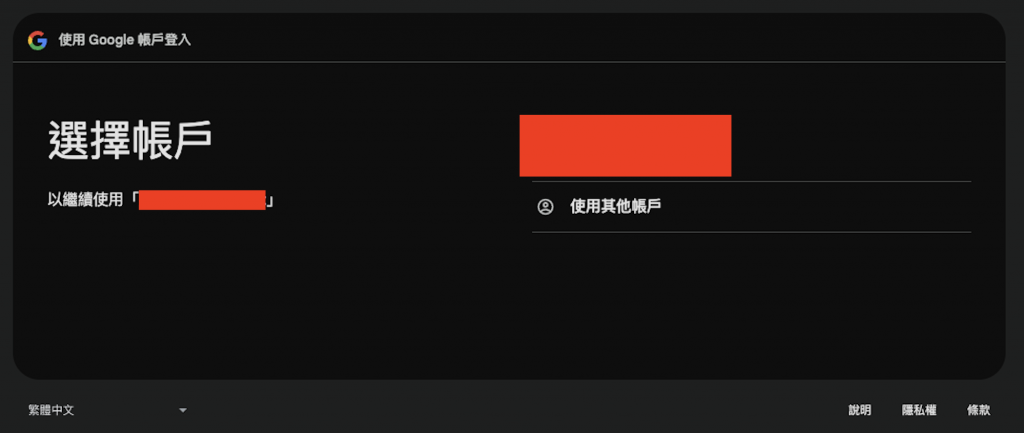
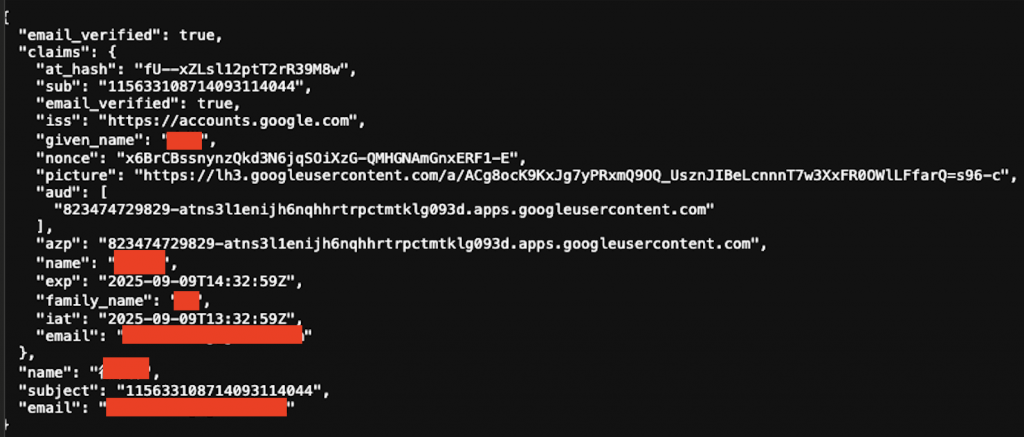
/me,你應該會看到類似:{
"subject": "113289473829473",
"email": "your@gmail.com",
"email_verified": true,
"name": "Your Name",
"claims": {
"iss": "https://accounts.google.com",
"aud": "YOUR_GOOGLE_CLIENT_ID",
"sub": "113289473829473",
"email": "your@gmail.com",
"email_verified": true,
"exp": 1735888888,
"iat": 1735885288,
"nonce": "xxxxx",
...
}
}
http://localhost:8080/logout → 回到 /,Session 清除。

| 錯誤狀況 | 可能原因 | 解法 |
|---|---|---|
redirect_uri_mismatch |
Google Console 設定的回跳網址與實際不符 | 確認 完全一致:http://localhost:8080/login/oauth2/code/google |
invalid_client |
client_id / client_secret 錯誤 | 重新拷貝,注意沒有多餘空白或換行 |
invalid_state |
state 驗證失敗(多標籤頁/快取/Cookie 關閉) |
關閉其他登入標籤頁、清 Cookie、確保同一瀏覽器流程 |
| 一直顯示登入畫面 | Test users 未加入你的帳號(External 模式測試期) |
在 OAuth consent screen 加入你的 Gmail |
403/401 打不到 /me |
被保護端點、尚未登入 | 先走 /oauth2/authorization/google 或瀏覽器直接點 /me 會被導向登入 |
access_denied |
使用者拒絕授權 | 重新登入並同意;或檢查 scope 是否合規 |
到這裡,我們就完成了用Spring boot來設置OIDC的部分,因為Spring boot簡化了許多關於OIDC的設定,我們只要去取得我們所需要的id跟Secret即可使用,這個部分是非常方便的,程式的演進過程,總是越到後面就越方便簡單。
今天就教到這裡,我們還是明天見囉!
