
昨天介紹完 NextAuth.js 的基本設置,但我們還需要取得第三方驗證廠商的 ID 及金鑰,每個提供者的申請方式不同,有複雜也有簡單。在 NextAuth.js 的文件中支援數十種的第三方驗證,這個段落中,將詳細介紹四大常用驗證提供者:Google、GitHub、Facebook 和 Twitter (X) 的申請方式。希望透過截圖和文字說明,指導讀者完成整個申請流程。
Google 的驗證方式主要在 Google Cloud Console 中先建立新的專案,在經過權限設定後即可取得權限:
Google Cloud Console 網址:https://cloud.google.com/cloud-console?hl=zh-tw
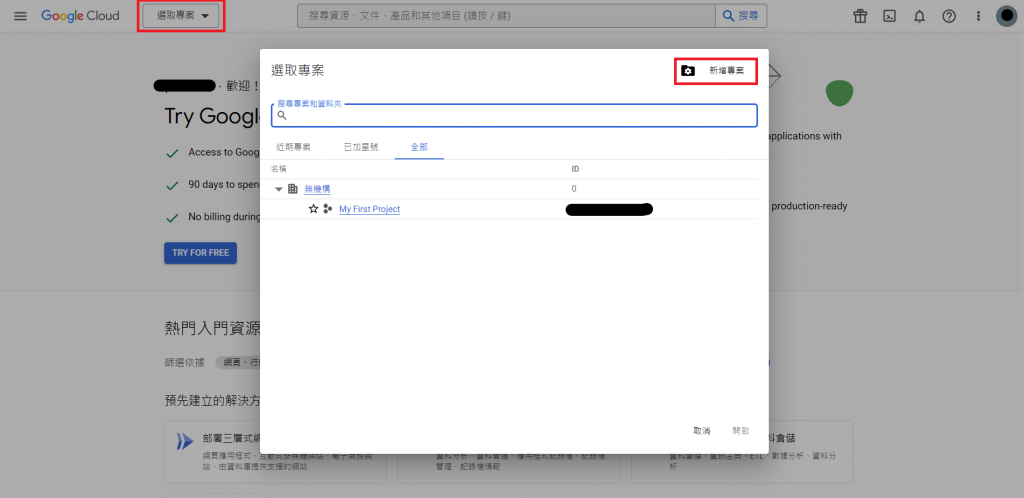
點選左上角的【選取專案】,於彈跳視窗選擇右上角 【新增專案】
可輸入專案名稱及位置,位置預設即為無機構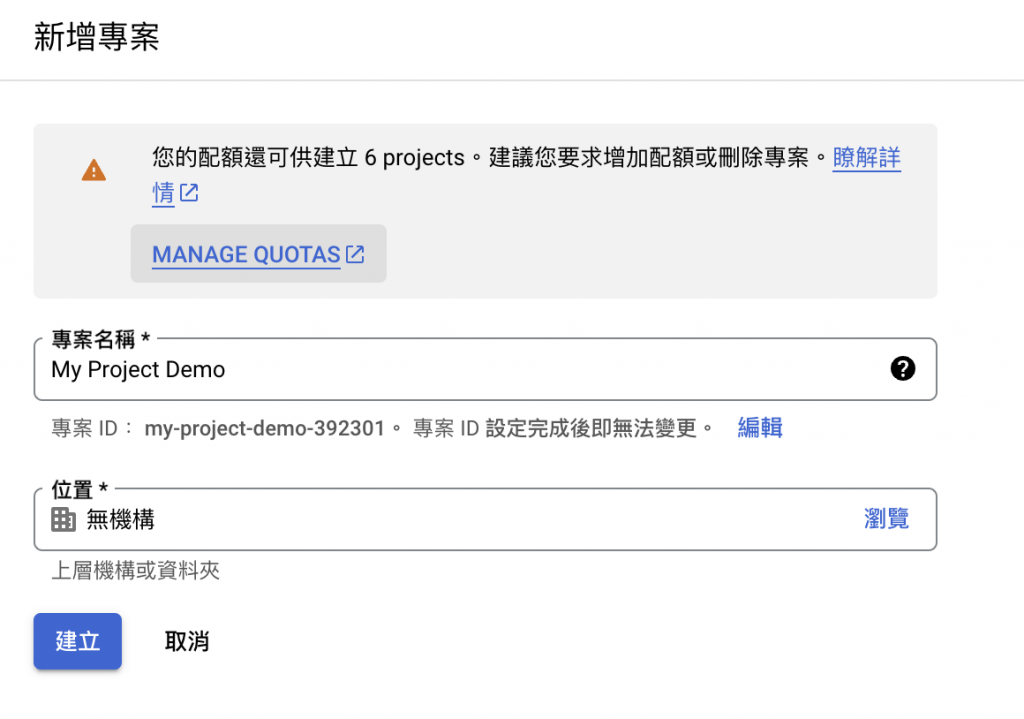
建立後選取該專案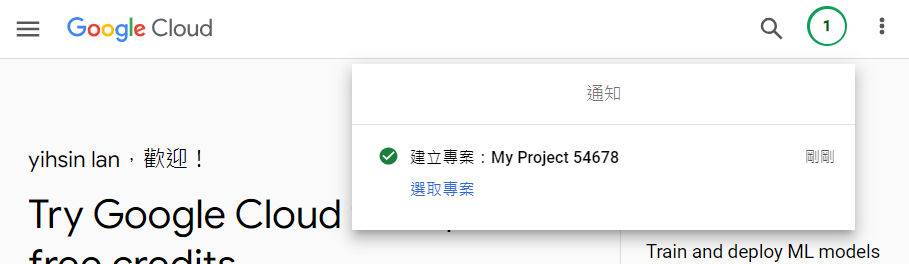
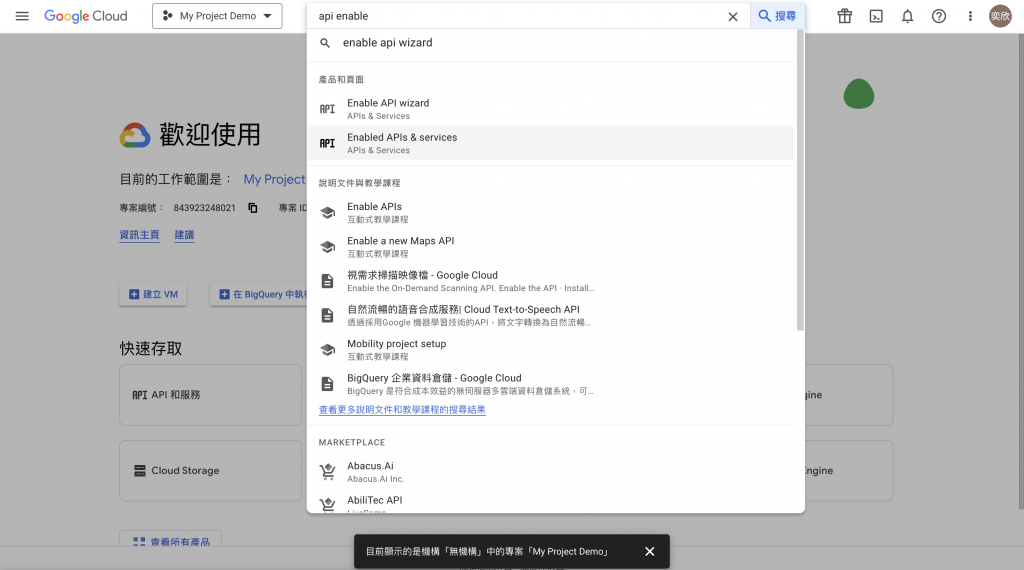
進入專案頁面後,於上方搜尋欄中搜尋並點選【Enabled APIs & Services】
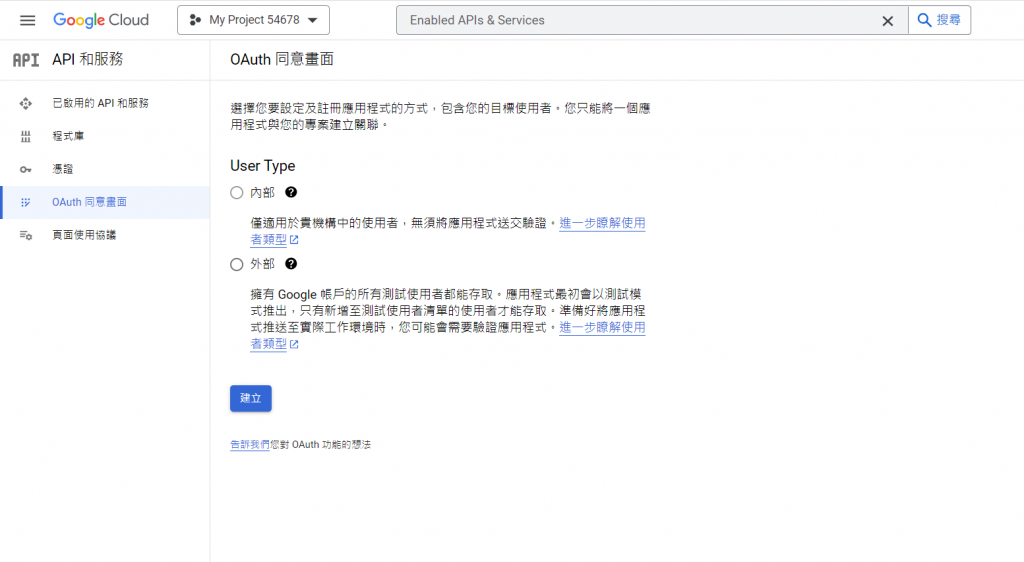
點選 OAuth 同意畫面
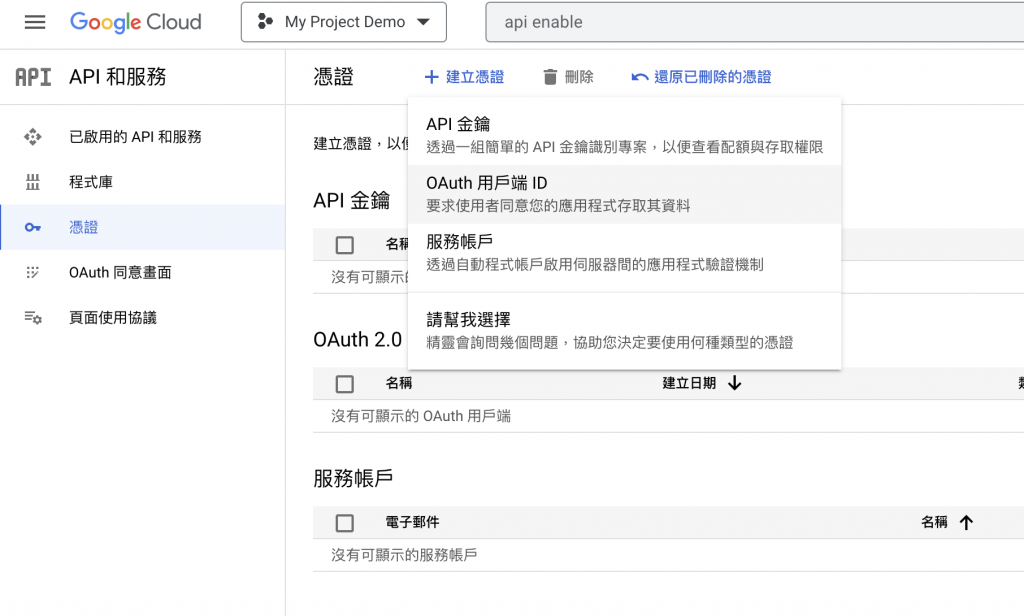
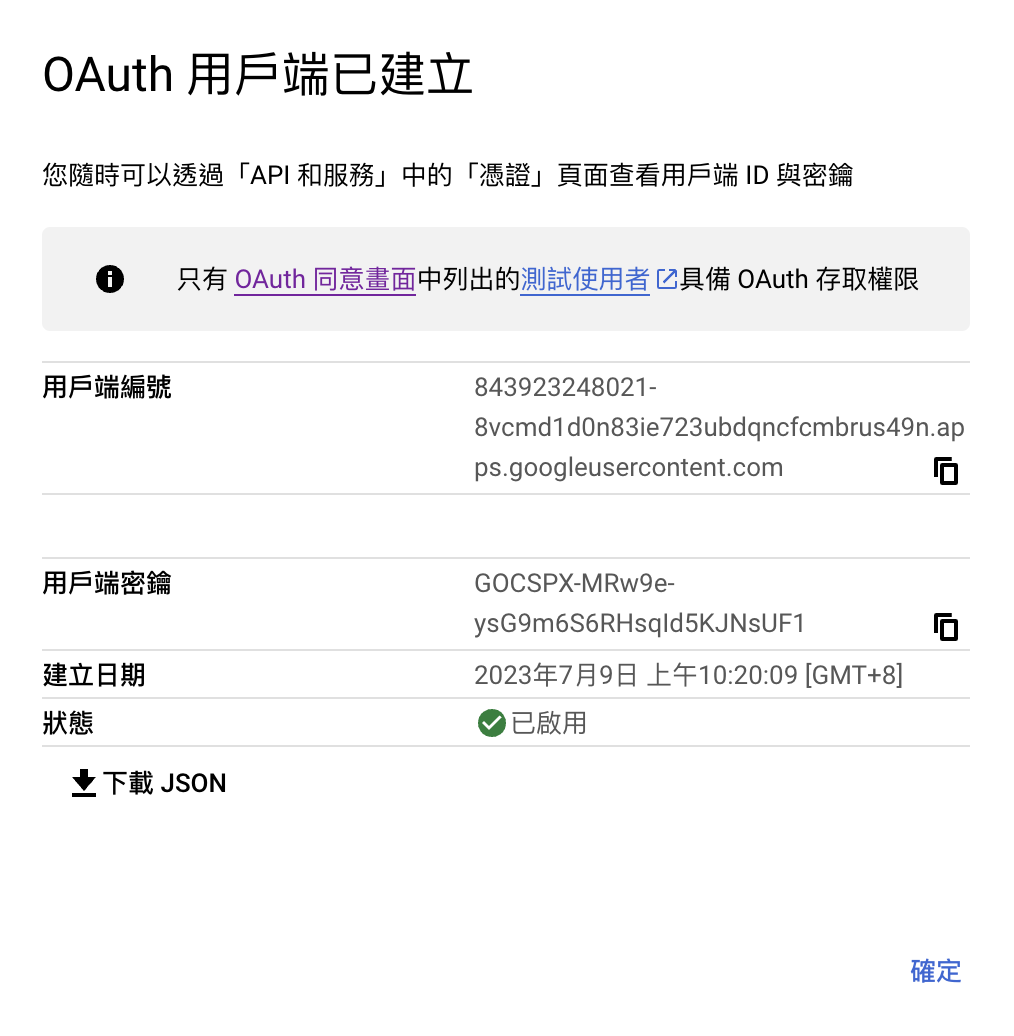
點選 憑證 ⇒ 建立憑證 ⇒ OAuth 用戶端 ID
http://localhost:3000/api/auth/callback/google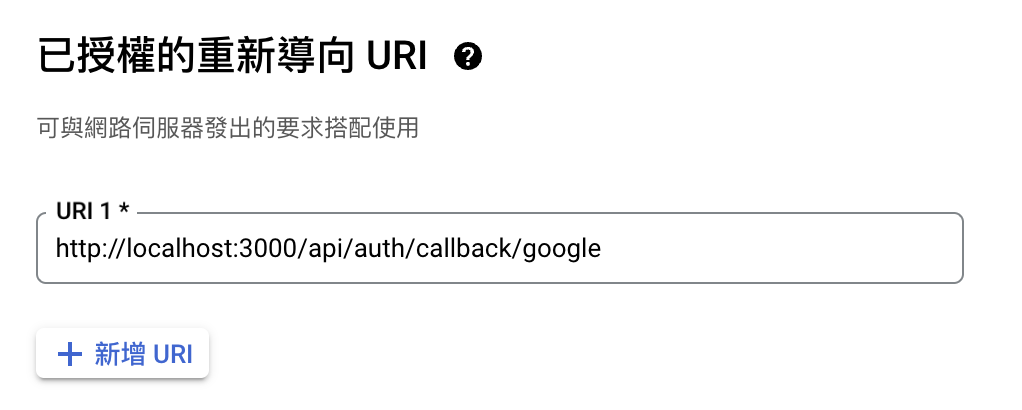
建立 OAuth 憑證後取得 用戶端編號 及 用戶端密鑰
import GoogleProvider from 'next-auth/providers/google'

export const authOptions = {
	providers: [
    GoogleProvider({
      clientId: process.env.GOOGLE_CLIENT_ID as string,
      clientSecret: process.env.GOOGLE_SECRET as string
    })
  ],
}
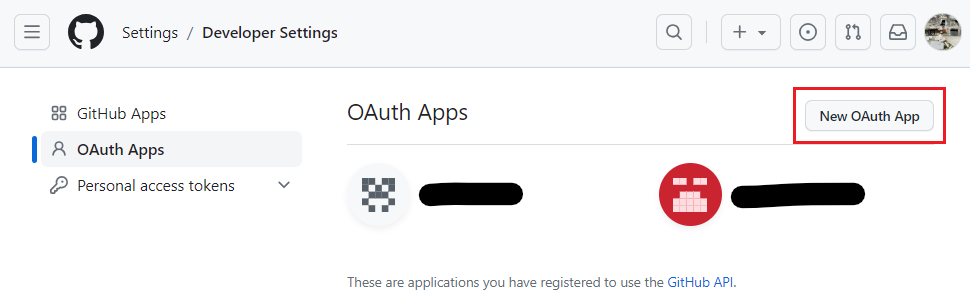
GitHub 驗證方法相對單純非常多,只需要到個人頁面的開發者設定中填寫基本設定後即完成申請:
點選連結:https://github.com/settings/apps
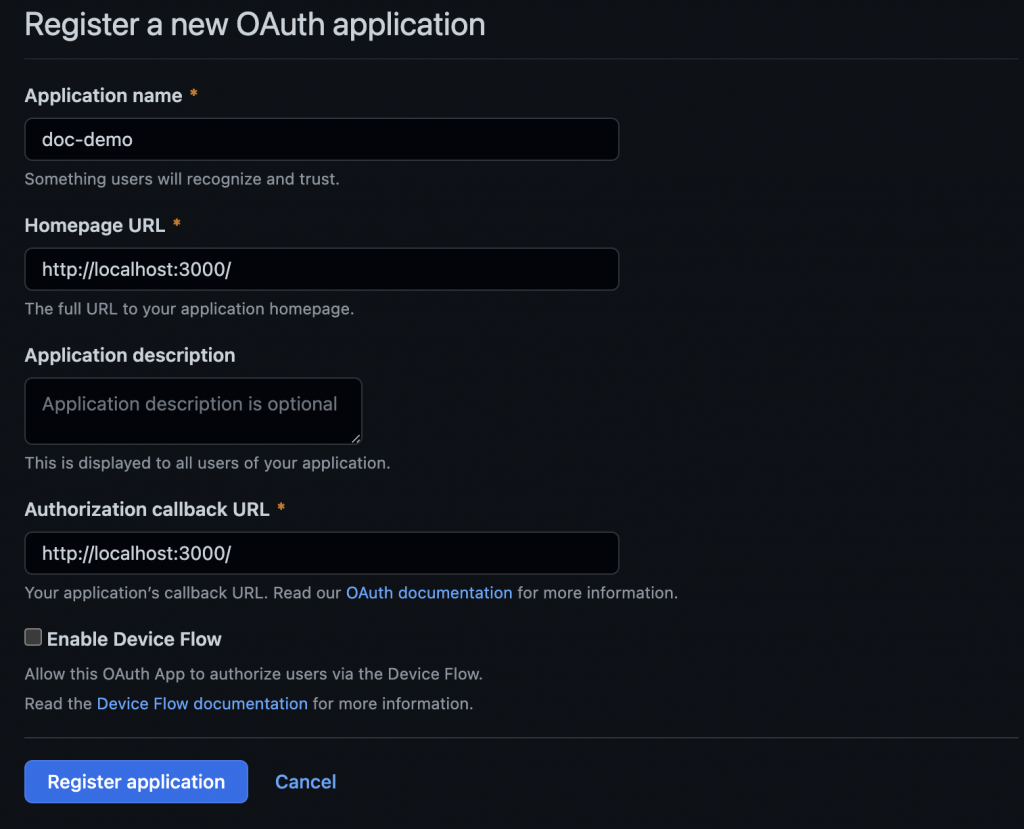
Application name、Homepage URL、Authorization callback URL
開發階段 Homepage URL、Authorization callback URL 填 http://localhost:3000/ 或 http://127.0.0.1:3000/
import GithubProvider from 'next-auth/providers/github'
export const authOptions = {
providers: [
GithubProvider({
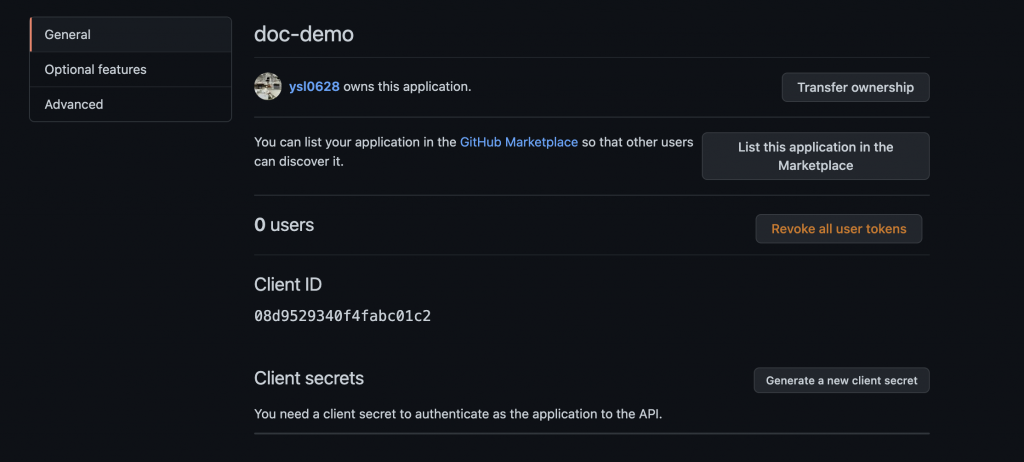
clientId: process.env.GITHUB_CLIENT_ID as string,
clientSecret: process.env.GITHUB_SECRET as string
})
],
}
Facebook 的申請方法稍微複雜
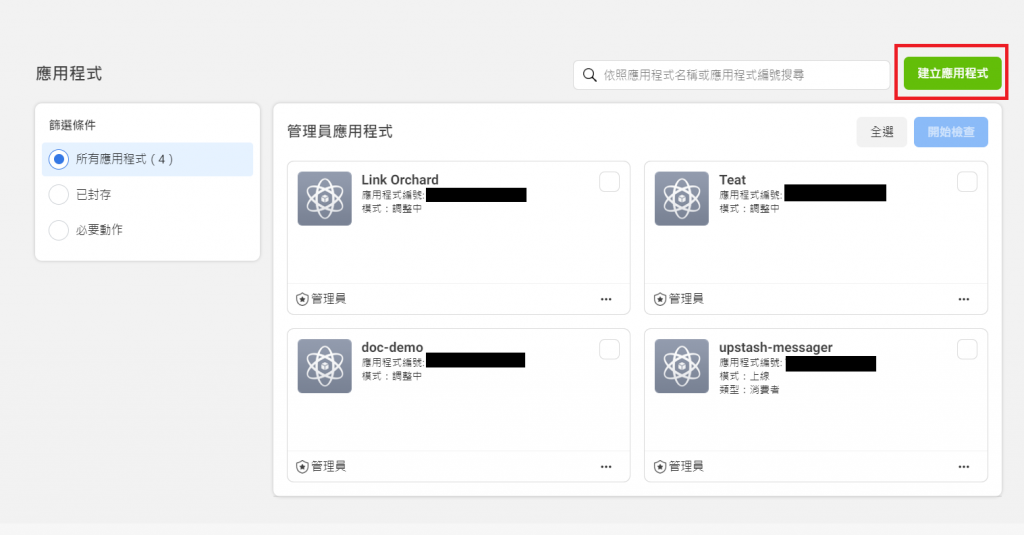
點選我的應用程式

點選建立應用程式
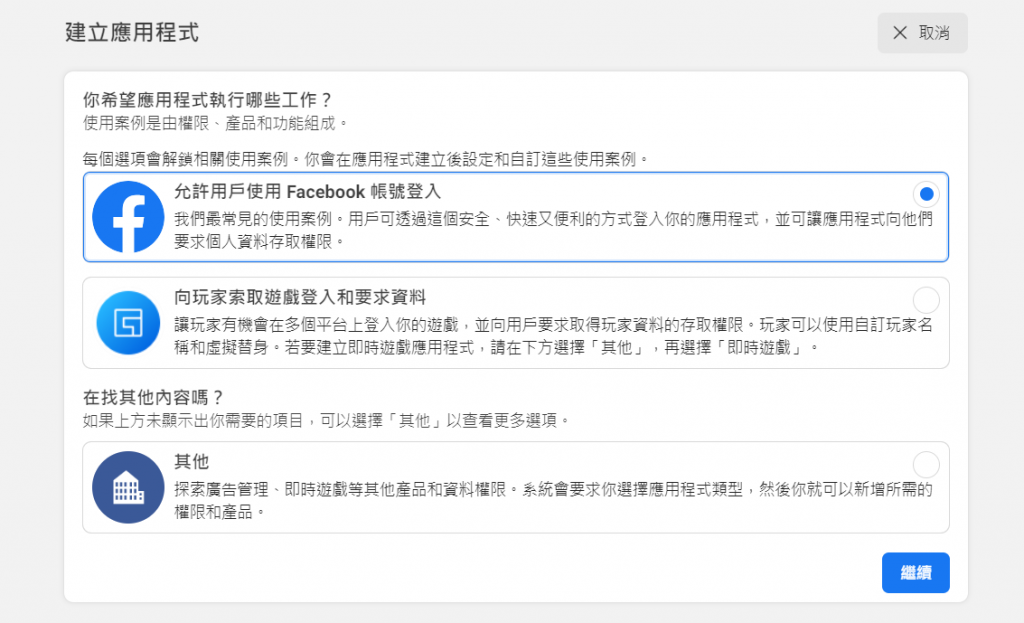
選取 『 允許用戶使用 Facebook 帳號登入 』
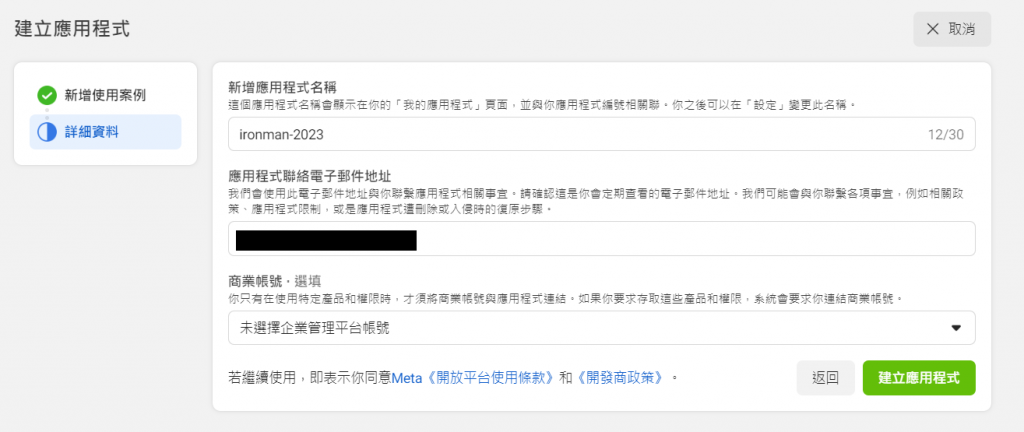
填寫相關資料 - 應用程式名稱
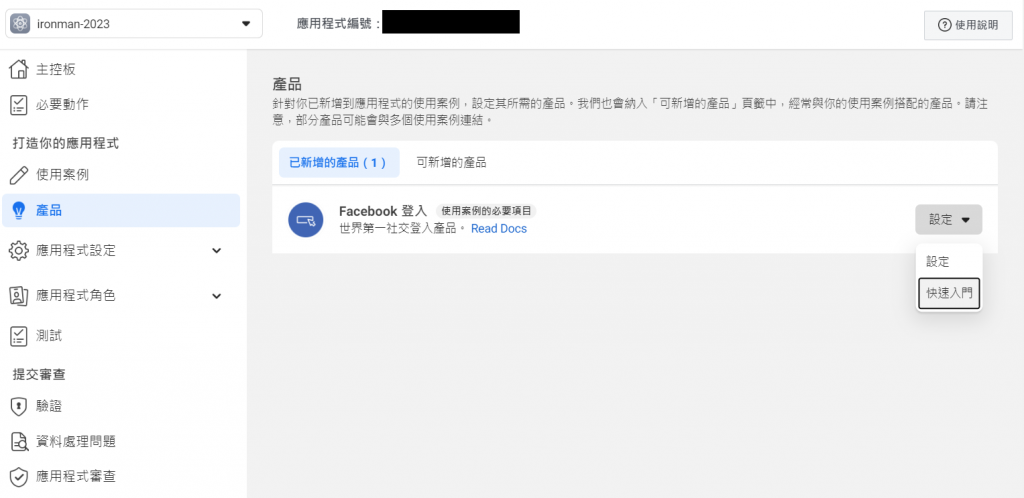
點選左側的【產品】選項,為產品【快速入門】設定
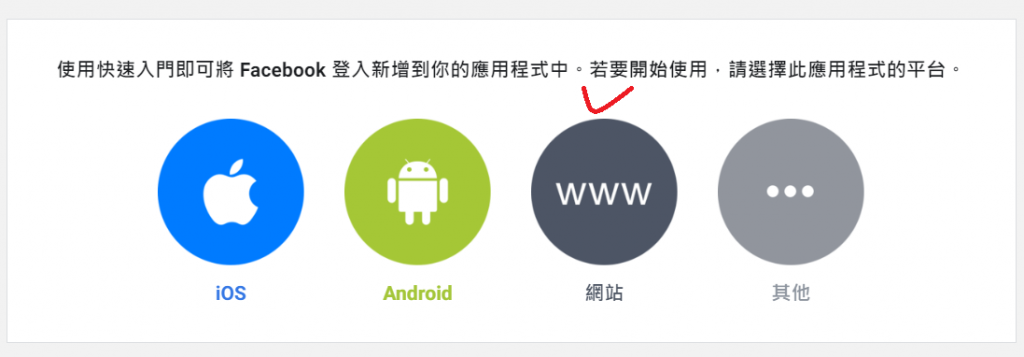
選擇應用程式的平台,這步驟選擇【網站】
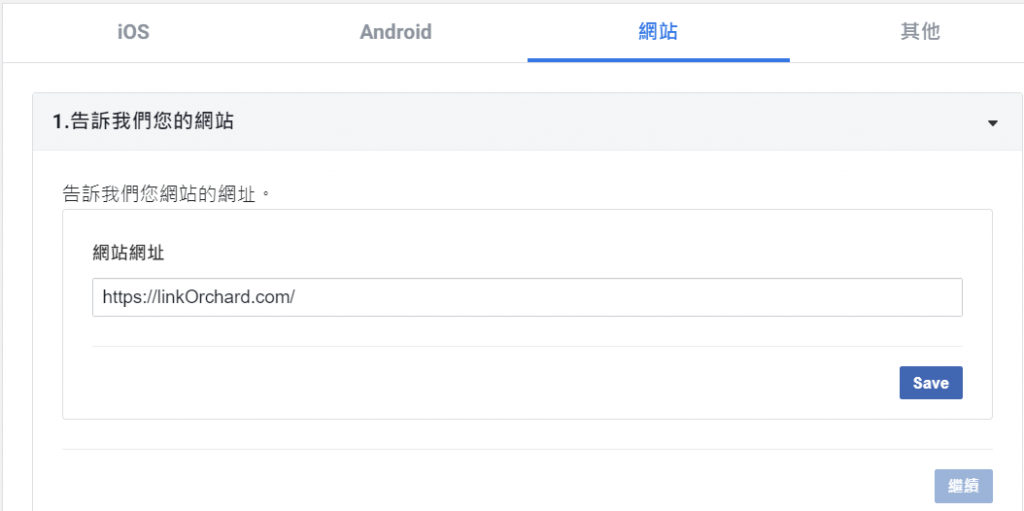
輸入應用程式的網址,由於目前是開發階段,可以先隨意輸入網址,等產品上線後再改為正式的網址。
這步驟是為了設定應用程式可以存取的權限
選擇右側的【使用案例】,進行驗證和帳號建立流程的編輯
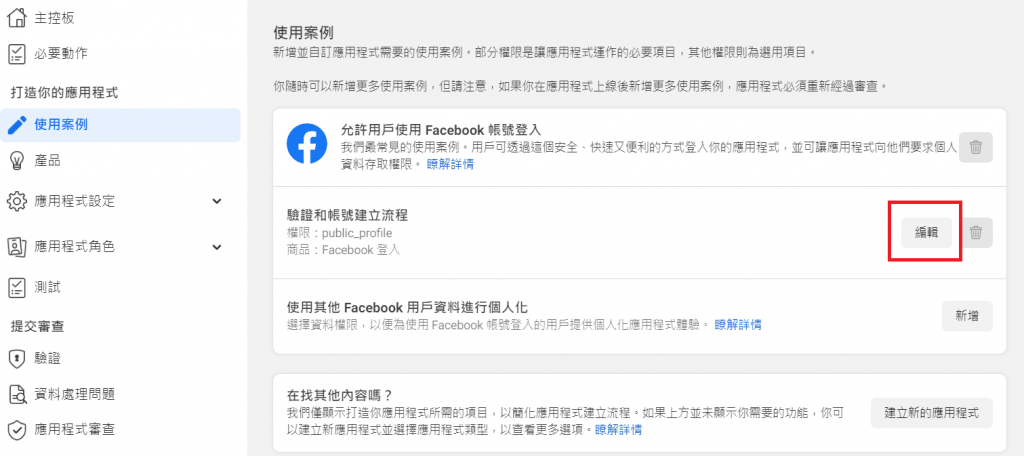
新增 email 的權限

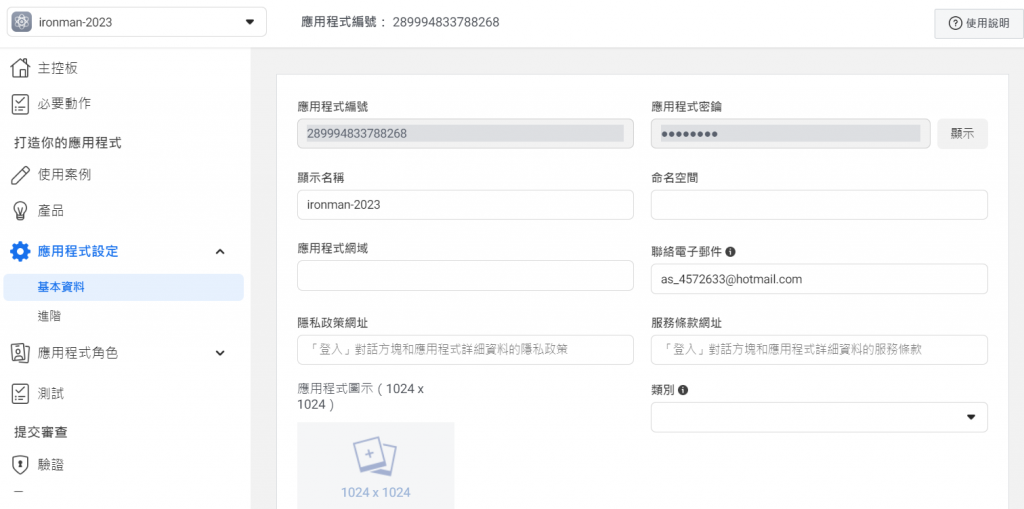
回到【應用程式設定】的【基本資料】中,即可取得【應用程式編號】及【應用程式密鑰】。
本頁面還另有隱私權政策、服務條款、應用程式網域以及刪除資料提示,在開發環境中不需要設定,等到產品上線時並建立實際頁面後再回來設定。
import FacebookProvider from 'next-auth/providers/facebook'

export const authOptions = {
	providers: [
    FacebookProvider({
      clientId: process.env.FACEBOOK_CLIENT_ID as string,
      clientSecret: process.env.FACEBOOK_SECRET as string
    })
  ],
}
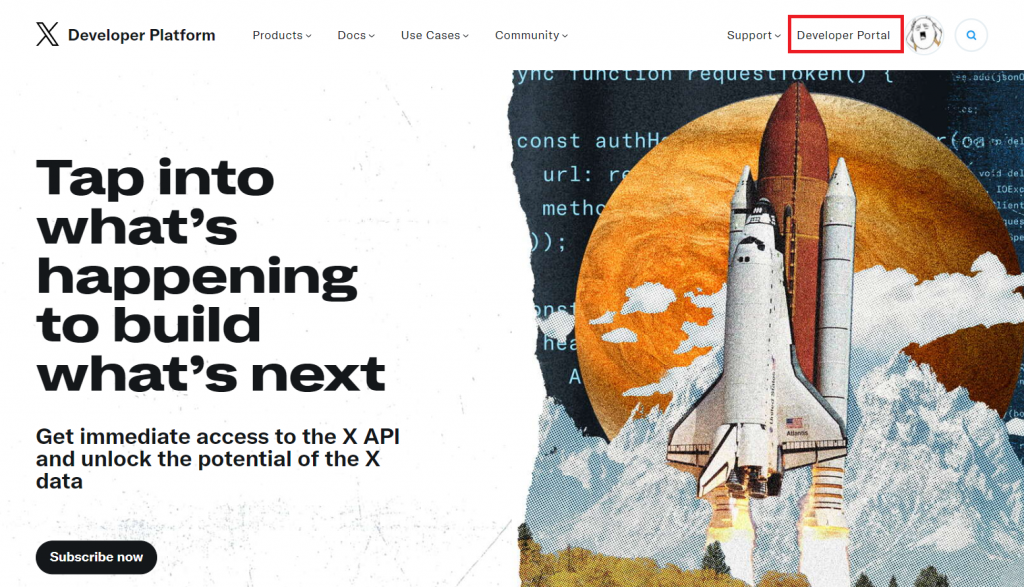
推特目前也支援了 OAuth 2.0 的技術,只是設定比較特別,還需要額外動用到應用程式內的設定,一樣依據步驟執行:
平台網址:https://developer.twitter.com/en
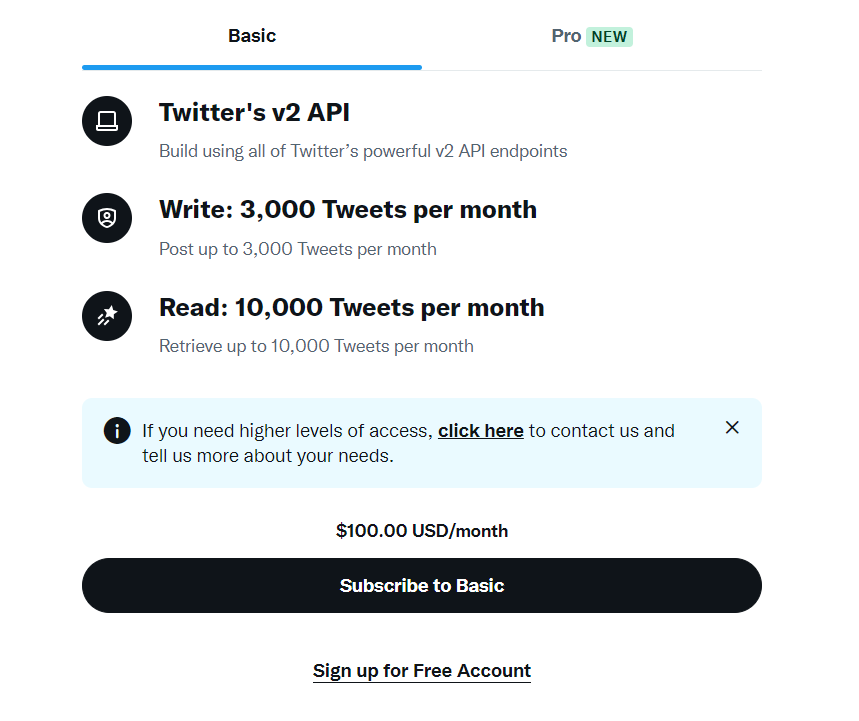
選擇免費方案
輸入兩百五十字的使用 Twitter OAuth 原因 (可以請求 ChatGPT 生成一段文字)

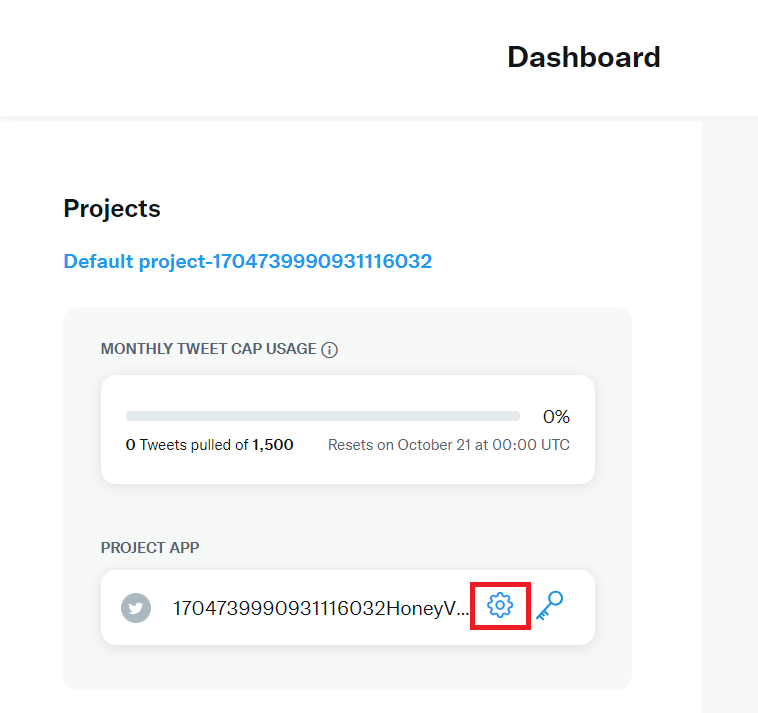
到【Dashboard】頁面點選專案設定
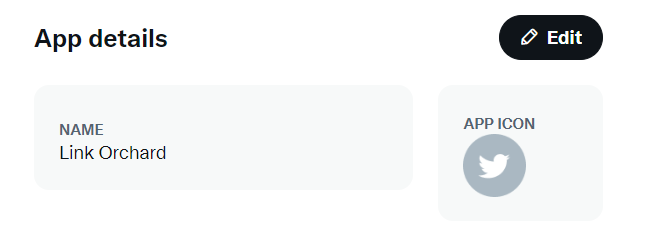
可以編輯應用程式的名稱或上傳網頁的 icon
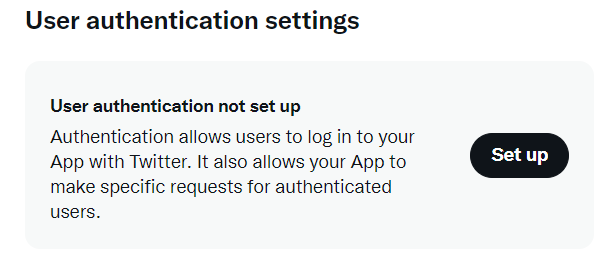
點選驗證設定 【 User authentication settings 】
設定應用程式的 OAuth 1.0a 讀寫權限,以及啟用 OAuth 2.0 的應用程式類型
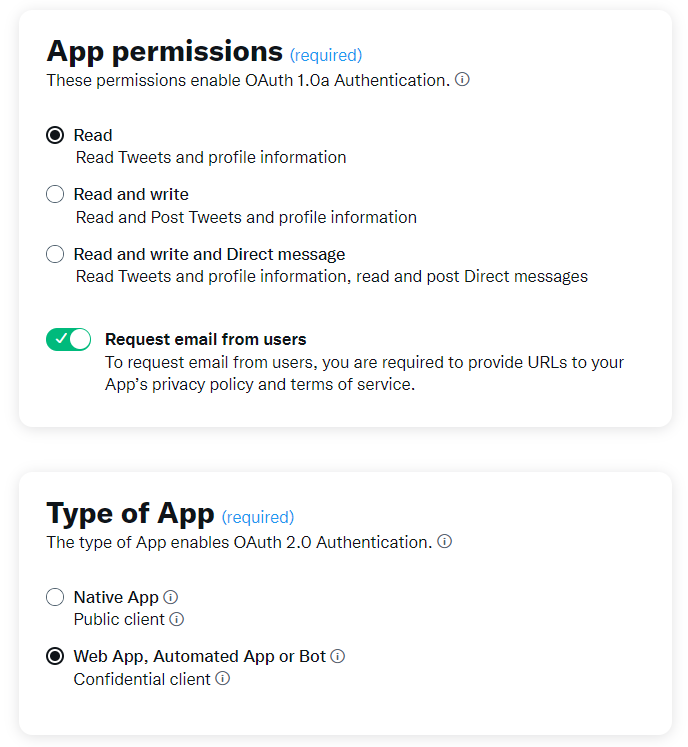
設定 callback URL、網站 URL、服務條款 URL、隱私權政策 URL
callback URL:在開發環境中以 http://127.0.0.1:3000/ 取代 localhost:3000 ,除此之外,在專案中的環境變數也要設定 NEXTAUTH_URL 為 http://127.0.0.1:3000/ 。
NEXTAUTH_URL='http://127.0.0.1:3000'
網站 URL、服務條款 URL 及隱私權政策 URL 可以暫時以假的 URL 設定,上線後再改為正式網址。

import TwitterProvider from 'next-auth/providers/twitter'
export const authOptions = {
providers: [
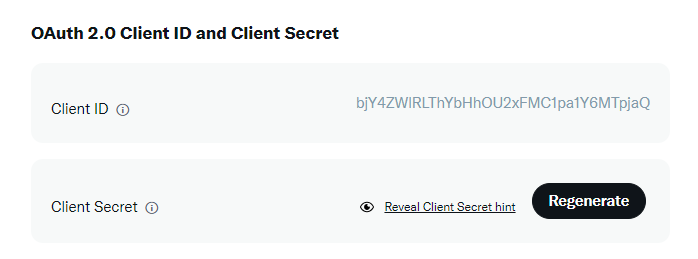
TwitterProvider({
clientId: process.env.TWITTER_ID as string,
clientSecret: process.env.TWITTER_SECRET as string
})
],
}
想不到光是四個 OAuth 設定就佔了這麼大的篇幅,最後想要特別提醒,專案中如果使用 Twitter 的 OAuth,會使得整個應用程式的開發環境 URL 改為 http://127.0.0.1:3000/ ,所以如果先前有在其他 OAuth 中設定 localhost:3000 為 callback URL 或 redirect URL 都要一併替換。希望經過今天的介紹,可以讓讀者在各家茫茫的設定平台中找到一絲曙光,也祝大家順利完成申請。
營養師不開菜單的第十一天 - 為什麼要用 NextAuth 做身分驗證
Not able to authenticate via NextAuth's Twitter provider using OAuth2.0
https://github.com/nextauthjs/next-auth/issues/5154#issuecomment-1408676458
Twitter OAuth 2 Authentication using NextAuth in Next.js
https://cocounicorns.com/twitter-authentication-nextauth-nextjs
Setup and Use NextAuth.js in Next.js 13 App Directory
https://codevoweb.com/setup-and-use-nextauth-in-nextjs-13-app-directory/

