CSV 資料的讀取與解析,這項功能是 App 的核心之一。然而,隨著專案越來越複雜,我們很可能會在未來的某個時候不小心改動到相關程式碼,或是 CSV 檔案有異動,導致這個功能壞掉。為了確保它能一直穩定運作,我們需要為它建立一道防線——單元測試。
單元測試可以幫助我們驗證一小段程式碼(一個「單元」)的行為是否符合預期。今天,我們將使用 Apple 官方的測試框架 XCTest 來為 RoadDataManager 撰寫測試,確保它在面對正常與異常資料時,都能做出正確的反應。
如果你的專案一開始建立時沒有勾選 Include Tests,我們需要手動將其加入。
首先,在 Xcode 專案導覽器中點擊最上層的專案檔案,進入設定頁面。在「TARGETS」區域點擊左下角的「+」按鈕,選擇新增「Unit Testing Bundle」。你可以為這個測試目標命名,例如 RoadMileLocatorTests,Xcode 便會為你建立好測試所需的環境。
建立測試目標後,Xcode 會自動生成一個樣板檔案。雖然可以直接使用,但更好的做法是為特定的類別建立專屬的測試檔案。這樣一來,當 RoadDataManager 的功能需要擴充或修改時,我們就能立刻找到對應的測試案例來進行驗證。
import XCTest

final class RoadMileLocatorTests: XCTestCase {

    override func setUpWithError() throws {
        // Put setup code here. This method is called before the invocation of each test method in the class.
    }

    override func tearDownWithError() throws {
        // Put teardown code here. This method is called after the invocation of each test method in the class.
    }

    func testExample() throws {
        // This is an example of a functional test case.
        // Use XCTAssert and related functions to verify your tests produce the correct results.
        // Any test you write for XCTest can be annotated as throws and async.
        // Mark your test throws to produce an unexpected failure when your test encounters an uncaught error.
        // Mark your test async to allow awaiting for asynchronous code to complete. Check the results with assertions afterwards.
    }

    func testPerformanceExample() throws {
        // This is an example of a performance test case.
        measure {
            // Put the code you want to measure the time of here.
        }
    }
}
這個是由 Xcode 自動產生的單元測試的 Template:
以下是各個部分的用途:
setUpWithError()在每一個測試方法(以test開頭的函式)執行之前都會被呼叫,例如你可以在這裡初始化你要測試的物件。
tearDownWithError()在每一個測試方法執行完畢之後都會被呼叫,例如釋放 setUpWithError 中建立的物件或重置狀態。
testExample()在 XCTest 中,所有測試方法的名稱都必須以 test 開頭,這裡是一個 example,你可以刪除並換成你自己的測試,例如 testLoadValidHighwayCSVData()。XCTAssert 系列的函式就是用在這裡,來驗證你的程式碼是否產生了預期的結果。
testPerformanceExample()效能測試的範例,你可以將想測量效能的程式碼放在 measure { ... } 區塊中。Xcode 會多次執行這段程式碼並計算平均執行時間。
雖然 Xcode 會預設產生一個測試檔案,但這裡我選擇不直接使用它,而是為 RoadDataManager 建立了一個專屬的測試檔案 RoadDataManagerTests.swift。當測試檔案的命名直接對應到它所要測試的類別時,整個專案的測試結構便一目了然。未來,當我需要修改或擴充 RoadDataManager 的功能時,我能夠立刻找到對應的測試案例來進行驗證或更新。
在專案左側列表的測試目標資料夾,在裡面建立一個新的 Swift 檔案 RoadDataManagerTests.swift。在檔案頭部加入 import XCTest 和 @testable import YourAppModuleName,讓測試能引用專案內的類別。
import XCTest
@testable import RoadMileLocator

class RoadDataManagerTests: XCTestCase {
    // ...
}
var manager: RoadDataManager!

override func setUp() {
    super.setUp()
    manager = RoadDataManager()
}

func testLoadHighwayMarkersValidCSV() {
    let (markers, failed) = manager.loadHighwayMarkersWithFailures(from: "highway_markers_test")

    XCTAssertEqual(failed, 0)
    XCTAssertEqual(markers.count, 4)
}

func testLoadProvincialMarkersValidCSV() {
    let (markers, failed) = manager.loadProvincialMarkersWithFailures(from: "provincial_markers_test")

    XCTAssertEqual(failed, 0)
    XCTAssertEqual(markers.count, 3)
}

func testLoadHighwayMarkersInvalidCSV() {
    let (markers, failed) = manager.loadHighwayMarkersWithFailures(from: "highway_markers_test_error")

    XCTAssertEqual(failed, 1)
    XCTAssertEqual(markers.count, 3)
}

func testLoadProvincialMarkersInvalidCSV() {
    let (markers, failed) = manager.loadProvincialMarkersWithFailures(from: "provincial_markers_test_error")

    XCTAssertEqual(failed, 1)
    XCTAssertEqual(markers.count, 2)
}
這幾個測試 func 讀取的是預先放入專案裡的測試 CSV 檔案,針對不同的情境進行測試。
以 testLoadHighwayMarkersValidCSV() 來說,讀取的是正常的 CSV 檔案,
XCTAssertEqual(failed, 0)
XCTAssertEqual(markers.count, 4)
XCTAssertEqual() 是一種「斷言」,這邊 XCTAssertEqual(failed, 0) 斷言的是 failed 為 0,如果結果符合斷言,那就會通過。XCTAssertEqual(markers.count, 4) 則是斷言 CSV 總共解析出 4 行資料(測試資料塞了 4 行)。其他的就以此類推,放有問題的測試資料,測試我們的函式是否能正確判斷有錯誤資料,例如:
國道編號,隸屬縣市,坐標X-TWD97,坐標Y-TWD97,坐標X-WGS84,坐標Y-WGS84,公告樁號,性質,牌面內容,方向與備註
國道1號高架路段,新北市,312583.472,2773241.373,121.6203311,我是座標,14100,指45,014K+100,北上
國道1號高架路段,新北市,312484.618,2773230.258,121.6193508,25.06599366,14200,指45,014K+200,北上
國道1號高架路段,新北市,312381.503,2773217.897,121.6183282,25.06588633,14300,指45,014K+300,北上
國道1號高架路段,臺北市,312284.096,2773205.918,121.6173622,25.0657822,14400,指45,014K+400,北上
我把第一列資料的座標改為非數字「我是座標」,以測試型別轉換時是否能正確跳過錯誤。
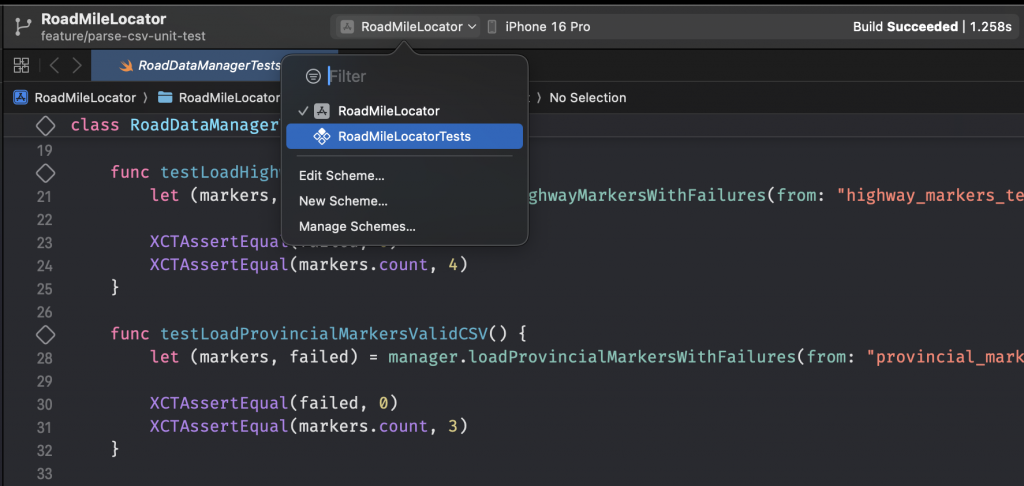
點擊 Xcode 上方選擇剛剛新增的測試目標(Scheme)。
點擊選單 Product > Test 執行所有測試。Xcode 下方會顯示測試結果,綠色表示通過,紅色表示失敗。
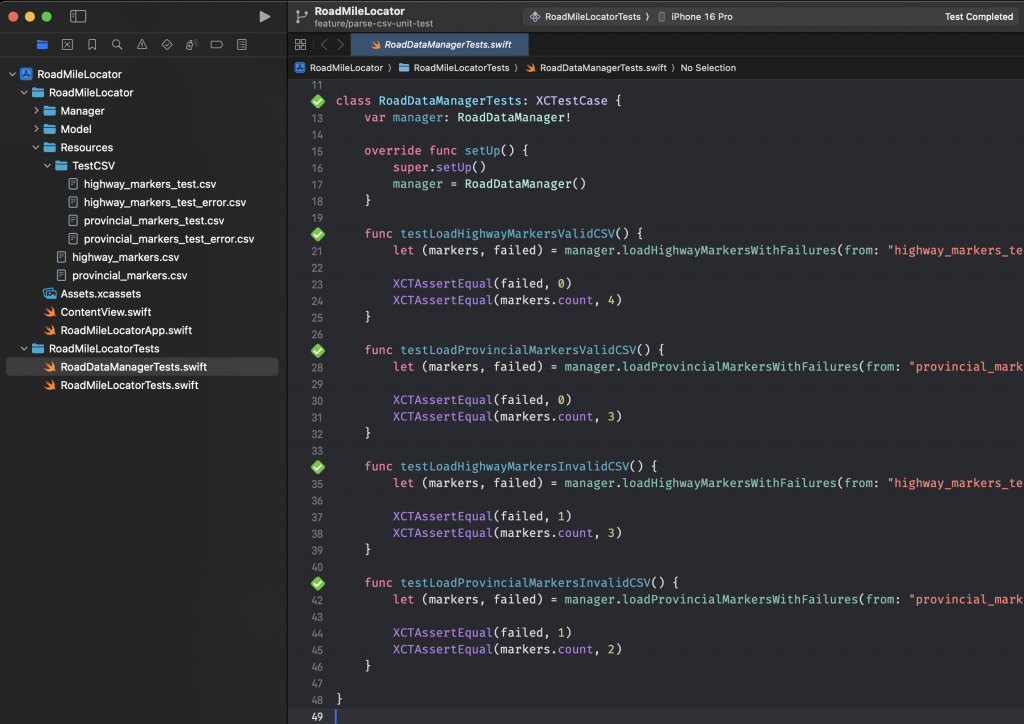
當然,若只想要測試某個項目,也可以直接點擊測試 function 左側的菱形執行該項測試。
今天學會了如何使用 XCTest 來快速建立單元測試,之後這部分會整合在 pipeline 中執行自動化測試~明天繼續!