好的今天來調整一下天氣元件在box1的顯示效果
昨天的畫面是這樣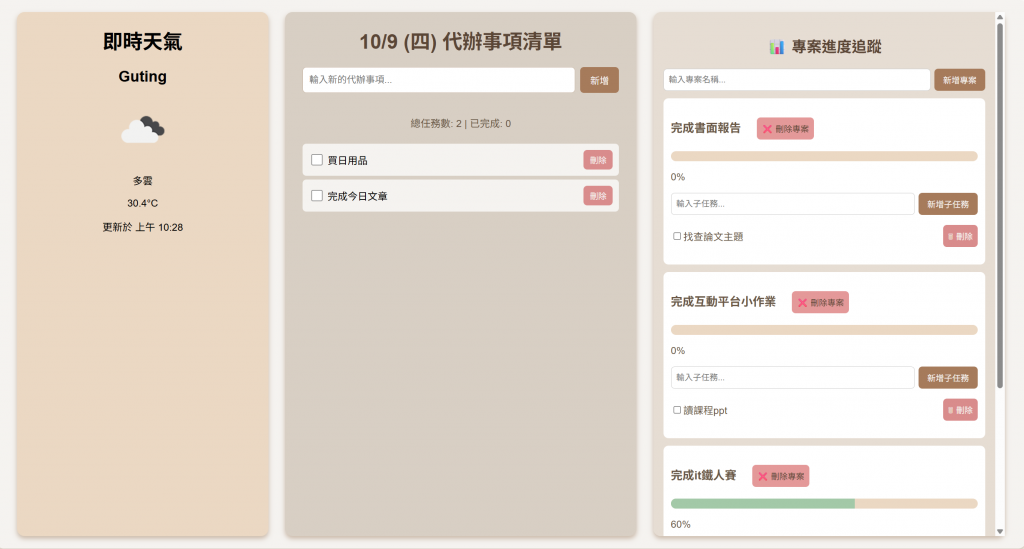
我想讓天氣元件有外框陰影增加立體感,且有自己的背景色讓他能更明顯
先到WeatherBox.vue在<style scoped>區域定義一個.weather-box
<style scoped>
.weather-box {
  width: 85%;
  height: auto;
  background-color: #E6DDD3;
  border-radius: 12px;
  box-shadow: 0px 4px 8px #C9B7A6;
  padding: 15px;
  margin-top: 15px;
}
</style>
再來要將.weather-box套到元件中,昨天的程式中可以看到已經有使用class來設定樣式了,今天定義的.weather-box只要寫到其中一個區域就好,我們直接套到天氣元件最外層的區域,在最外層的<div>標籤加入.weather-box
這裡附上<template>的程式碼
<template>
  <div class=" weather-box flex flex-col items-center justify-center min-h-screen bg-blue-50 text-gray-800">
    <div class="bg-white shadow-lg rounded-2xl p-6 w-80 text-center">
      <h1 class="text-2xl font-bold mb-4">即時天氣</h1>

      <div v-if="loading" class="text-gray-500">正在取得天氣資料...</div>

      <div v-else-if="error" class="text-red-500">
        {{ error }}
      </div>

      <div v-else>
        <h2 class="text-xl font-semibold mb-2">{{ weather.name }}</h2>
        <img
          :src="`https://openweathermap.org/img/wn/${weather.weather[0].icon}@2x.png`"
          :alt="weather.weather[0].description"
          class="mx-auto"
        />
        <p class="text-lg">{{ weather.weather[0].description }}</p>
        <p class="text-3xl font-bold mt-2">{{ weather.main.temp }}°C</p>
        <p class="text-sm text-gray-500 mt-3">更新於 {{ updateTime }}</p>

      </div>
    </div>
  </div>
</template>
好的用完WeatherBox.vue後,然後到App.vue來處理box1的樣式設定
.box1{
   width: 25%;
   height: 90vh;
   background-color: #EBD8C3;
   border-radius: 12px;
   box-shadow: 0px 4px 8px #C9B7A6;
   display: flex;              /* 使用 flex */
   flex-direction: column;     /* 垂直排列內容 */
   align-items: center;        /* 水平置中 */
}
讓包含的子元素可以垂直的方式排列align-items: center; 讓元素可以水平置中
目前的畫面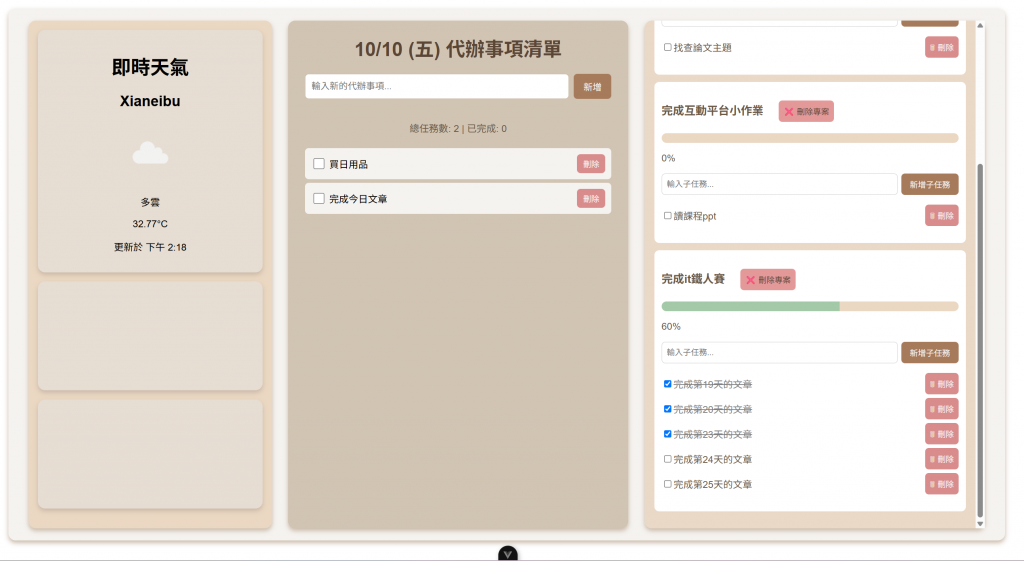
然後之前有提到的調色設計網頁,我想試試區域的漸層效果,到ColorSpace網頁,點擊上方的gradient,選擇想要的兩個顏色及漸層方向,點擊generate,就會顯示漸層效果及程式碼
將下方程式碼貼到對應的區域就行了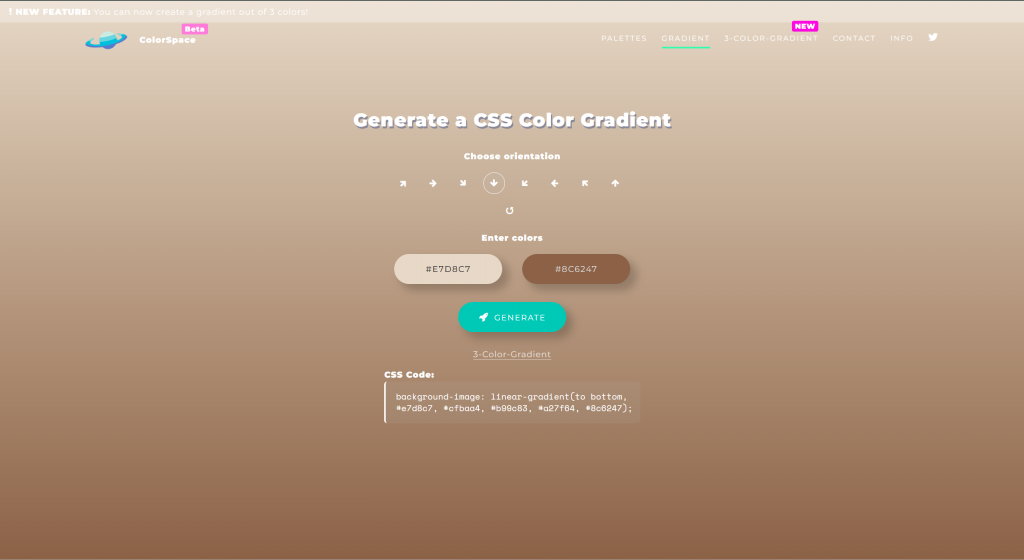
.weather-box {
  width: 85%;
  height: auto;
  color: #271306;
  background-image: linear-gradient(to bottom, #d5c6b5, #cfbdad, #b89e89, #a28067, #8c6247);
  border-radius: 12px;
  box-shadow: 0px 4px 8px #C9B7A6;
  padding: 15px;
  margin-top: 15px;
}
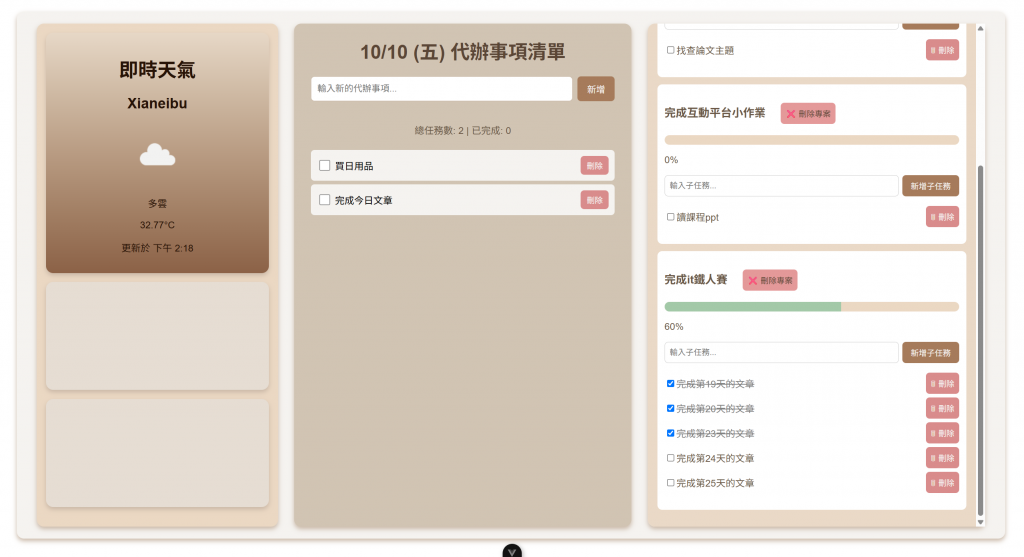
還剩下一些空間,剩下的區域明天來處理
各位明天見~


 iThome鐵人賽