好的今天來改天氣小元件
第一我想先修改天氣圖式的呈現方式,我想利用Weather Icons來呈現天氣icon
首先我們先為專案安裝Weather Icons,打開我們的終端機進到專案跟目錄,然後輸入以下指令
npm install weather-icons
安裝好後就來處理我們的程式碼,到WeatherBox.vue檔,先處理<script setup>區域
先import weather-icons
import 'weather-icons/css/weather-icons.css';
然後 建立對應表,就是一個轉換函式,當OpenWeather API 回傳的天氣代碼(如 "01d"、"09n")可對應到 Weather Icons 的 class 名稱
function getWeatherIcon(code) {
  const map = {
    "01d": "wi-day-sunny",
    "01n": "wi-night-clear",
    "02d": "wi-day-cloudy",
    "02n": "wi-night-alt-cloudy",
    "03d": "wi-cloud",
    "03n": "wi-cloud",
    "04d": "wi-cloudy",
    "04n": "wi-cloudy",
    "09d": "wi-showers",
    "09n": "wi-showers",
    "10d": "wi-day-rain",
    "10n": "wi-night-alt-rain",
    "11d": "wi-thunderstorm",
    "11n": "wi-thunderstorm",
    "13d": "wi-snow",
    "13n": "wi-snow",
    "50d": "wi-fog",
    "50n": "wi-fog",
  };
  return map[code] || "wi-na"; // 若找不到代碼則顯示預設圖示
}
完成後到<template>區域
將原本放<img>的區域改成放icon的<i>標籤
<i :class="['wi', getWeatherIcon(weather.weather[0].icon),'weather-icon']"></i>
這裡的'weather-icon'是我為天氣icon自訂的css
所以接著要到<style scoped>補上樣設設定
.weather-icon {
  font-size: 90px;                     /* 調整大小 */
  color: #4c2201;                      /* 溫暖棕色,符合整體配色 */
  text-shadow: 2px 2px 6px rgba(0, 0, 0, 0.3); /* 陰影效果 */
  margin: 15px 0;
  display: inline-block;
  transition: transform 0.4s ease, color 0.4s ease; /* 滑鼠動畫過渡 */
}

/* 滑鼠移上時放大、變亮 */
.weather-icon:hover {
  transform: scale(1.15);
  color: #CFA97C; /* 淺金咖啡色 */
}
好的現在畫面應該會顯示icon圖示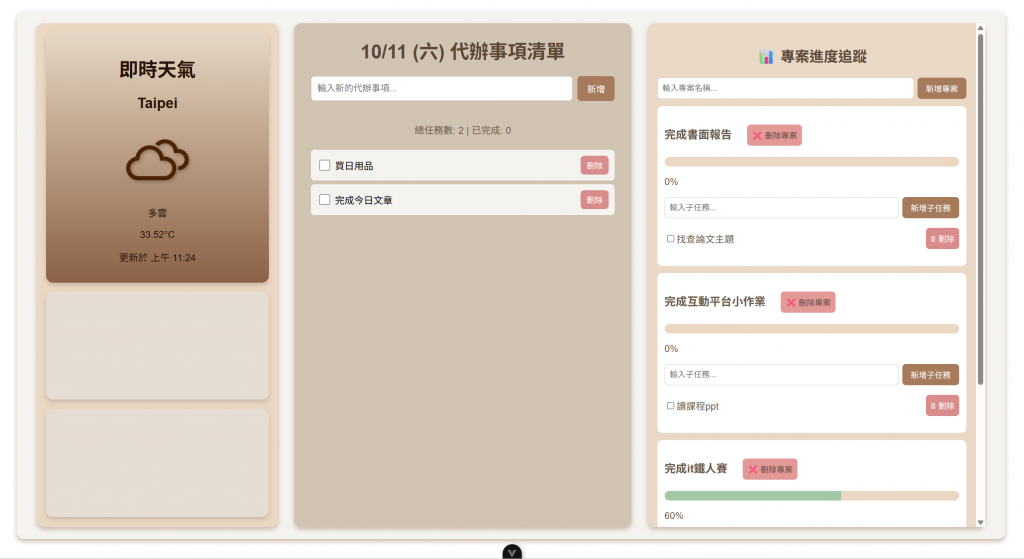
今天先到這,明天就是最後一天了
繼續加油,堅持到最後
各位明天見~


 iThome鐵人賽