
這是我產生的 PQCsignKAT_64.rsp
GitHub Actions, CI#245, KAT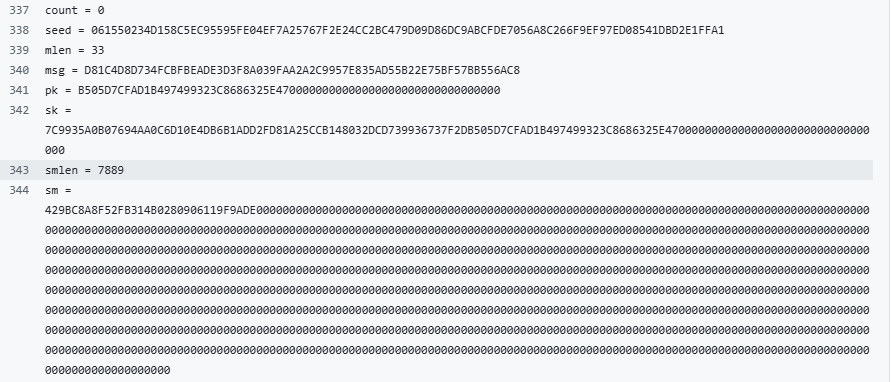
這是截錄自 SPHINCS+ 官方 [1] 的 PQCsignKAT_64.rsp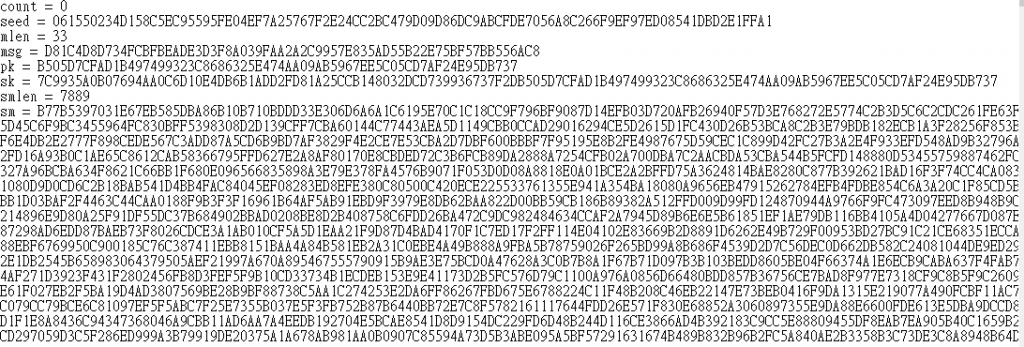
count 是 0 到 99,seed 是每一次的種子,sm 是每次簽章後把 signature和msg 合併。
用肉眼比對就看出兩個 sm 不一樣,這代表我的 implementation 簽出來的 signature 是錯的,只有當 count 0 到 100 每一次的 sm 都一樣,才能表示我的實作是正確的。
本來今天的目的,是產出 和 SPHINCS+ 官方的 PQCsignKAT_64.rsp 一樣的 sm,但因為今天是 Day 29 了,倒數第二天了,如果今天繼續糾結這個問題,就不能在 30 天內進行硬體計算的實驗,所以今天就直接跳到nRF5340 DK,先將 ELF 燒到 nRF5340 DK 上 (elf 要先轉成 hex 才能寫到 nRF5340)。
先讓 elf 能從 GitHub 上載,修改 ci.yml,在 steps 增加 Upload artifacts
jobs:
  build-and-test:
    runs-on: ubuntu-latest
    env:
      ...

    steps:
    ...
      - name: Upload artifacts
        uses: actions/upload-artifact@v4
        with:
          name: build-${{ github.sha }}
          path: |
            **/*.elf
            **/*.map
然後在 GitHub Actions, Bare-metal CI #253 就能看到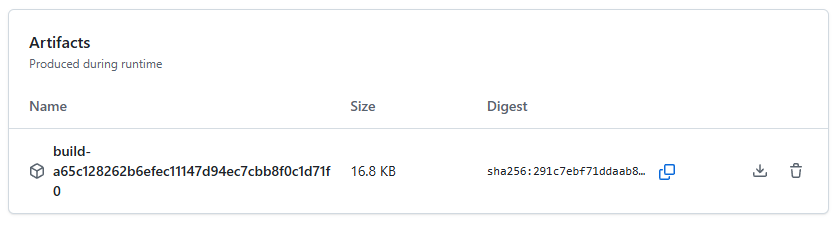
至此,每次產生 elf 和 map 之後,都能透過 GitHub 下載。但這版是軟體的 SHA256,還沒有走 CryptoCell-312 (CC312),所以只能用來體會一下從 UART 觀察簽章結果。
但是,.elf 是不能直接寫到 nRF5340,所以要先轉成.hex,這個流程也放進 ci.yml 裡,最終 ci.yml 產生 hex 和 Upload artifacts 的部份是這樣
      - name: Make HEX from sign_nrf5340dk.elf
        shell: bash
        run: |
          set -euo pipefail
          arm-none-eabi-objcopy -O ihex sign_nrf5340dk.elf sign_nrf5340dk.hex
          ls -l sign_nrf5340dk.elf sign_nrf5340dk.hex

      - name: Upload artifacts
        uses: actions/upload-artifact@v4
        with:
          name: build-${{ github.sha }}
          path: |
            **/*.elf
            **/*.hex
            **/*.map
然後這個 zip 裡面就有 .elf, .hex. map
GitHub Actions, Bare-metal CI #257

要走 CC312,Makefile 就要做一些調整,同時要寫一些硬體相關的 code,今天我們先把 hex 寫到 nRF5340,明天最後一天,希望能成功使用硬體算 SHA256,給這個系列作一個 ending。
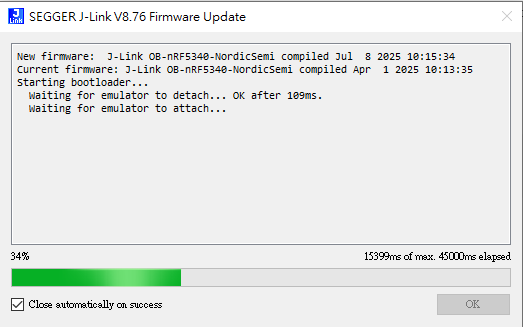
先裝 J-Link Software and Documentation Package
安裝後執行 J-Link USB Web Server V8.76,會進行 Firmware Update (不過我 update firmeware 並沒有成功)
執行 J-Link Configurator V8.76 可以看到 nRF5340 DK 的 port

SEGGER 有另外一個方式可以更方便的燒錄 Drag & Drop Programming
Please note: The Drag & Drop Programming option is available upon request only. If you are interested or need more information, please do not hesitate to contact us.
但他的 request form 要提供公司名稱,由於我不願意我的個人行動和公司有任何關聯,所以我沒辦法申請,因此我燒錄的方法就要換一下。
於是我就要安裝 nRF Connect for Desktop,安裝後可以看到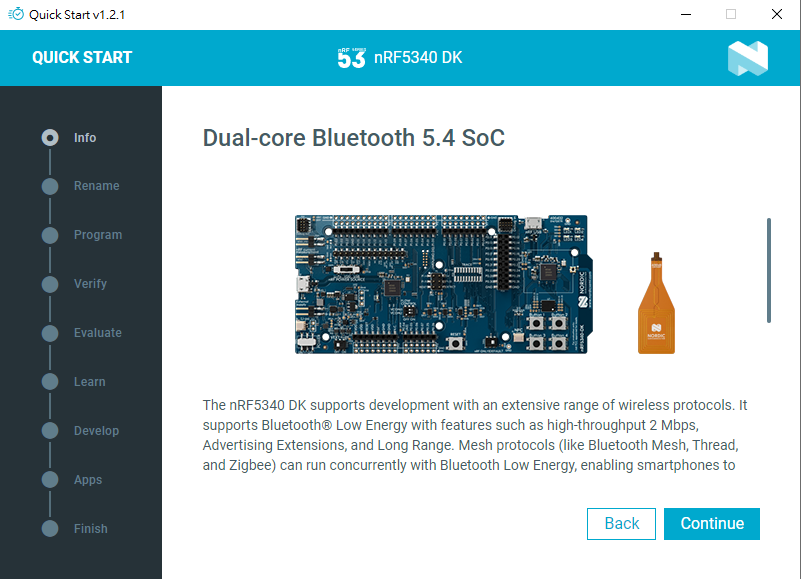
Serial Terminal 和 Programmer 要 install,一個是用來看 UART,一個是用來寫 hex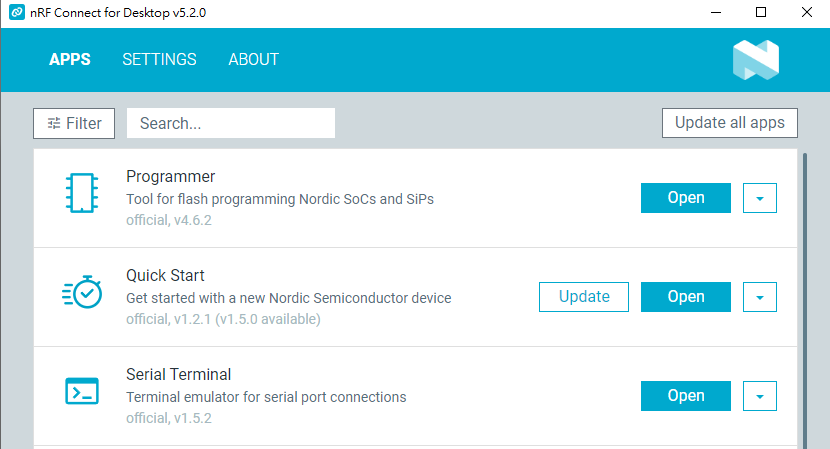
hex 寫進去後會看到這個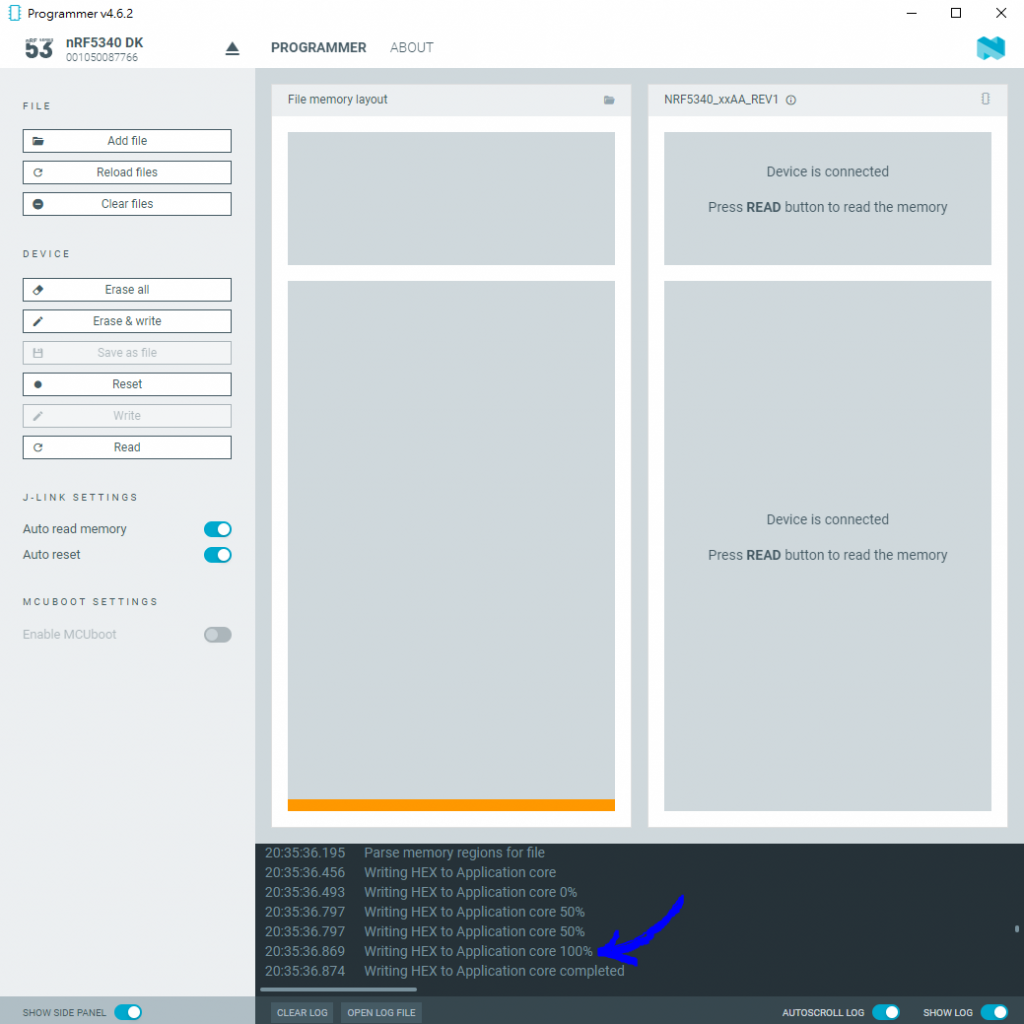
在 Application Core 會看到這個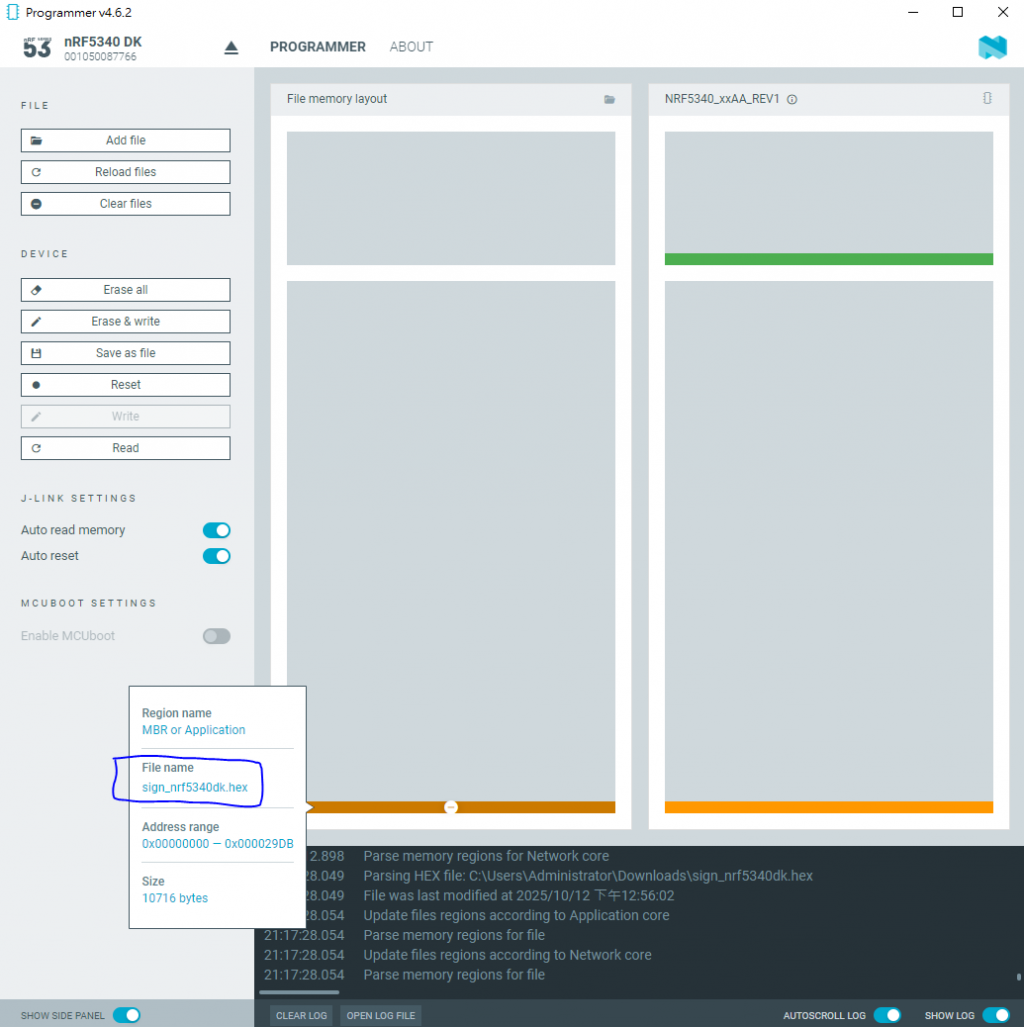
這裡提一下,nRF5340 [2] 有兩顆 Arm Cortex-M33,一顆是 Application core,我們只會把 hex 寫到這裡;另一顆是 Network core,我們不會去寫他。
今天只做到把 hex 寫到 Application core,本來預期會在這裡看到 UART 的輸出,但很遺憾又失敗了。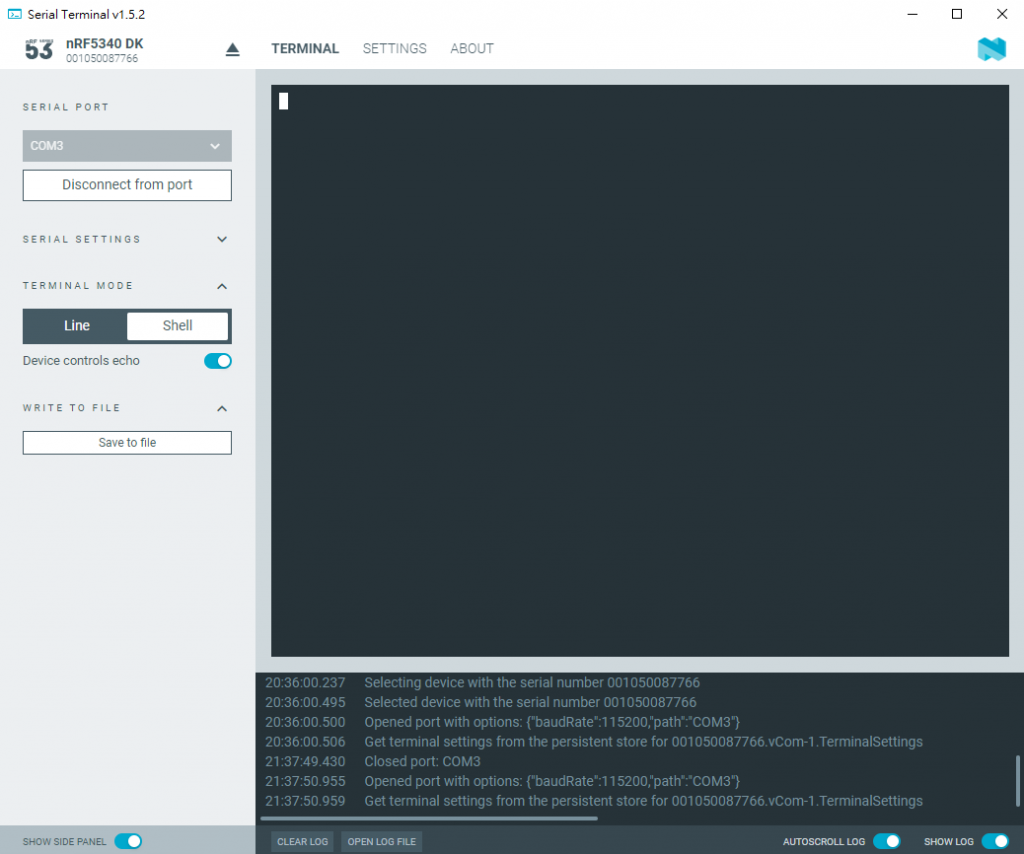
希望明天能把這個問題解決,要不然無法看出到底有沒有真的在簽章,也沒辦法體驗用 CC312 算 SHA256、HMAC-SHA-256。
