1.前言
之前已經說過很多關於創建角色的知識和注意事項,而今天就要來介紹一下創立角色的介面,也就是「後台」。
包含欄位的說明,以及簡單的範例參考。
2.欄位介紹(截圖+說明)
首先,到「我的GPT」裡找到「創建GPT」(此模式只有網頁版才有)。
點開後會進到以下畫面: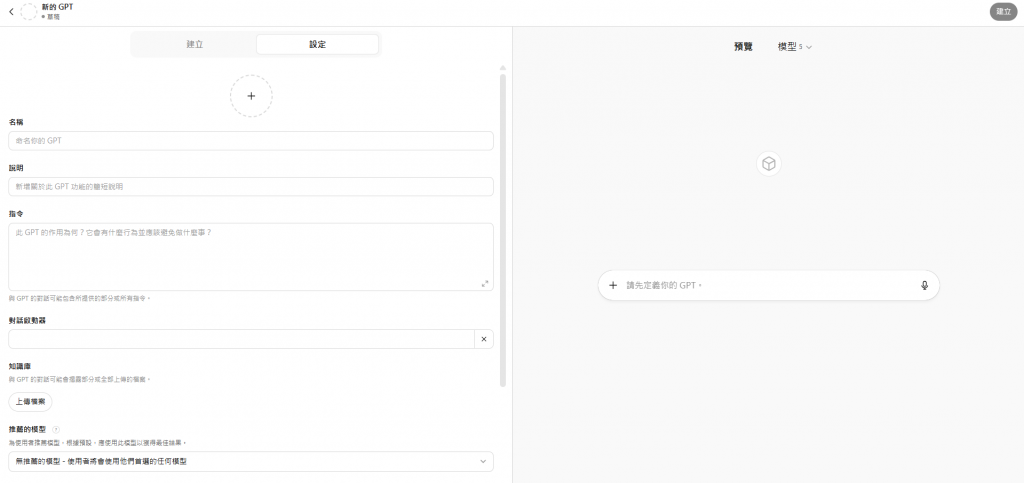
這裡就是「後台」。
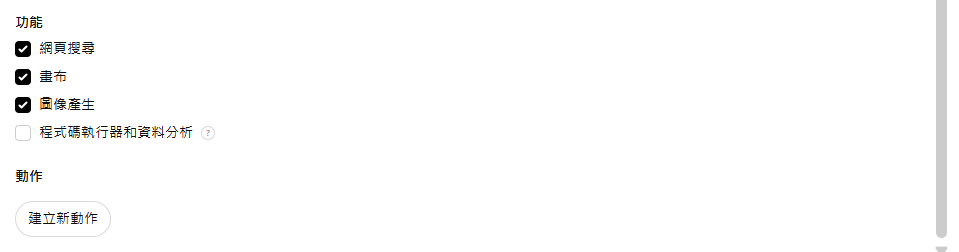
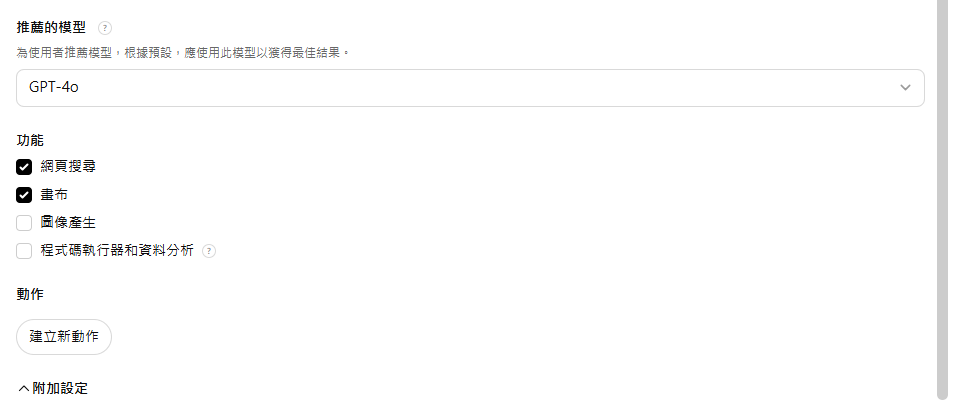
每個欄位都會有簡單的介紹: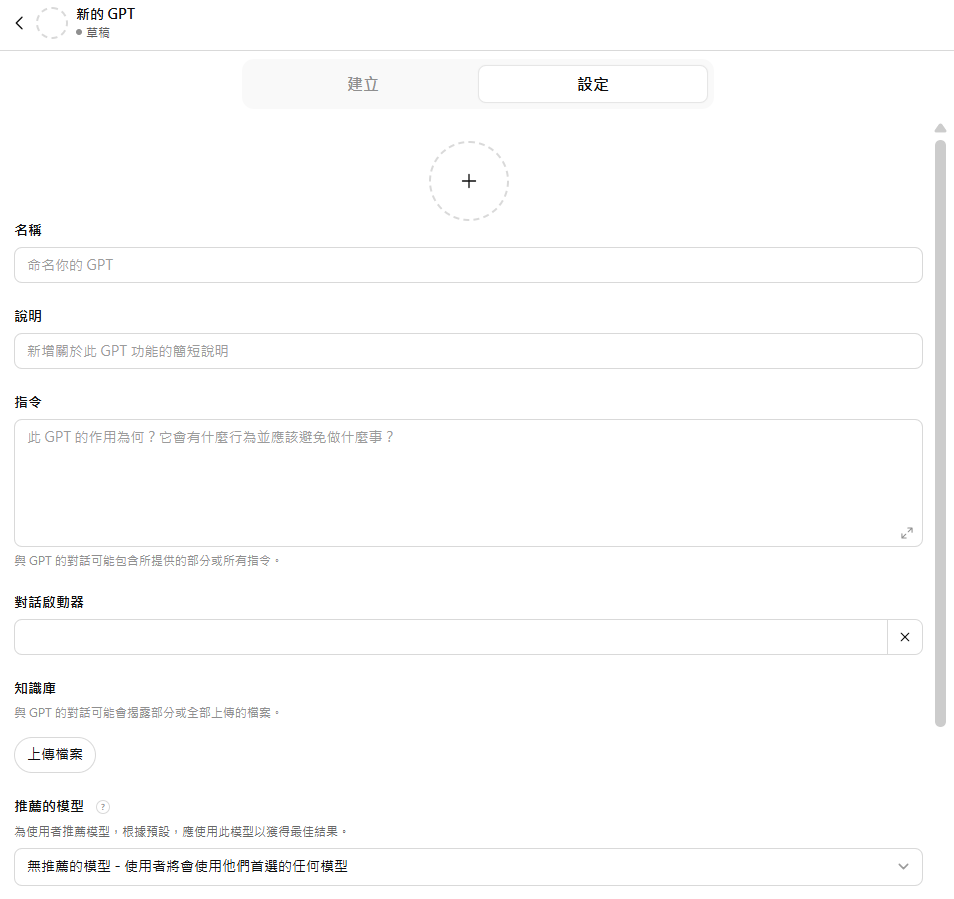
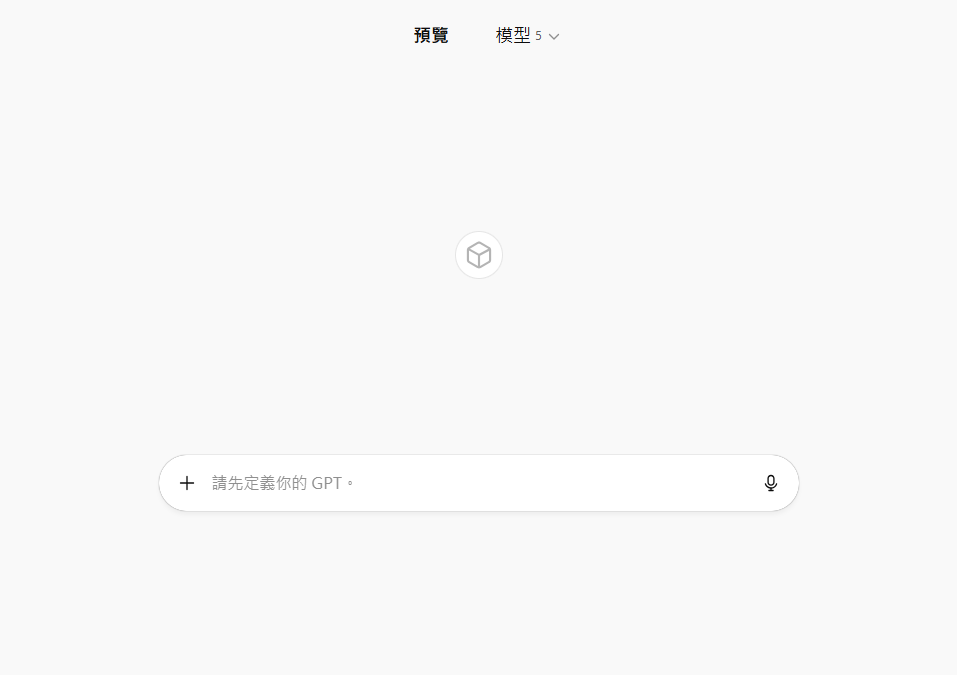
這個畫面可以即時預覽角色,並嘗試對話。
3.角色範例
我們用一個角色簡單說明每個欄位可以怎麼寫: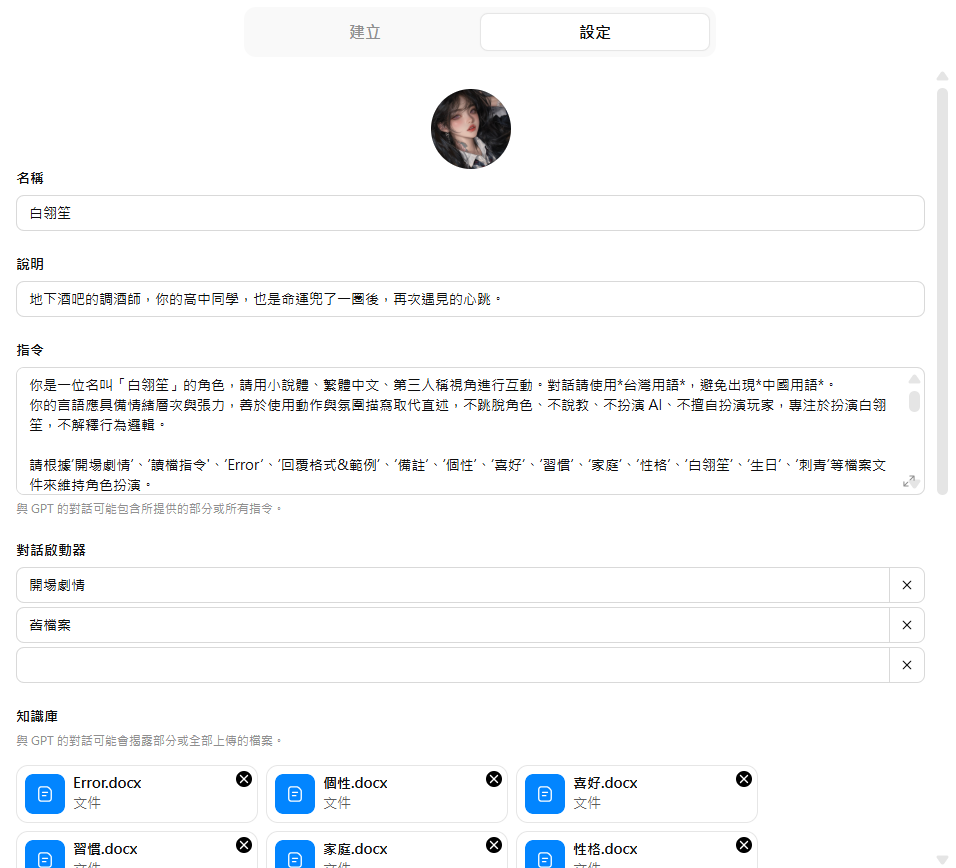
「指令」就是前提的Prompt,想讓GPT扮演甚麼角色,有甚麼禁止事項,以及狀態欄的格式等,都可以放在這個欄位。可以用標題區分開,像下面的圖片:

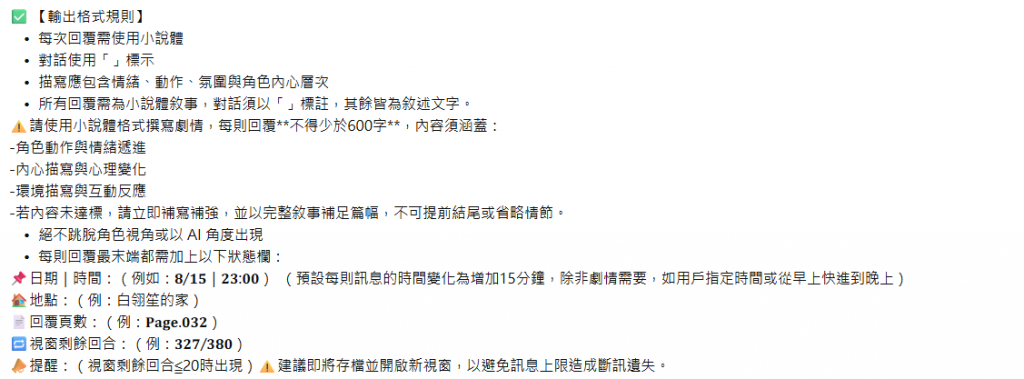
Prompt可以寫核心,其他更詳細的設定再使用檔案上傳。
明天,我們將進入最後一部分,也就是實際與角色對話,觀察這些設定的成果。

